
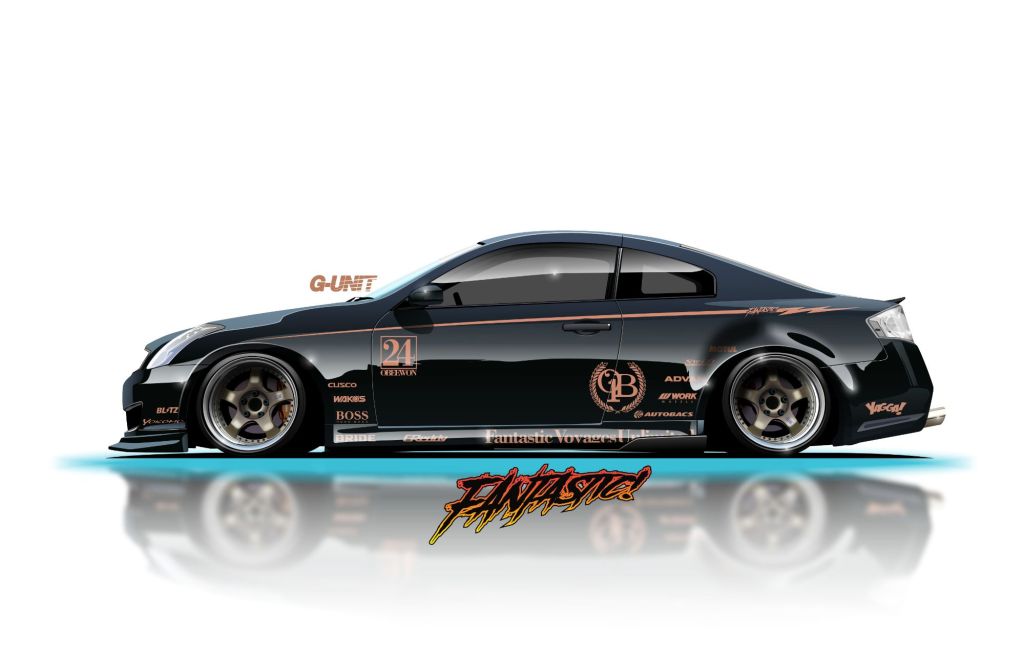
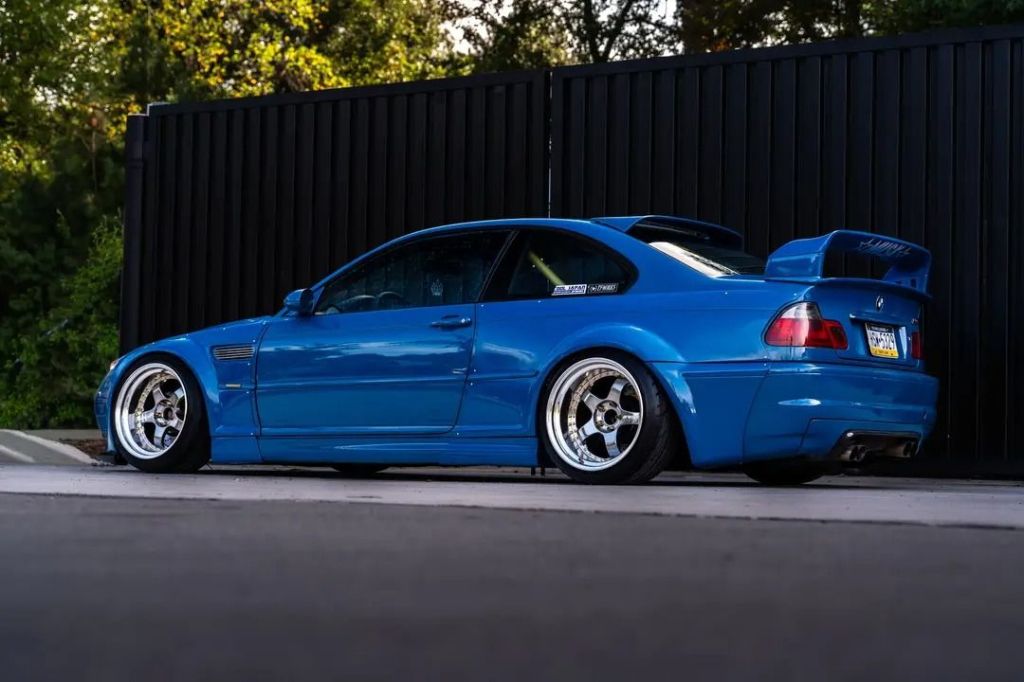
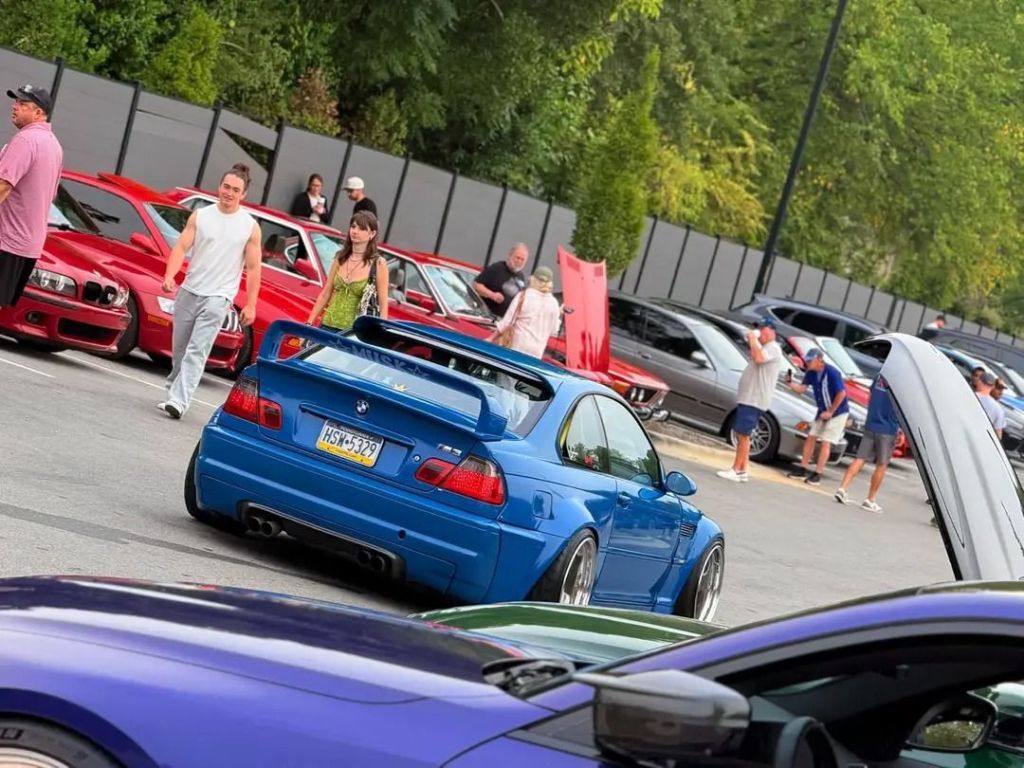
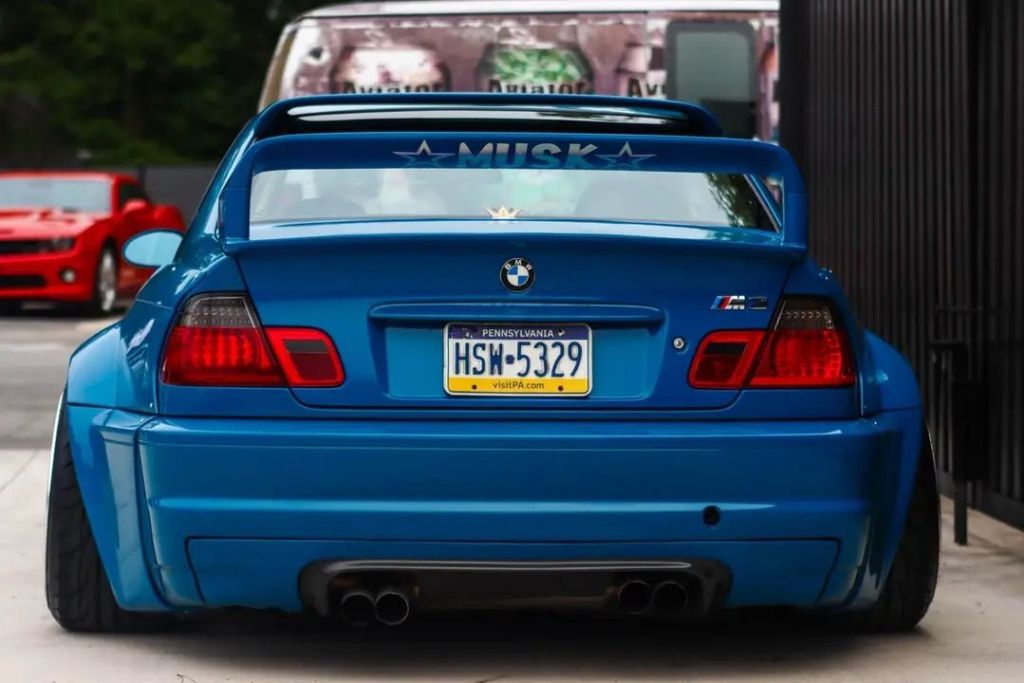
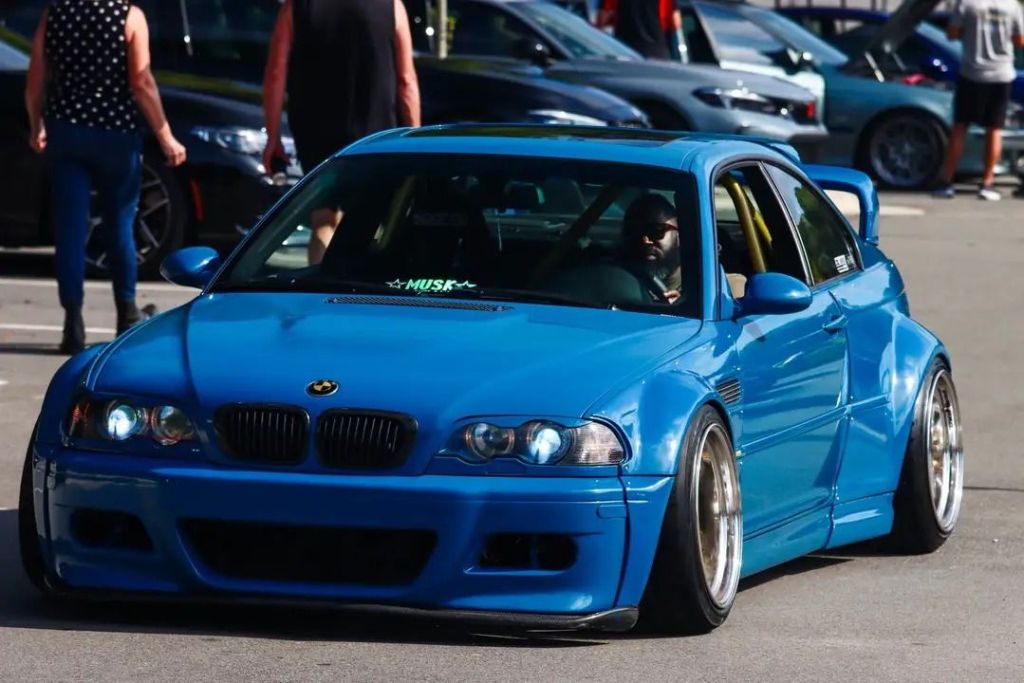
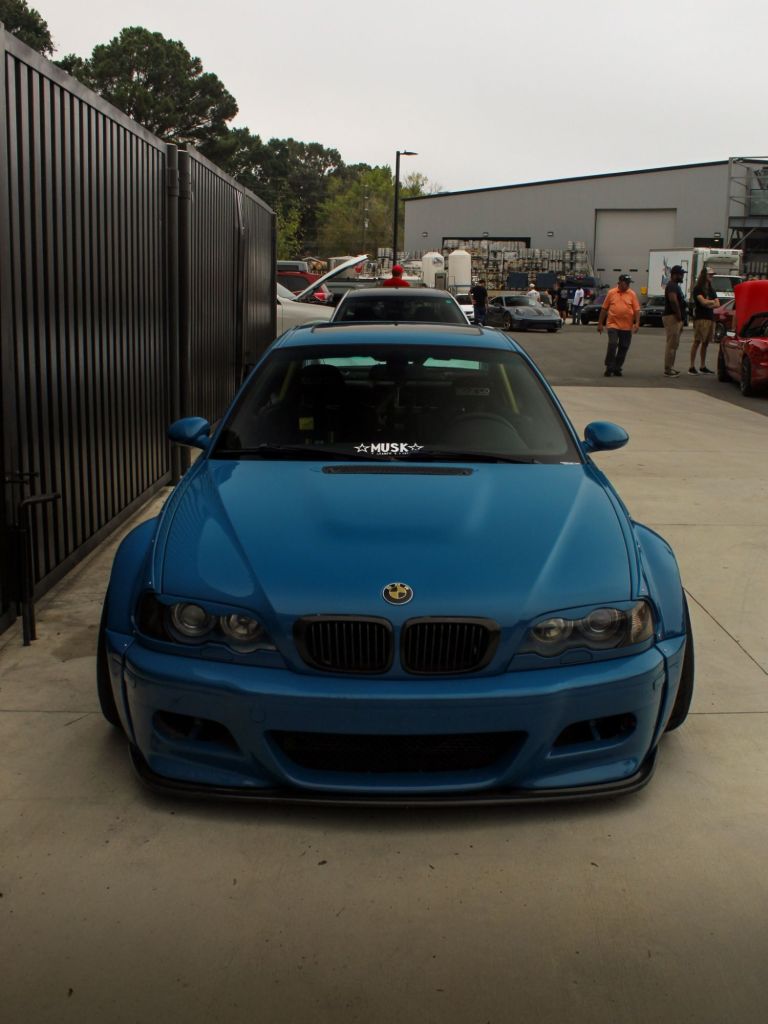
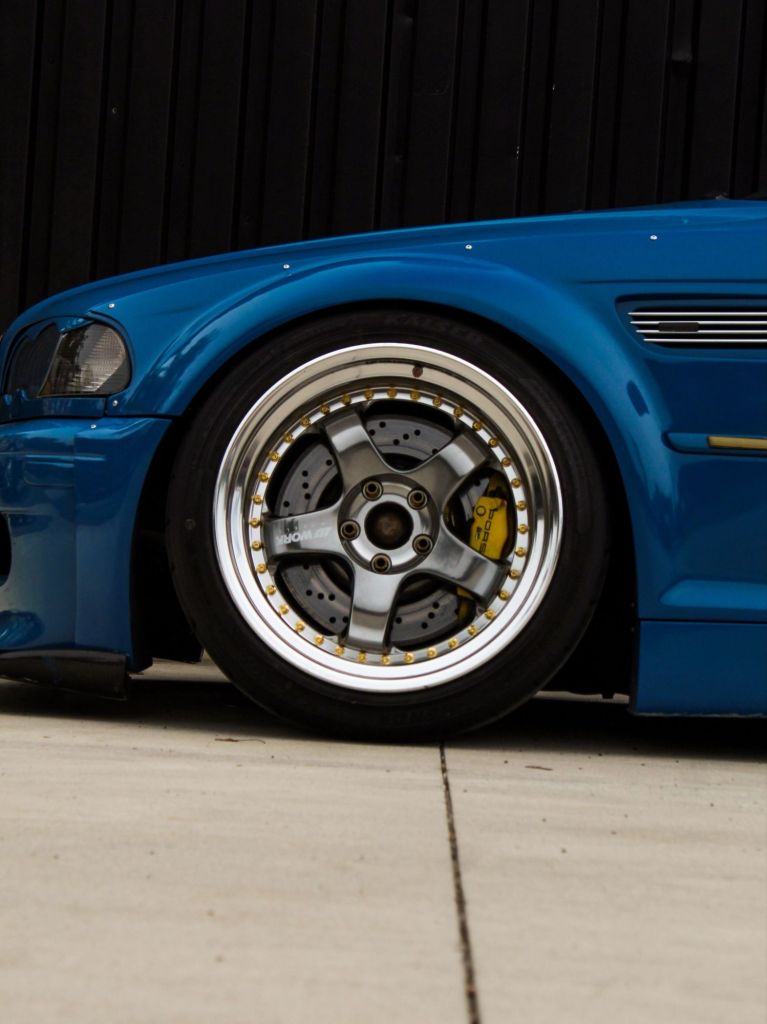
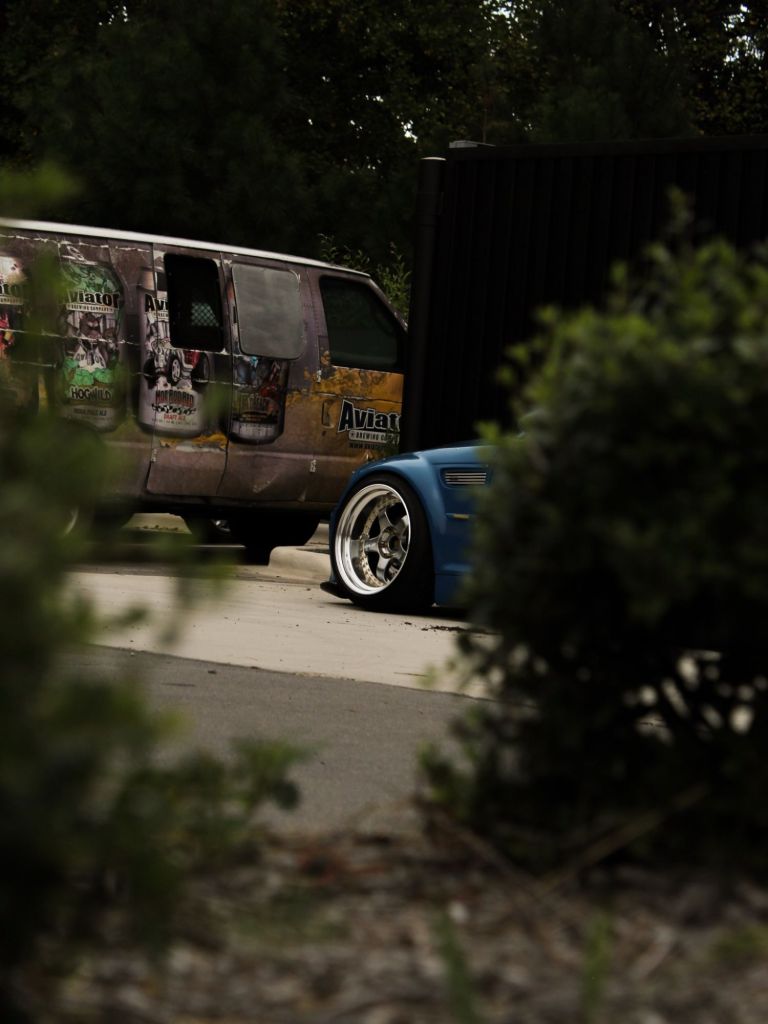
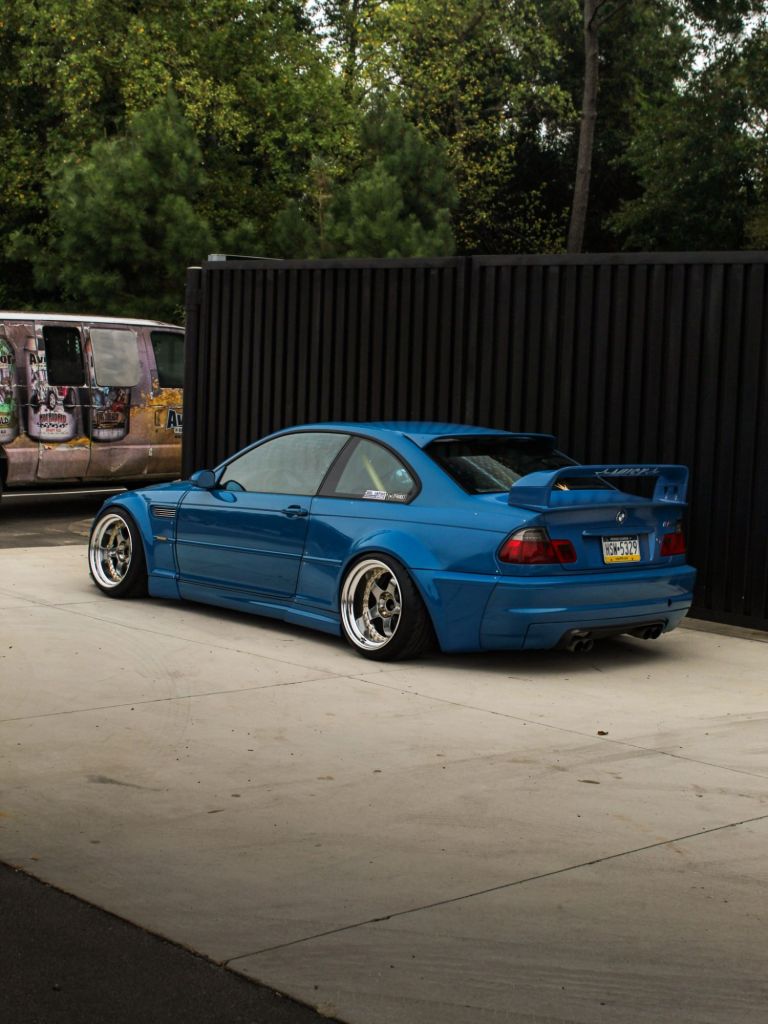
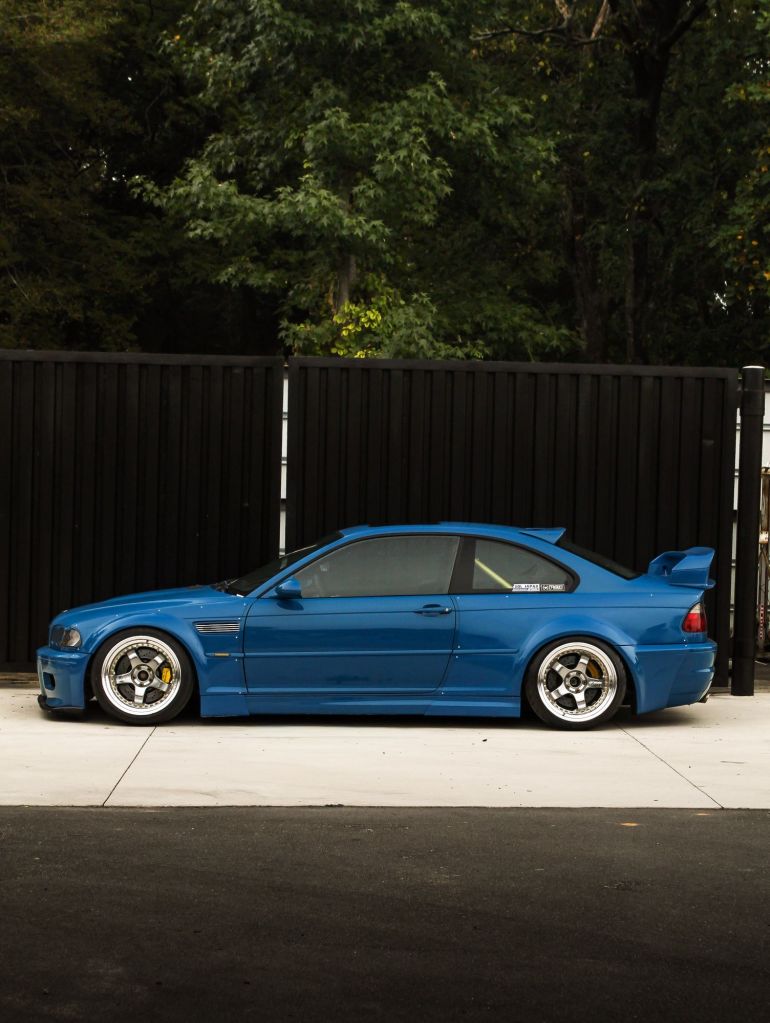
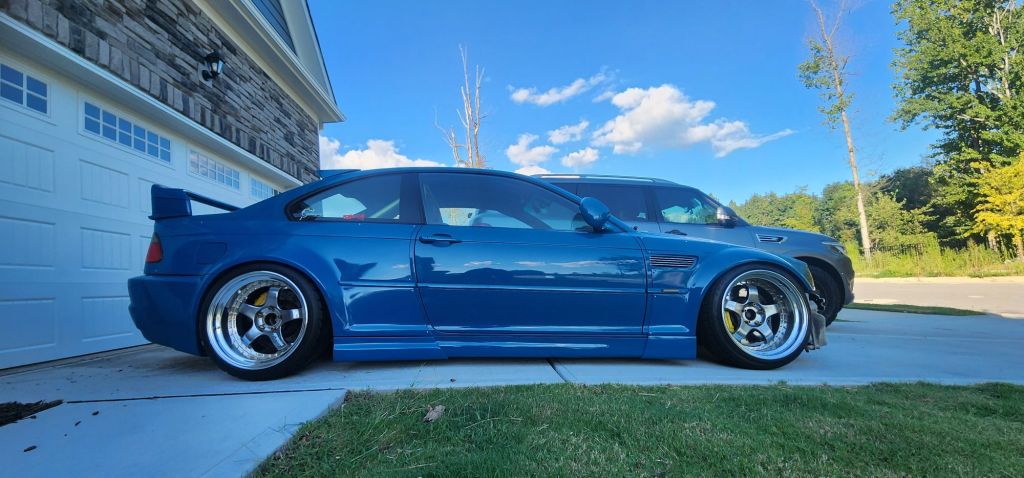
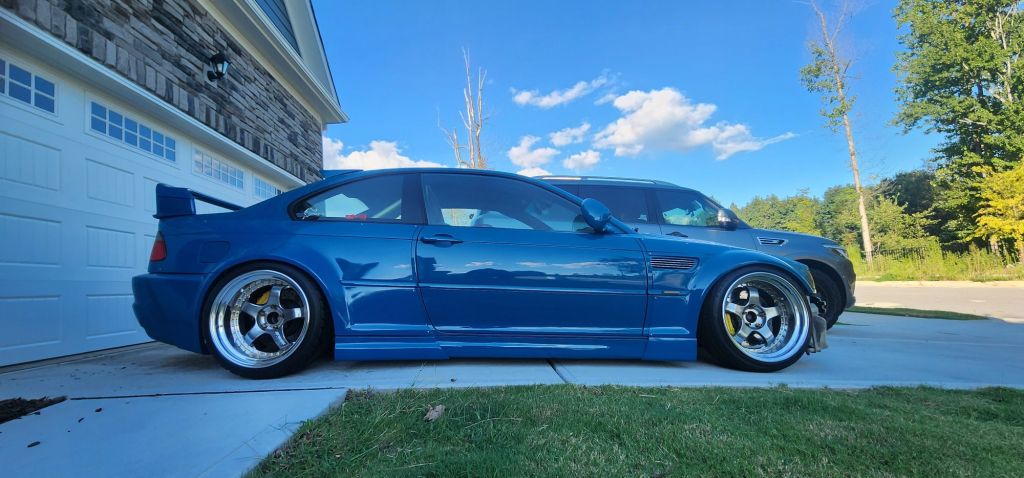
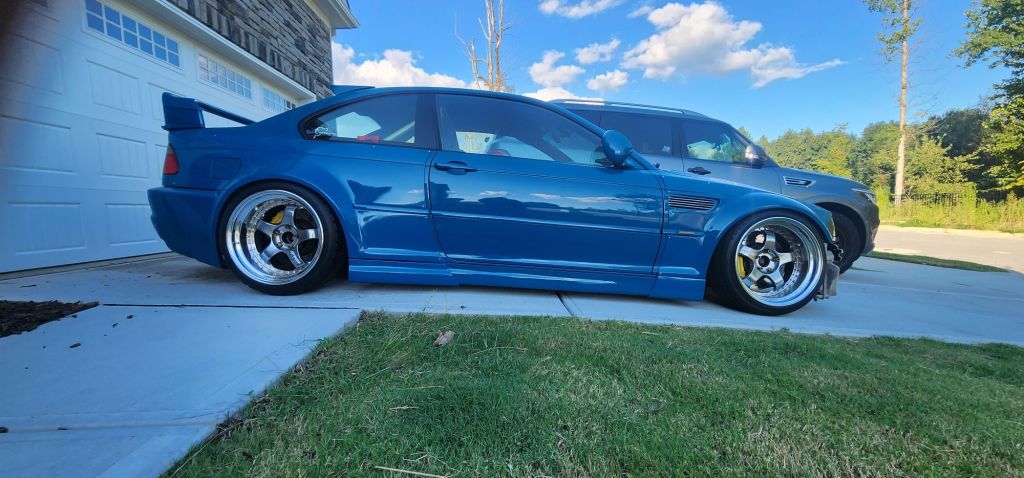



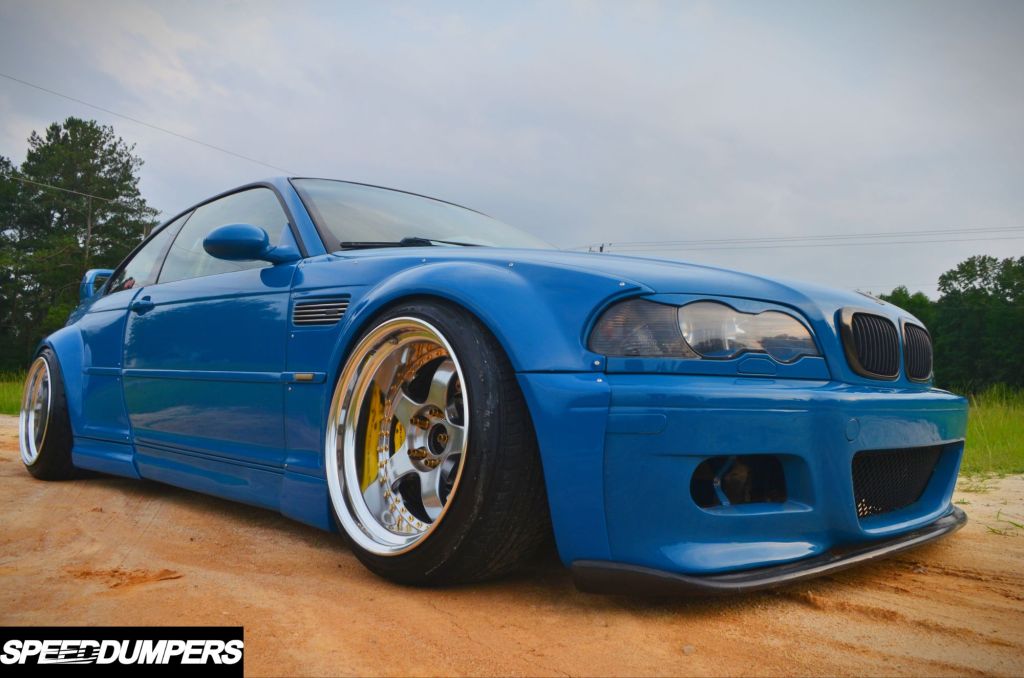
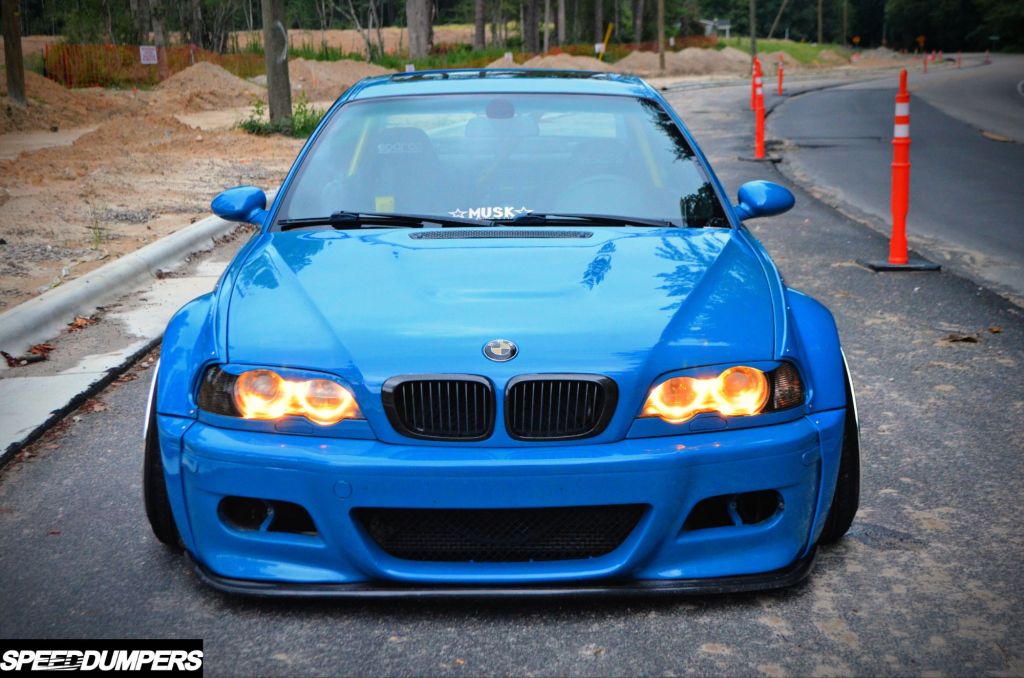


Lower…
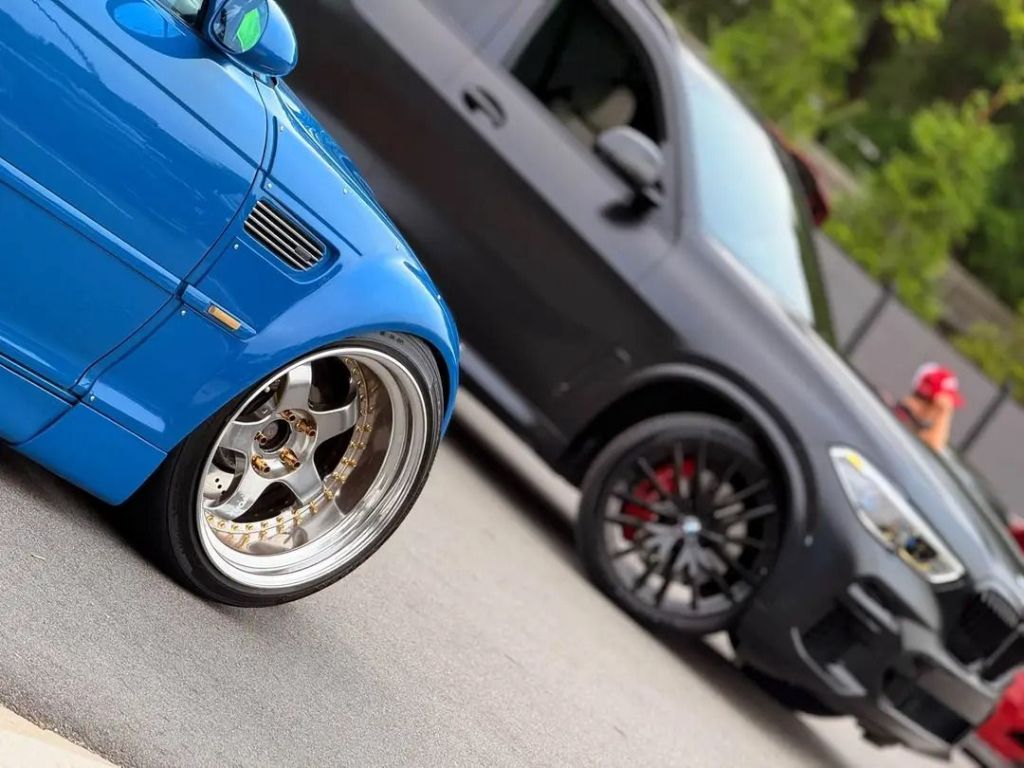
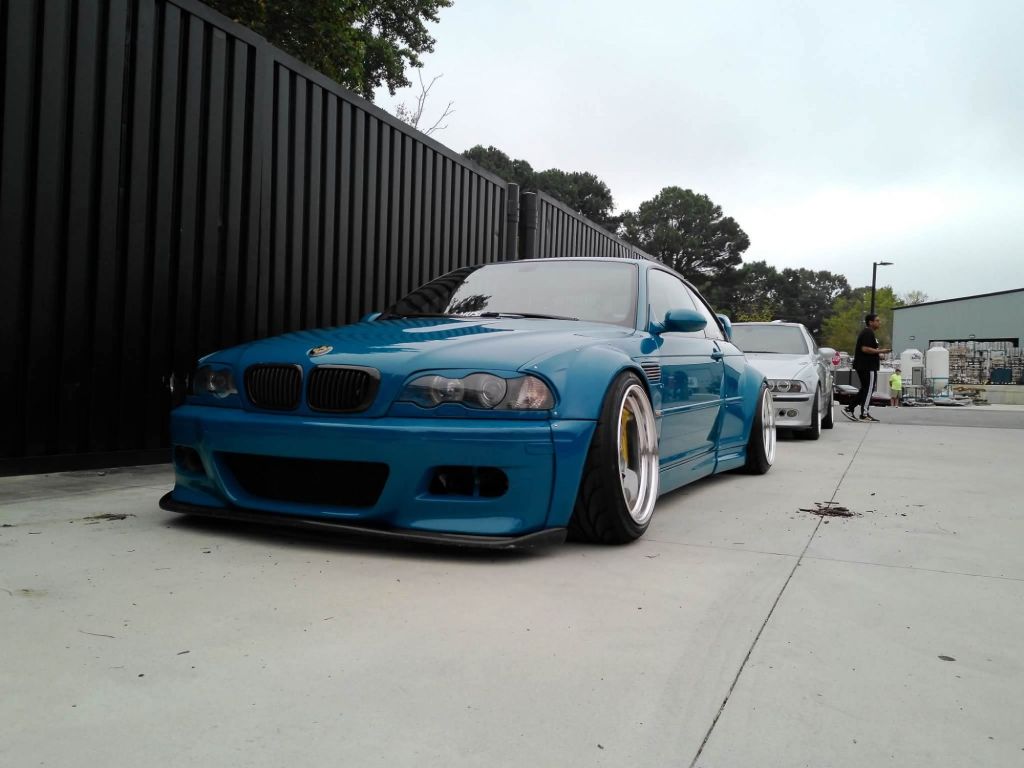
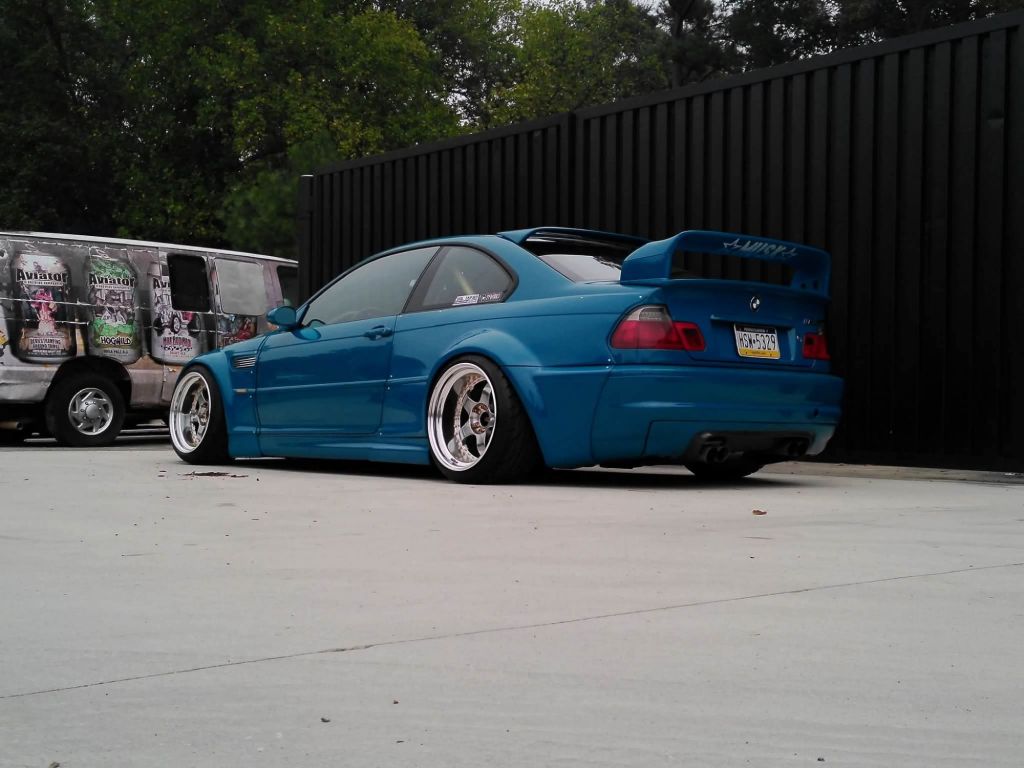
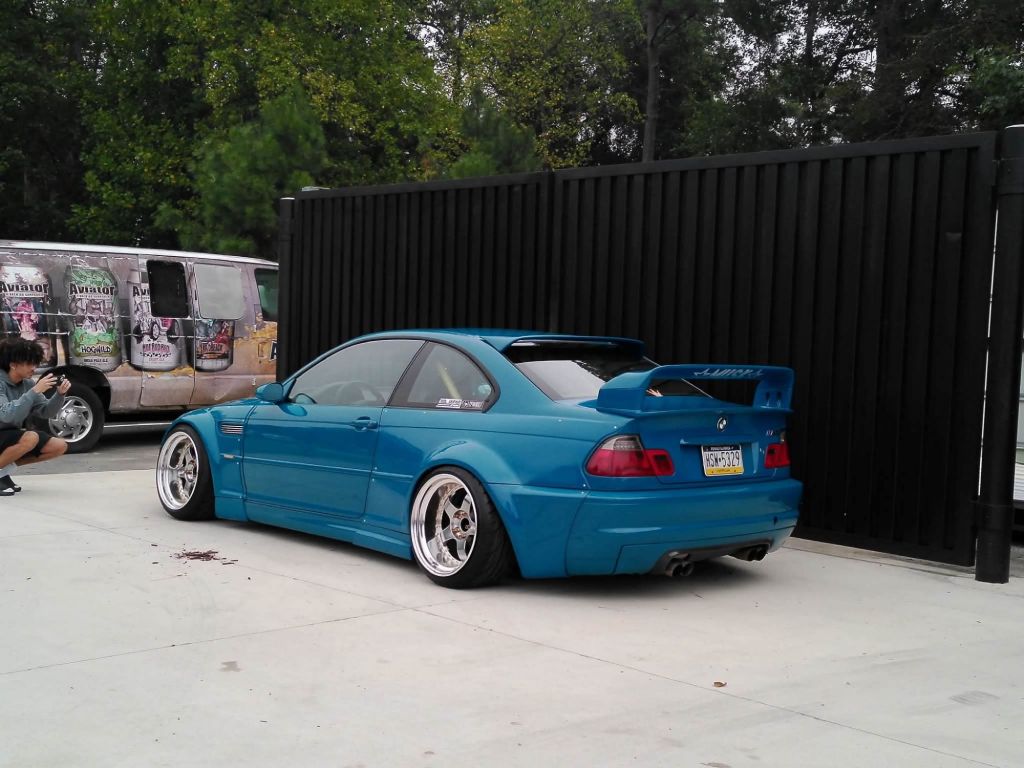
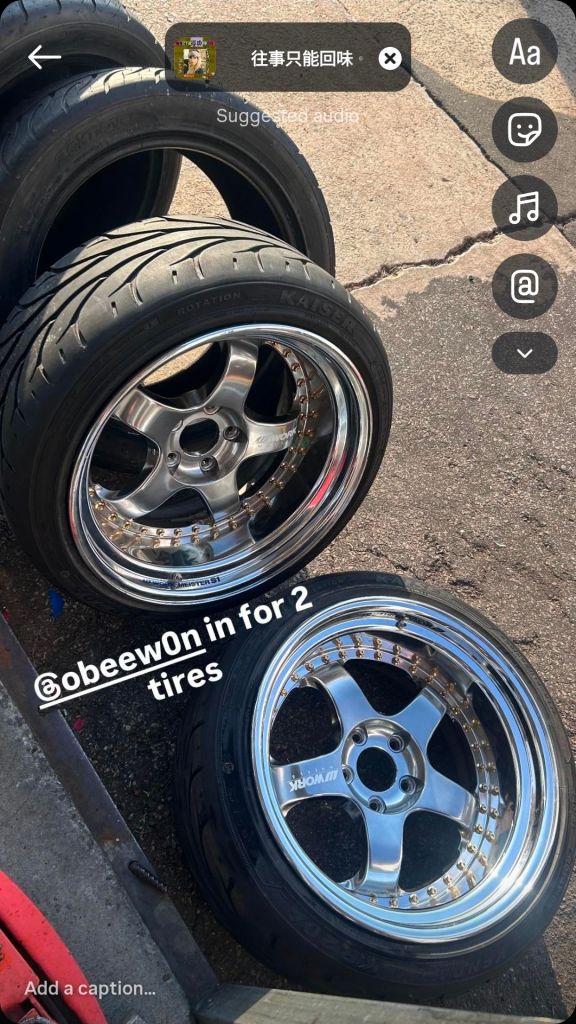
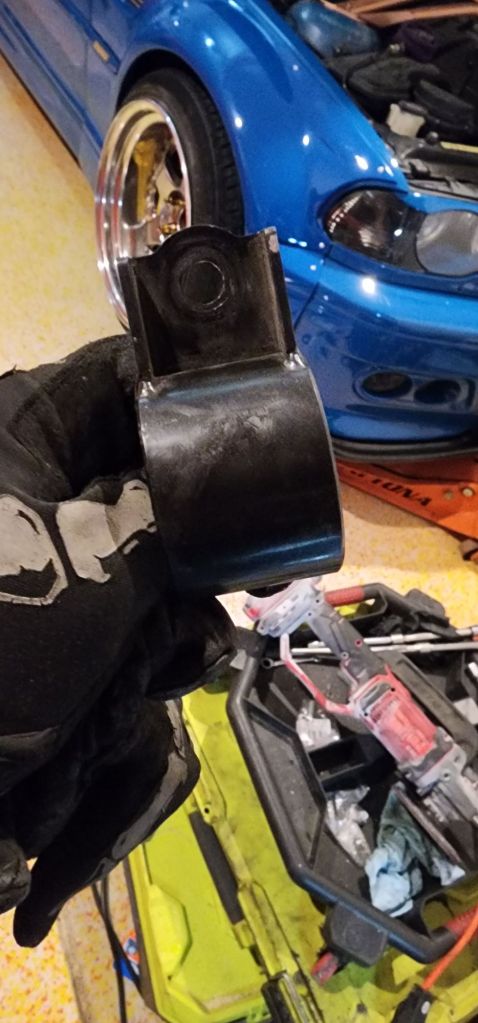
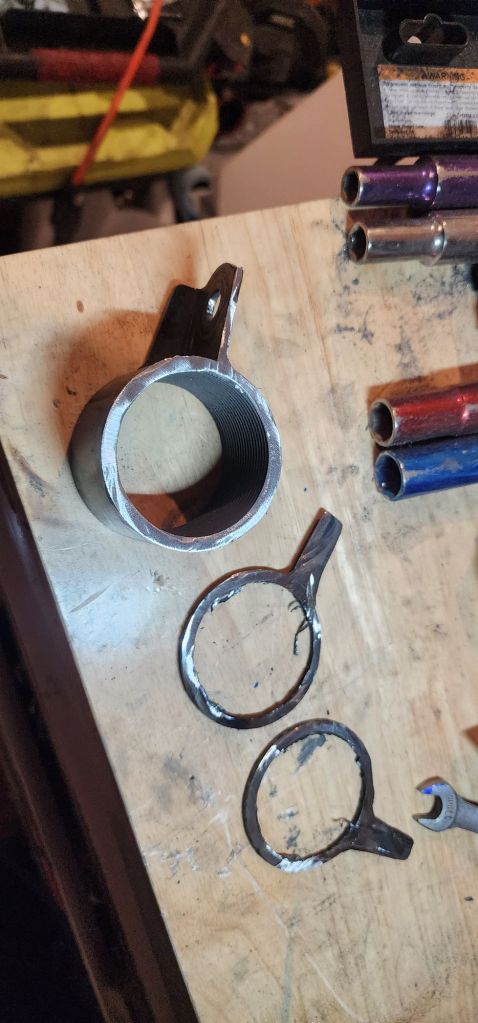
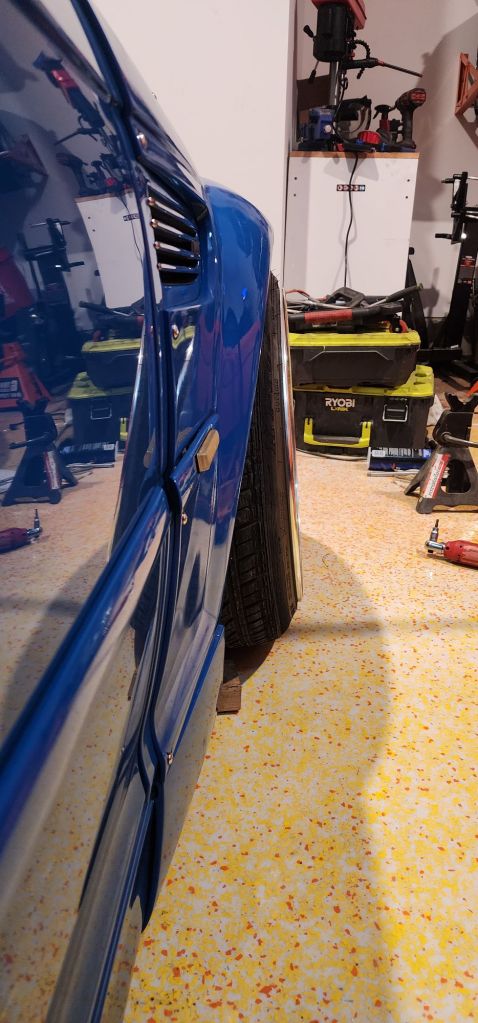
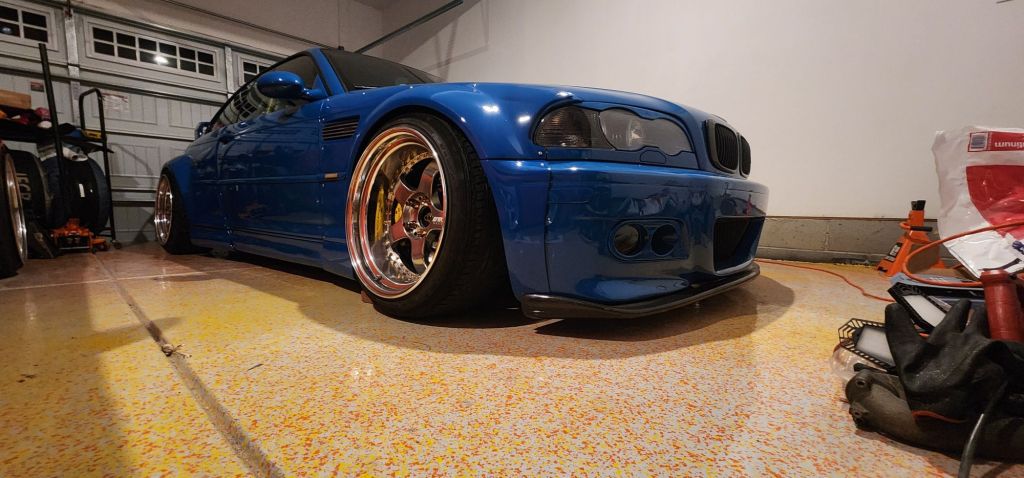
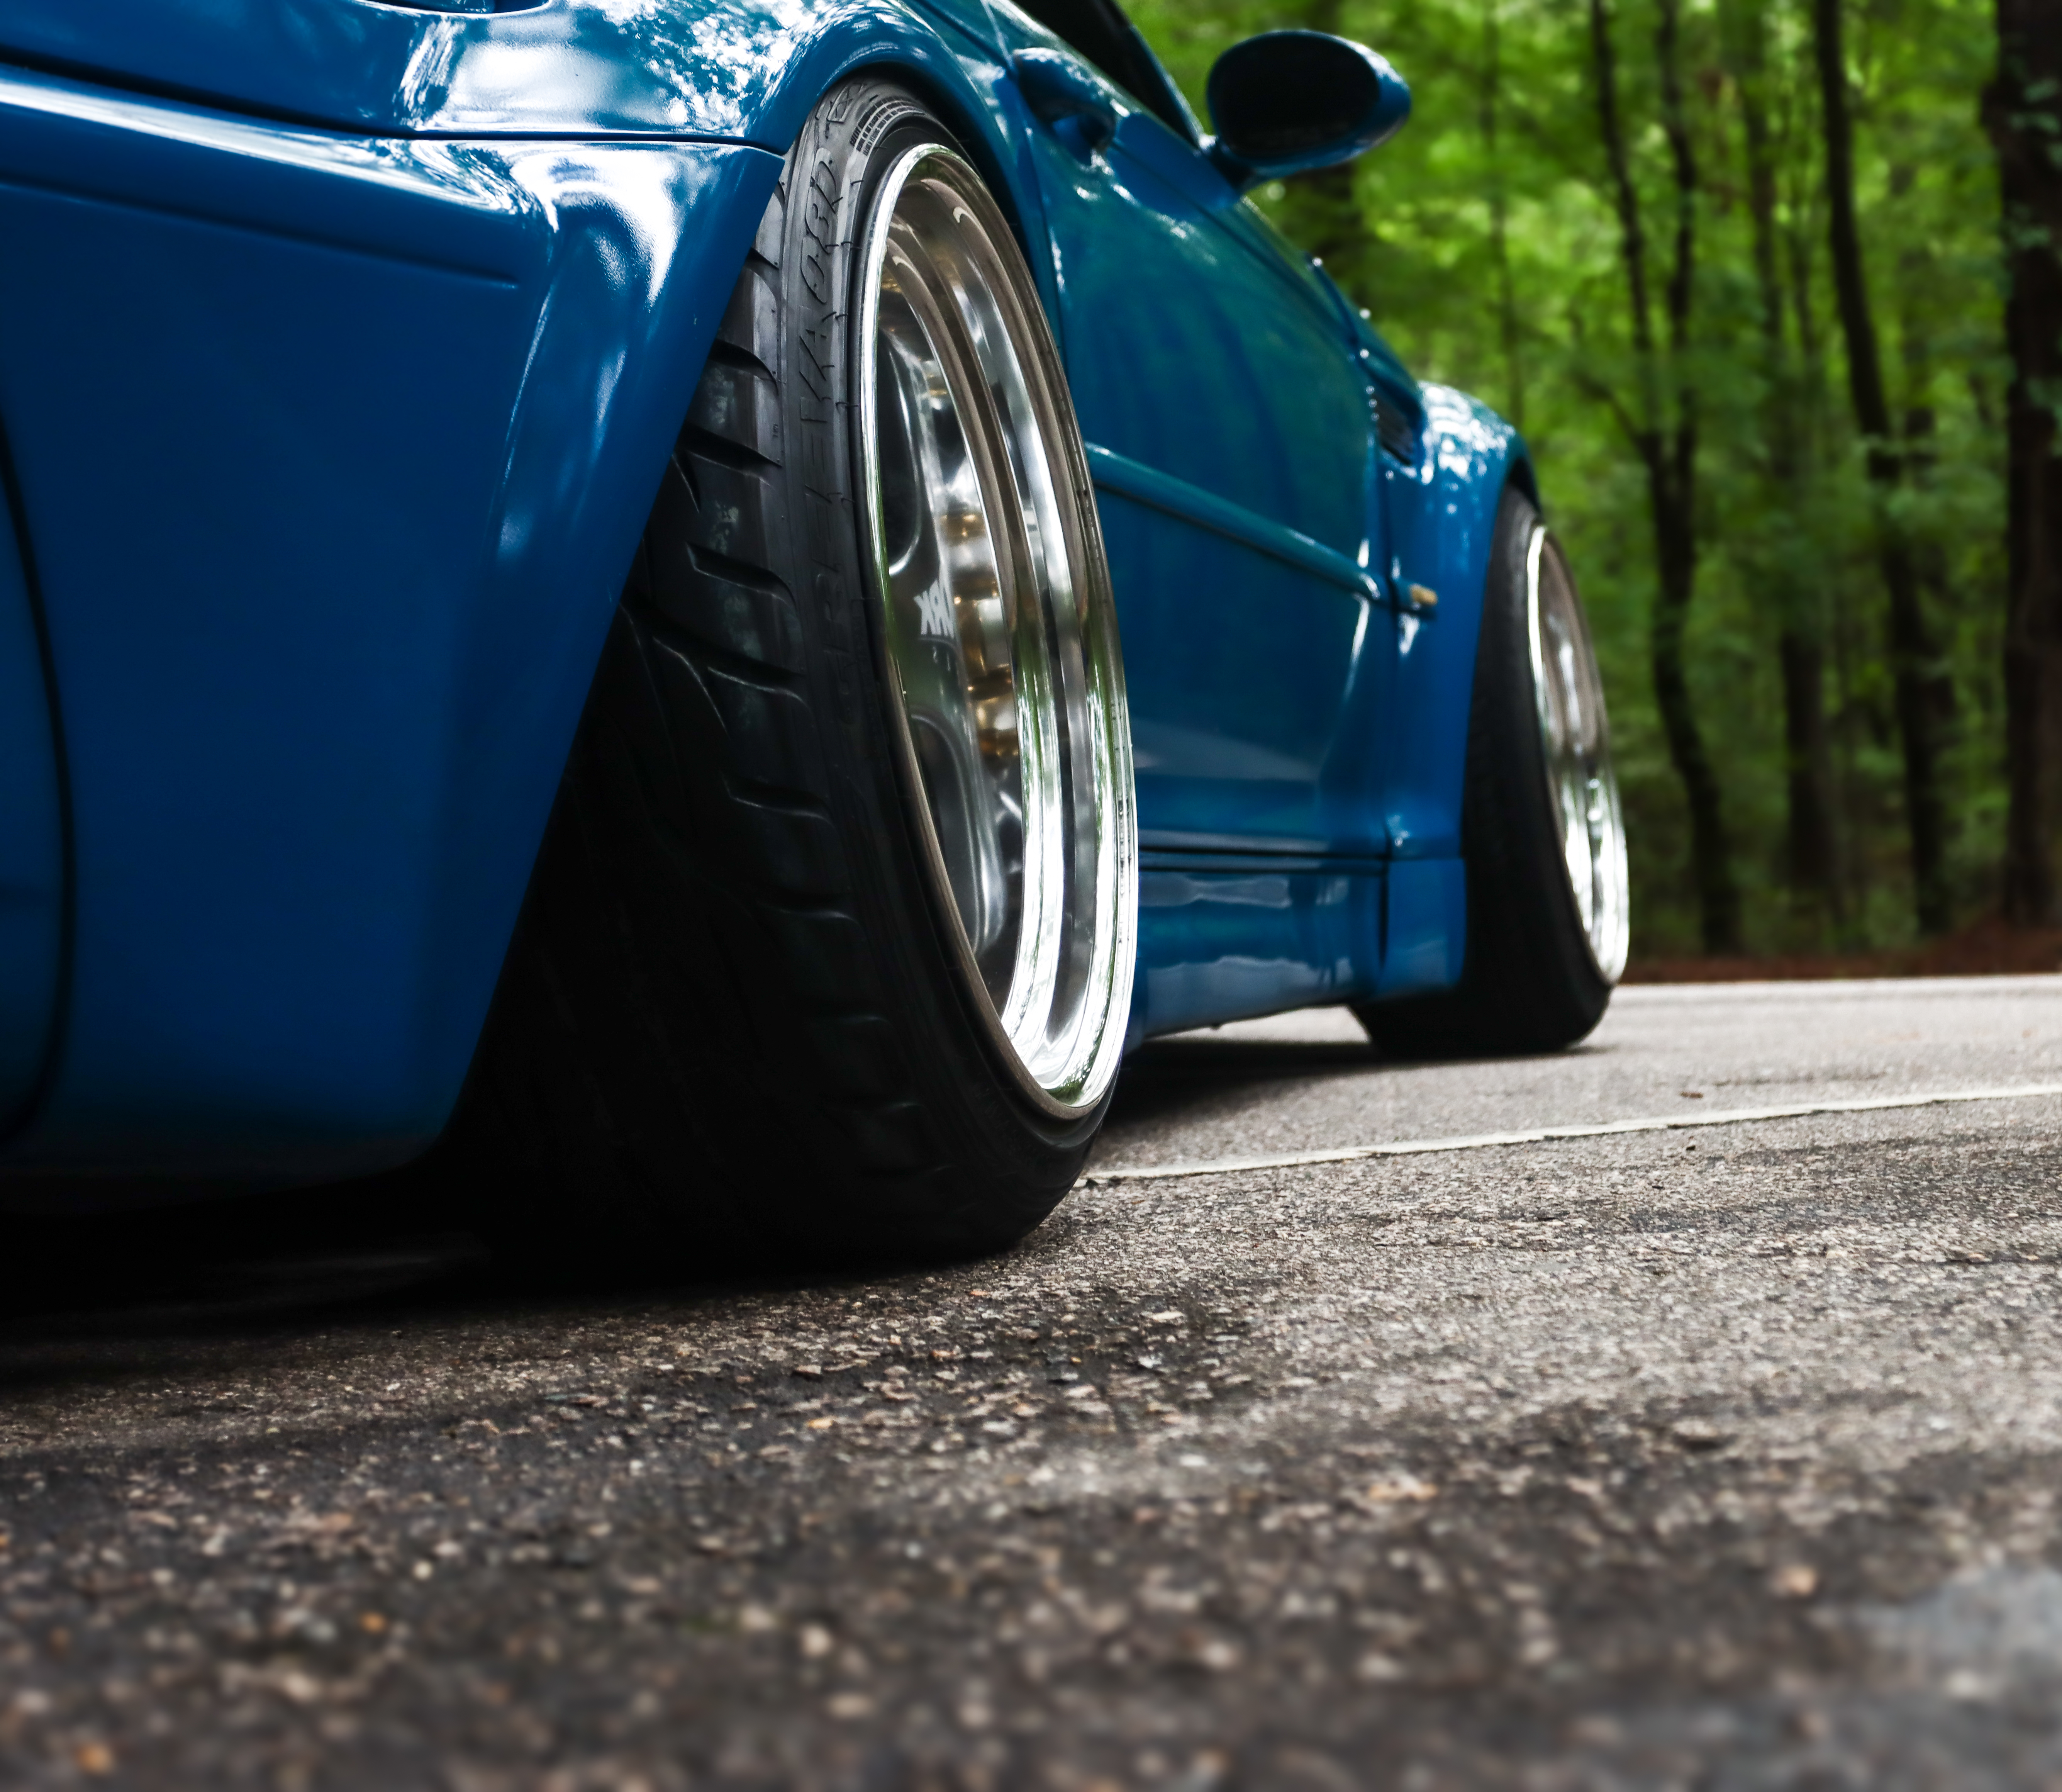
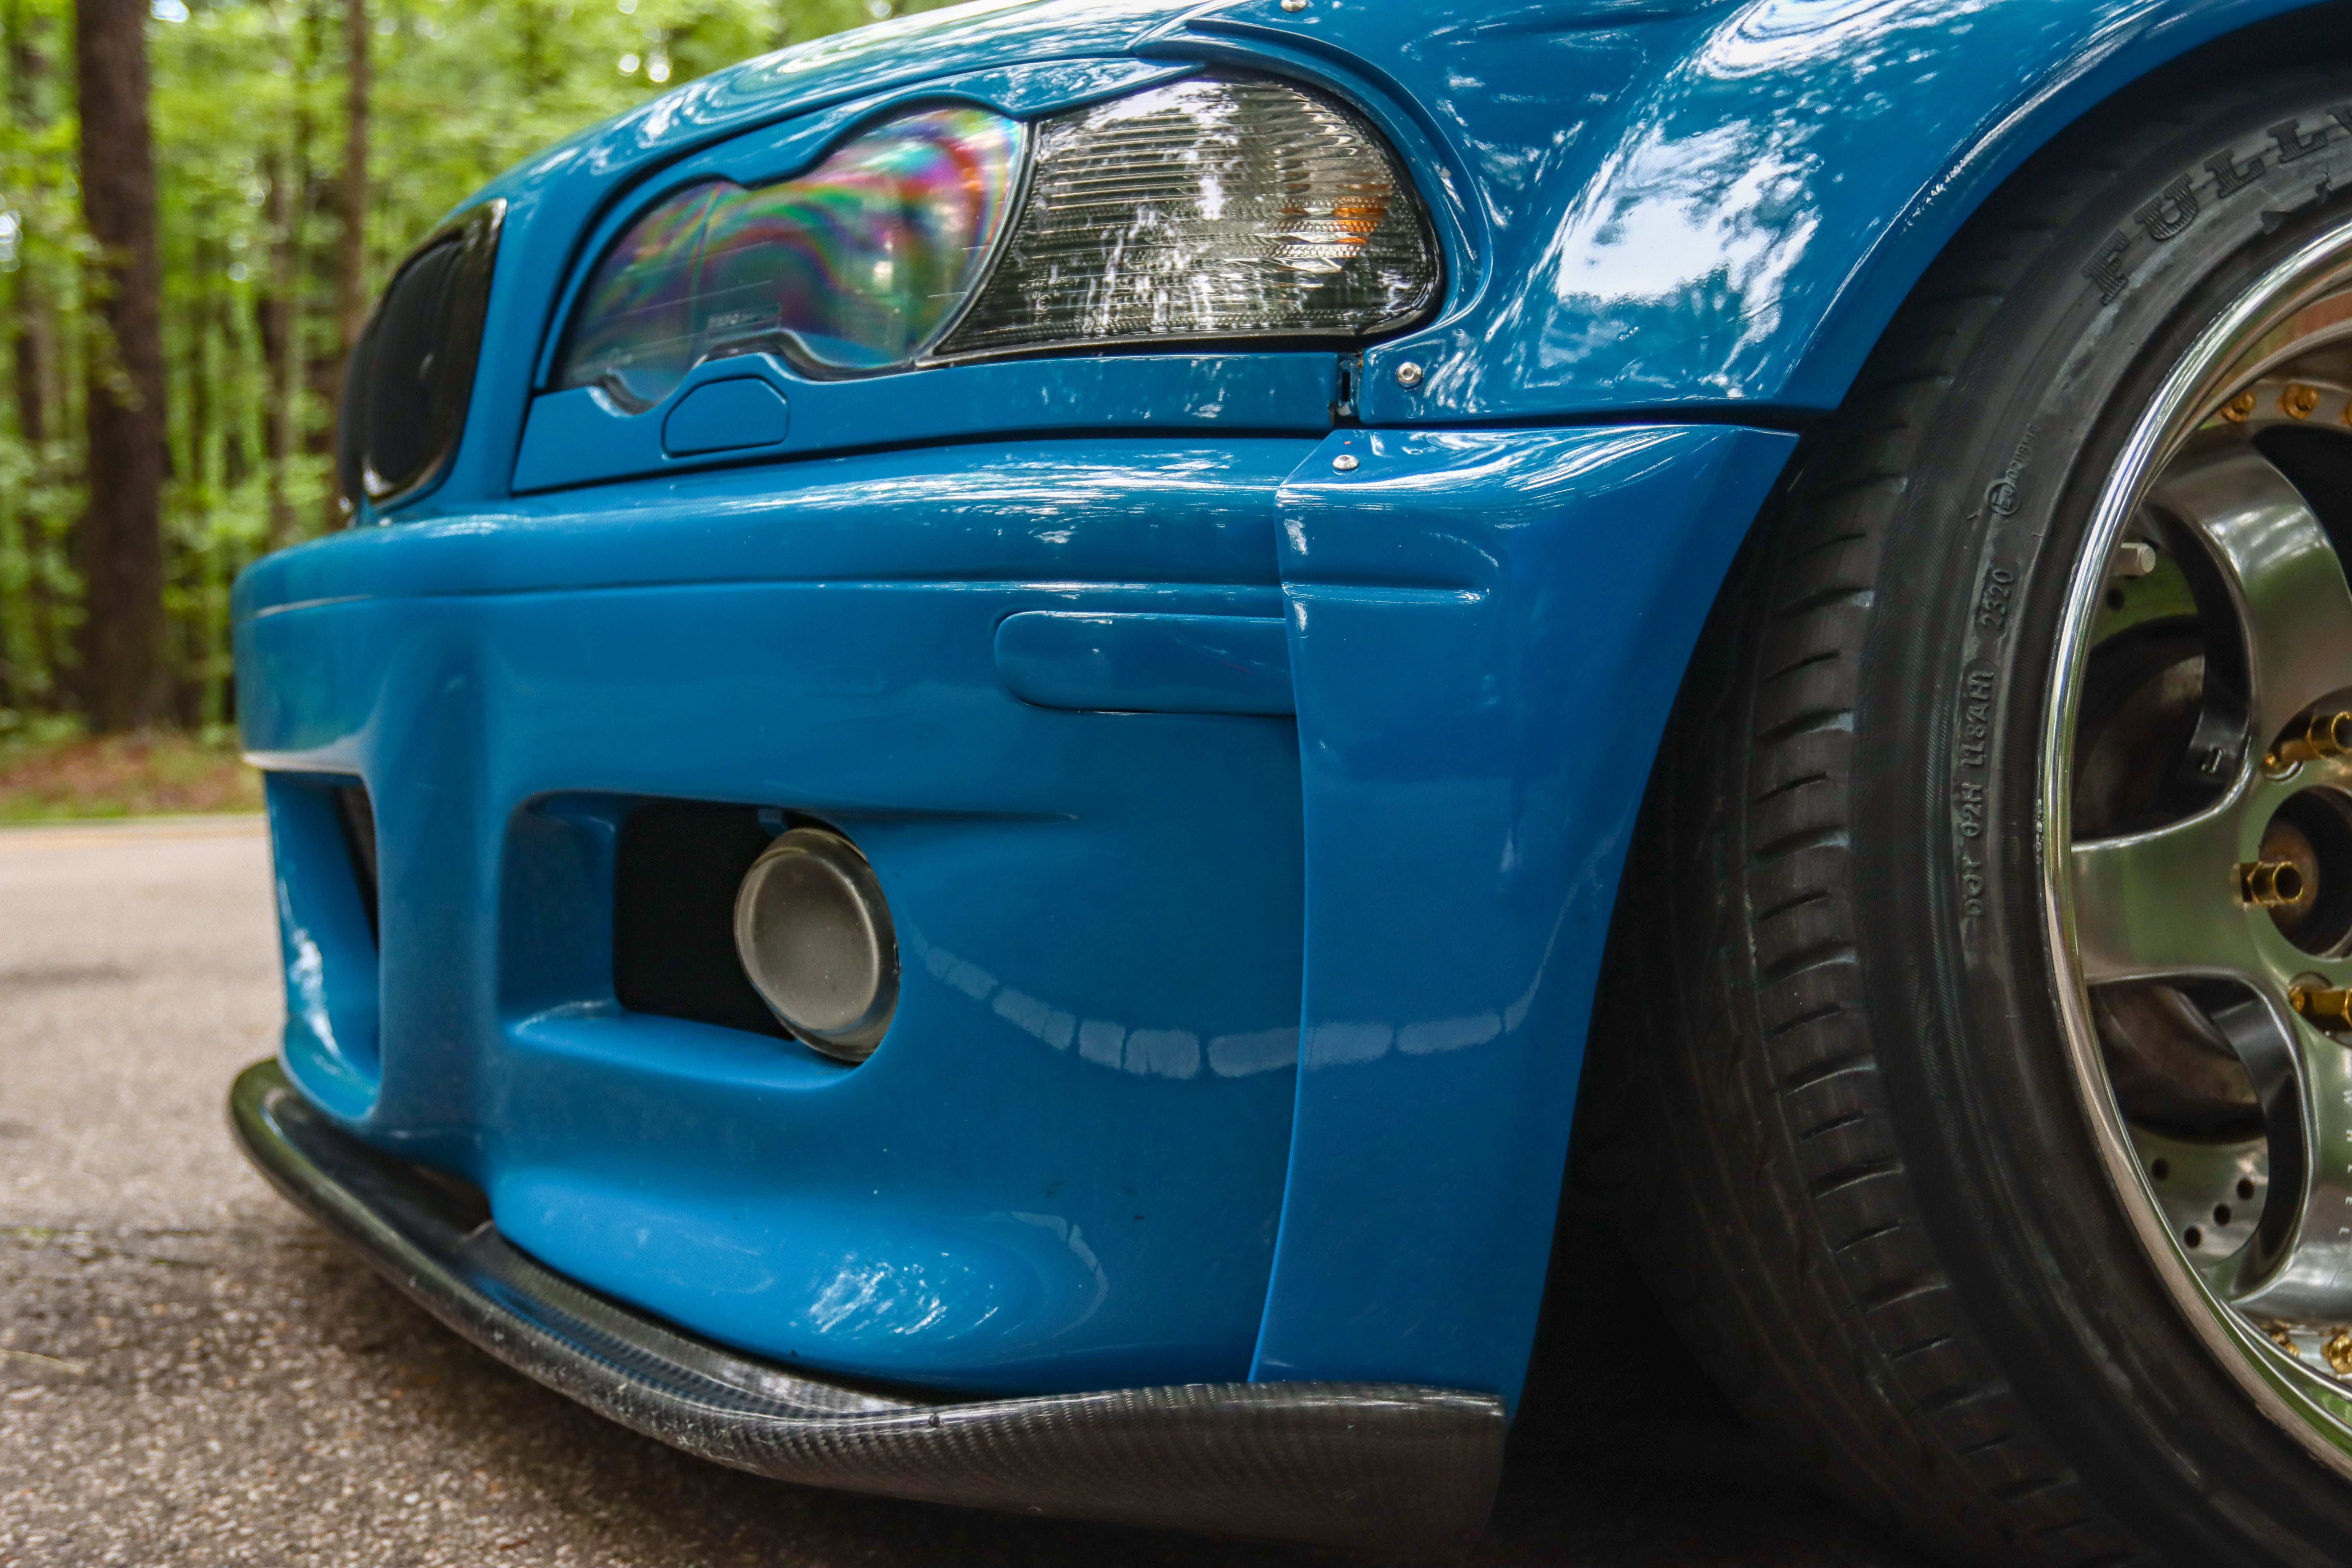
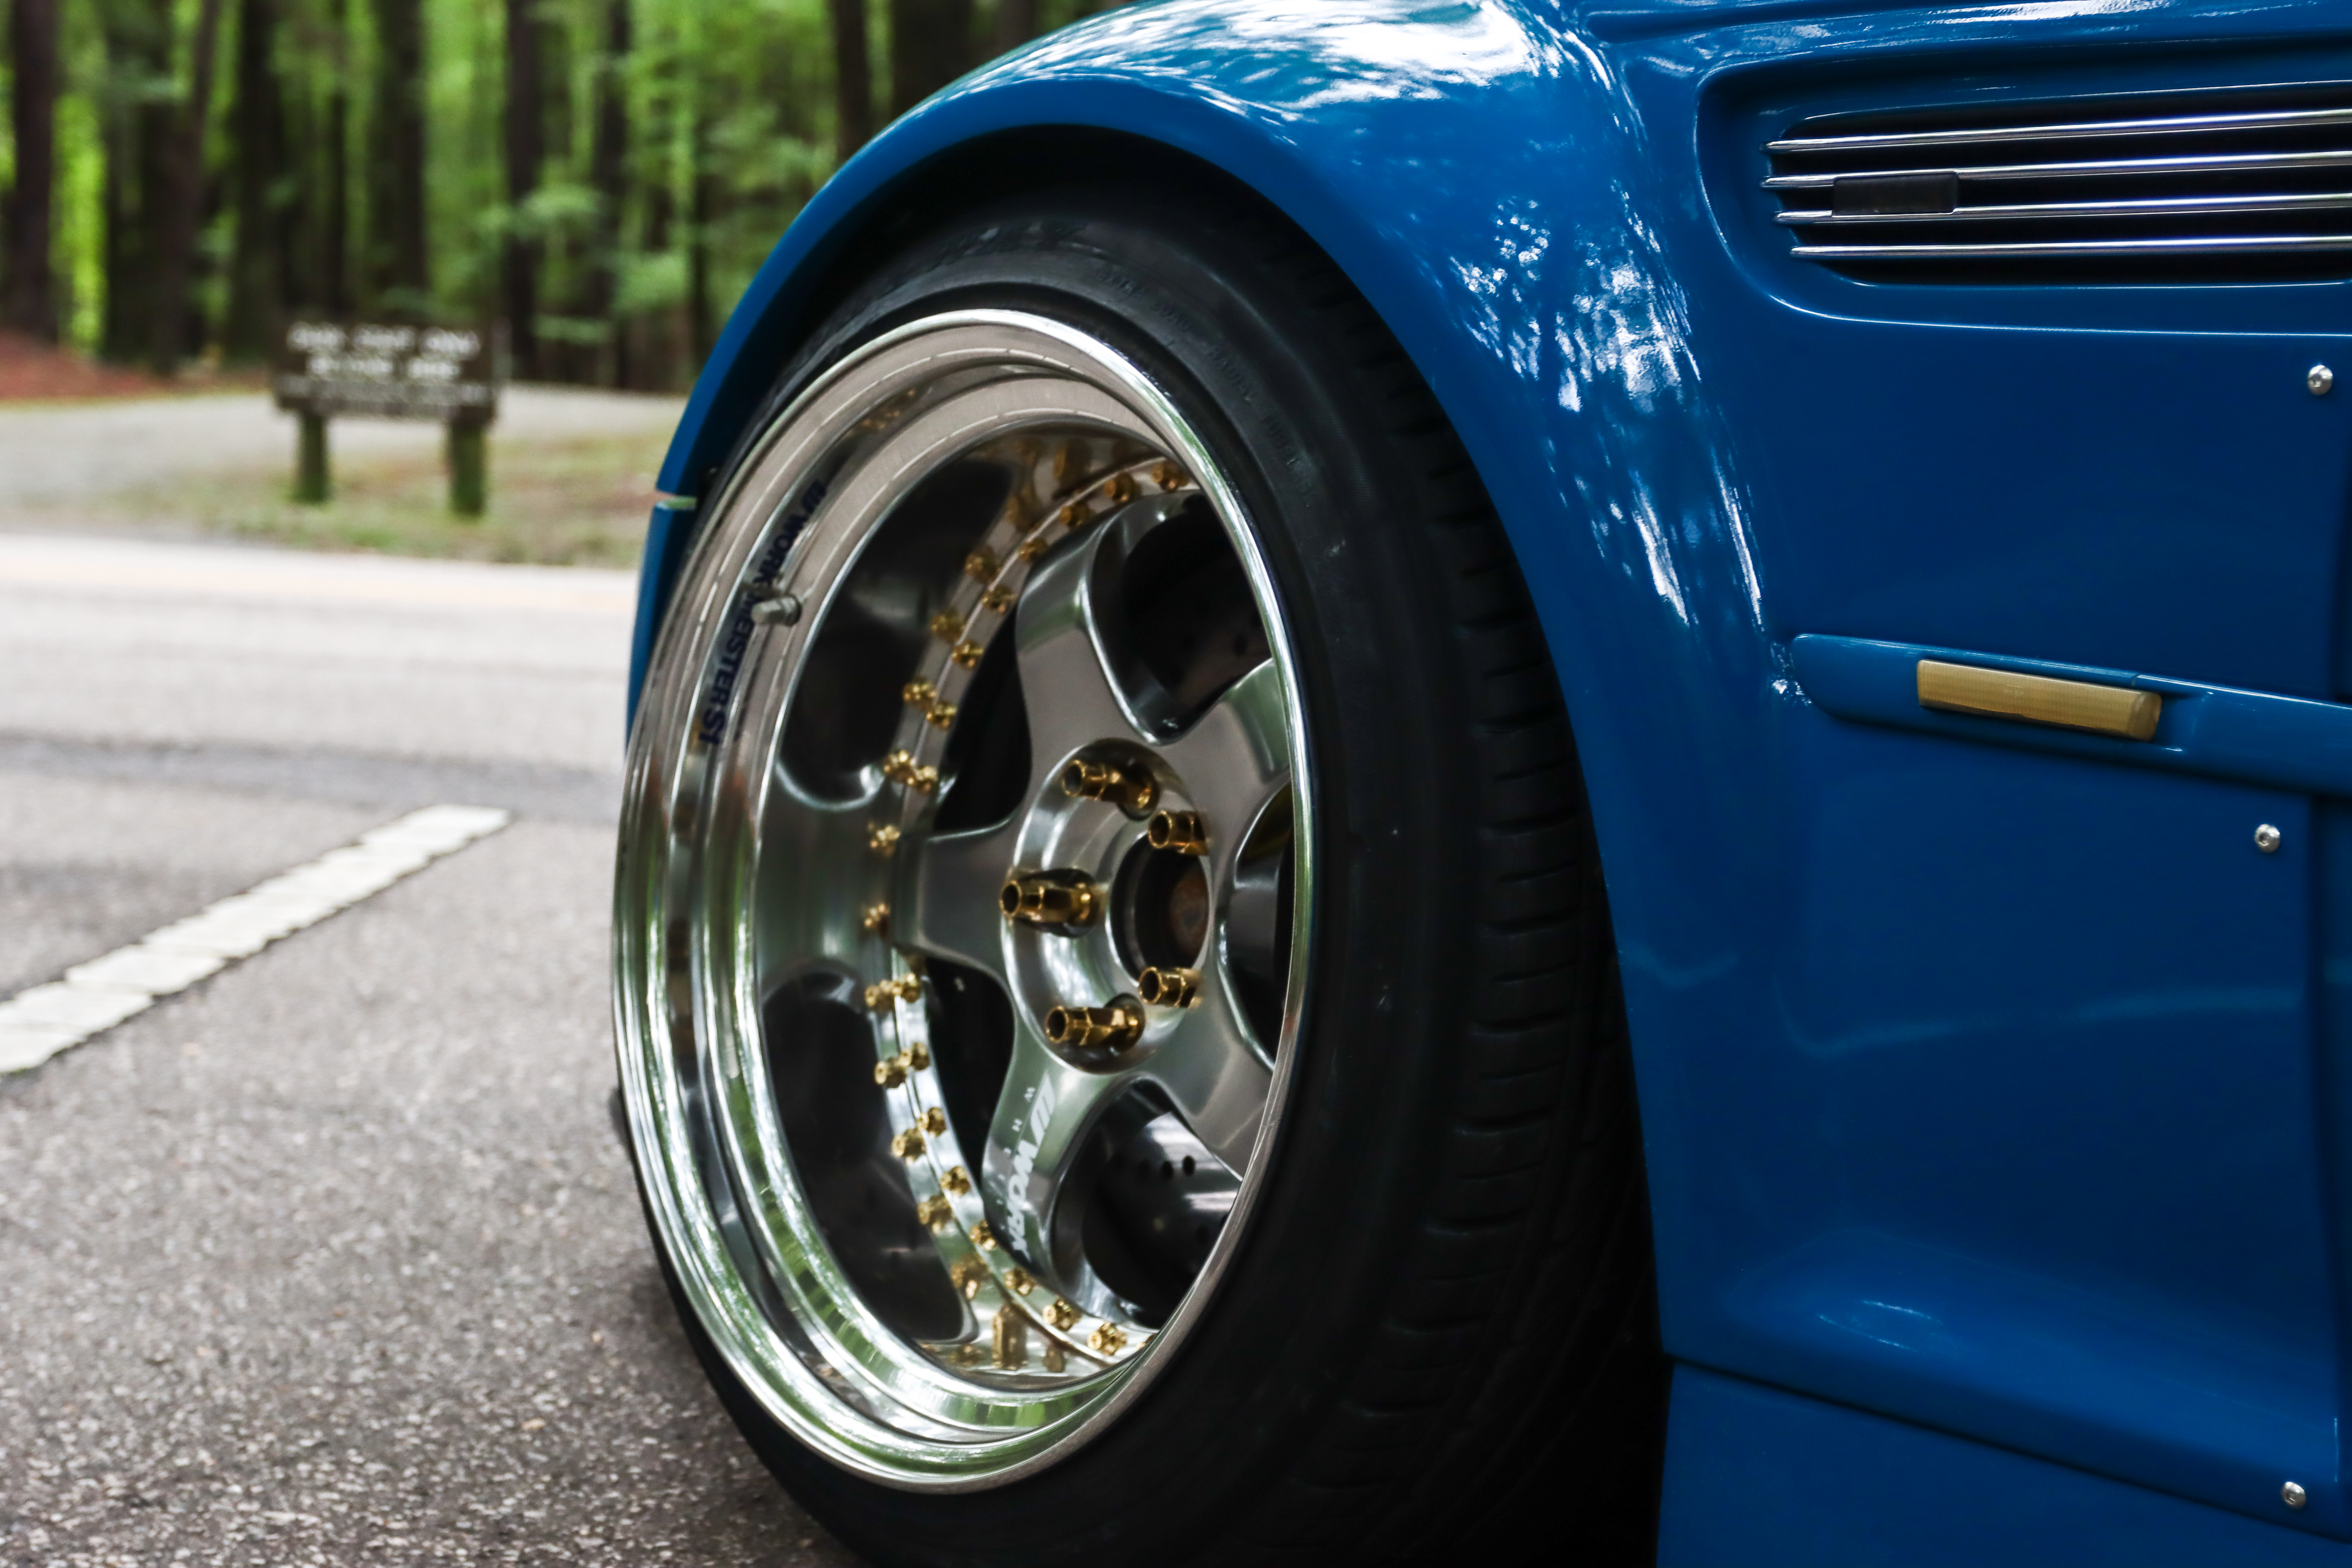
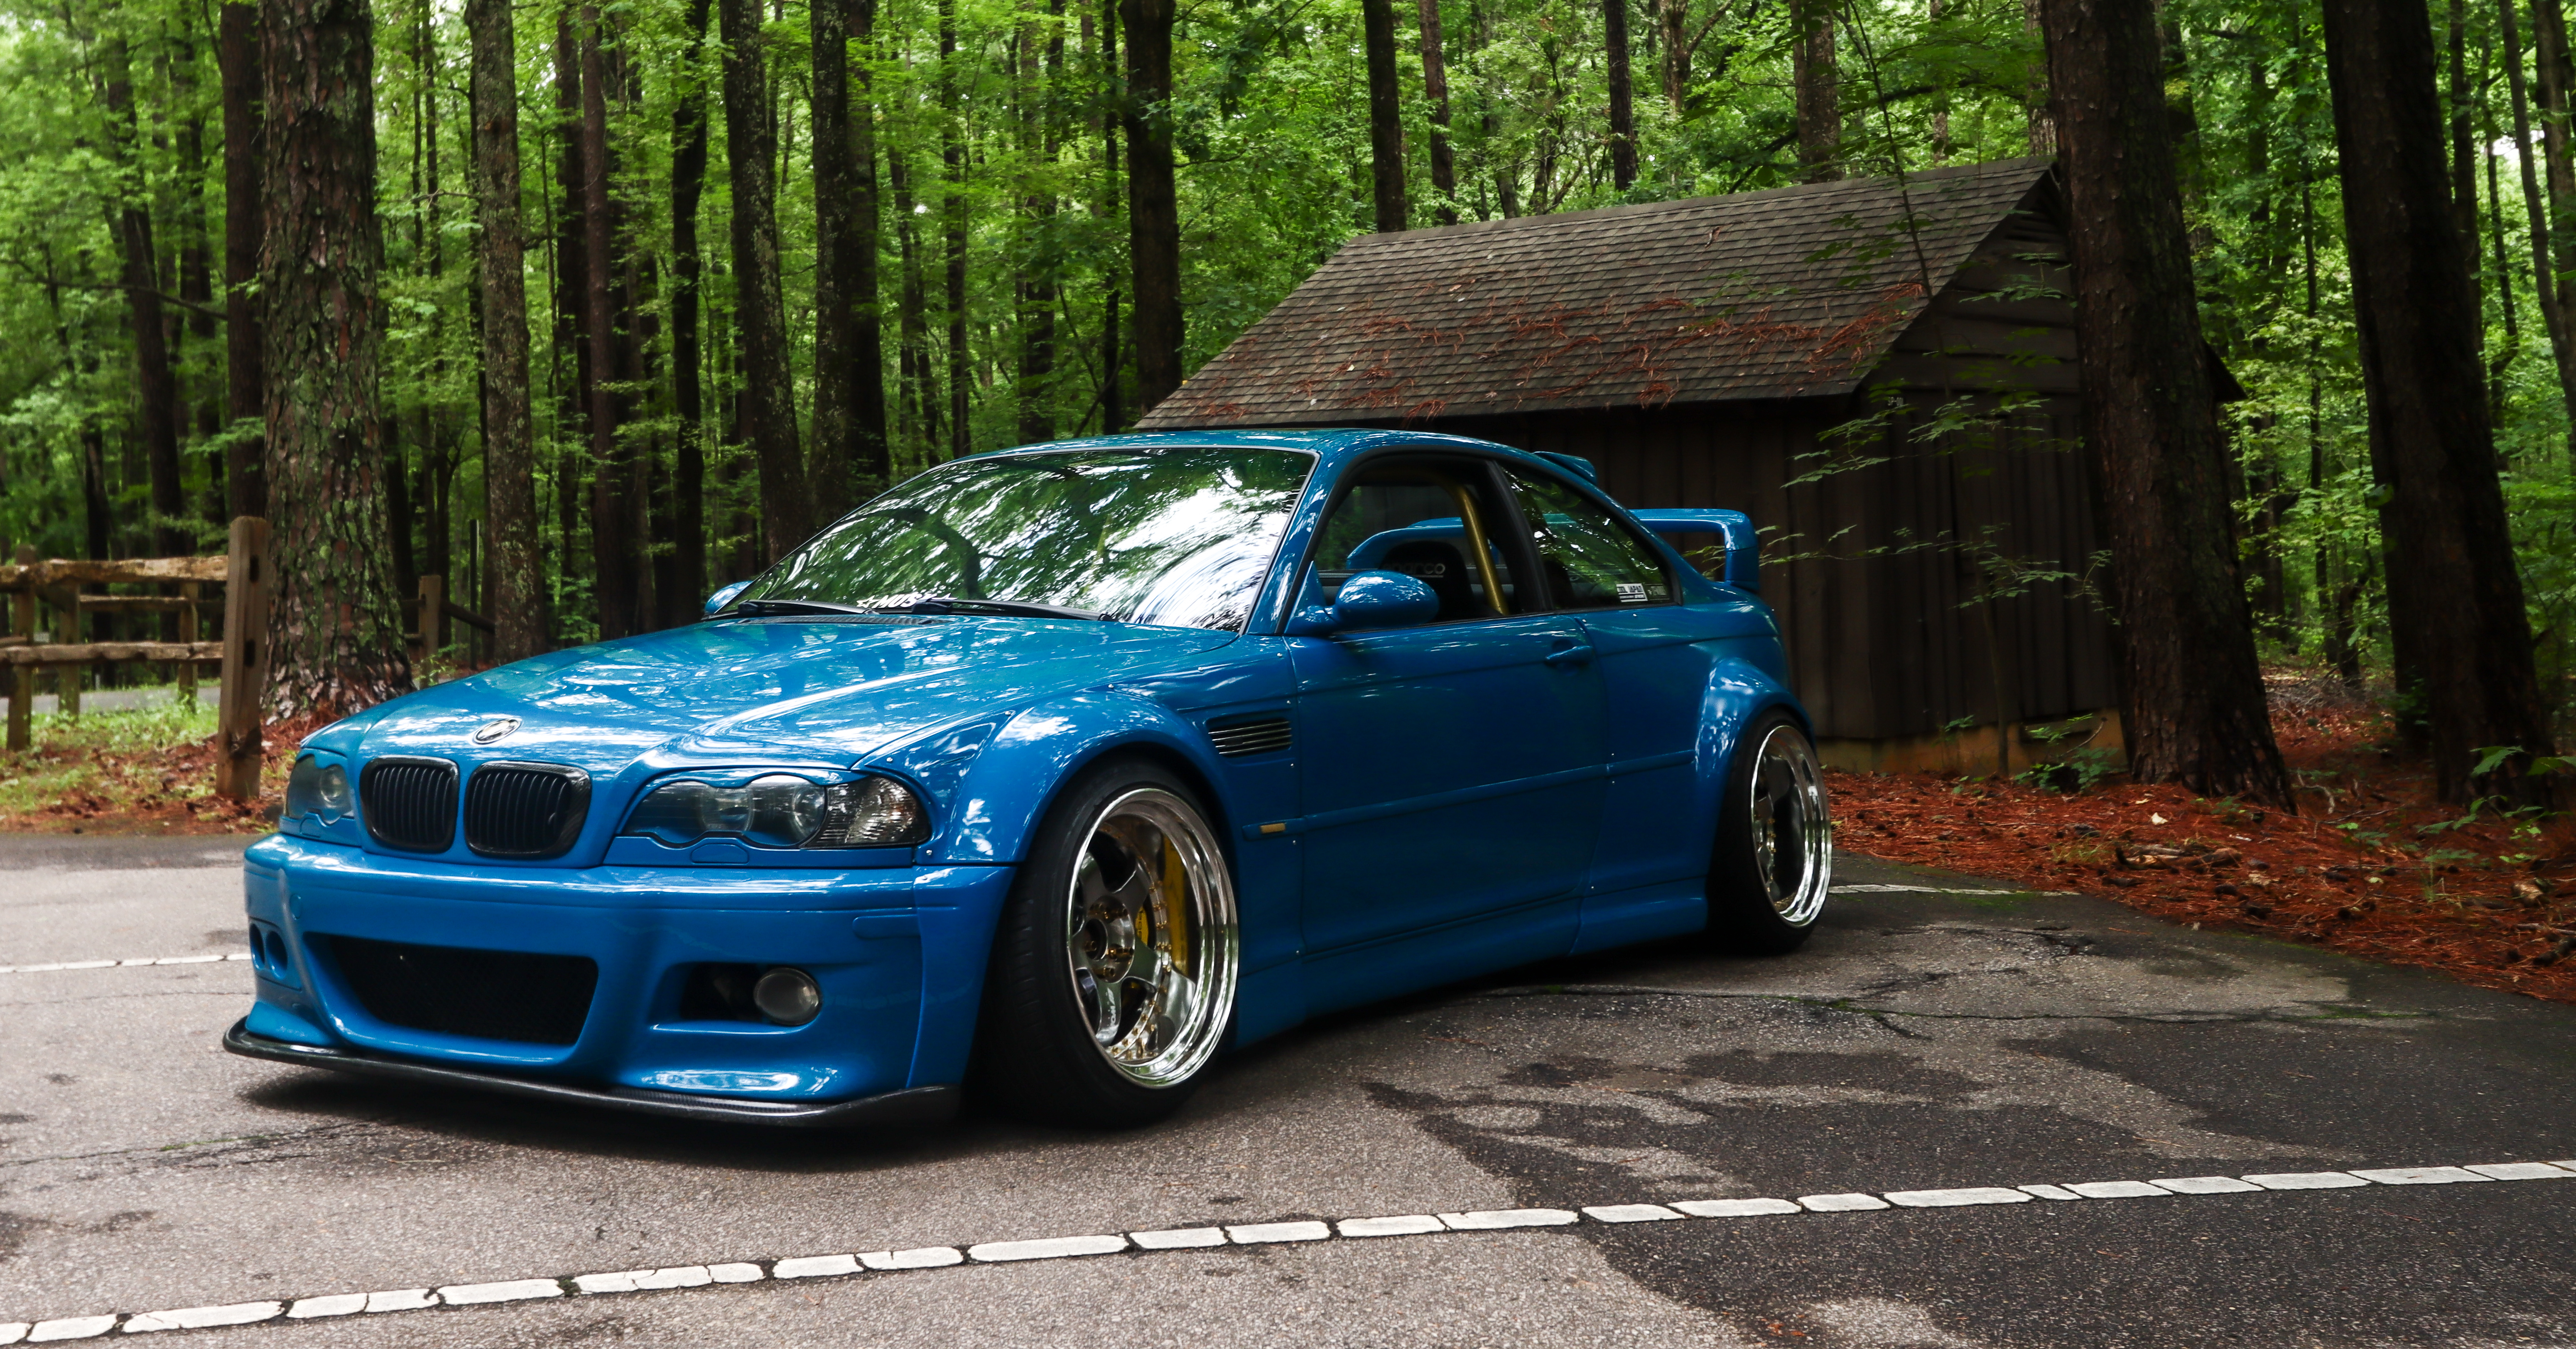
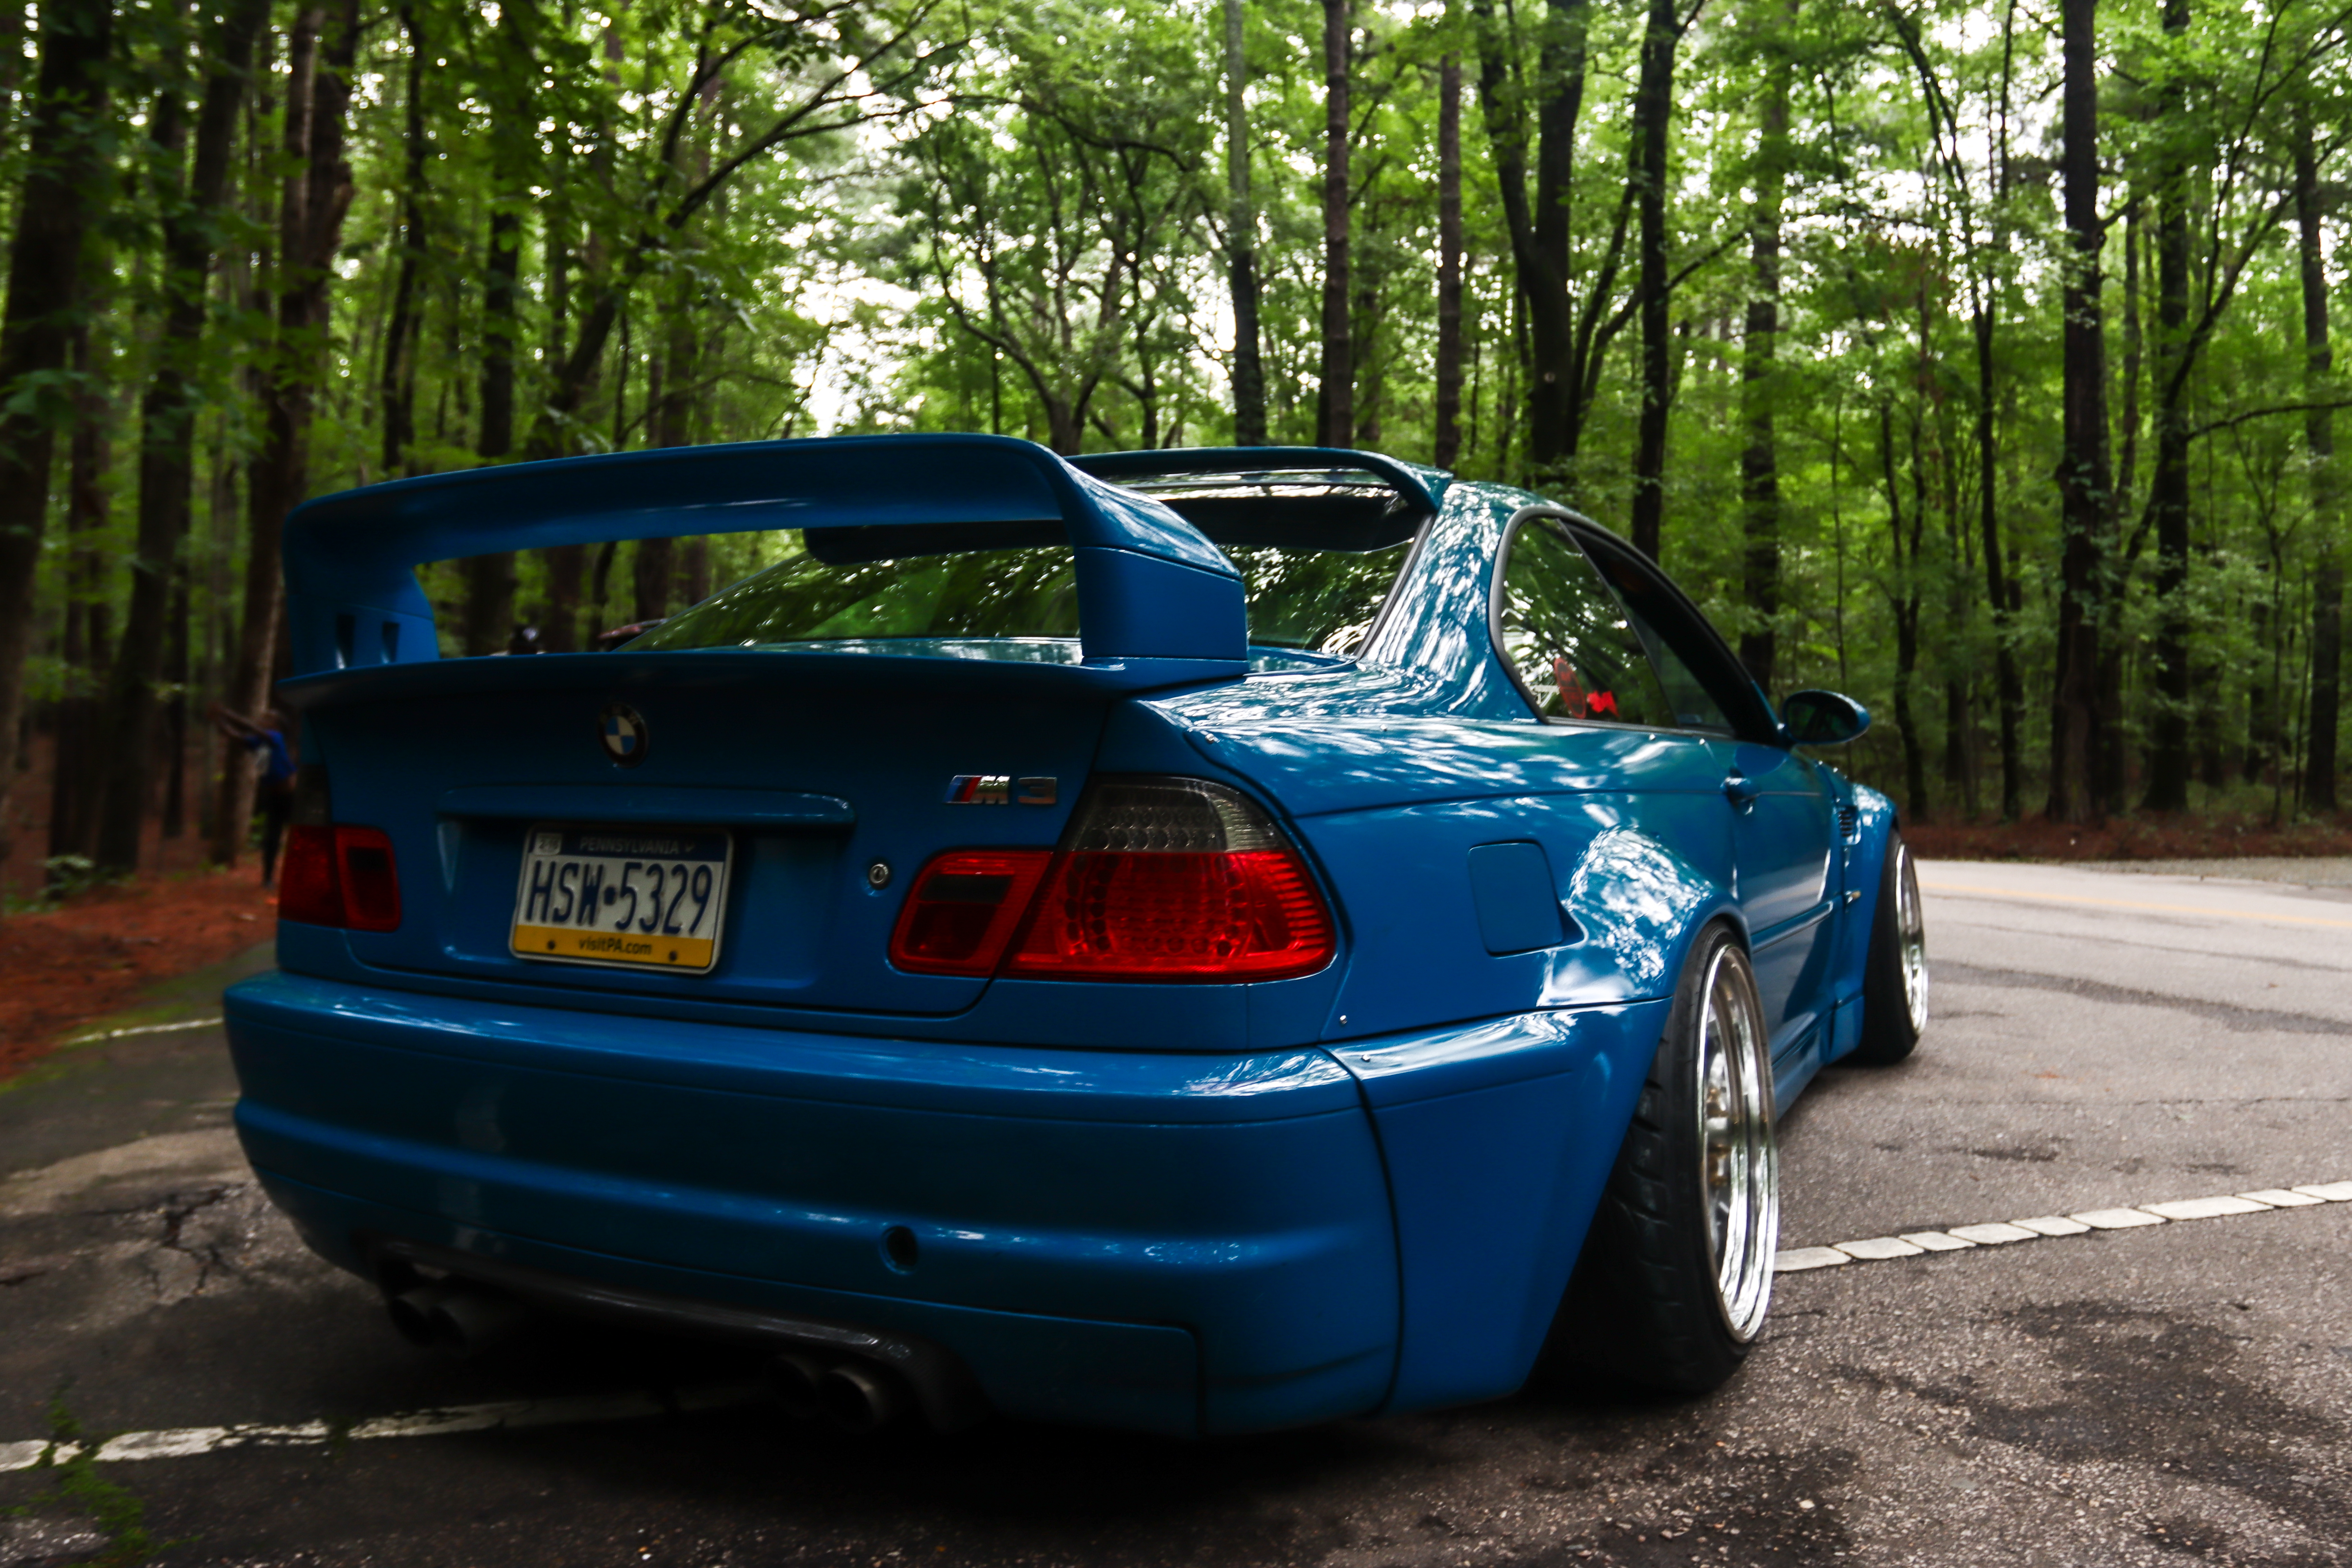
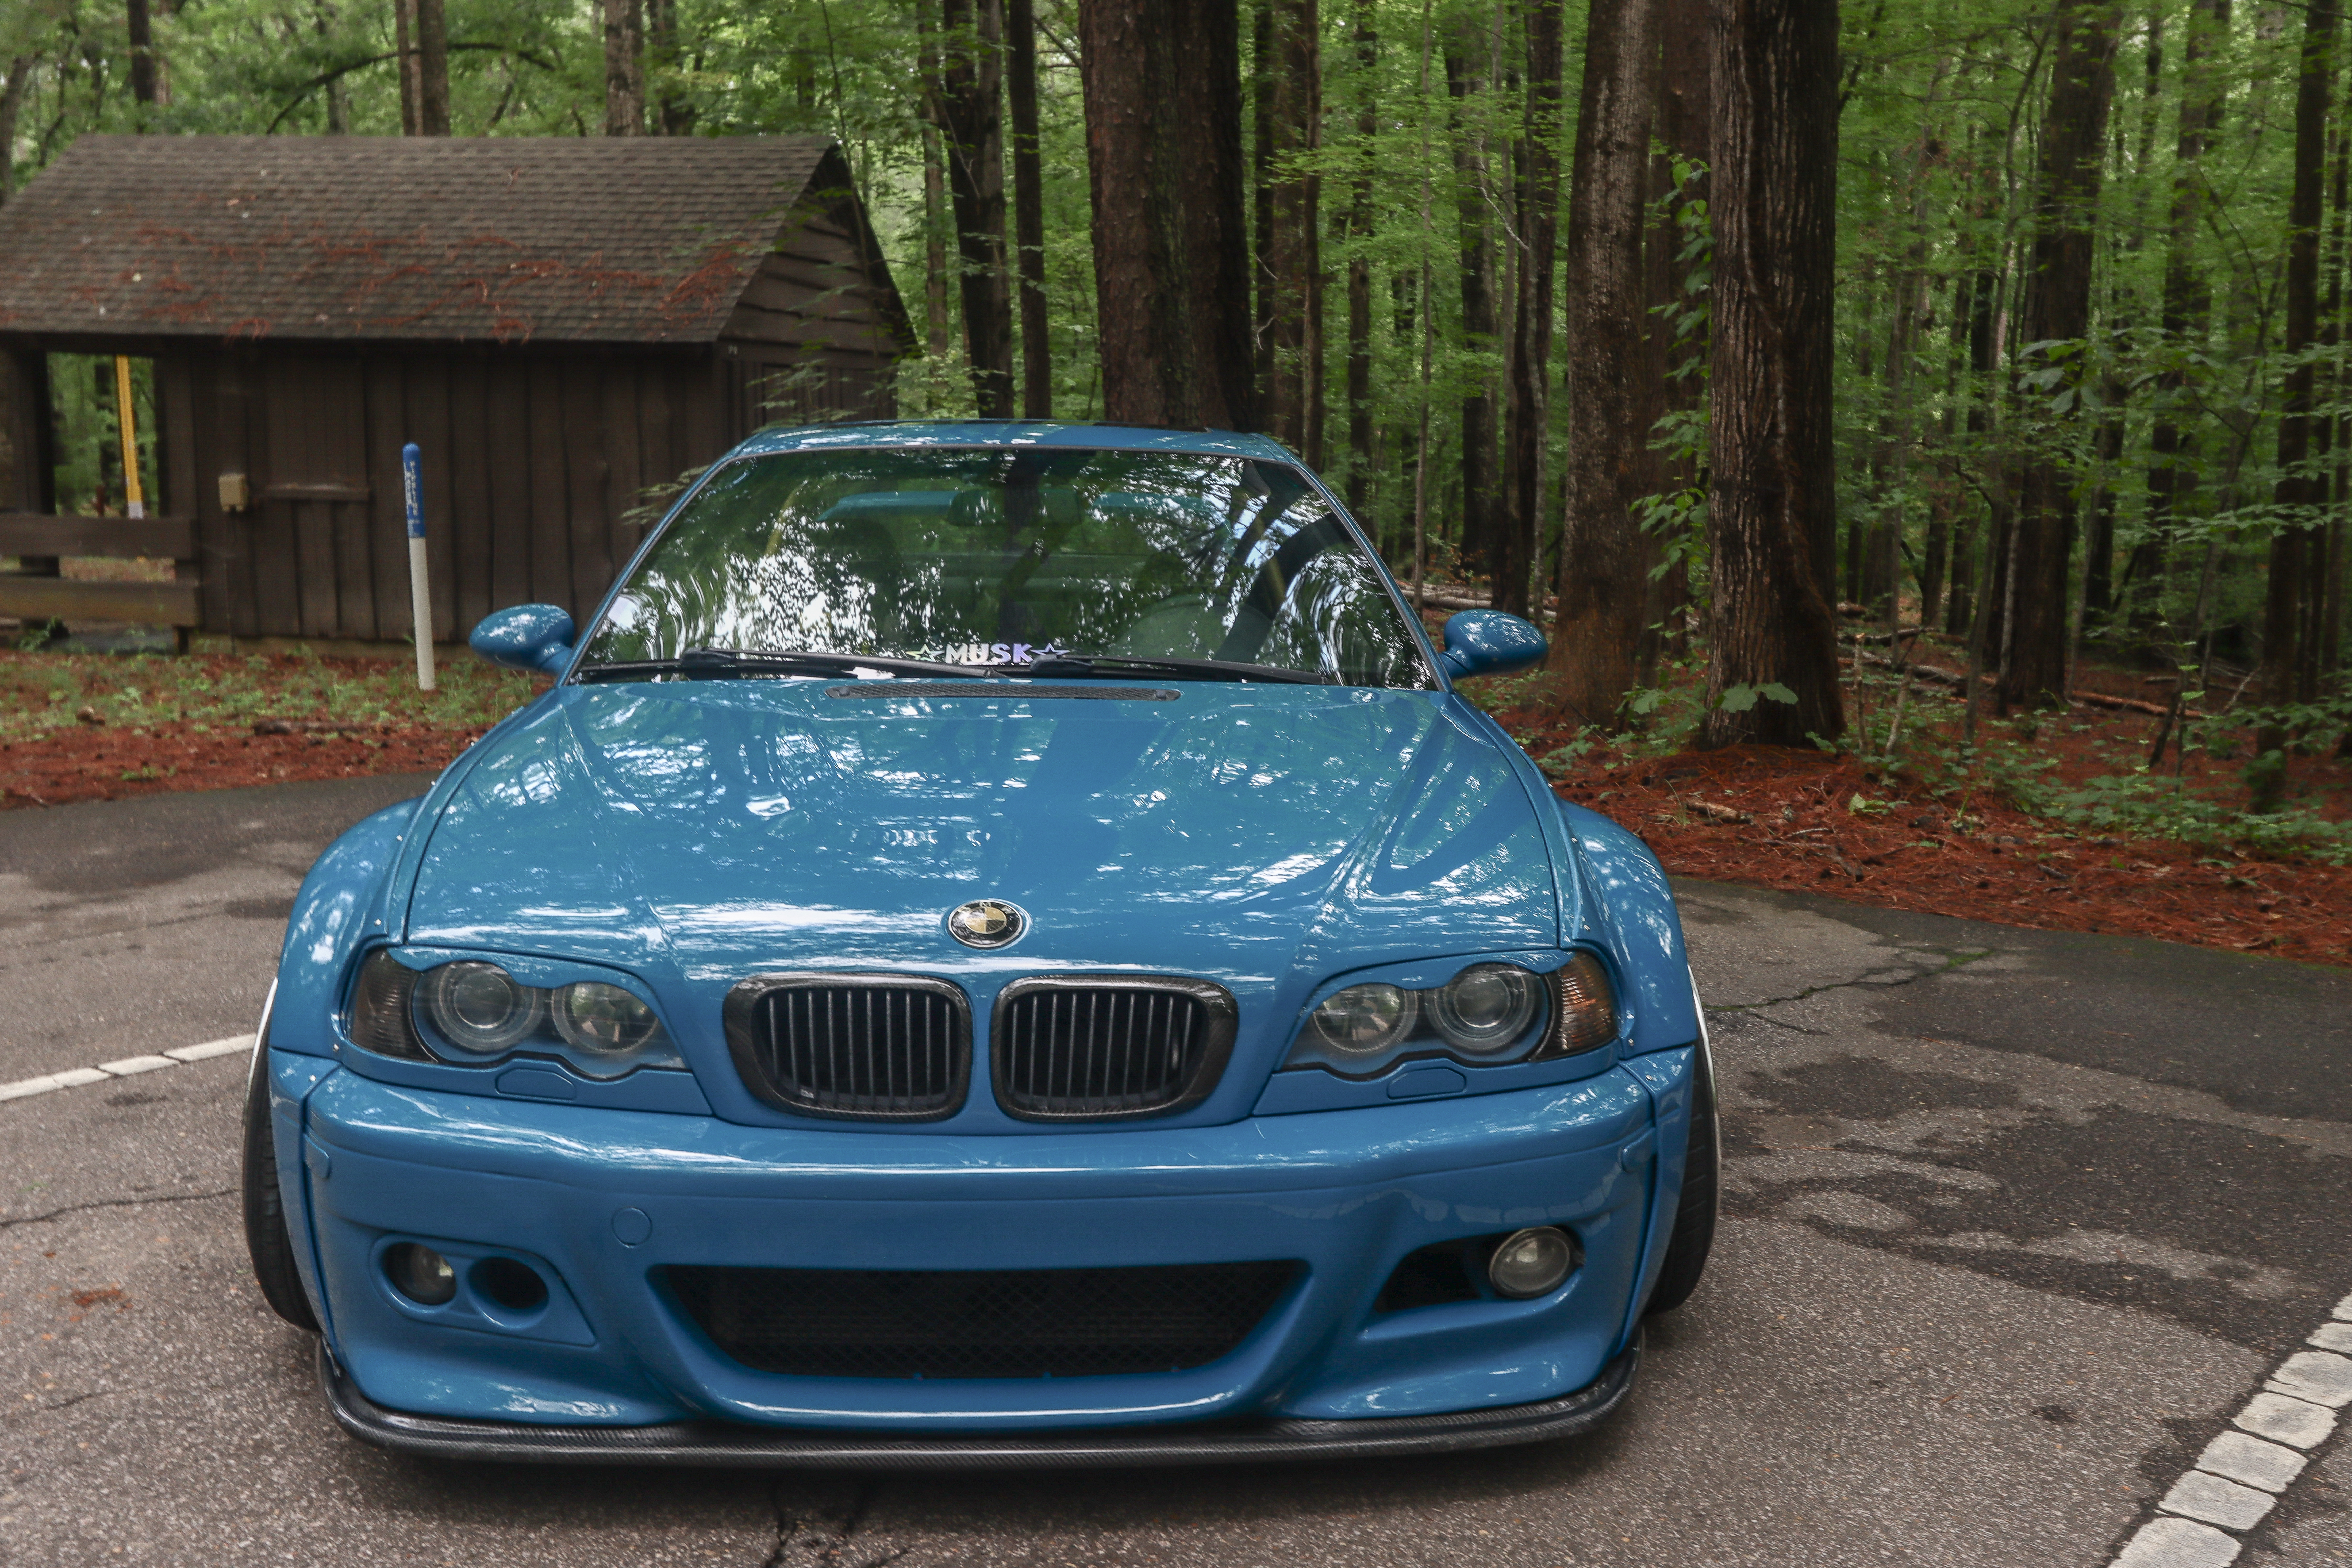
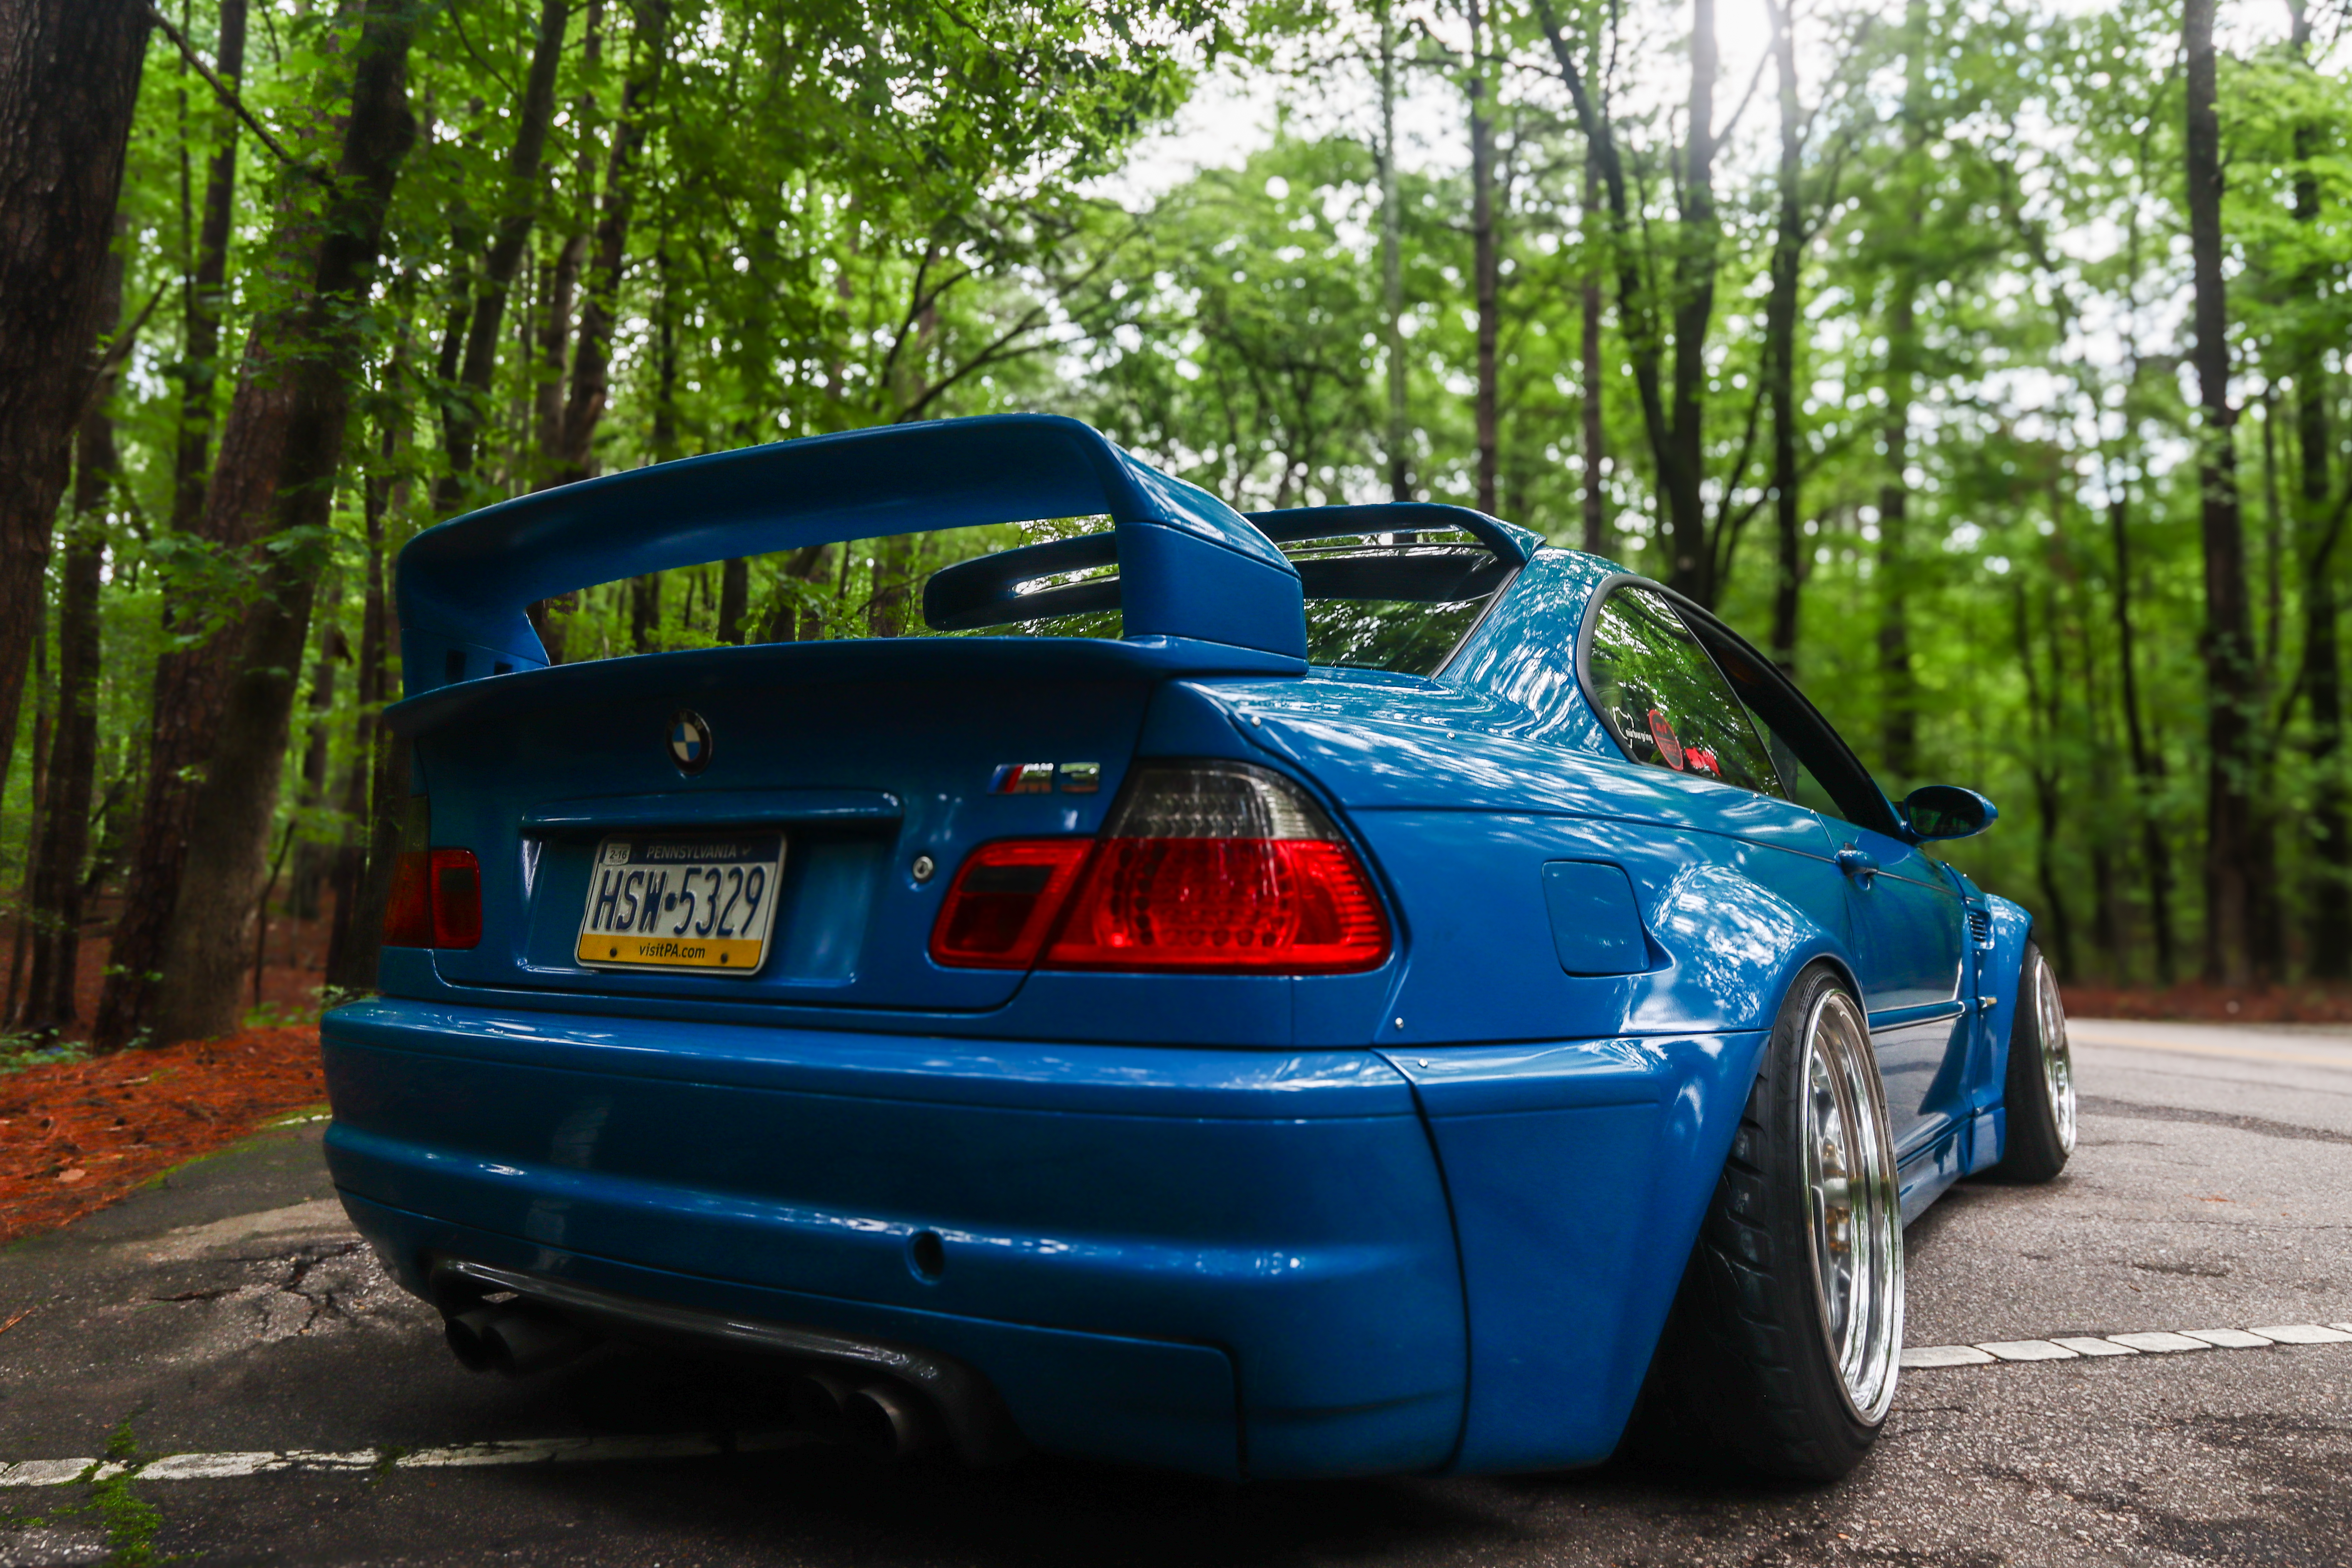
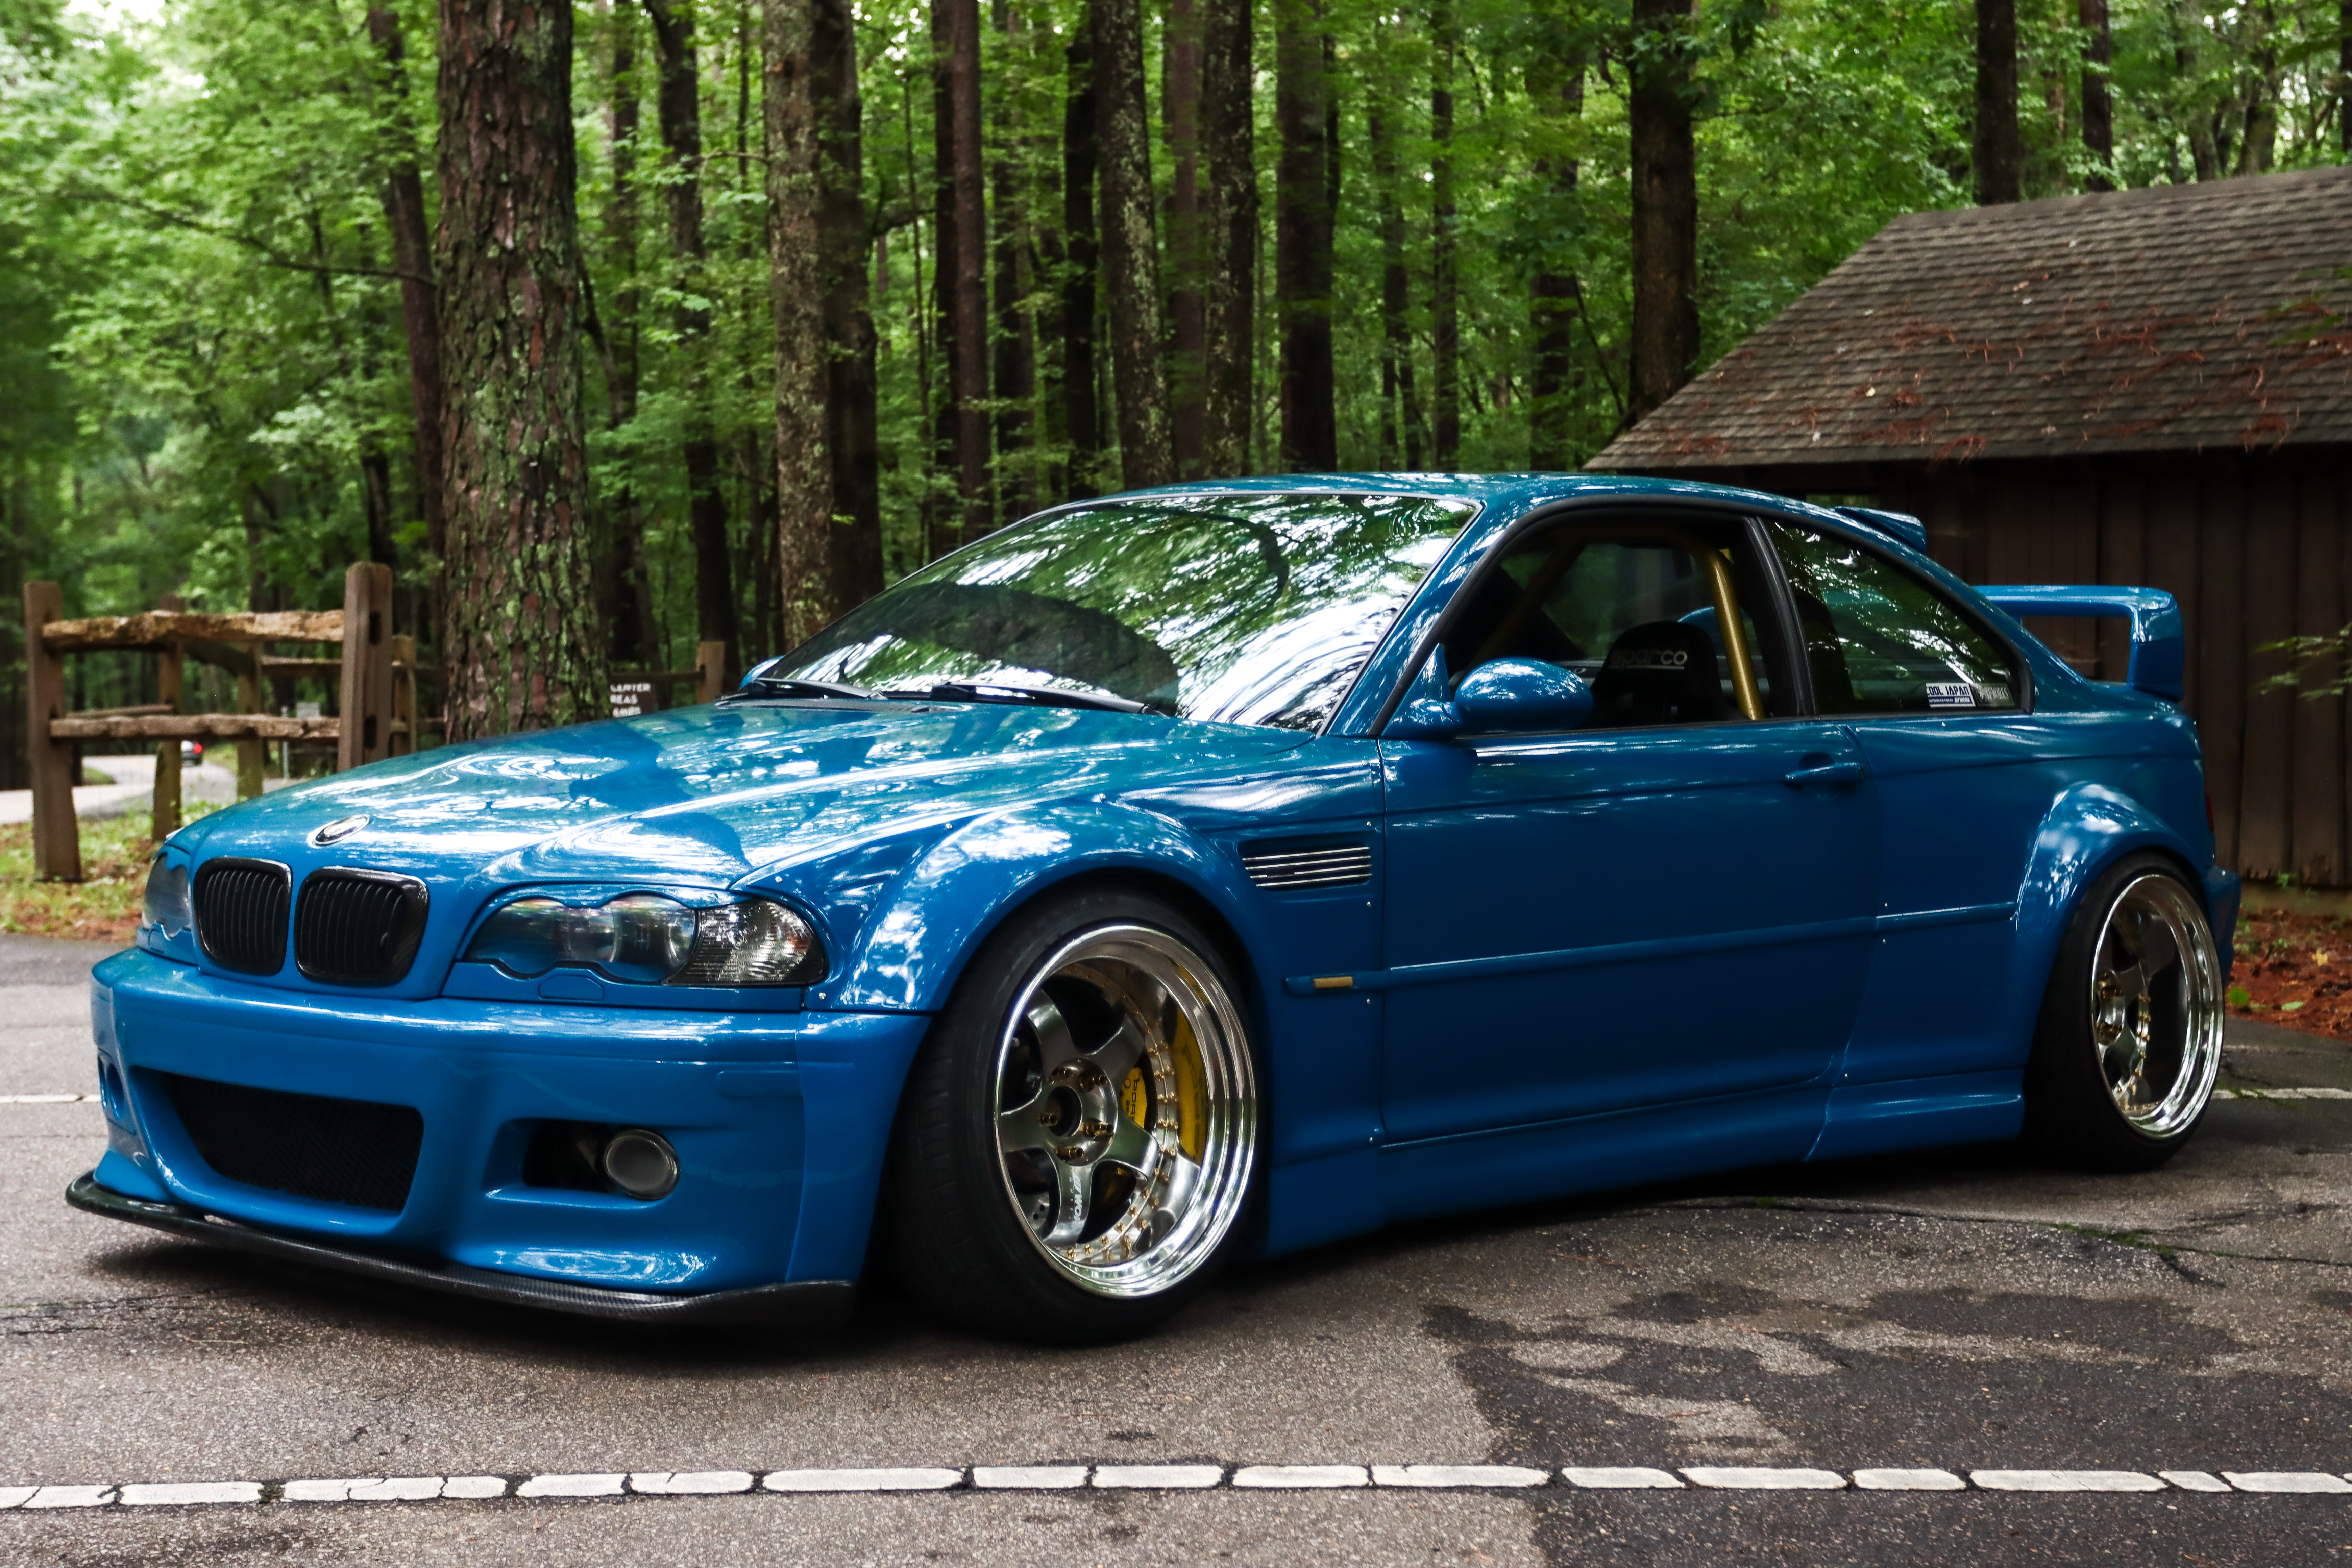
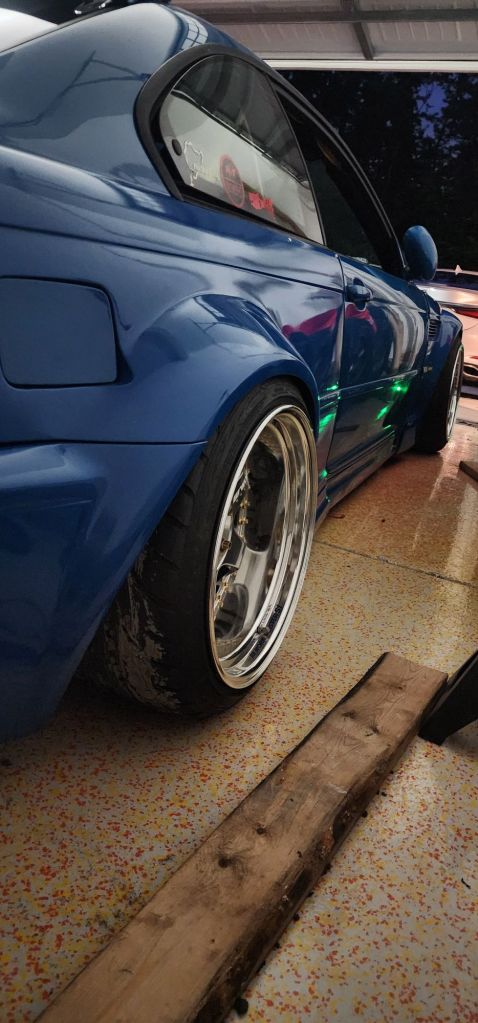
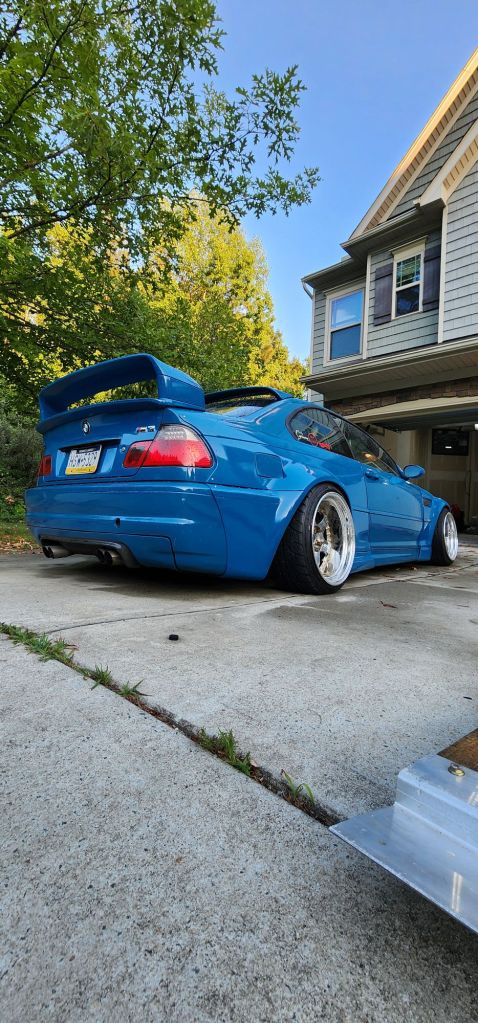
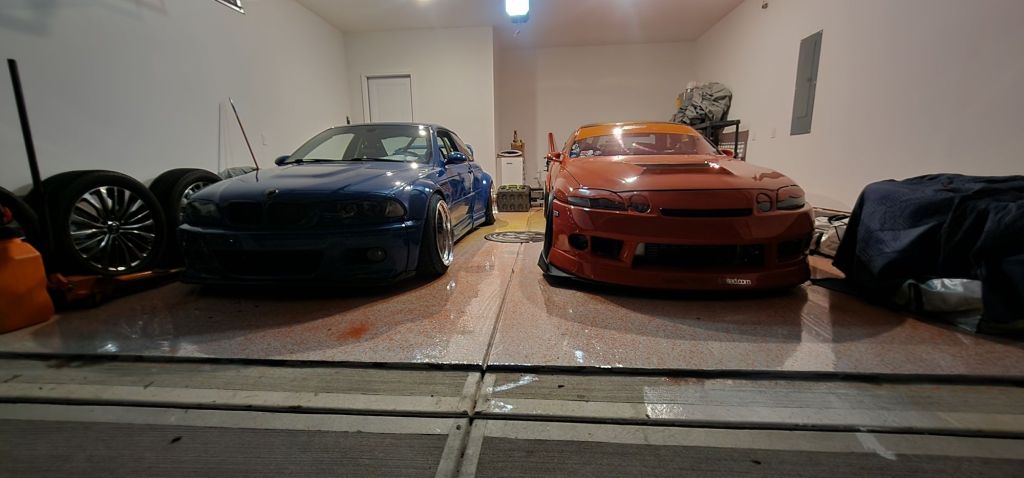
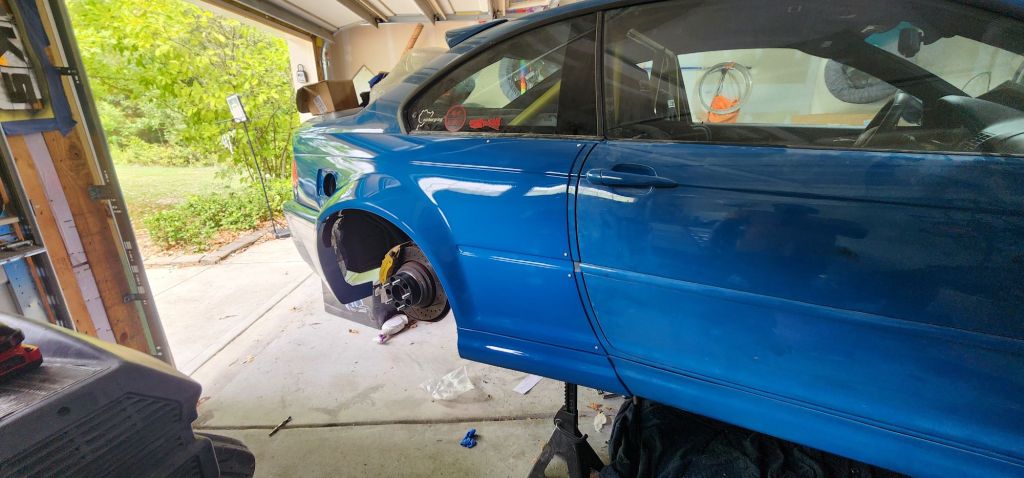
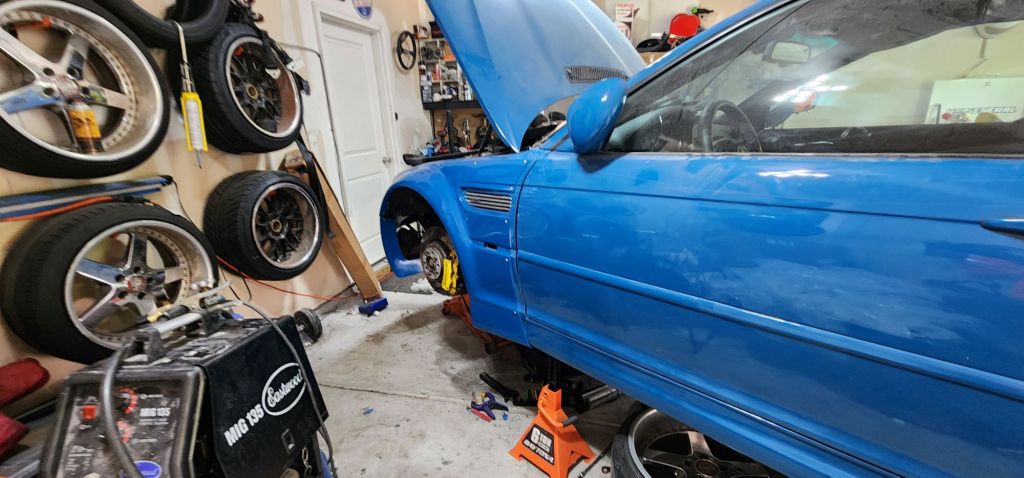
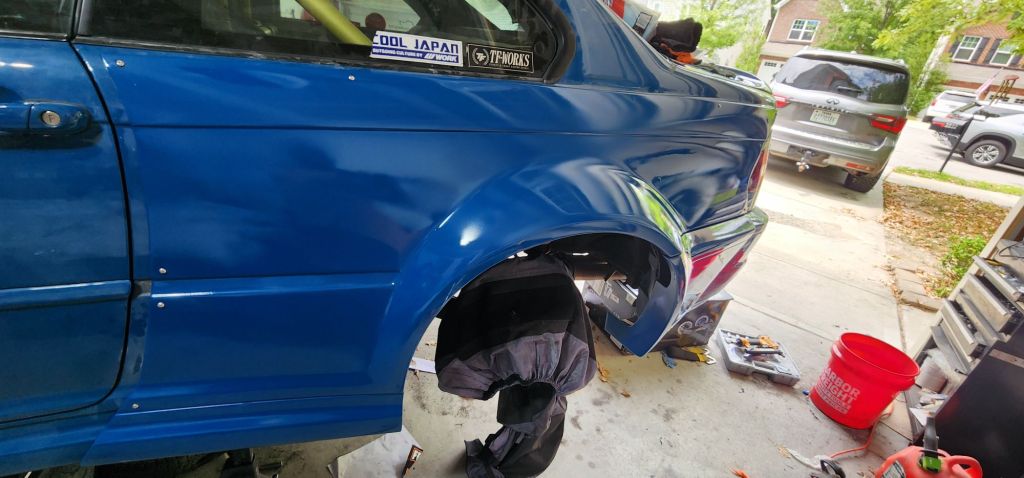
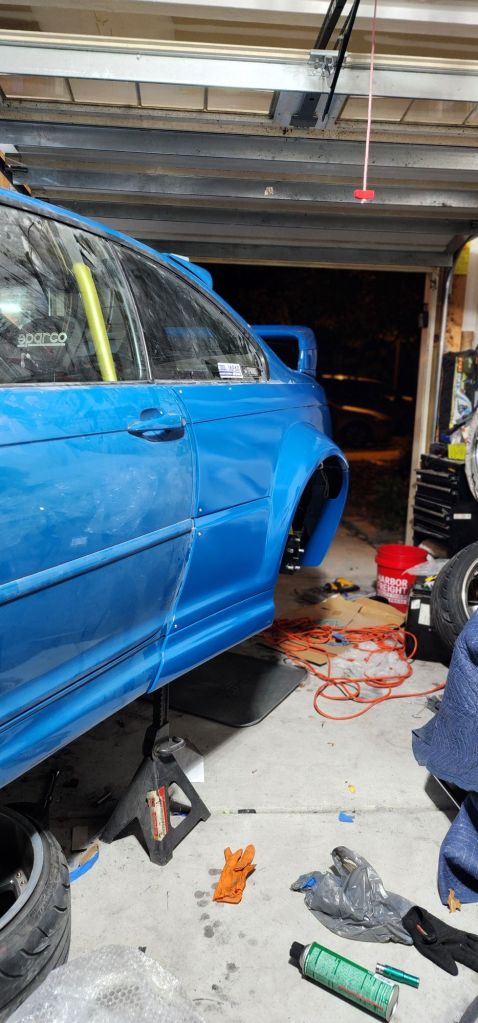
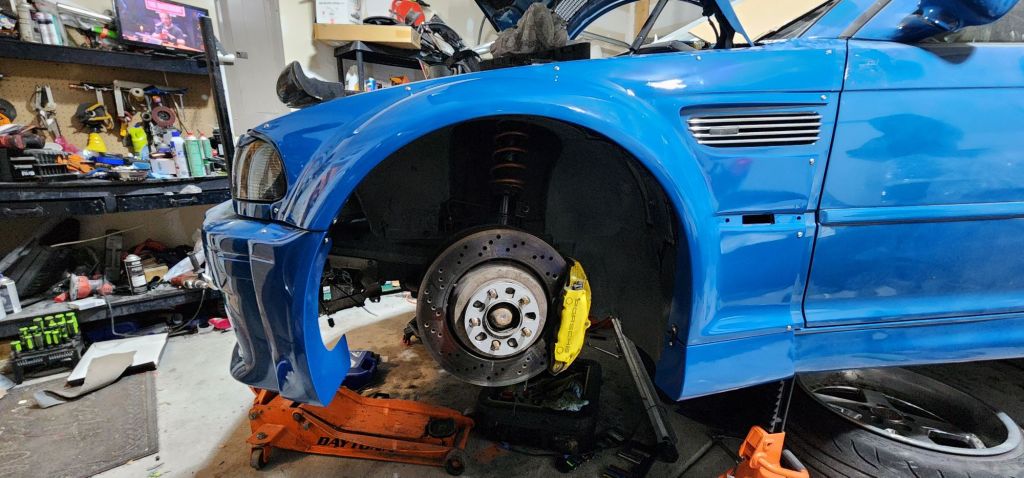
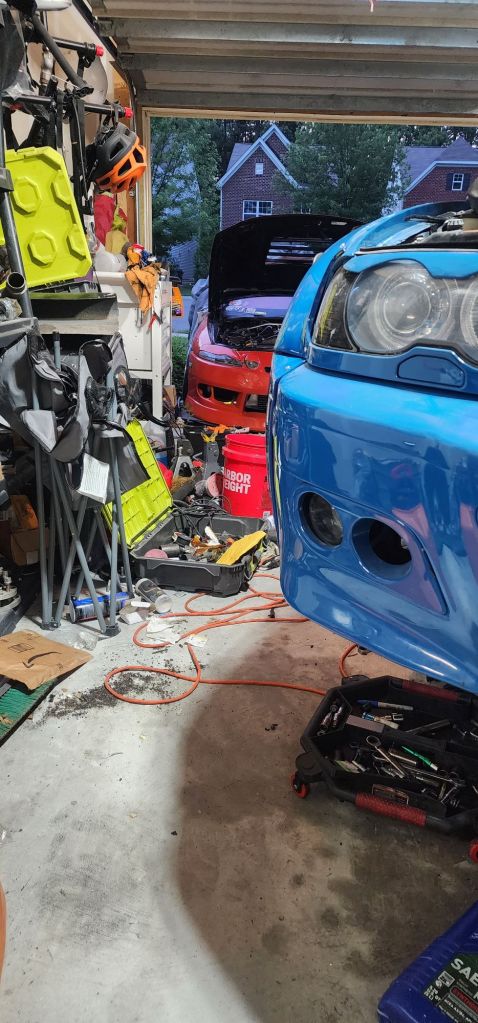
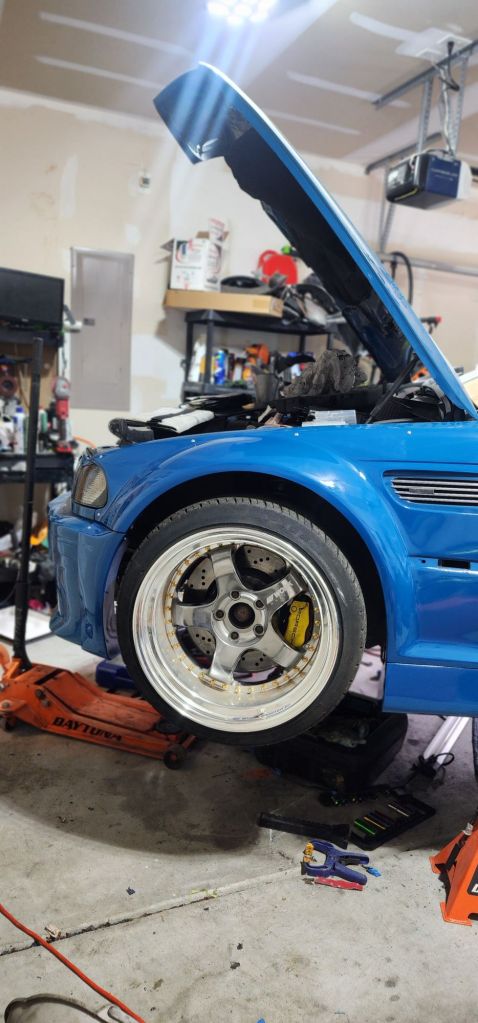
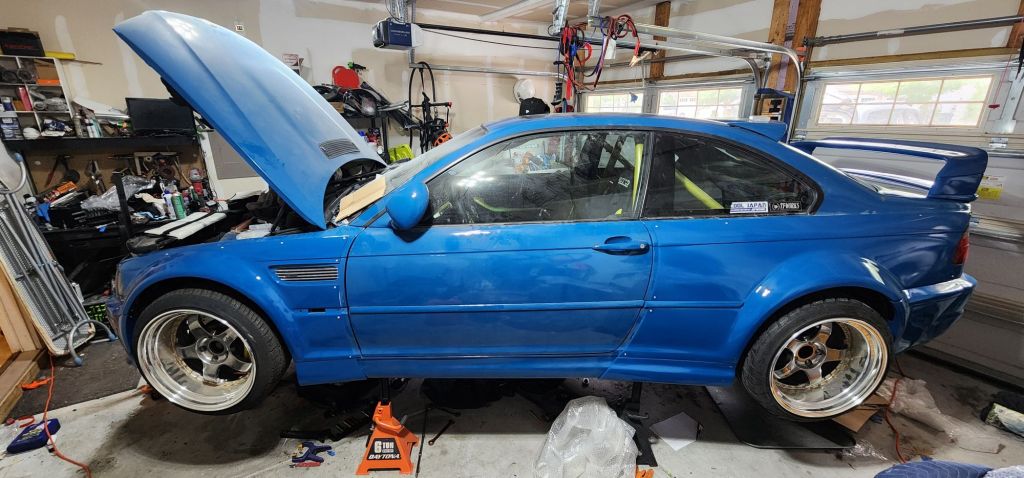
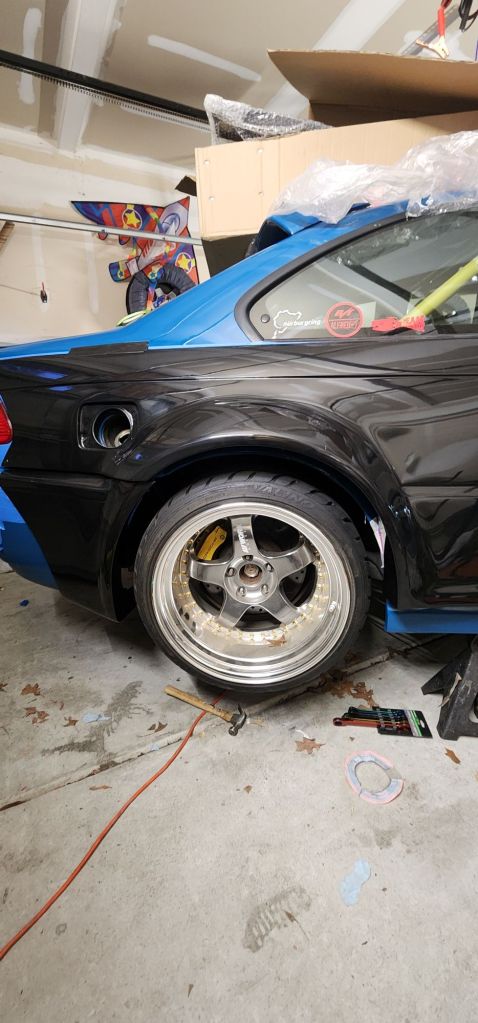
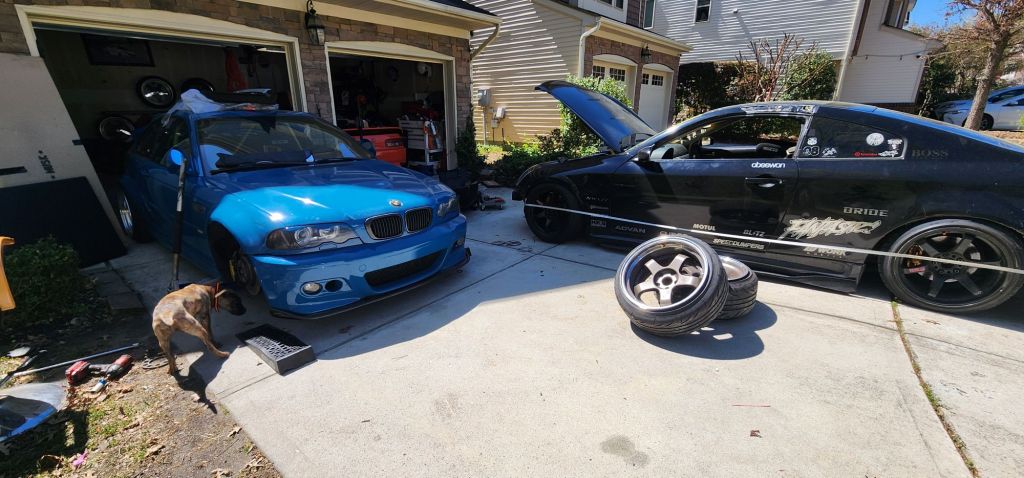
The front of the M3 was bothering me and I needed it lower. So I disassembled the coils and removed the lower collars and cut down the sway bar mounts. There was some pre-load I removed. This plus the additional camber has it pretty much where I want. I just need to swap the tires next.
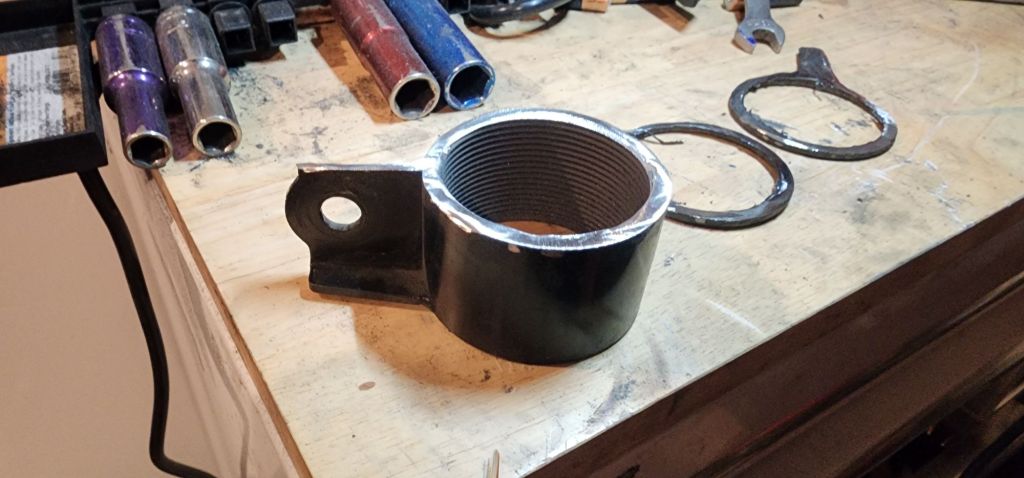
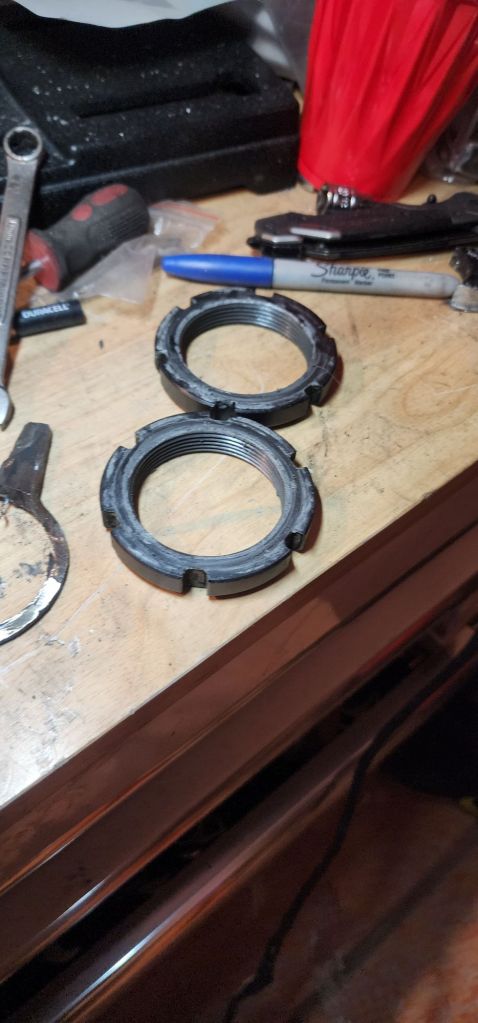
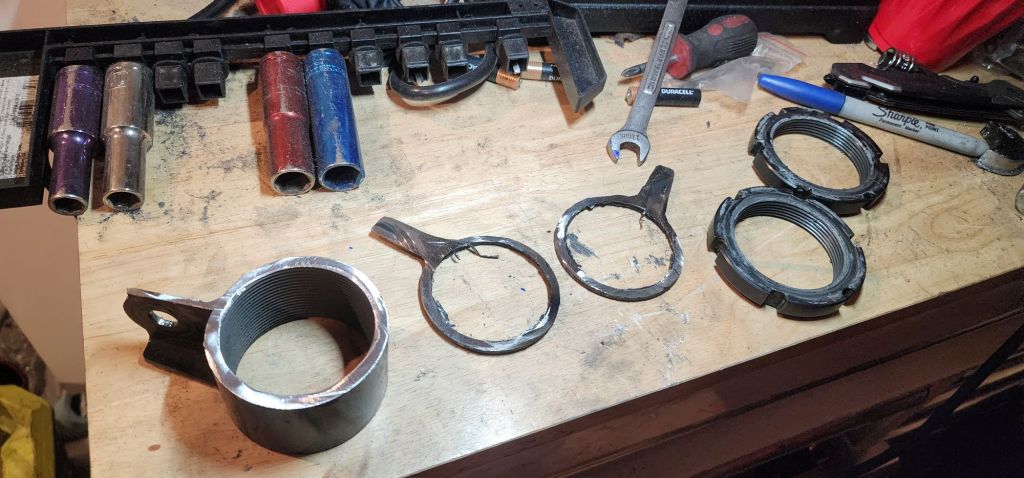
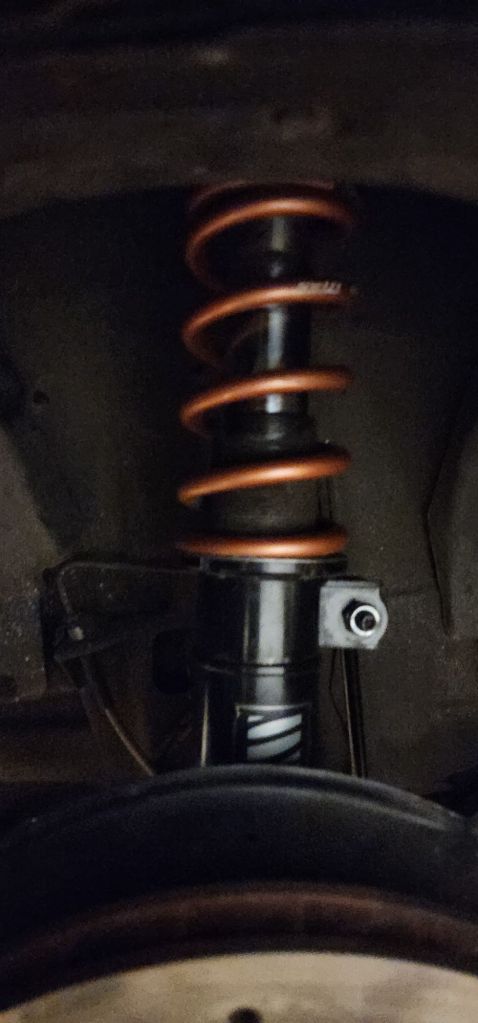
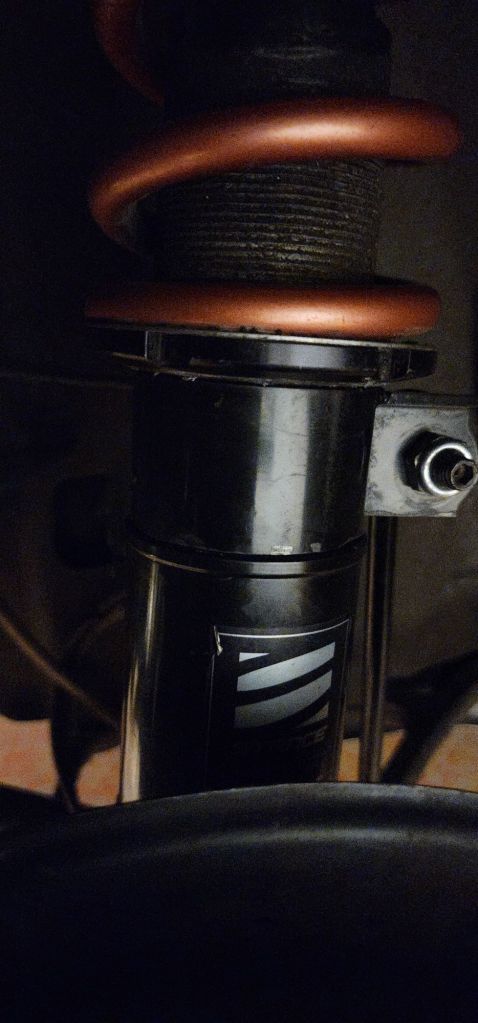
It looks better than the pictures. Probably because of the shadows.
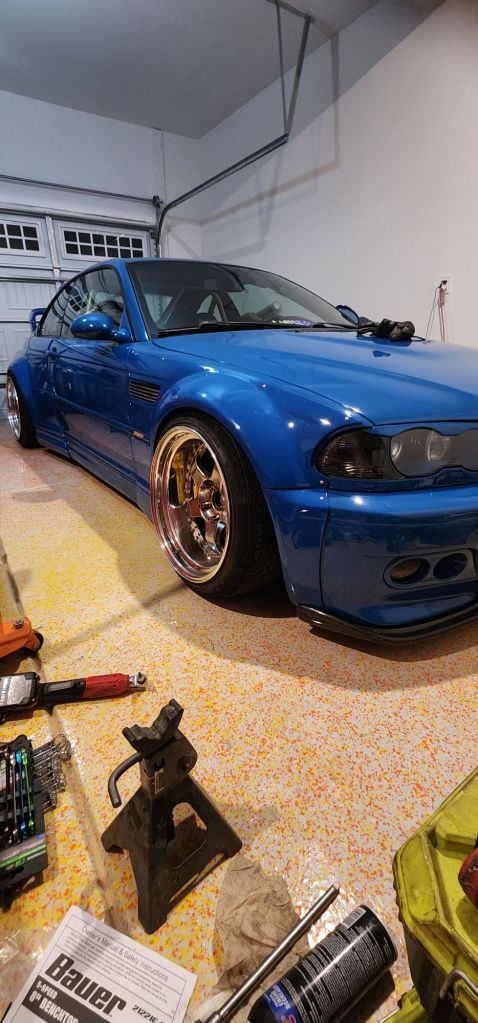
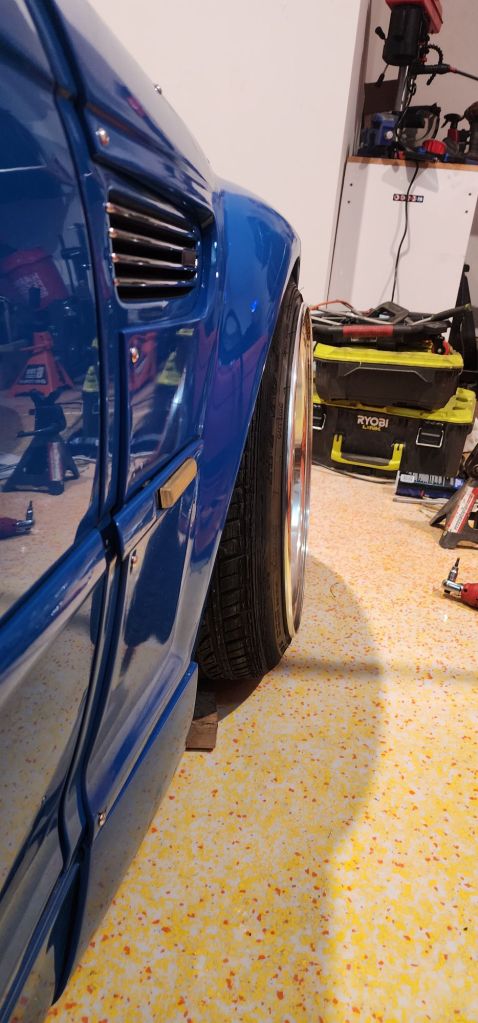
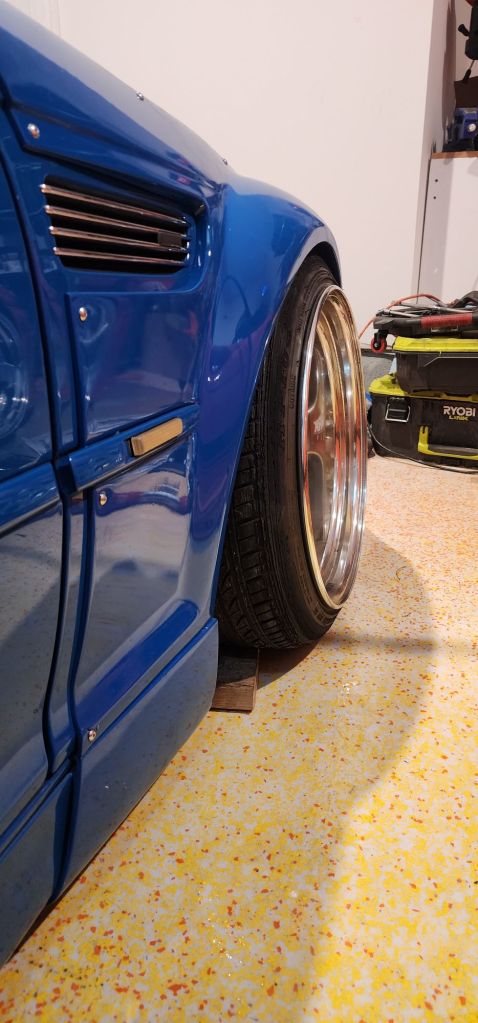
Garage Spec…
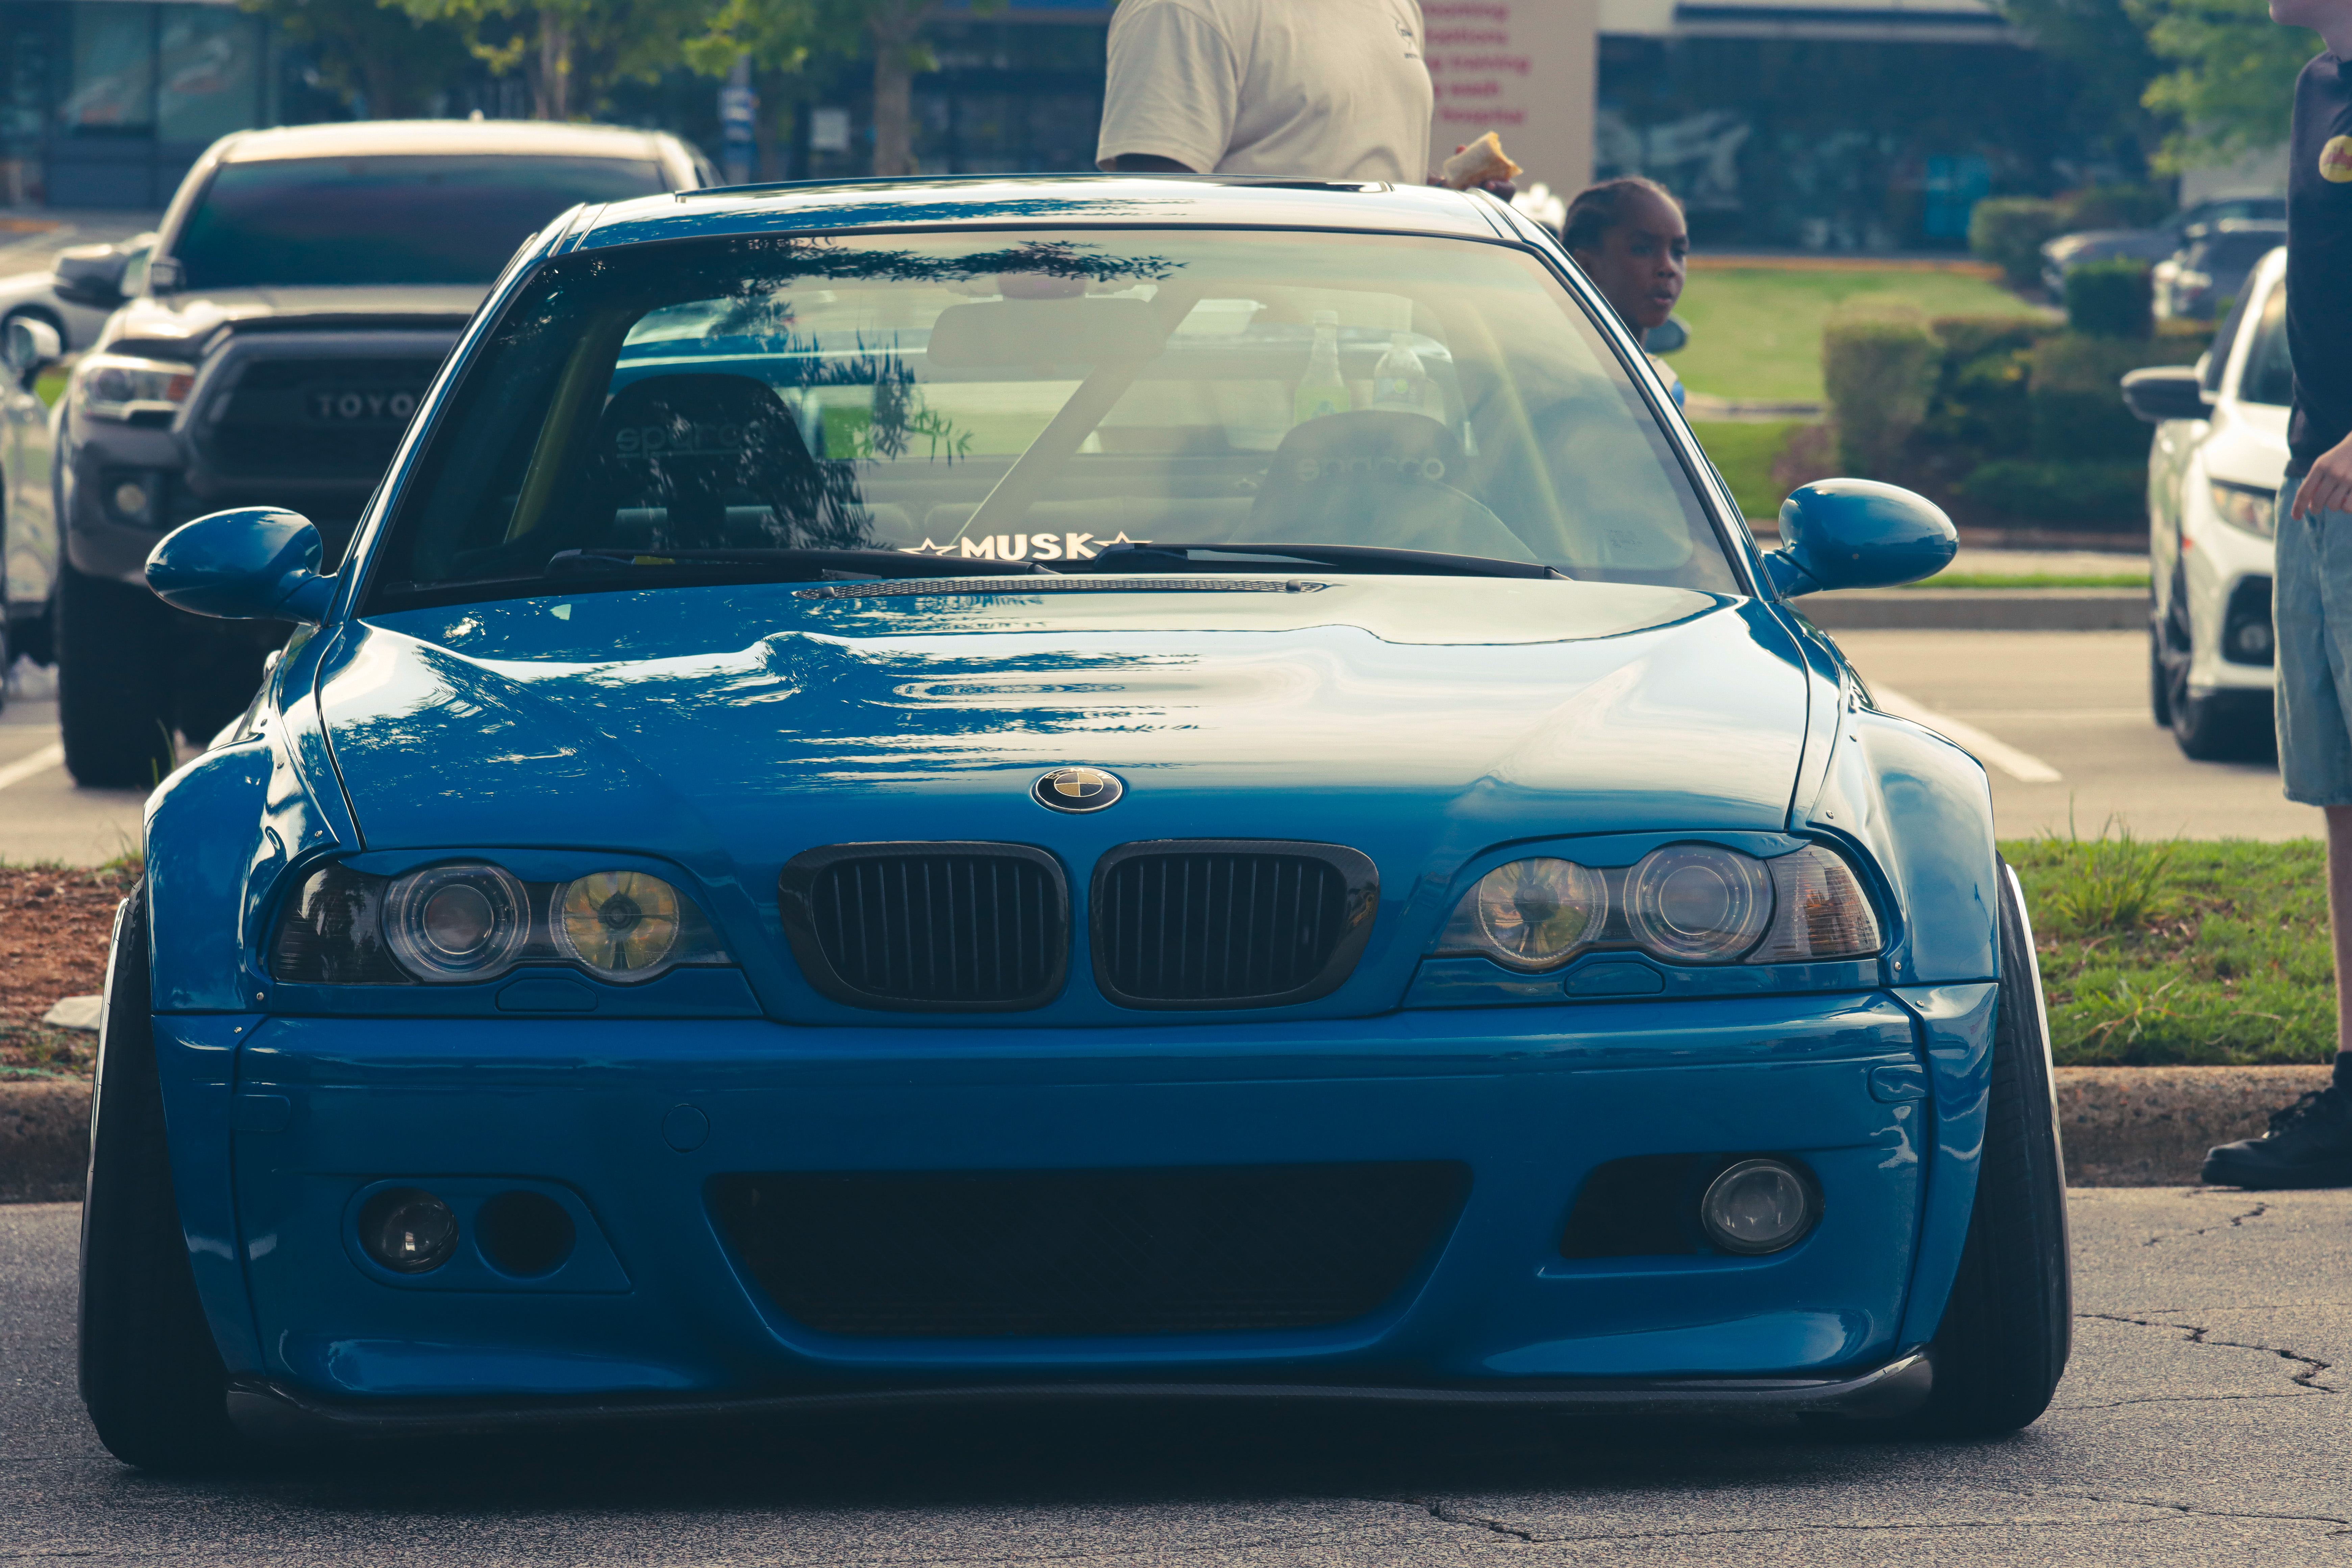
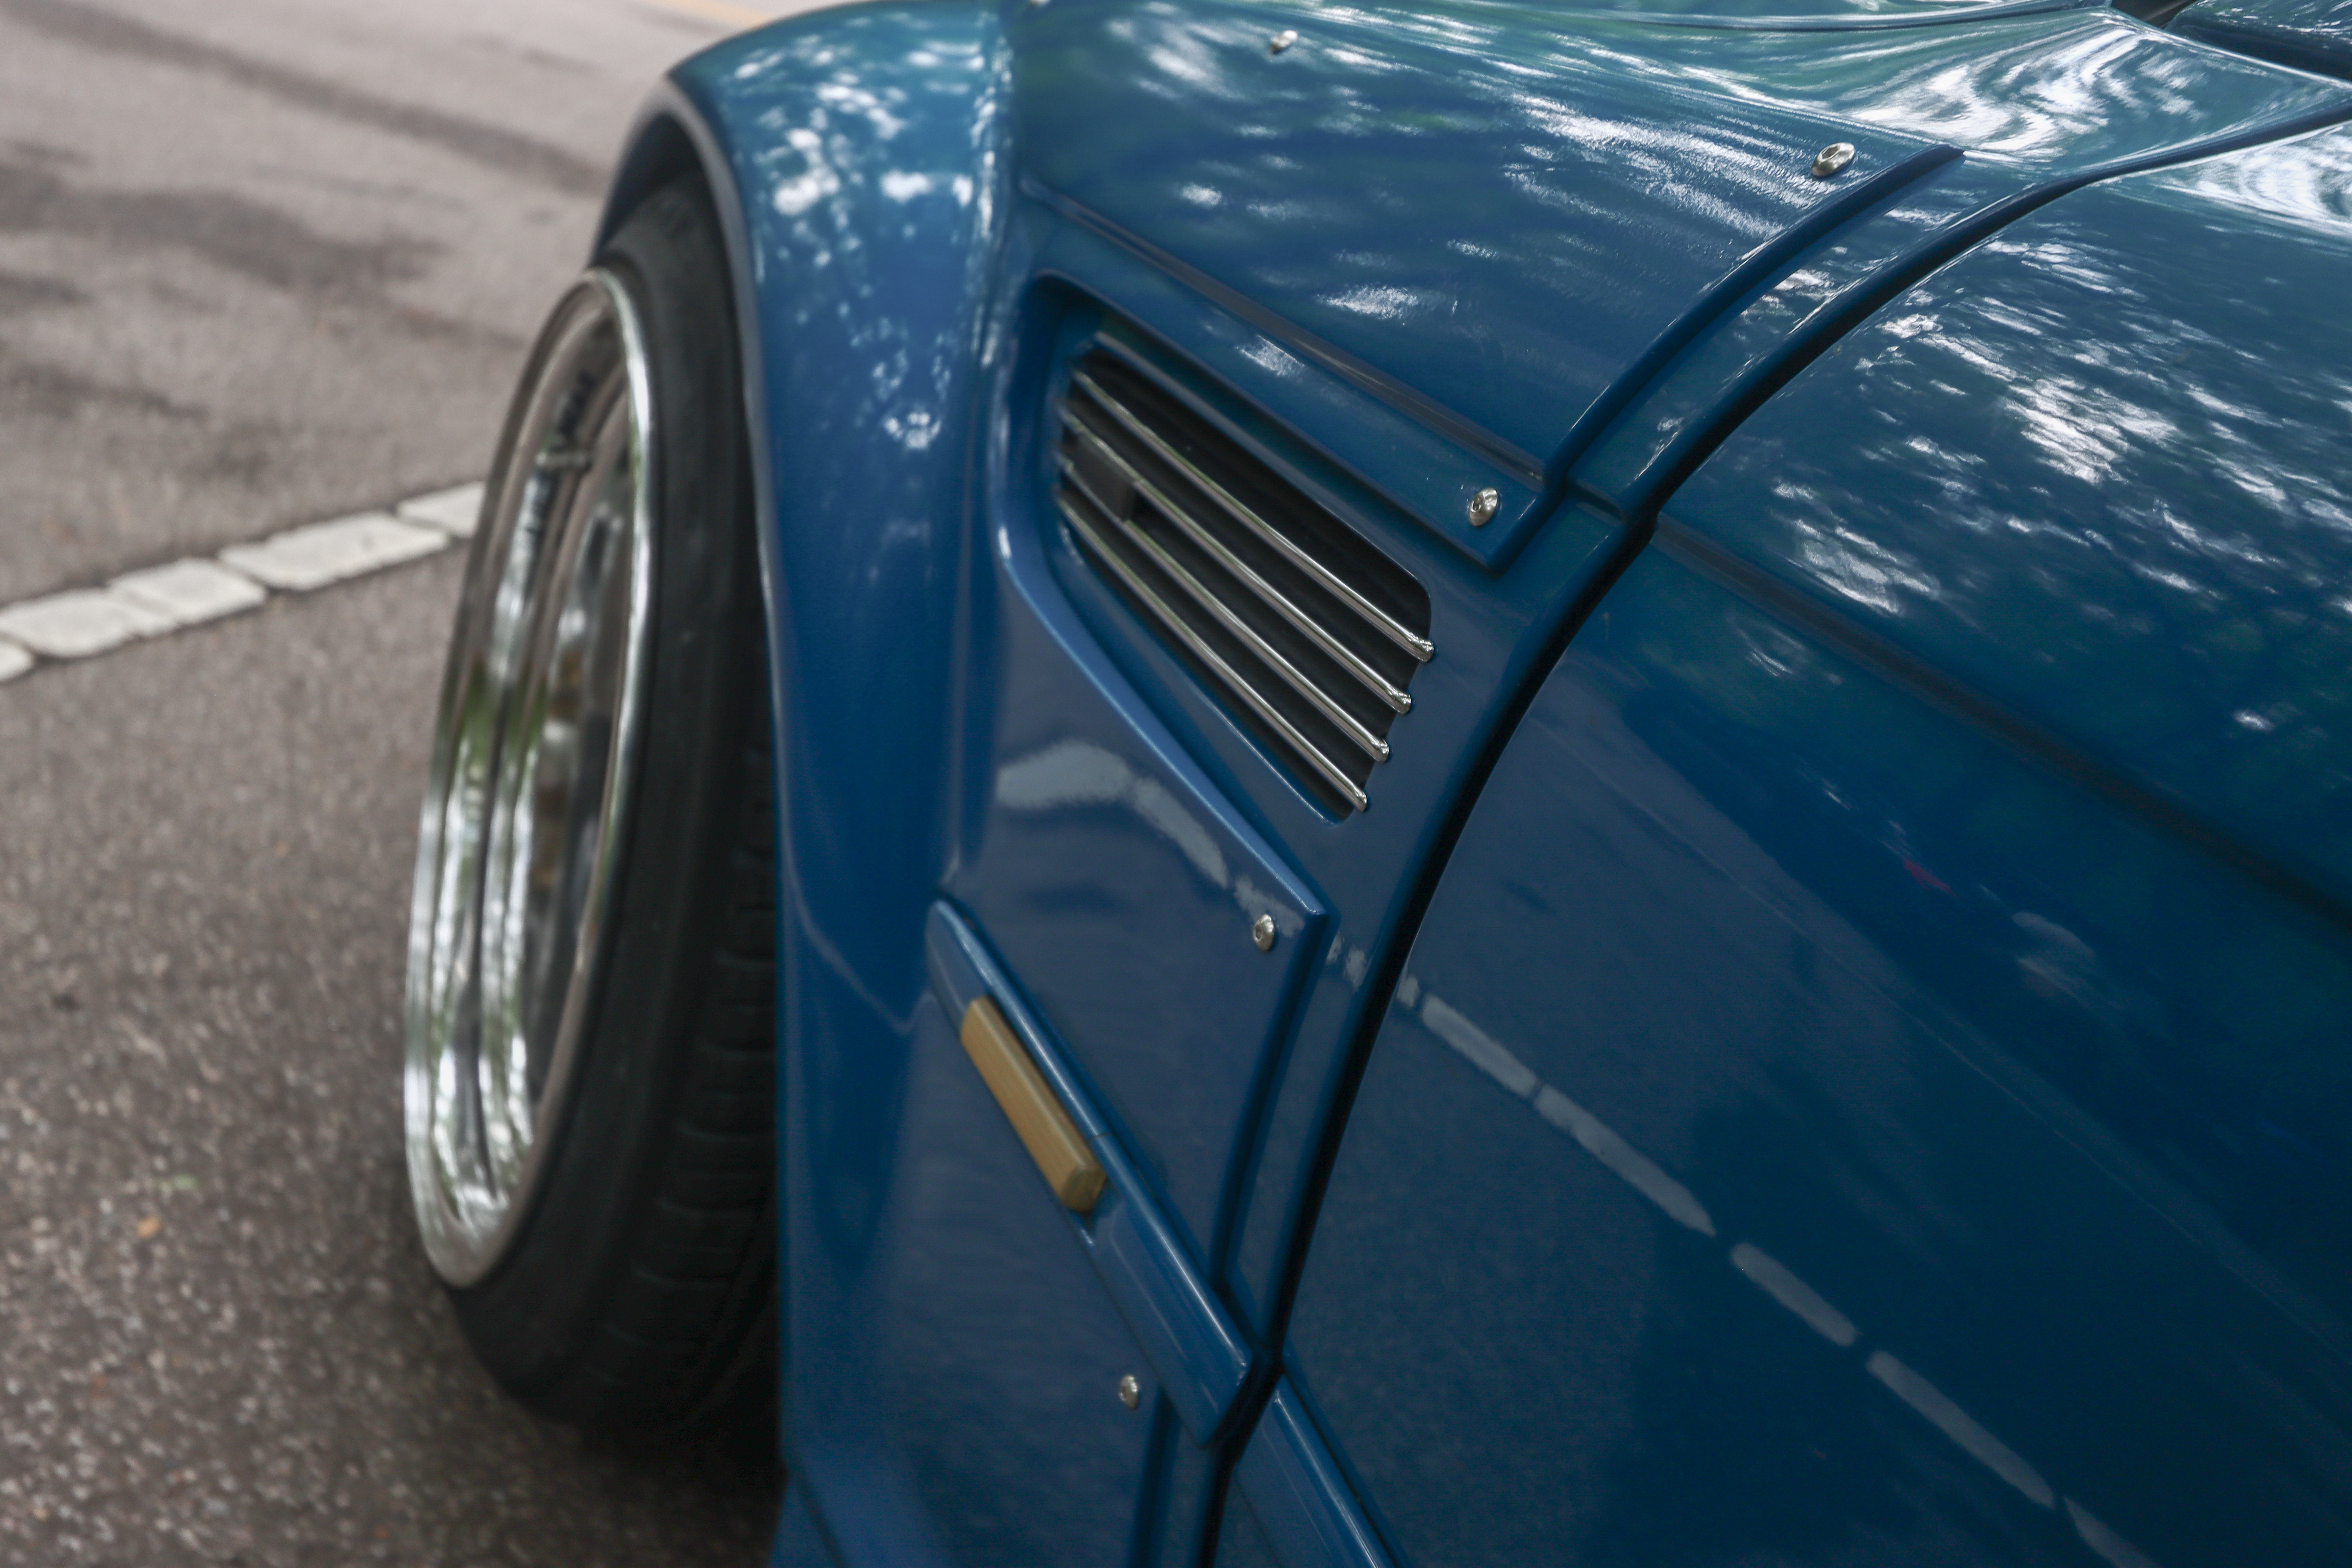
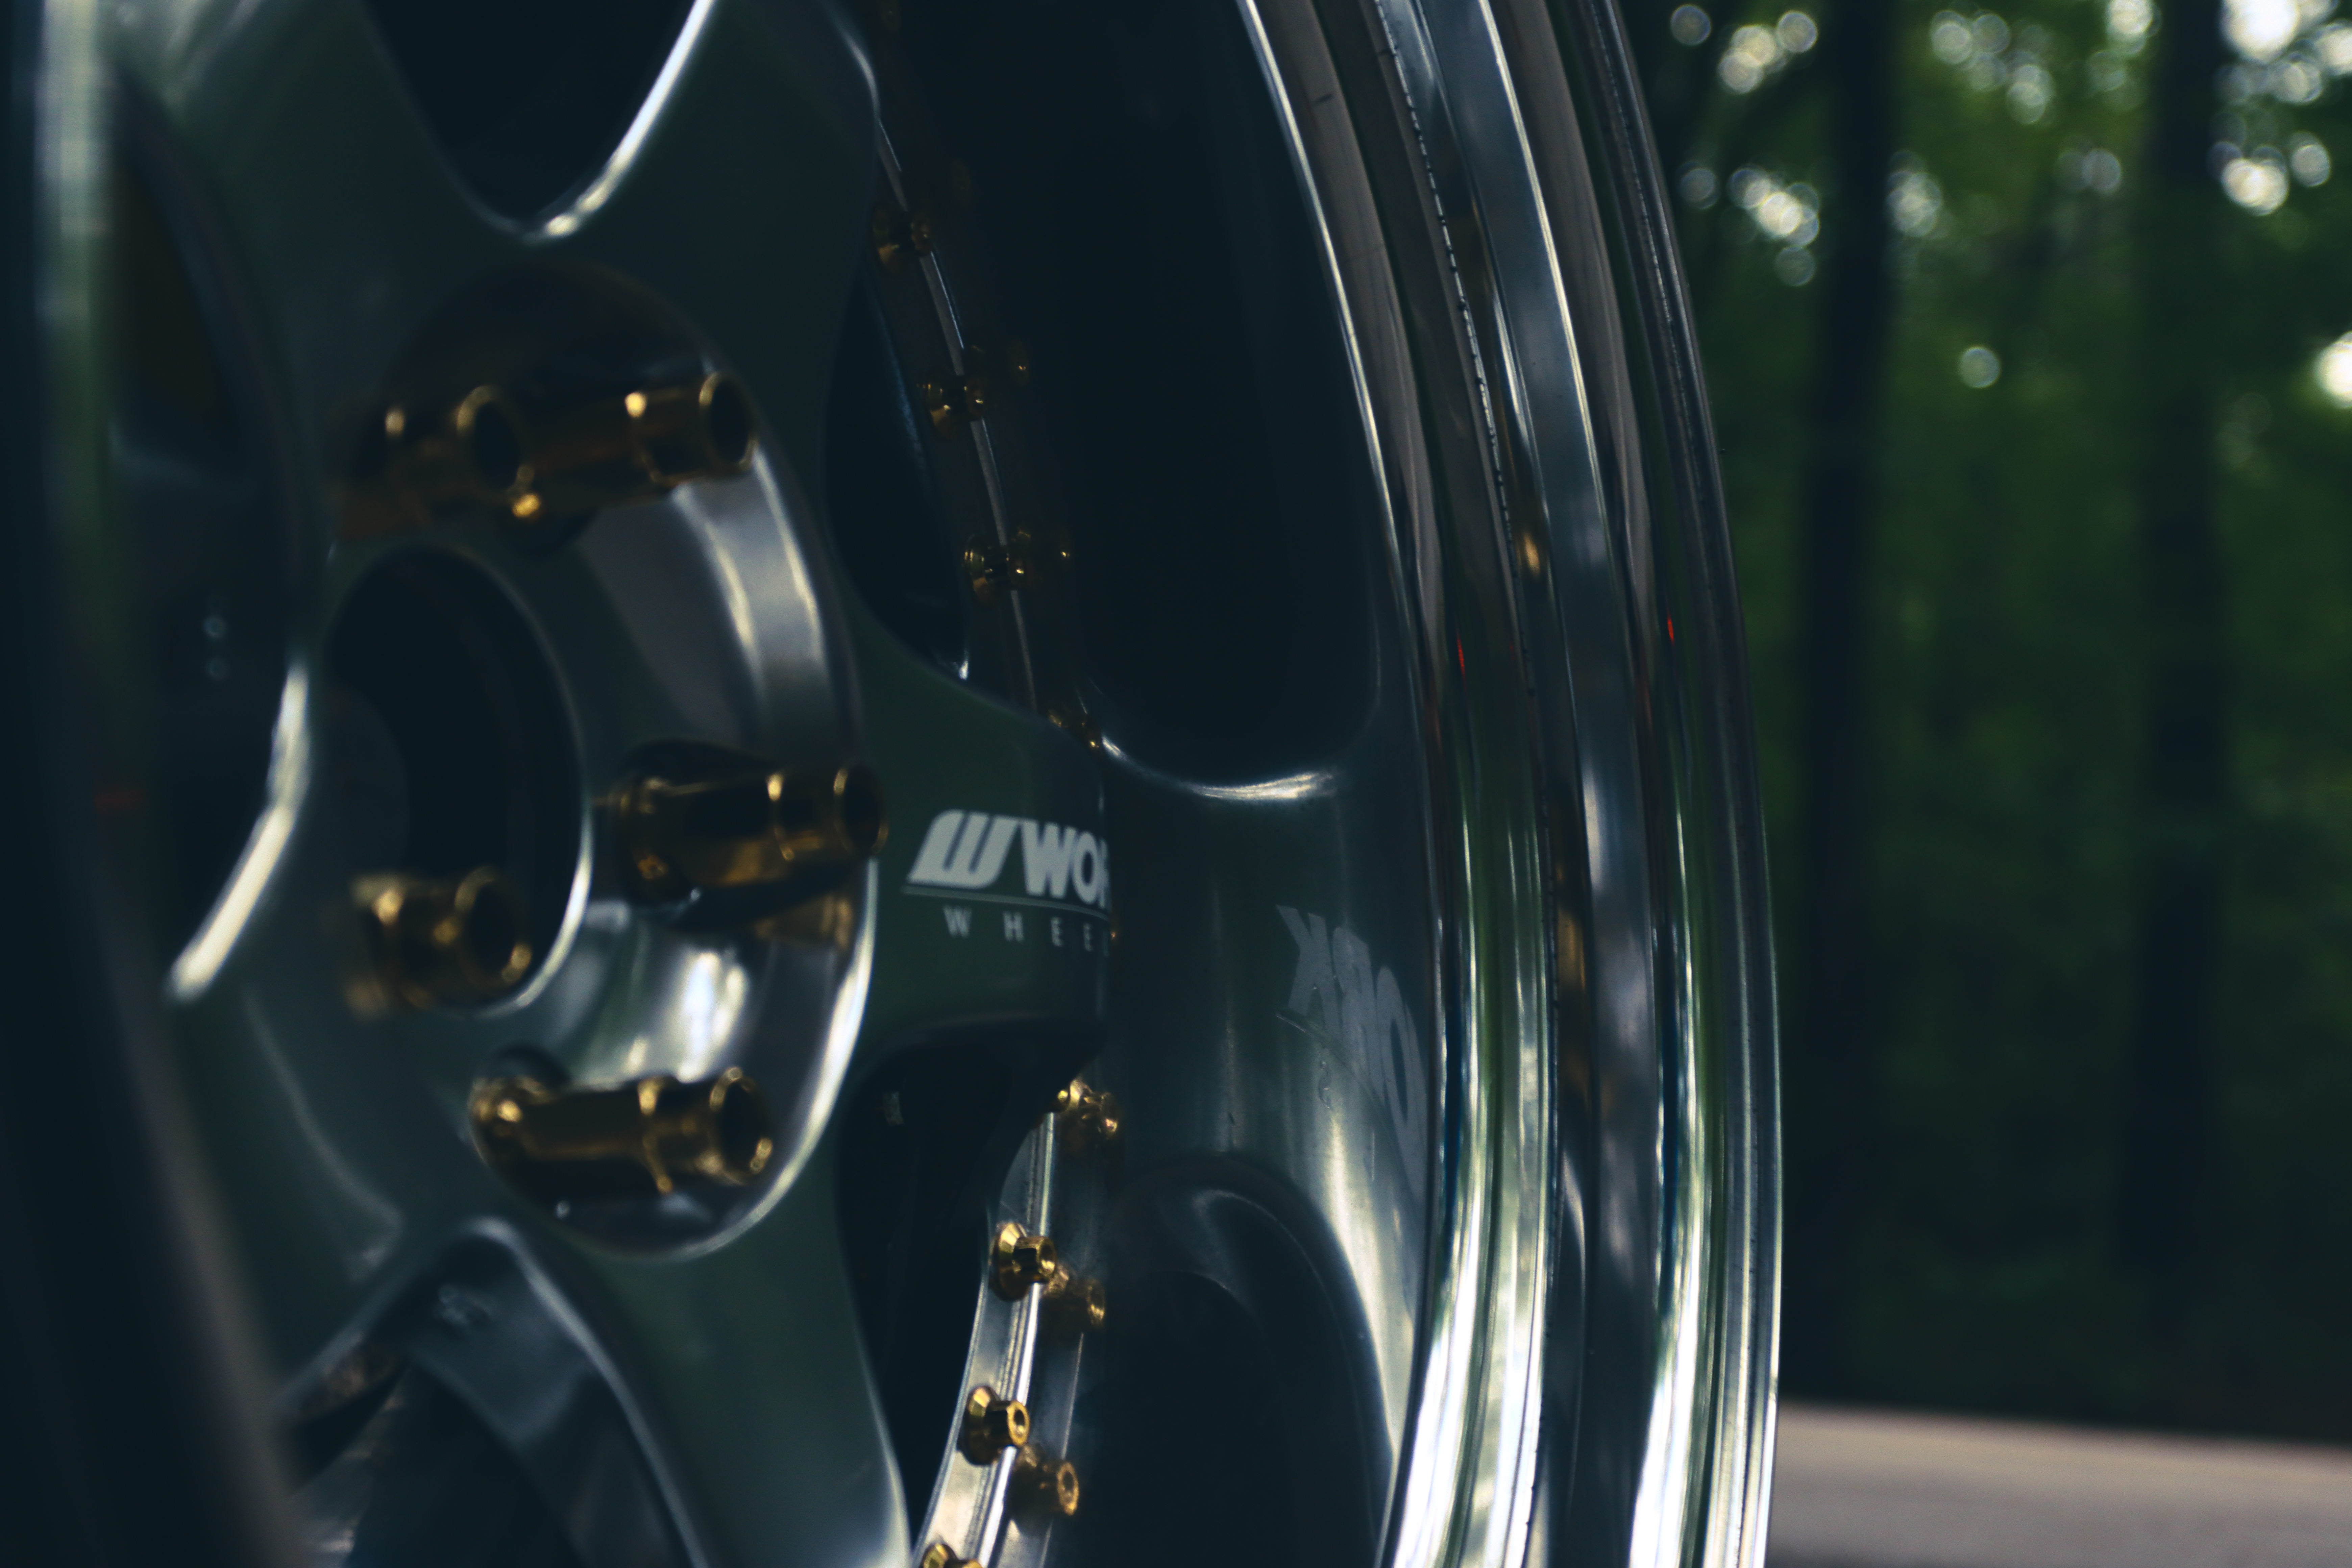
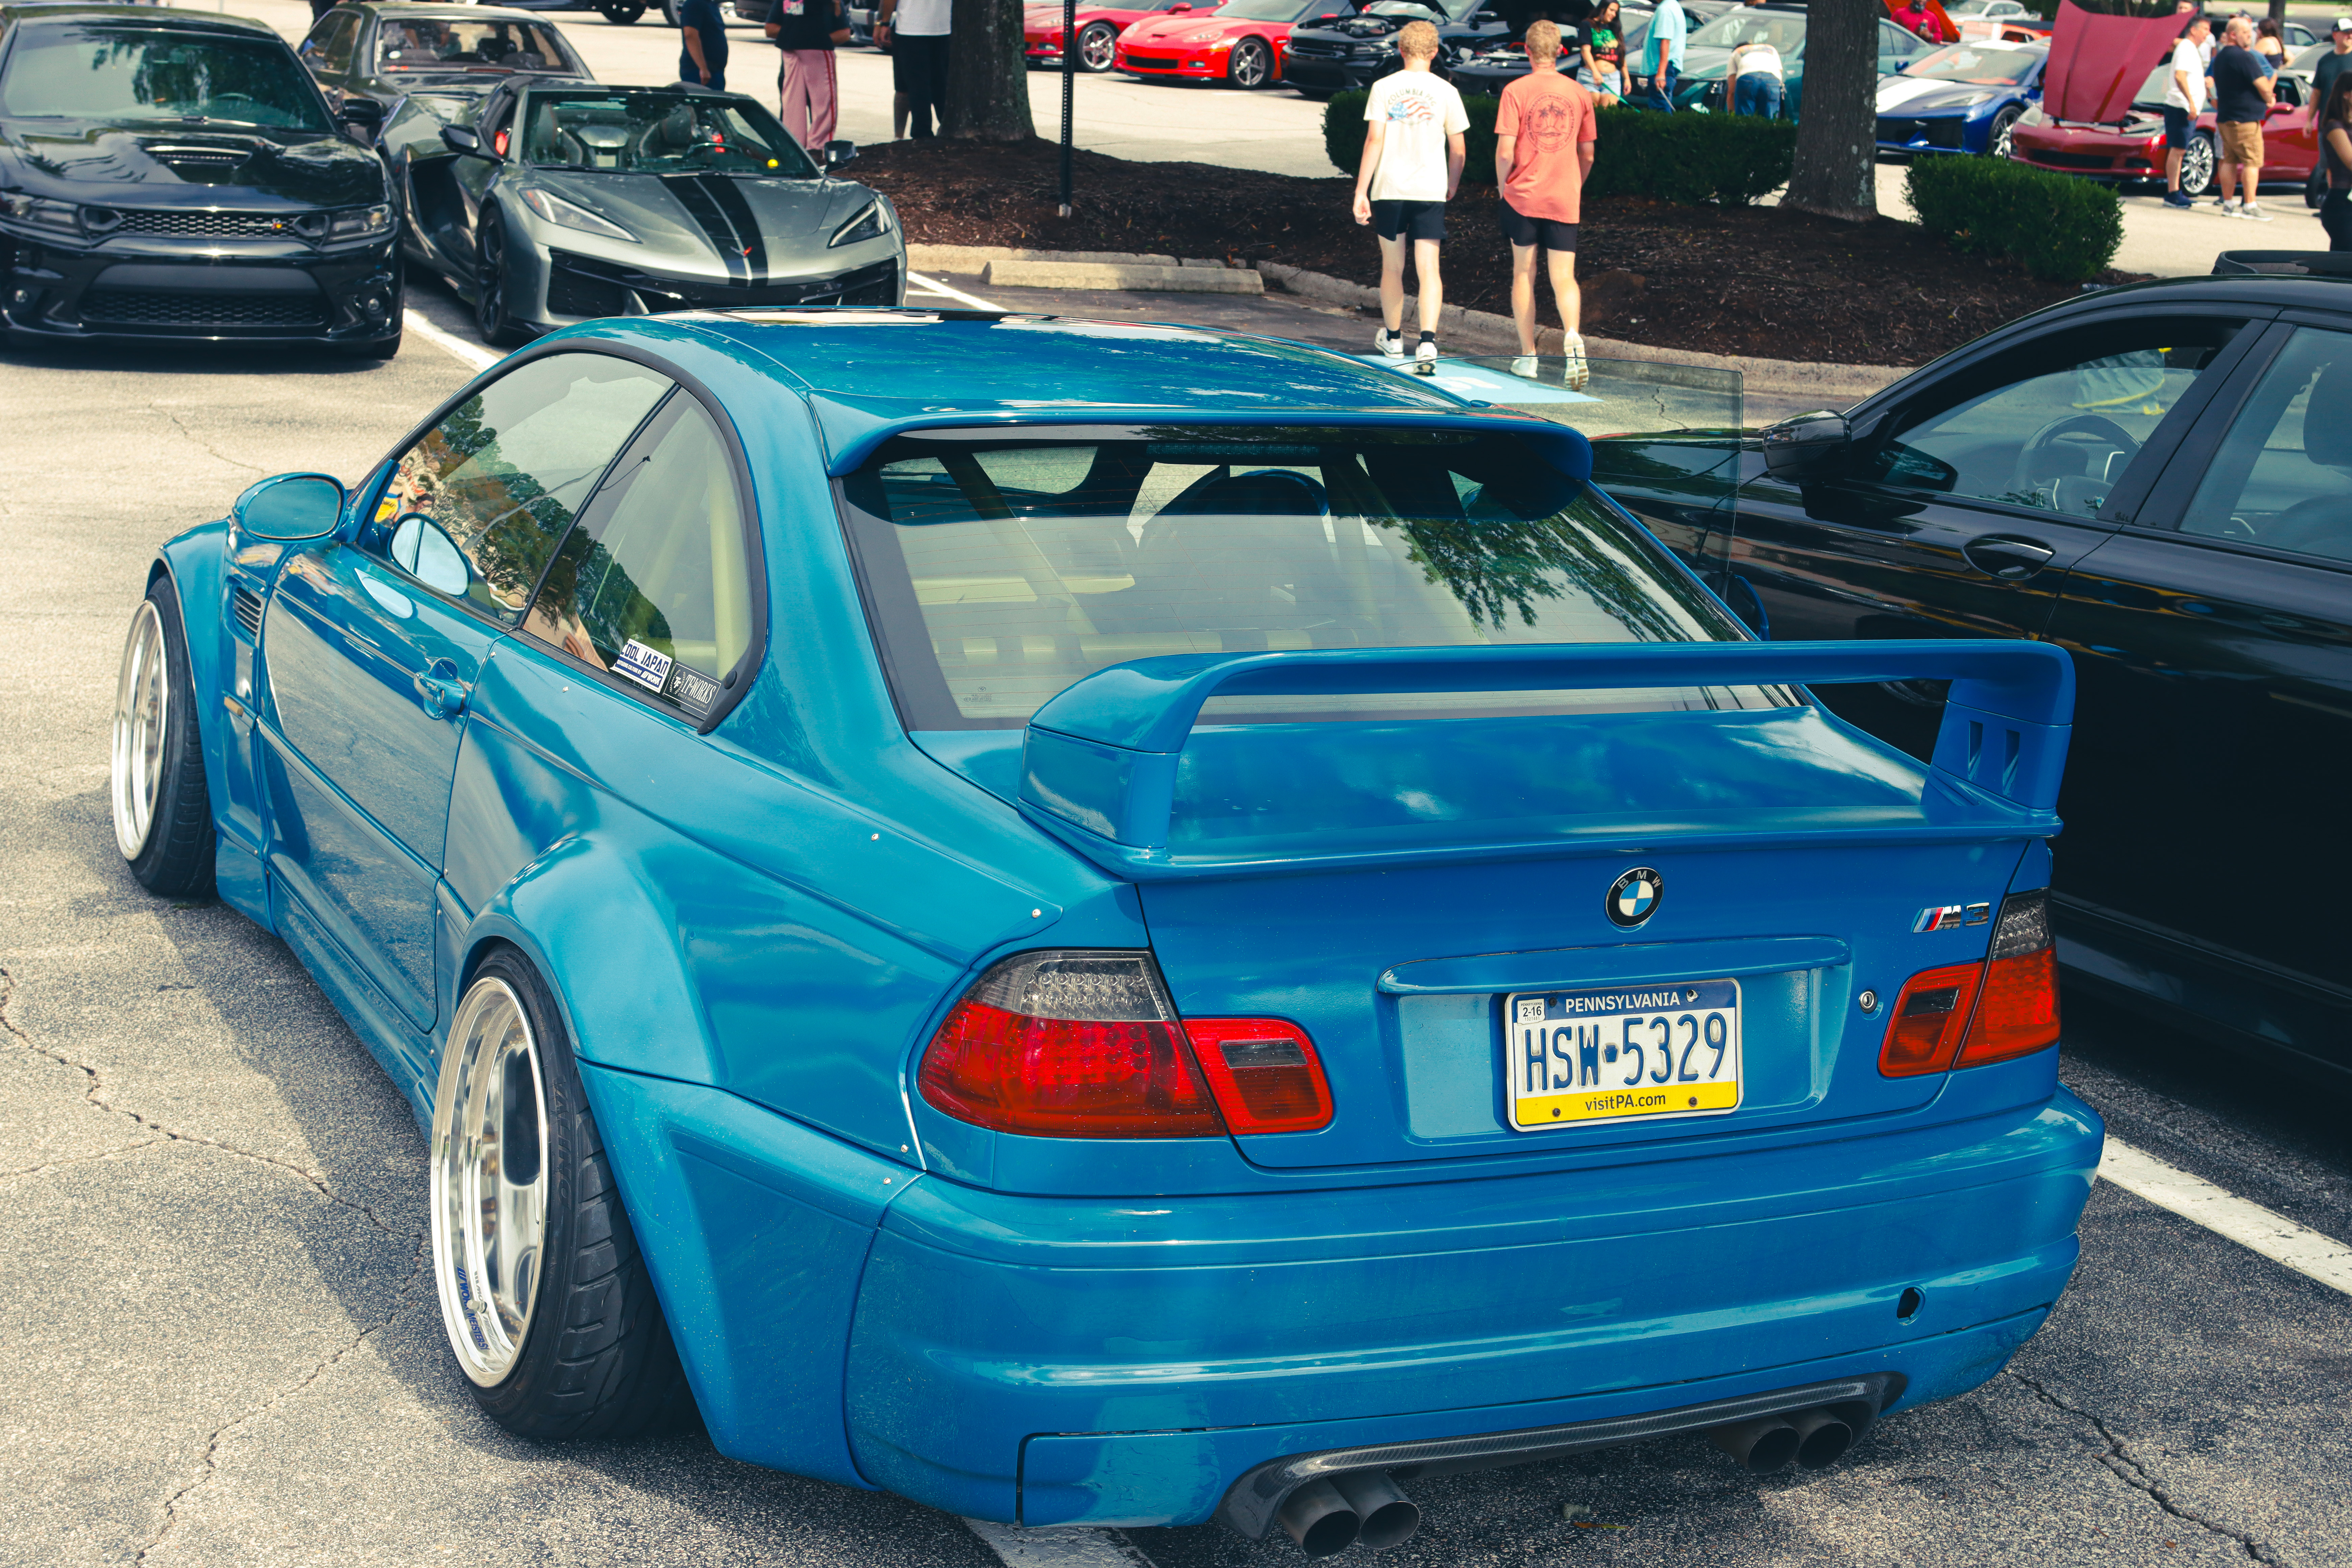
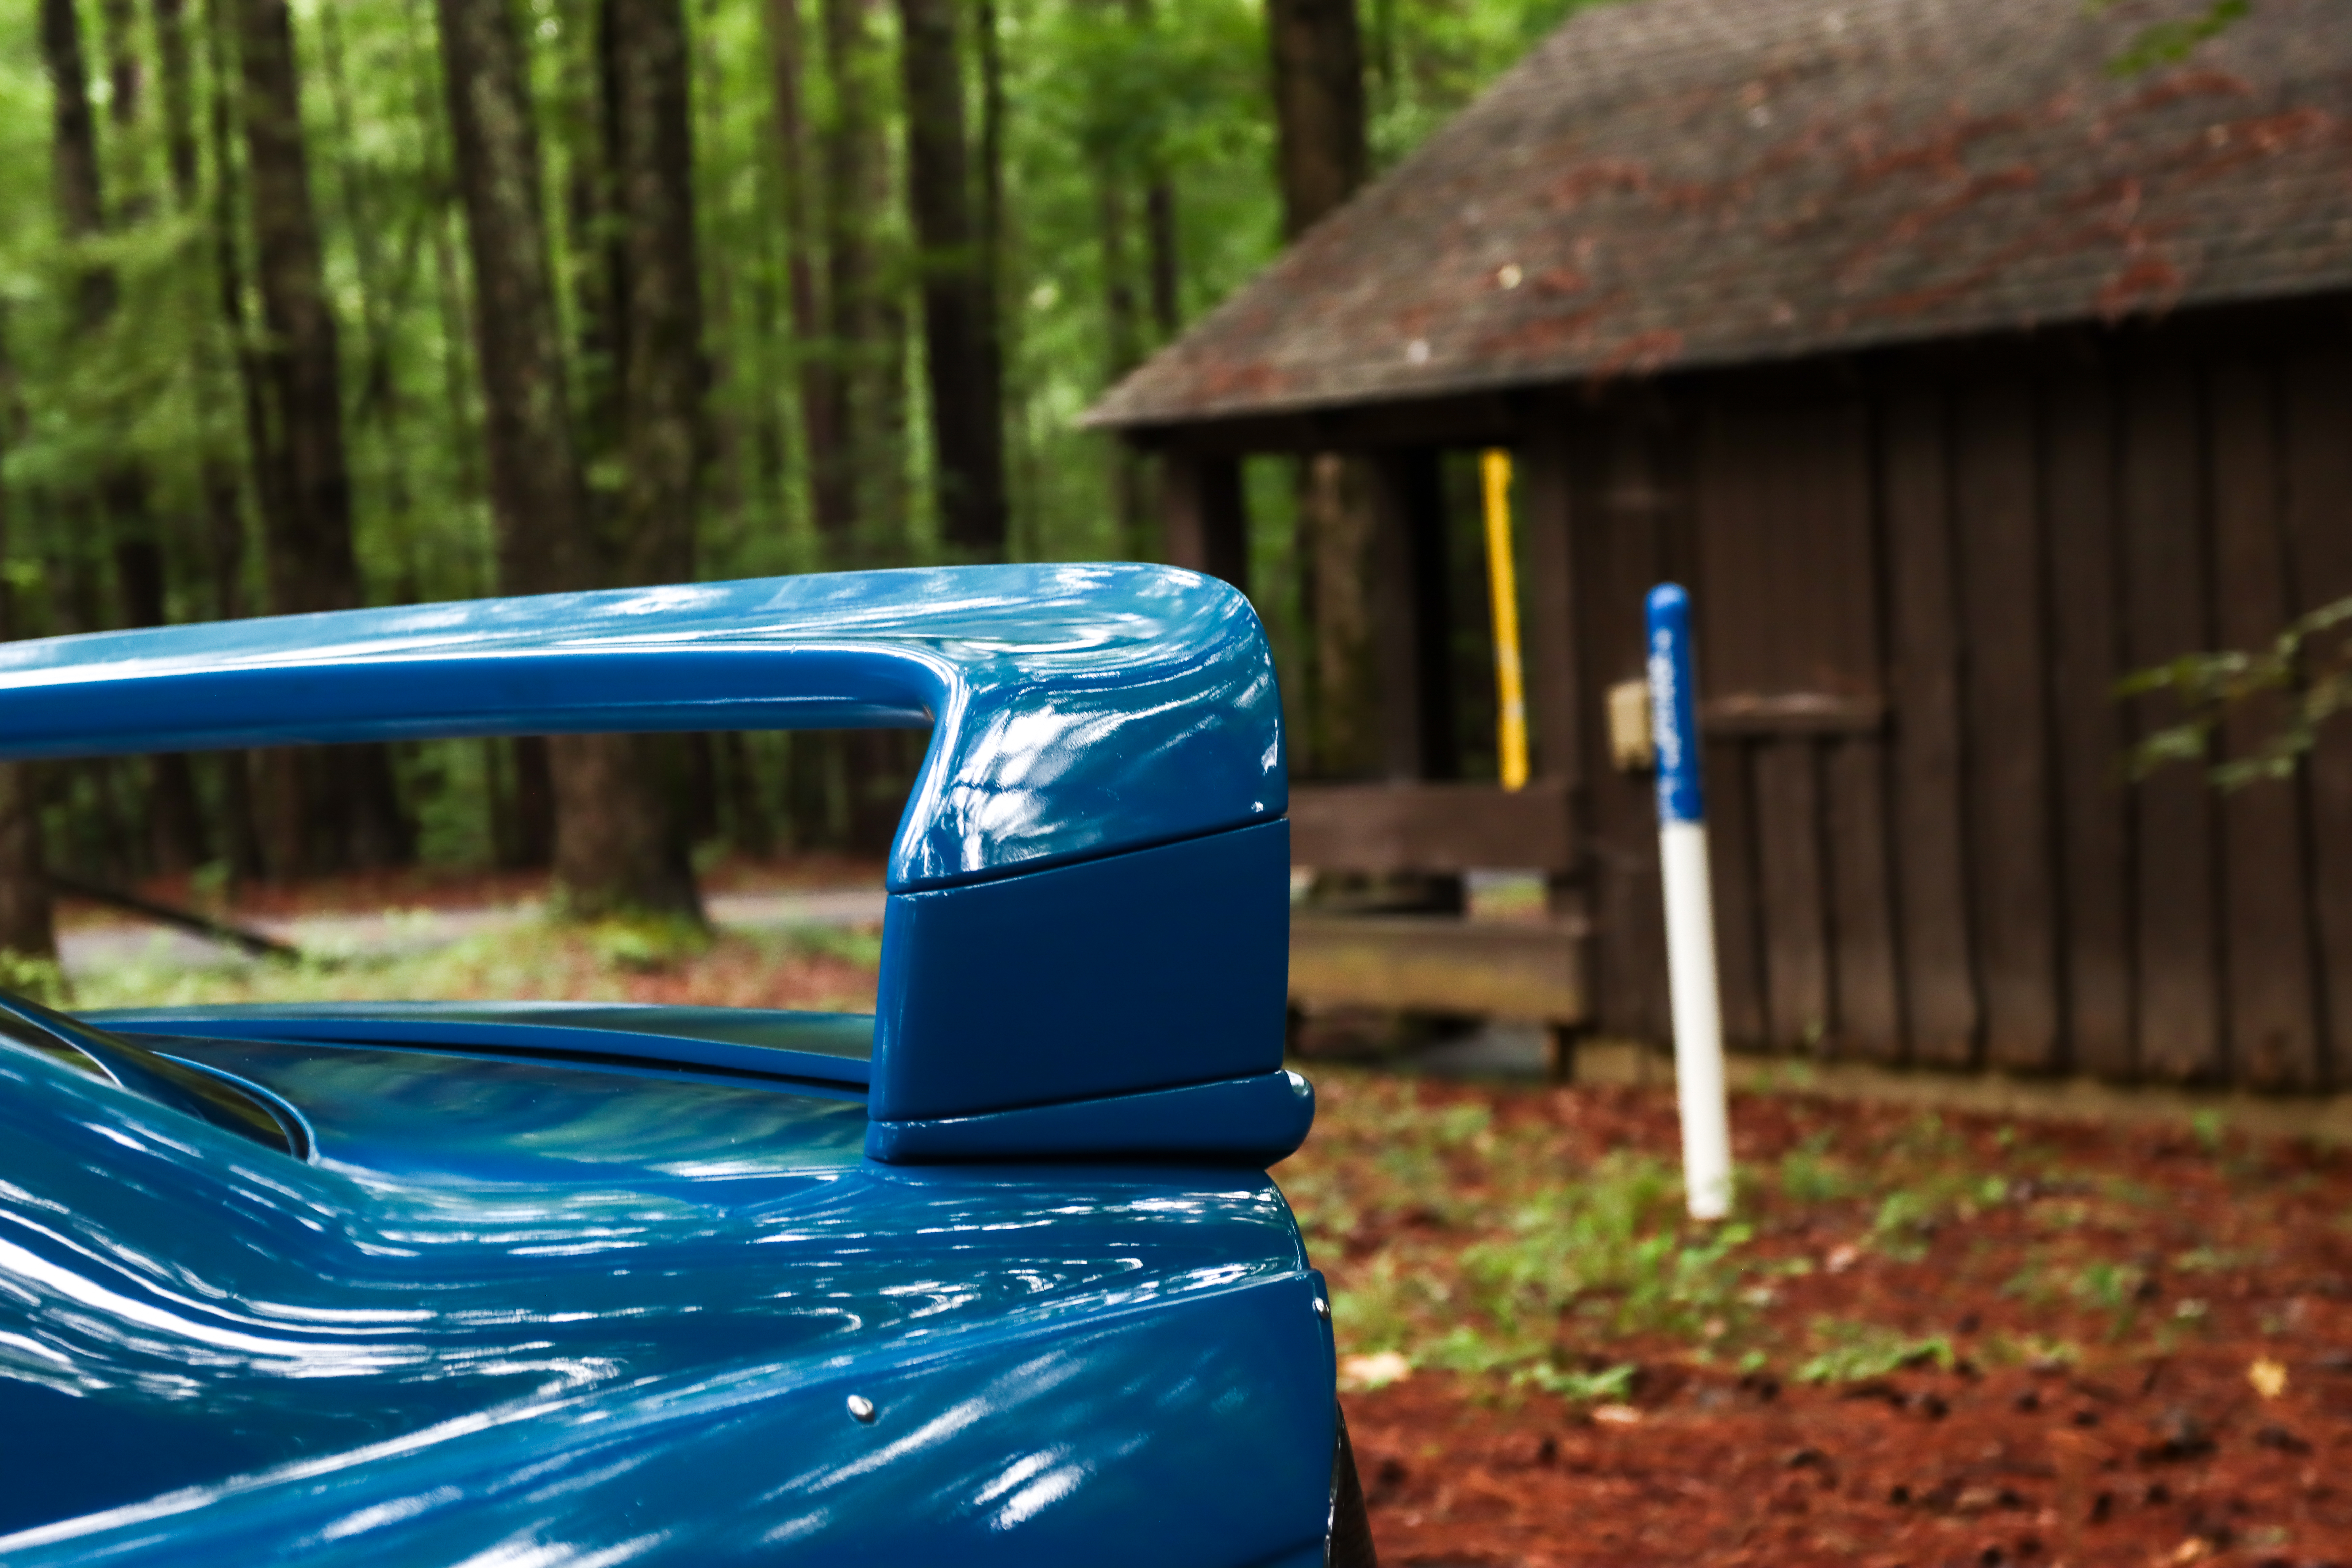
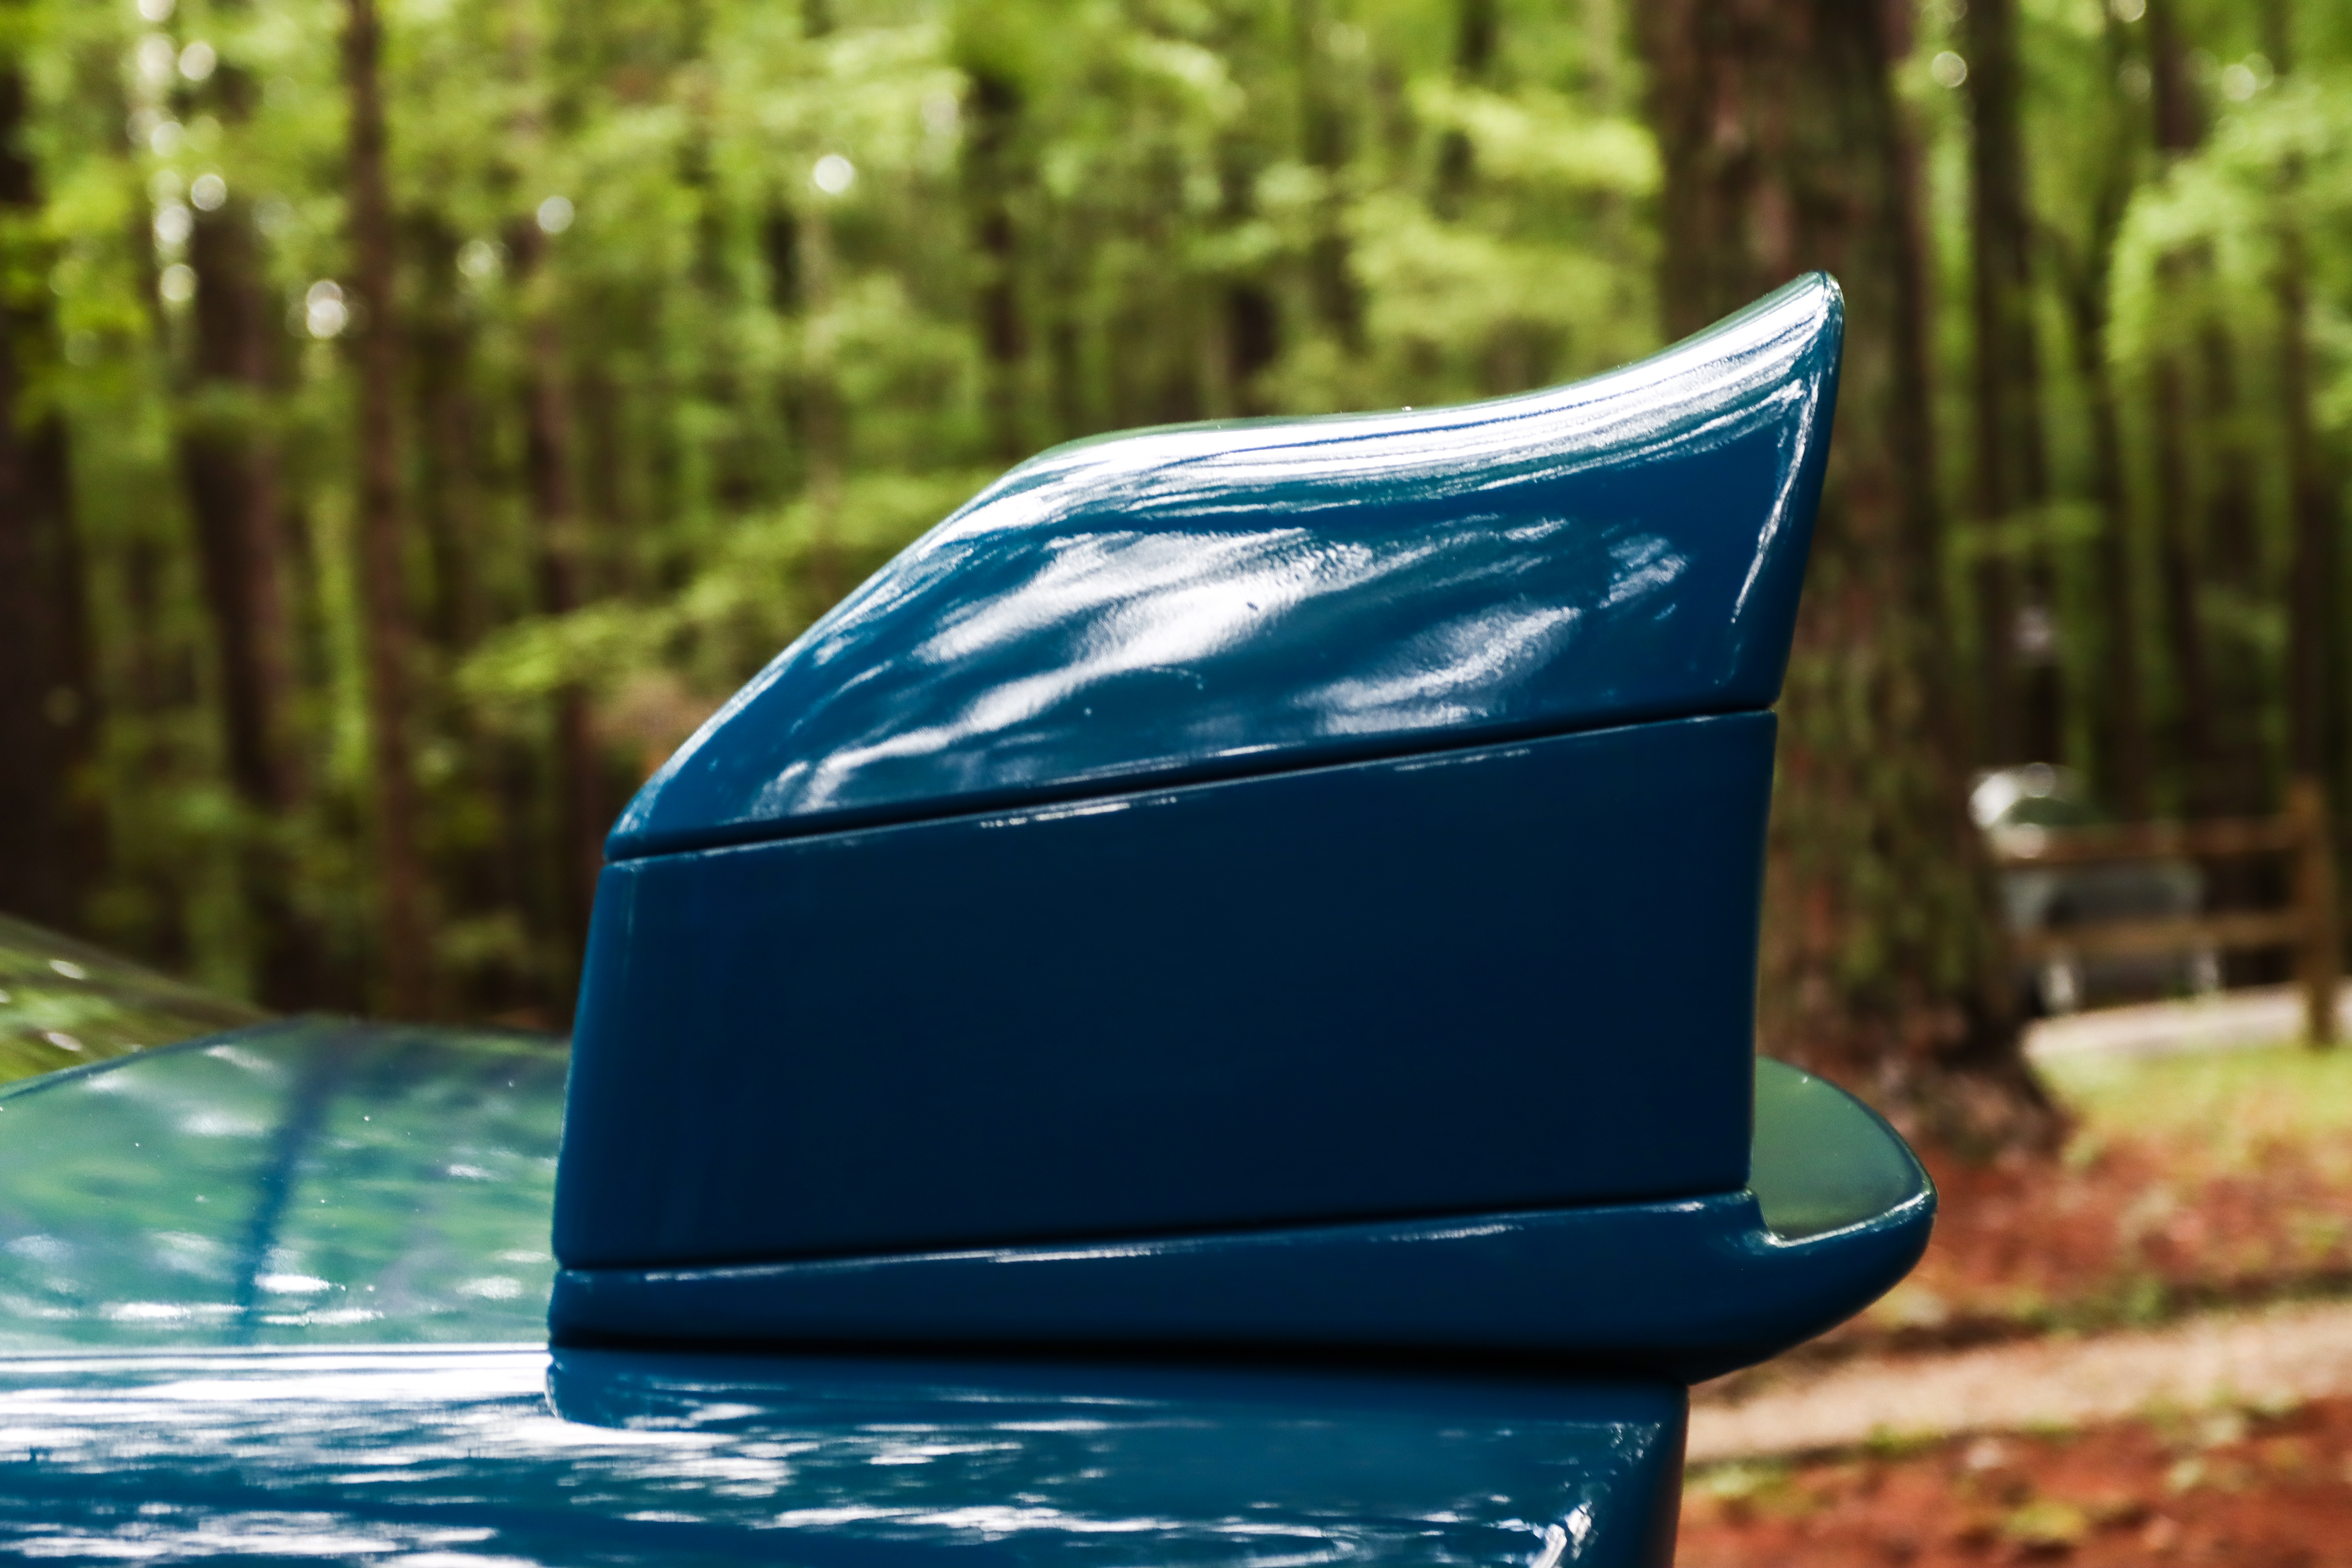
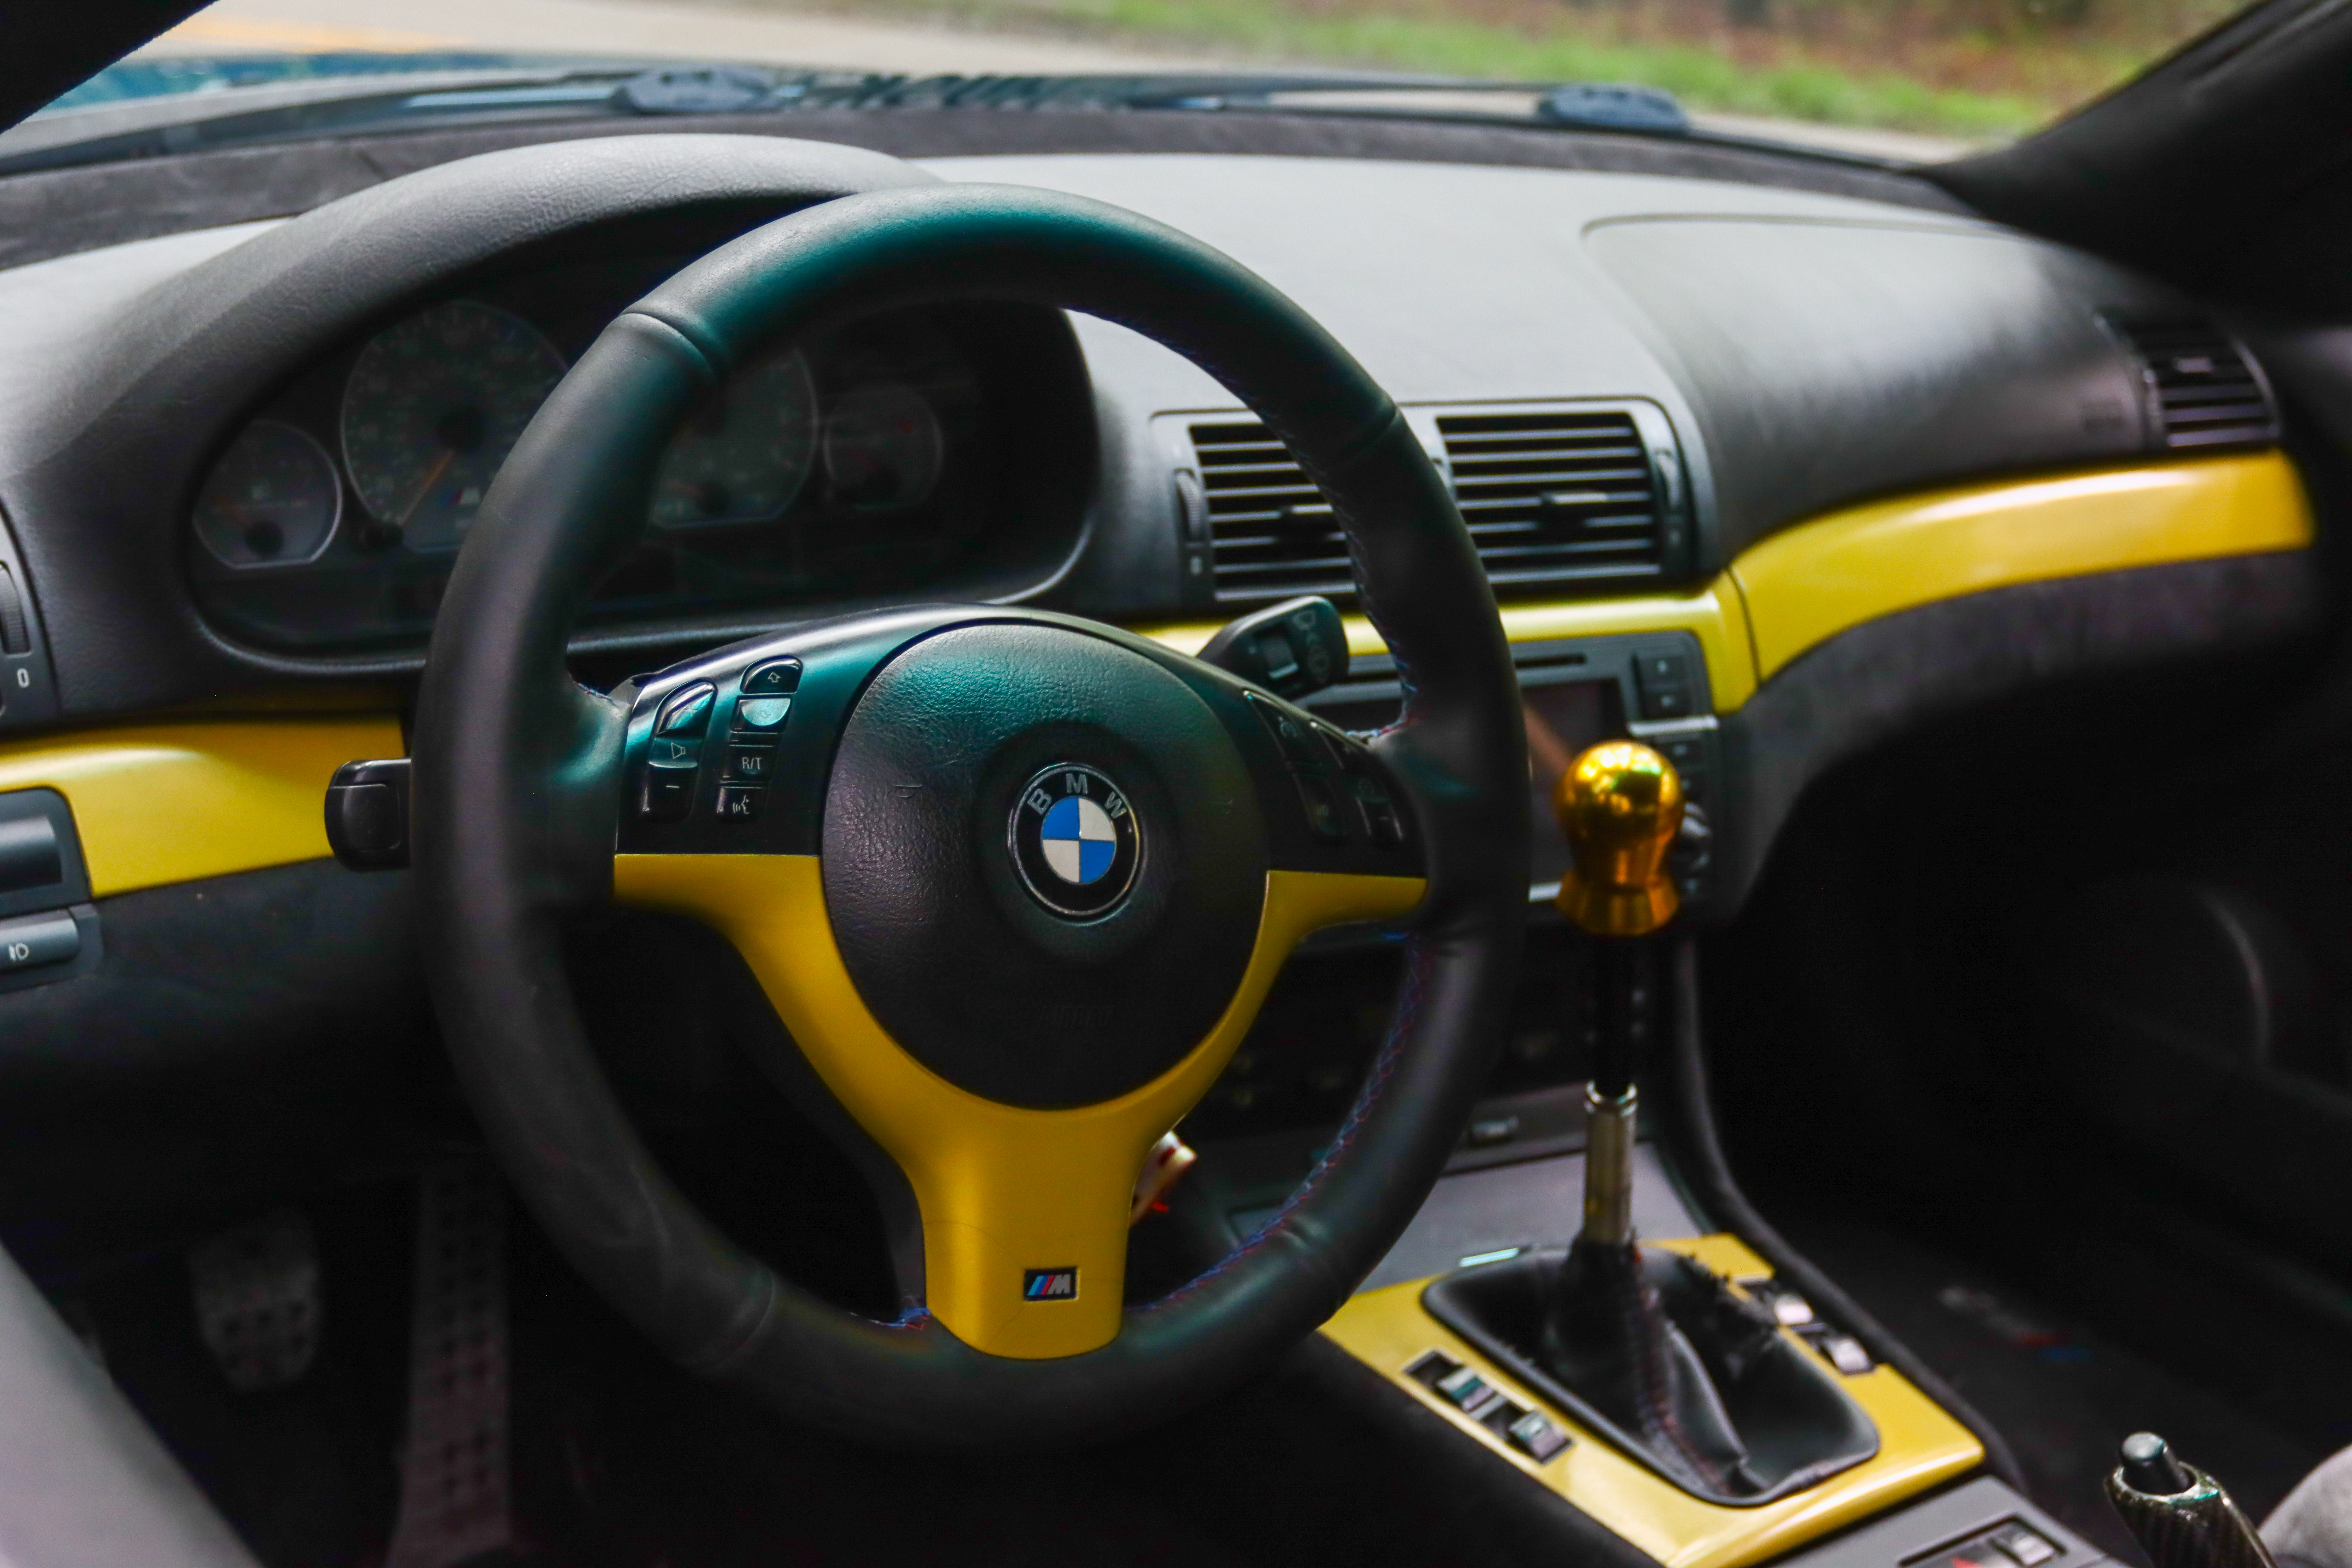
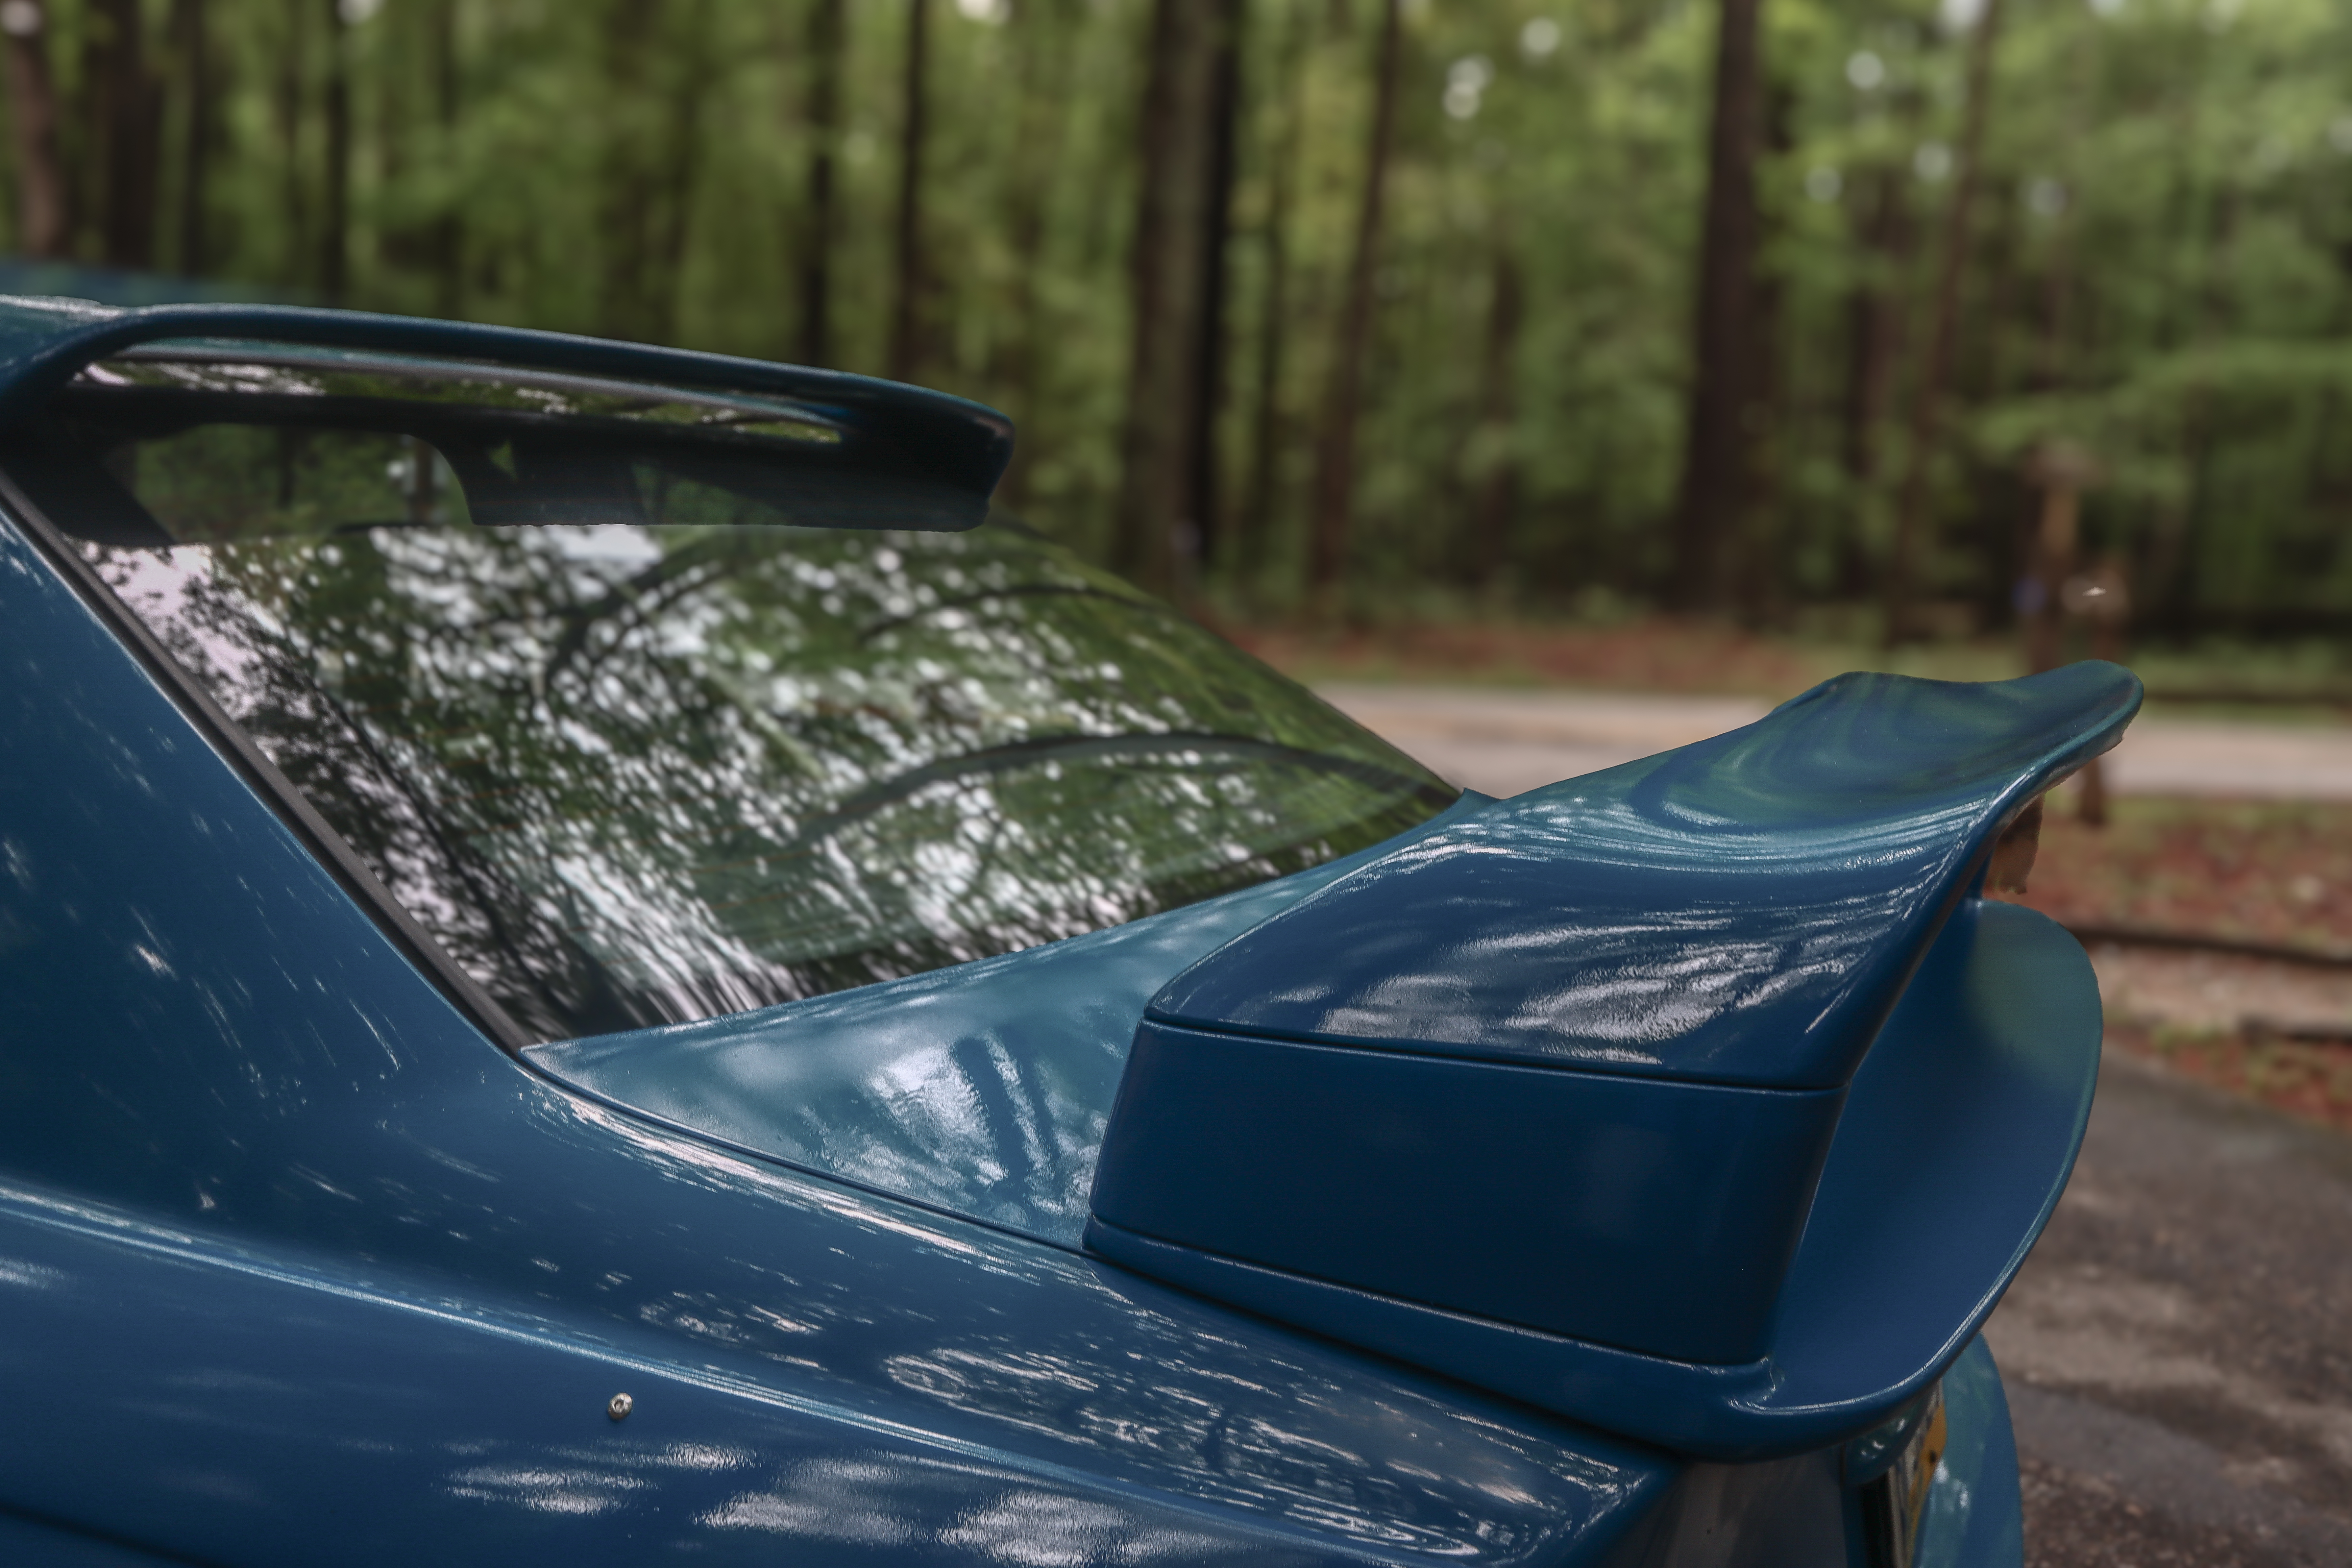
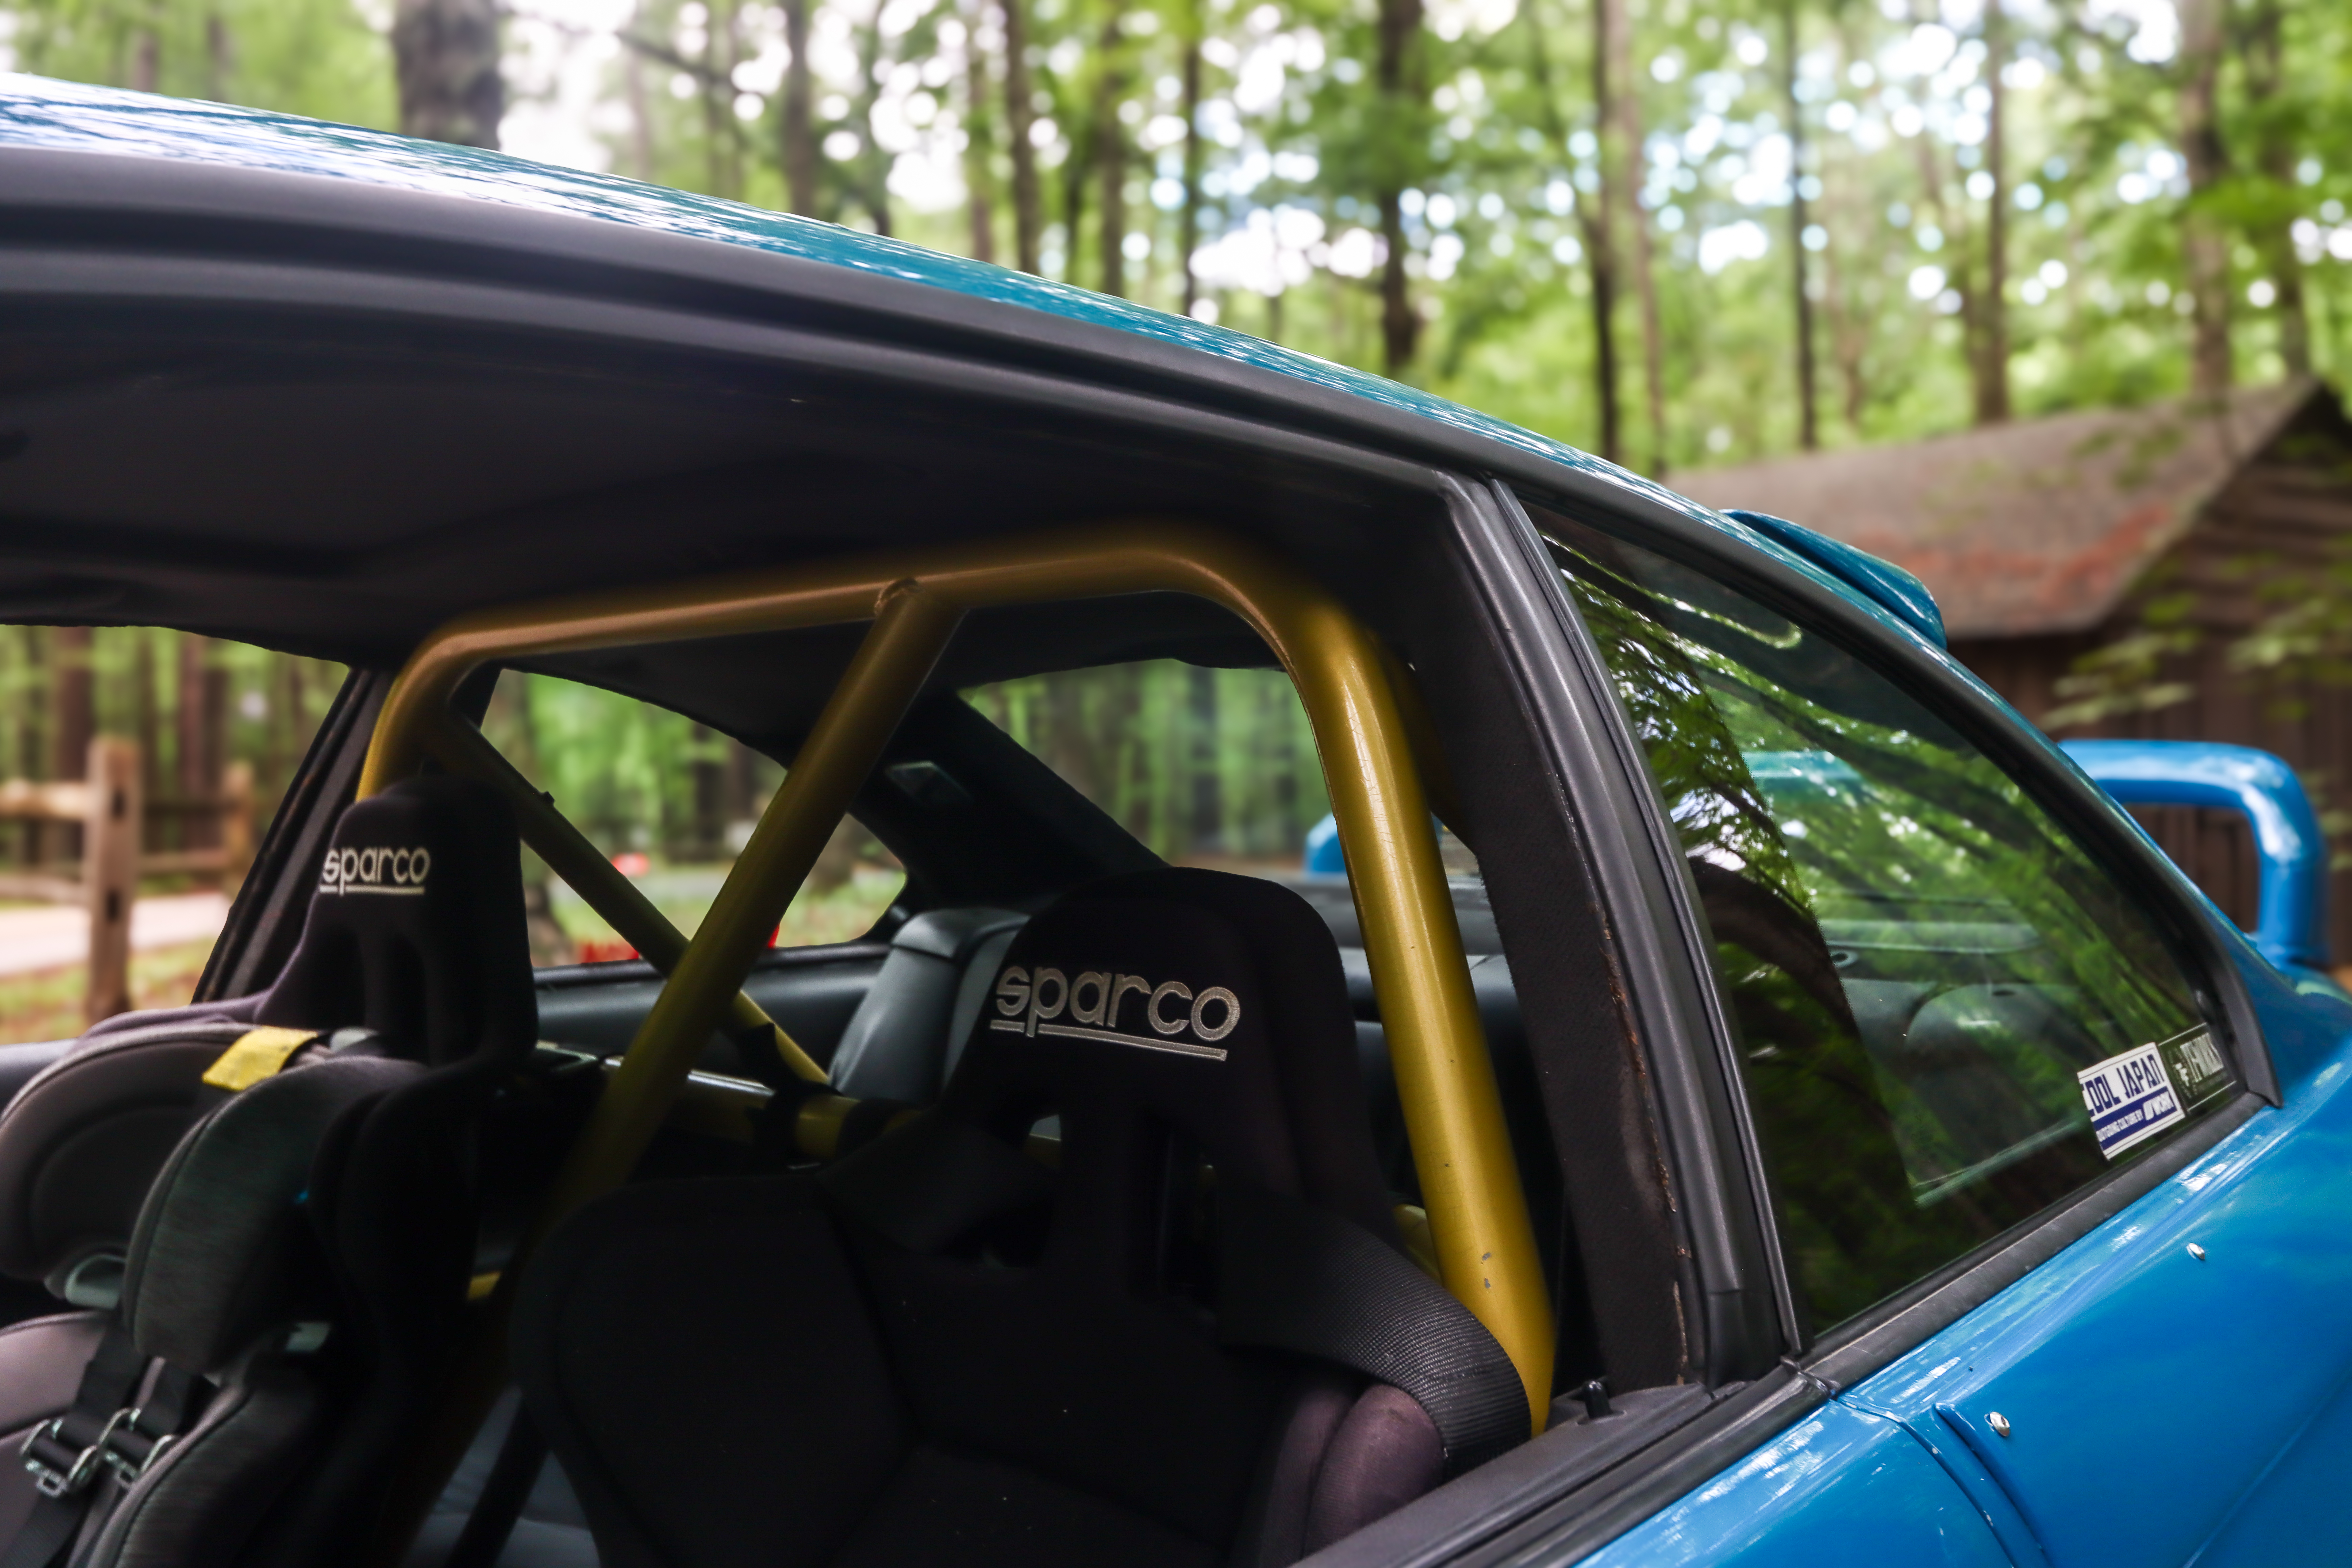
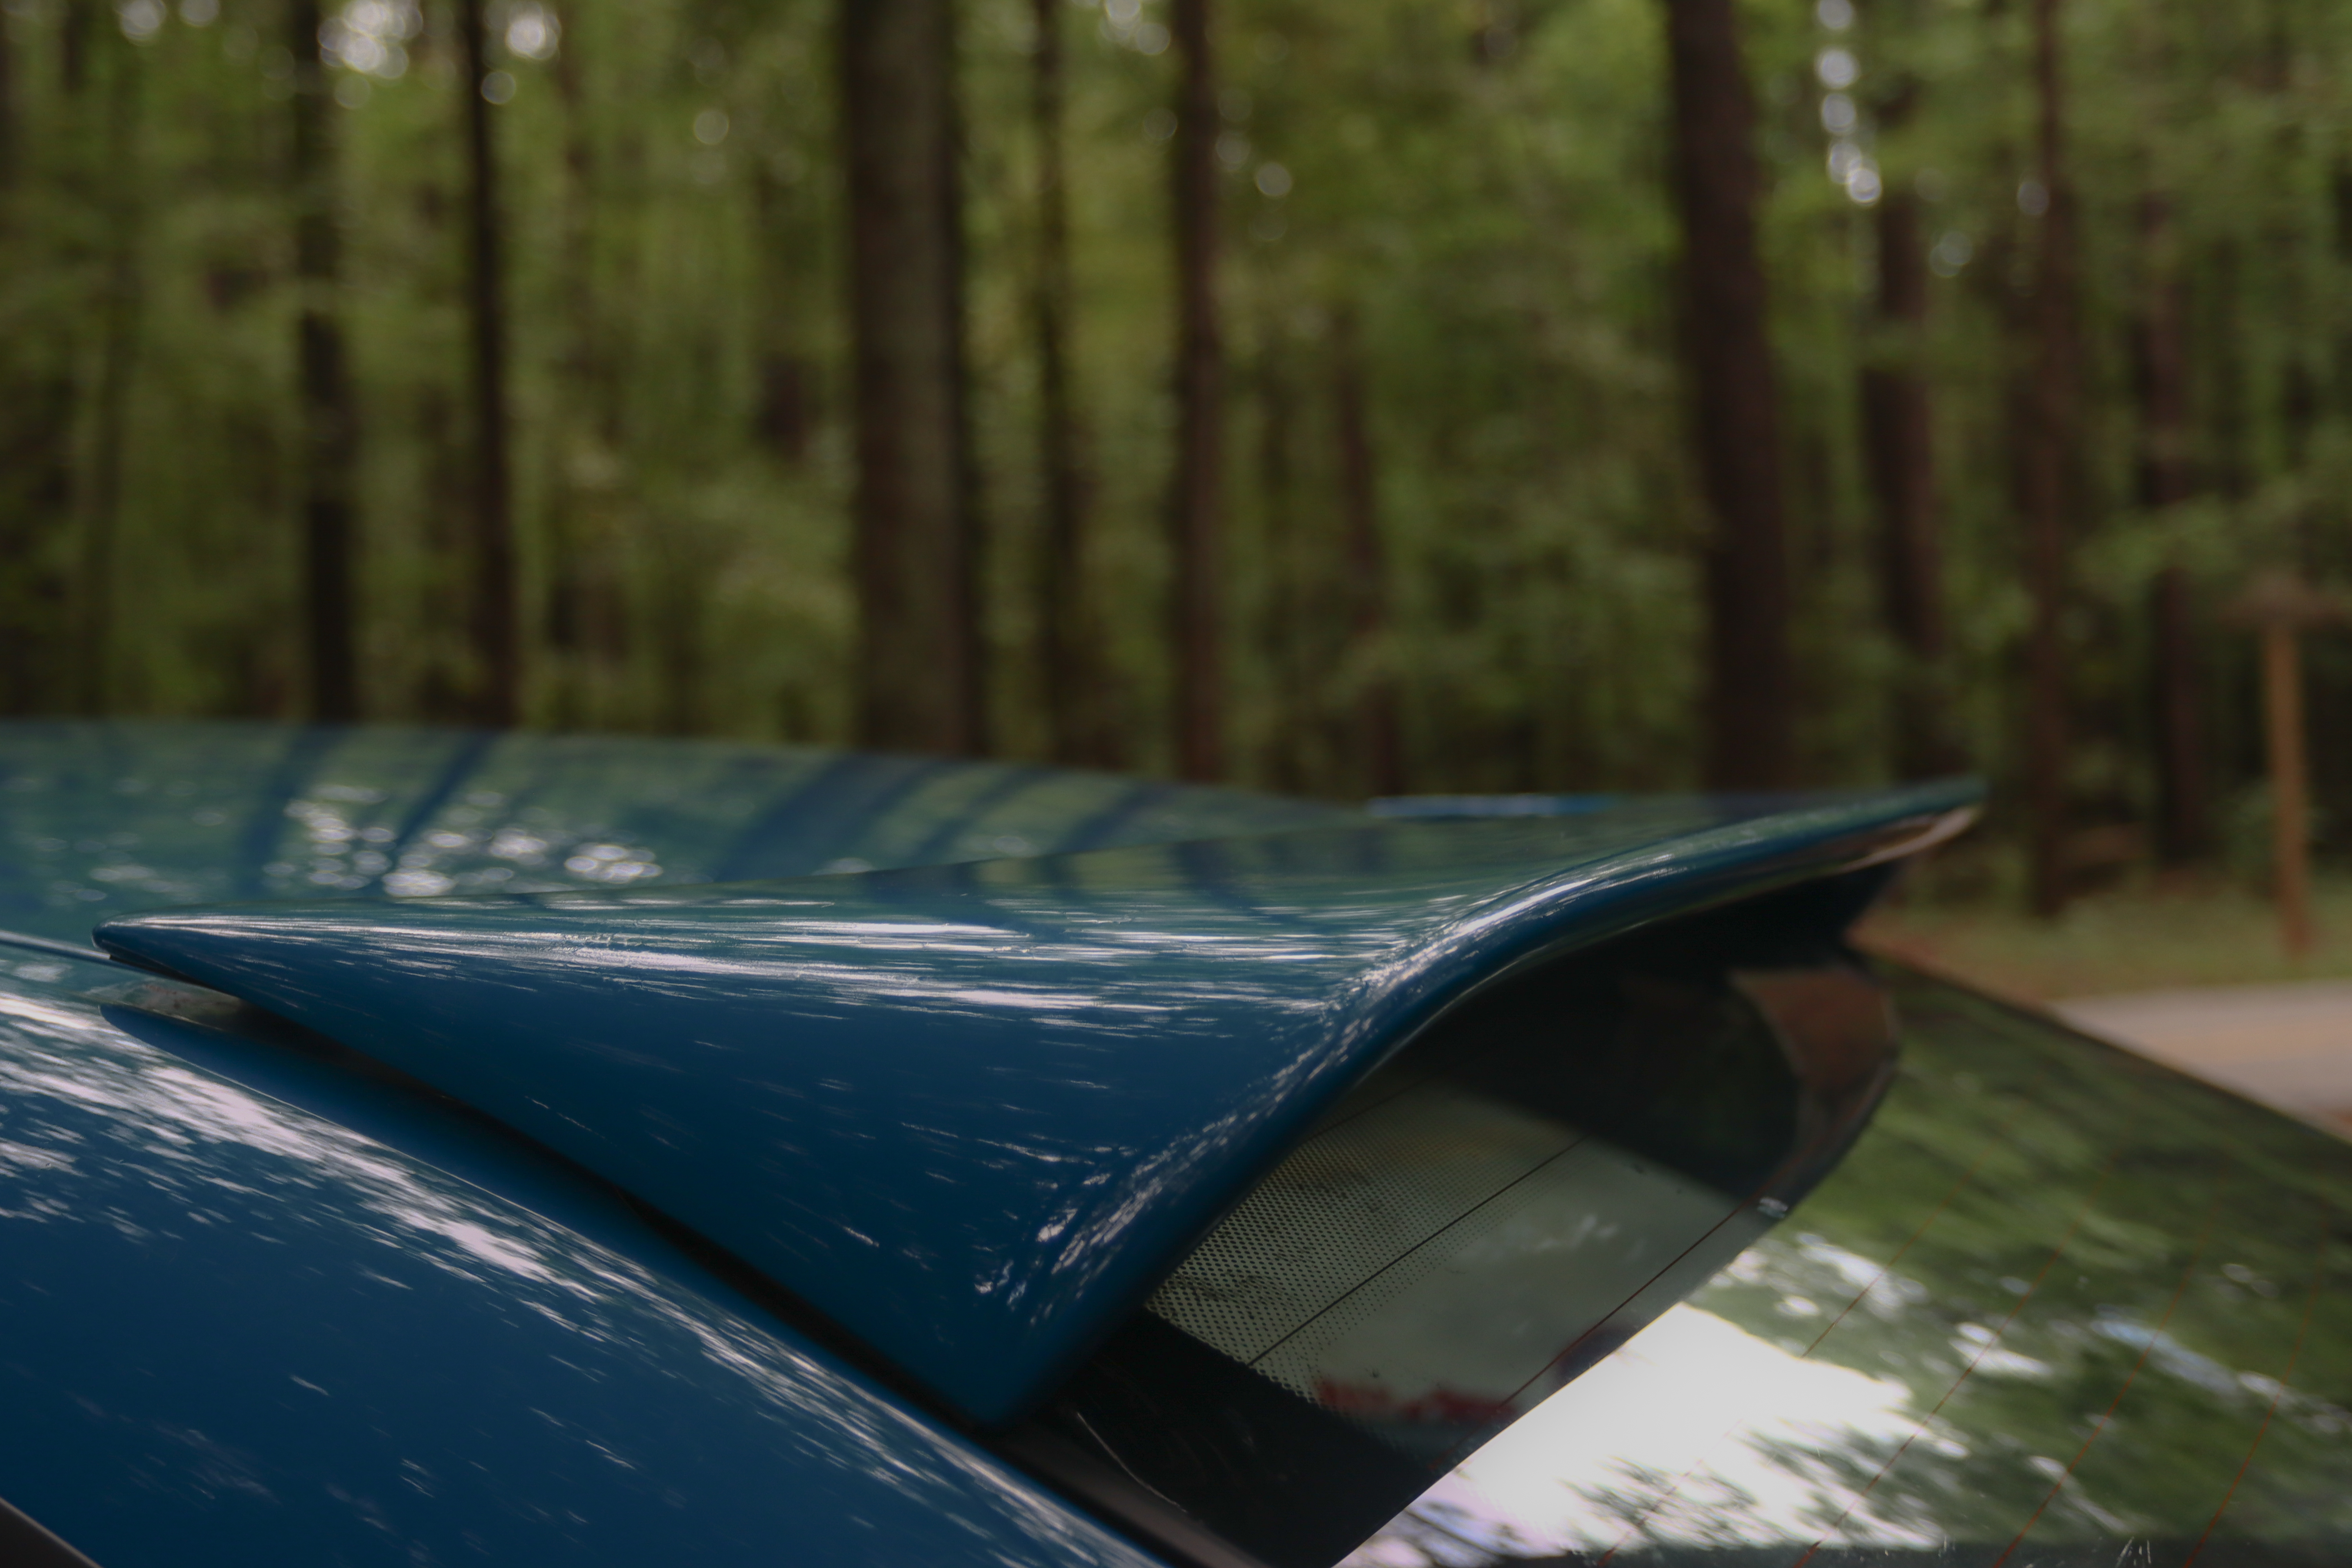
I’ve known Ray for over 20 years. We met because of drifting/cars and both of us are still doing the same thing. We both ended up in NC from the North East. Today we linked up to do Cars and Coffee and a quick photoshoot after. Thank you Ray.
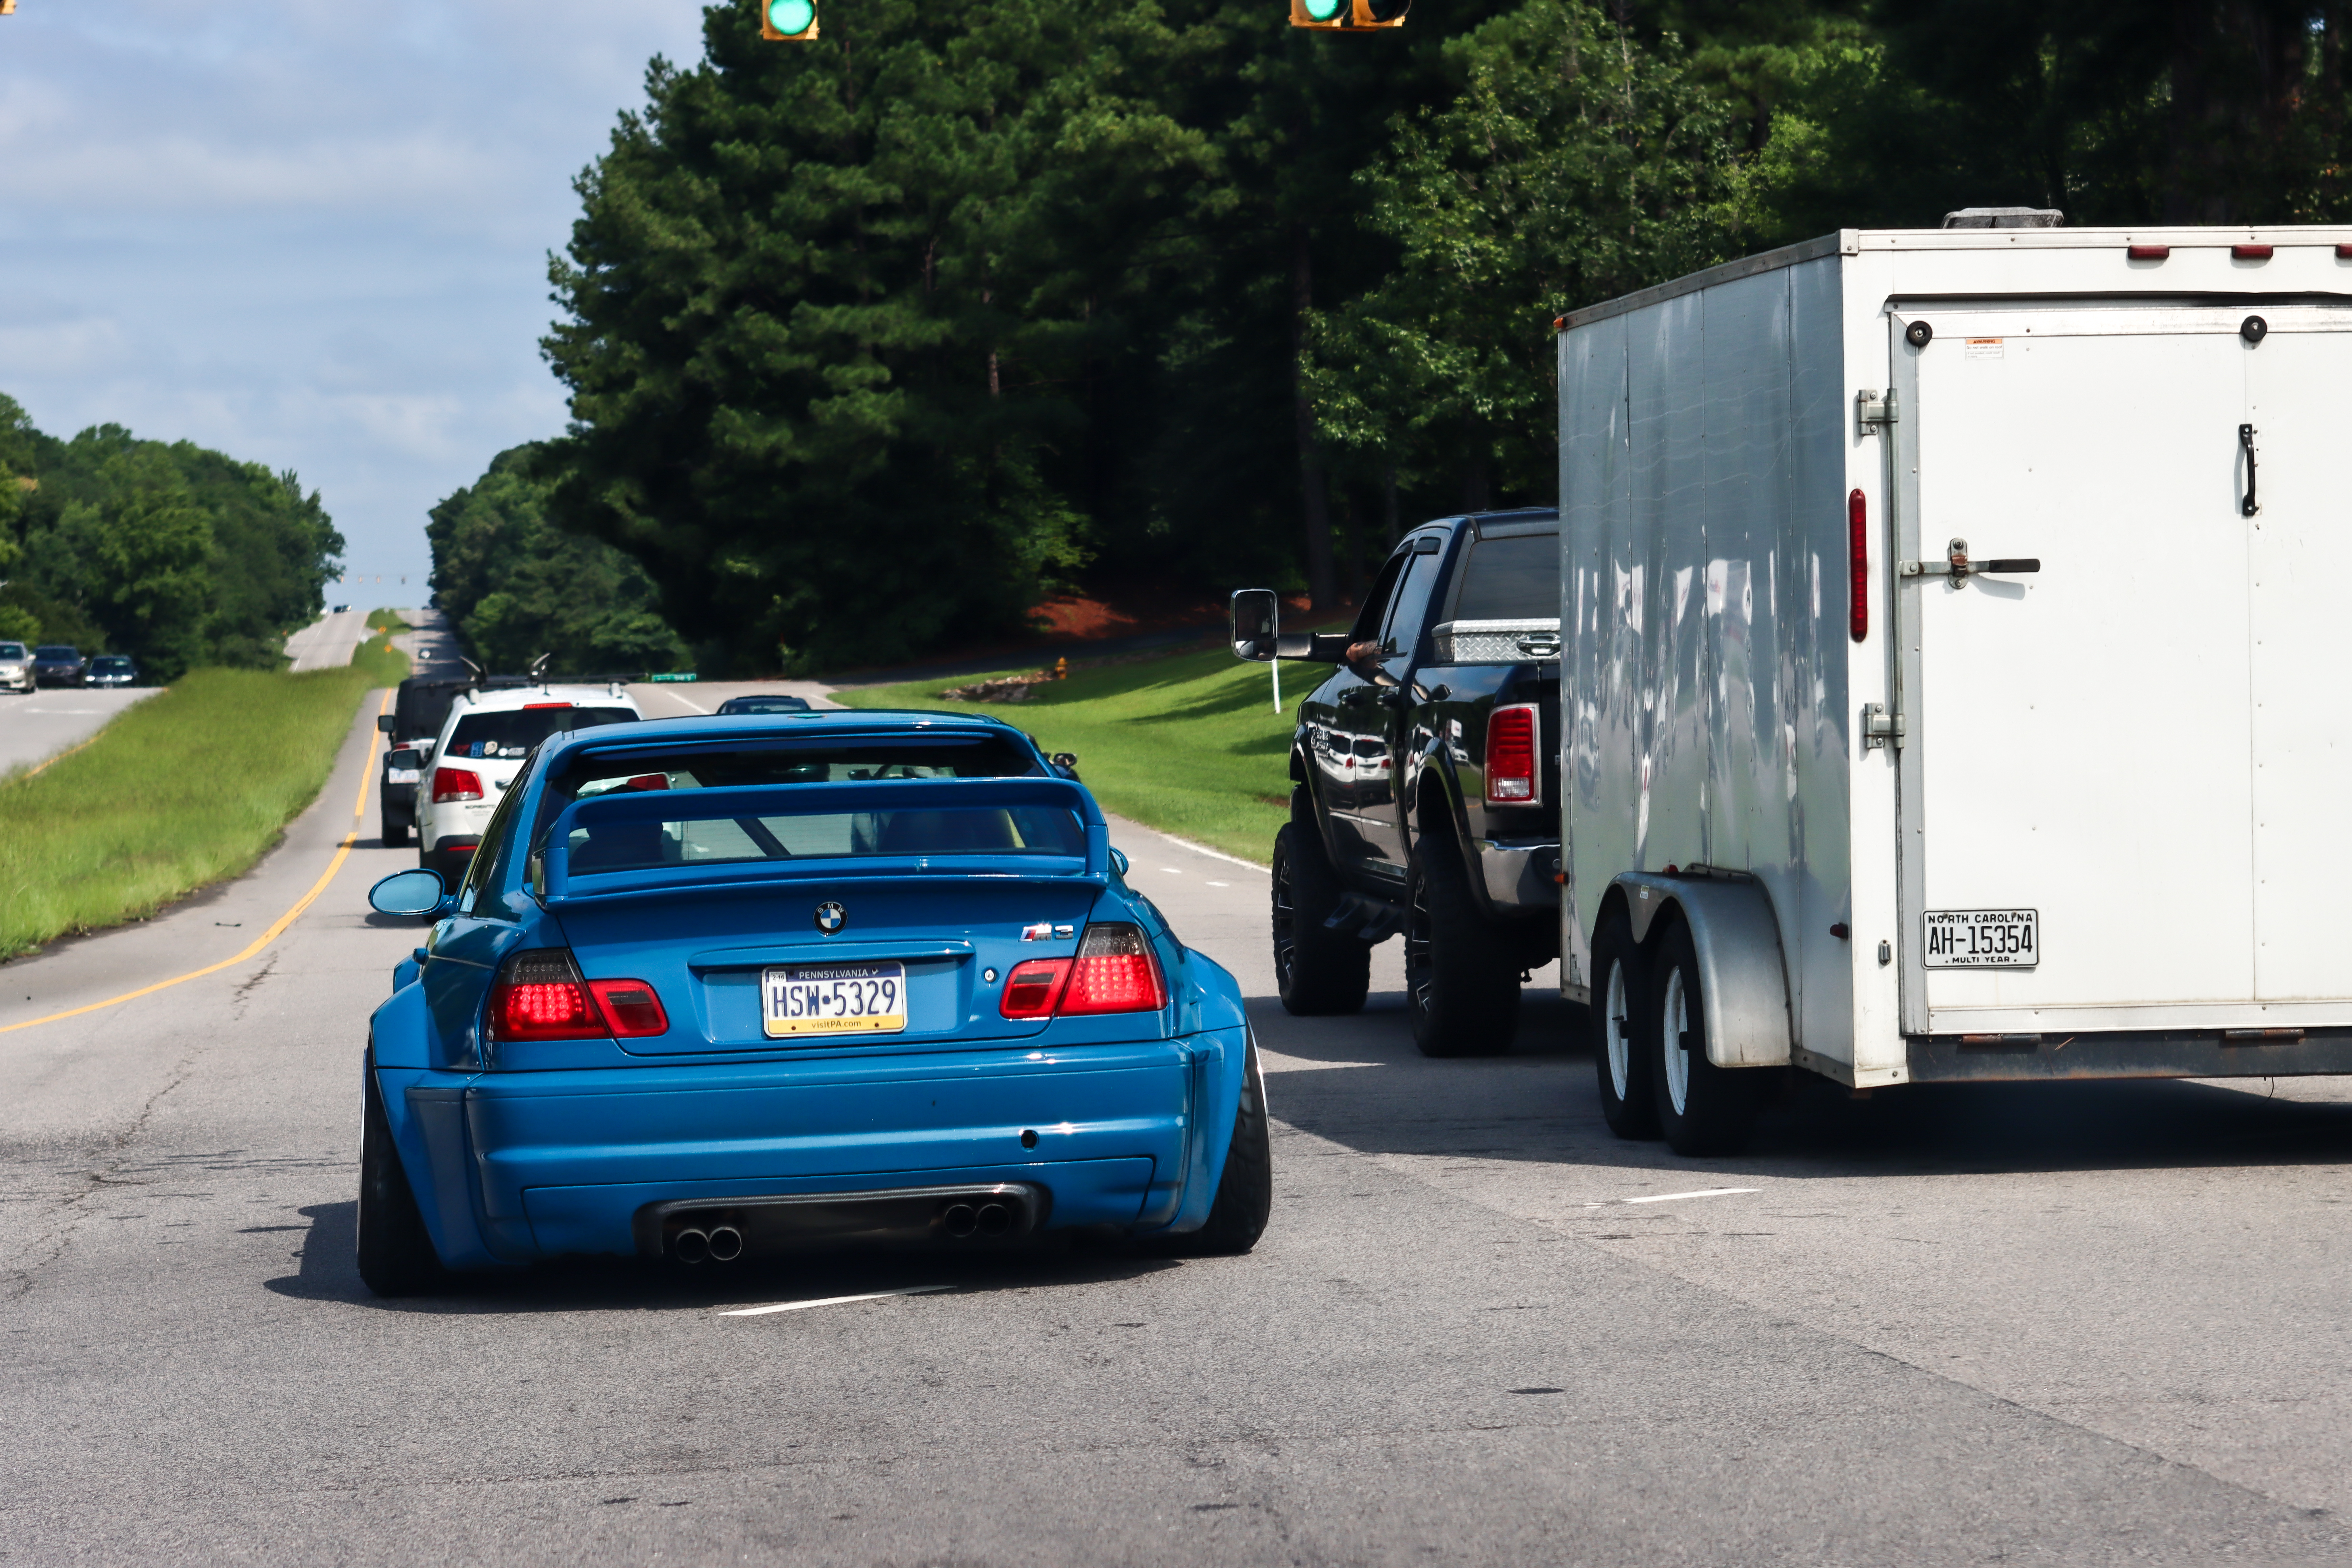
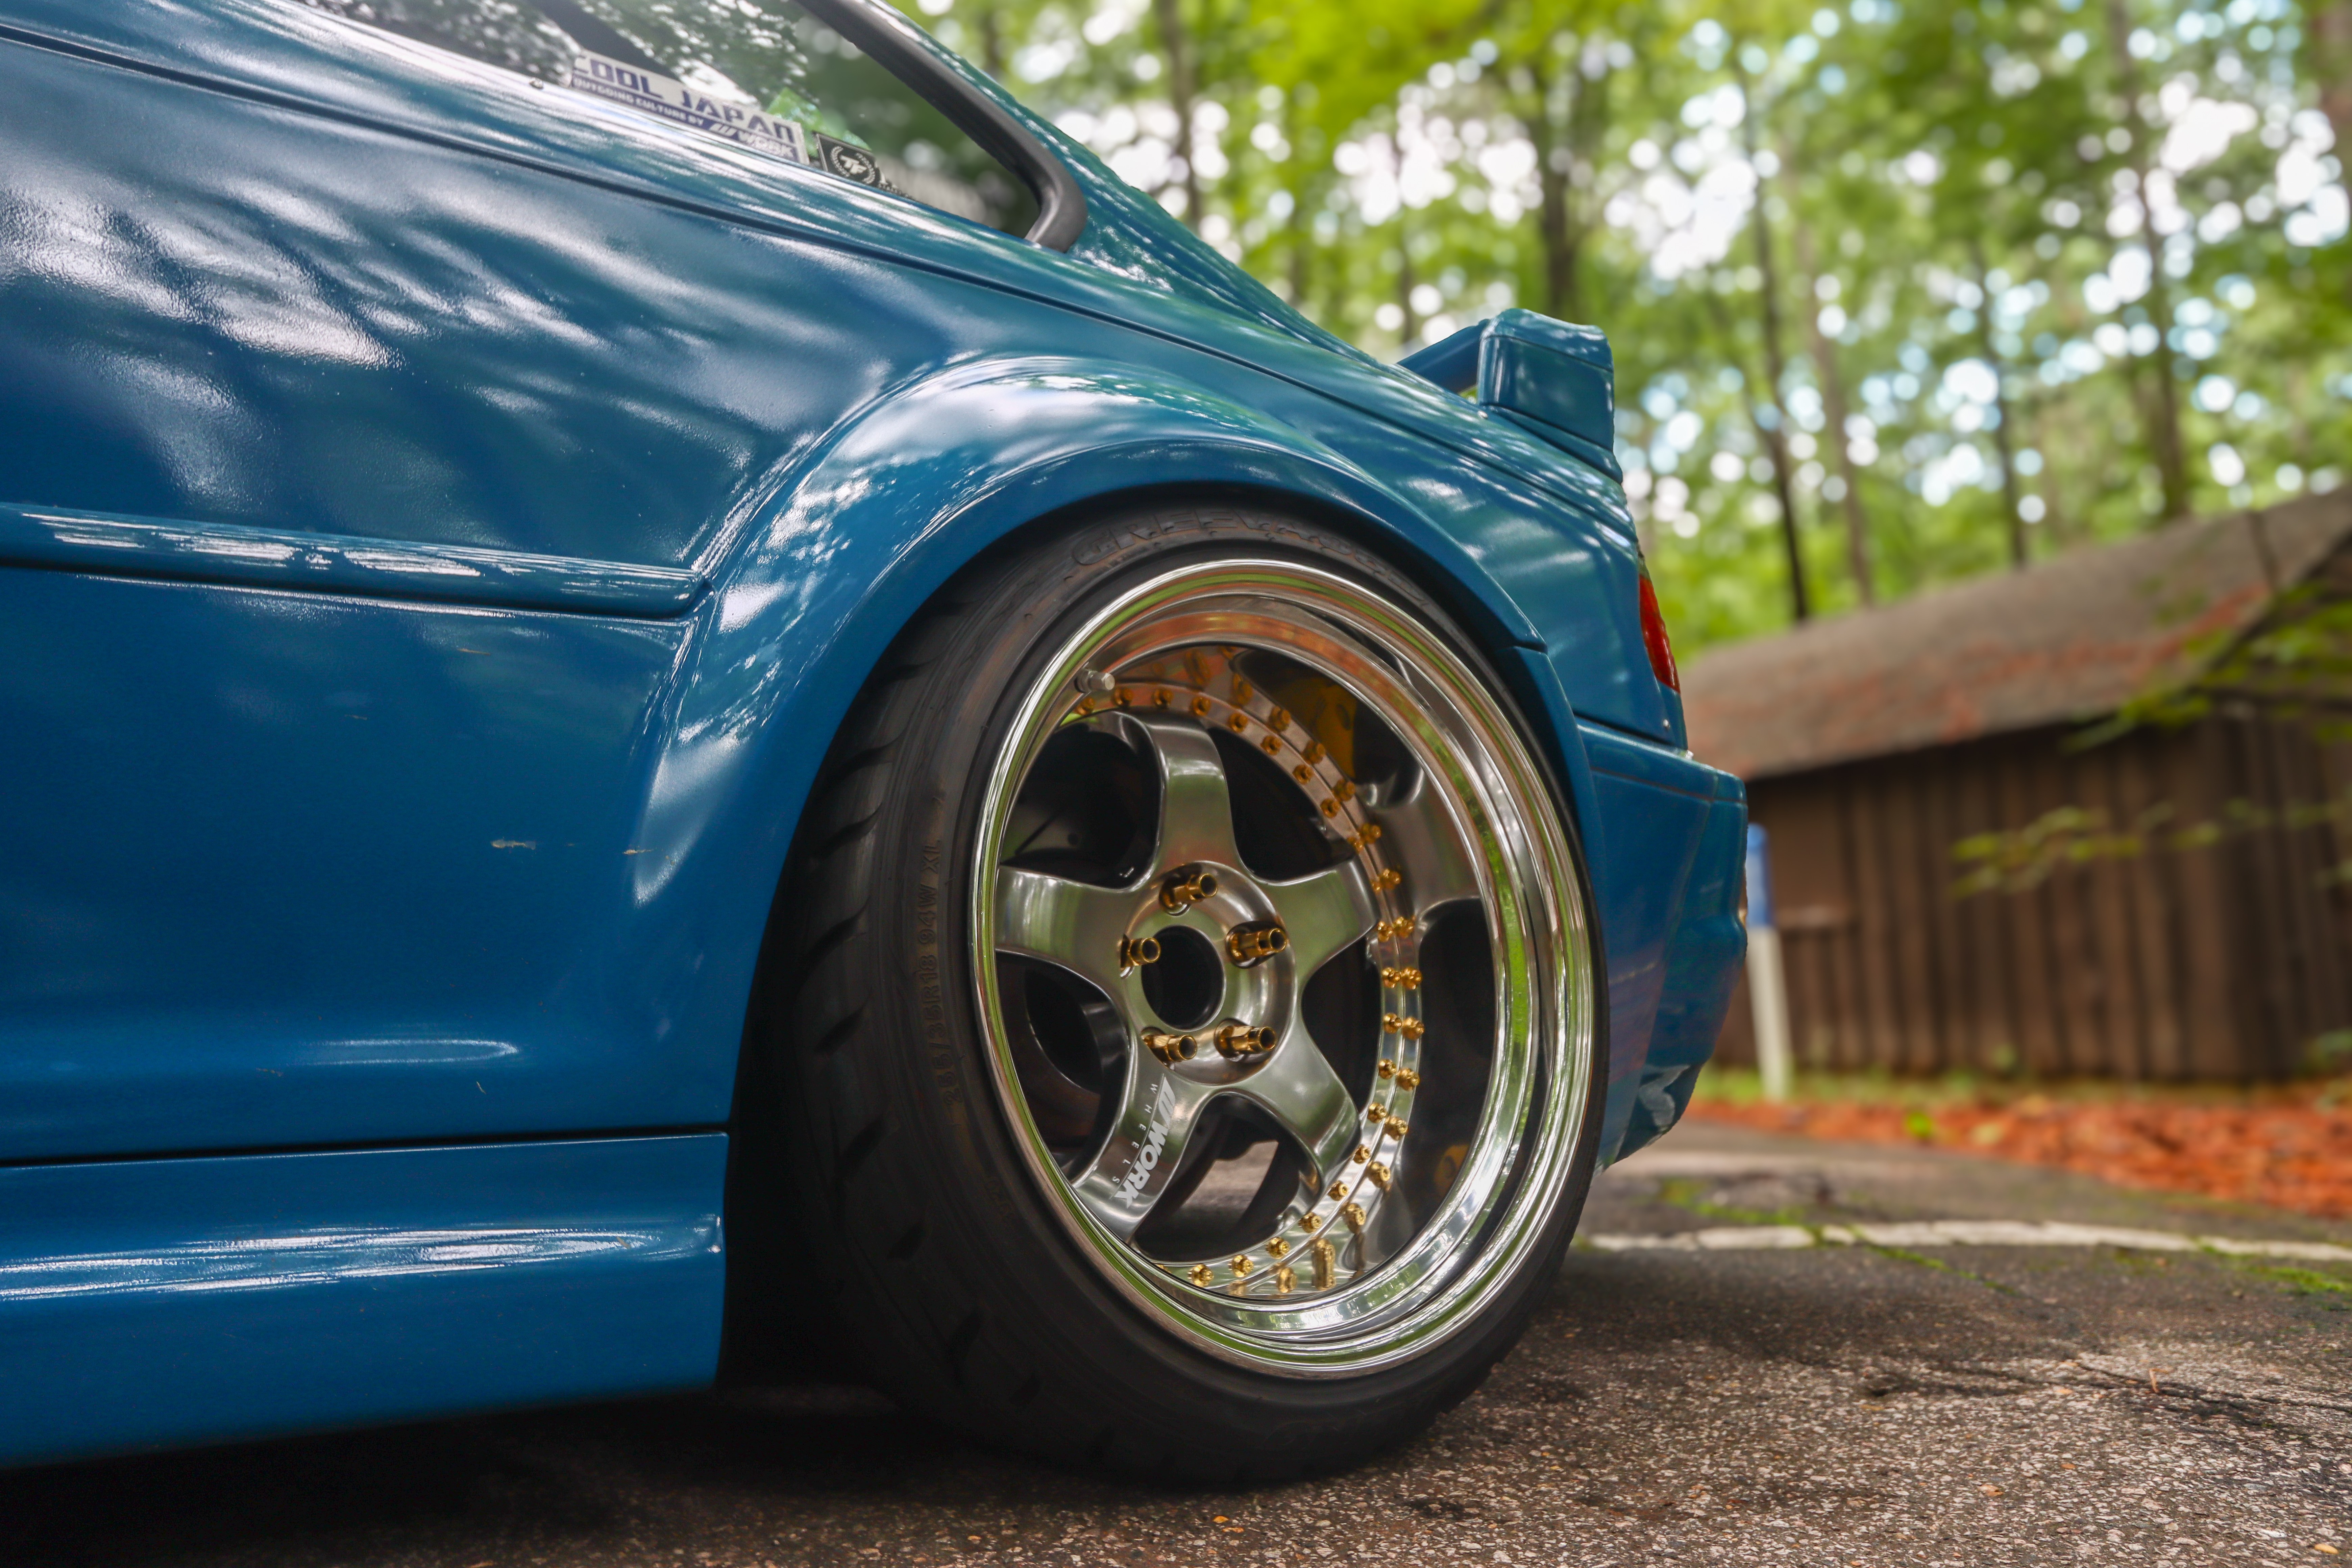
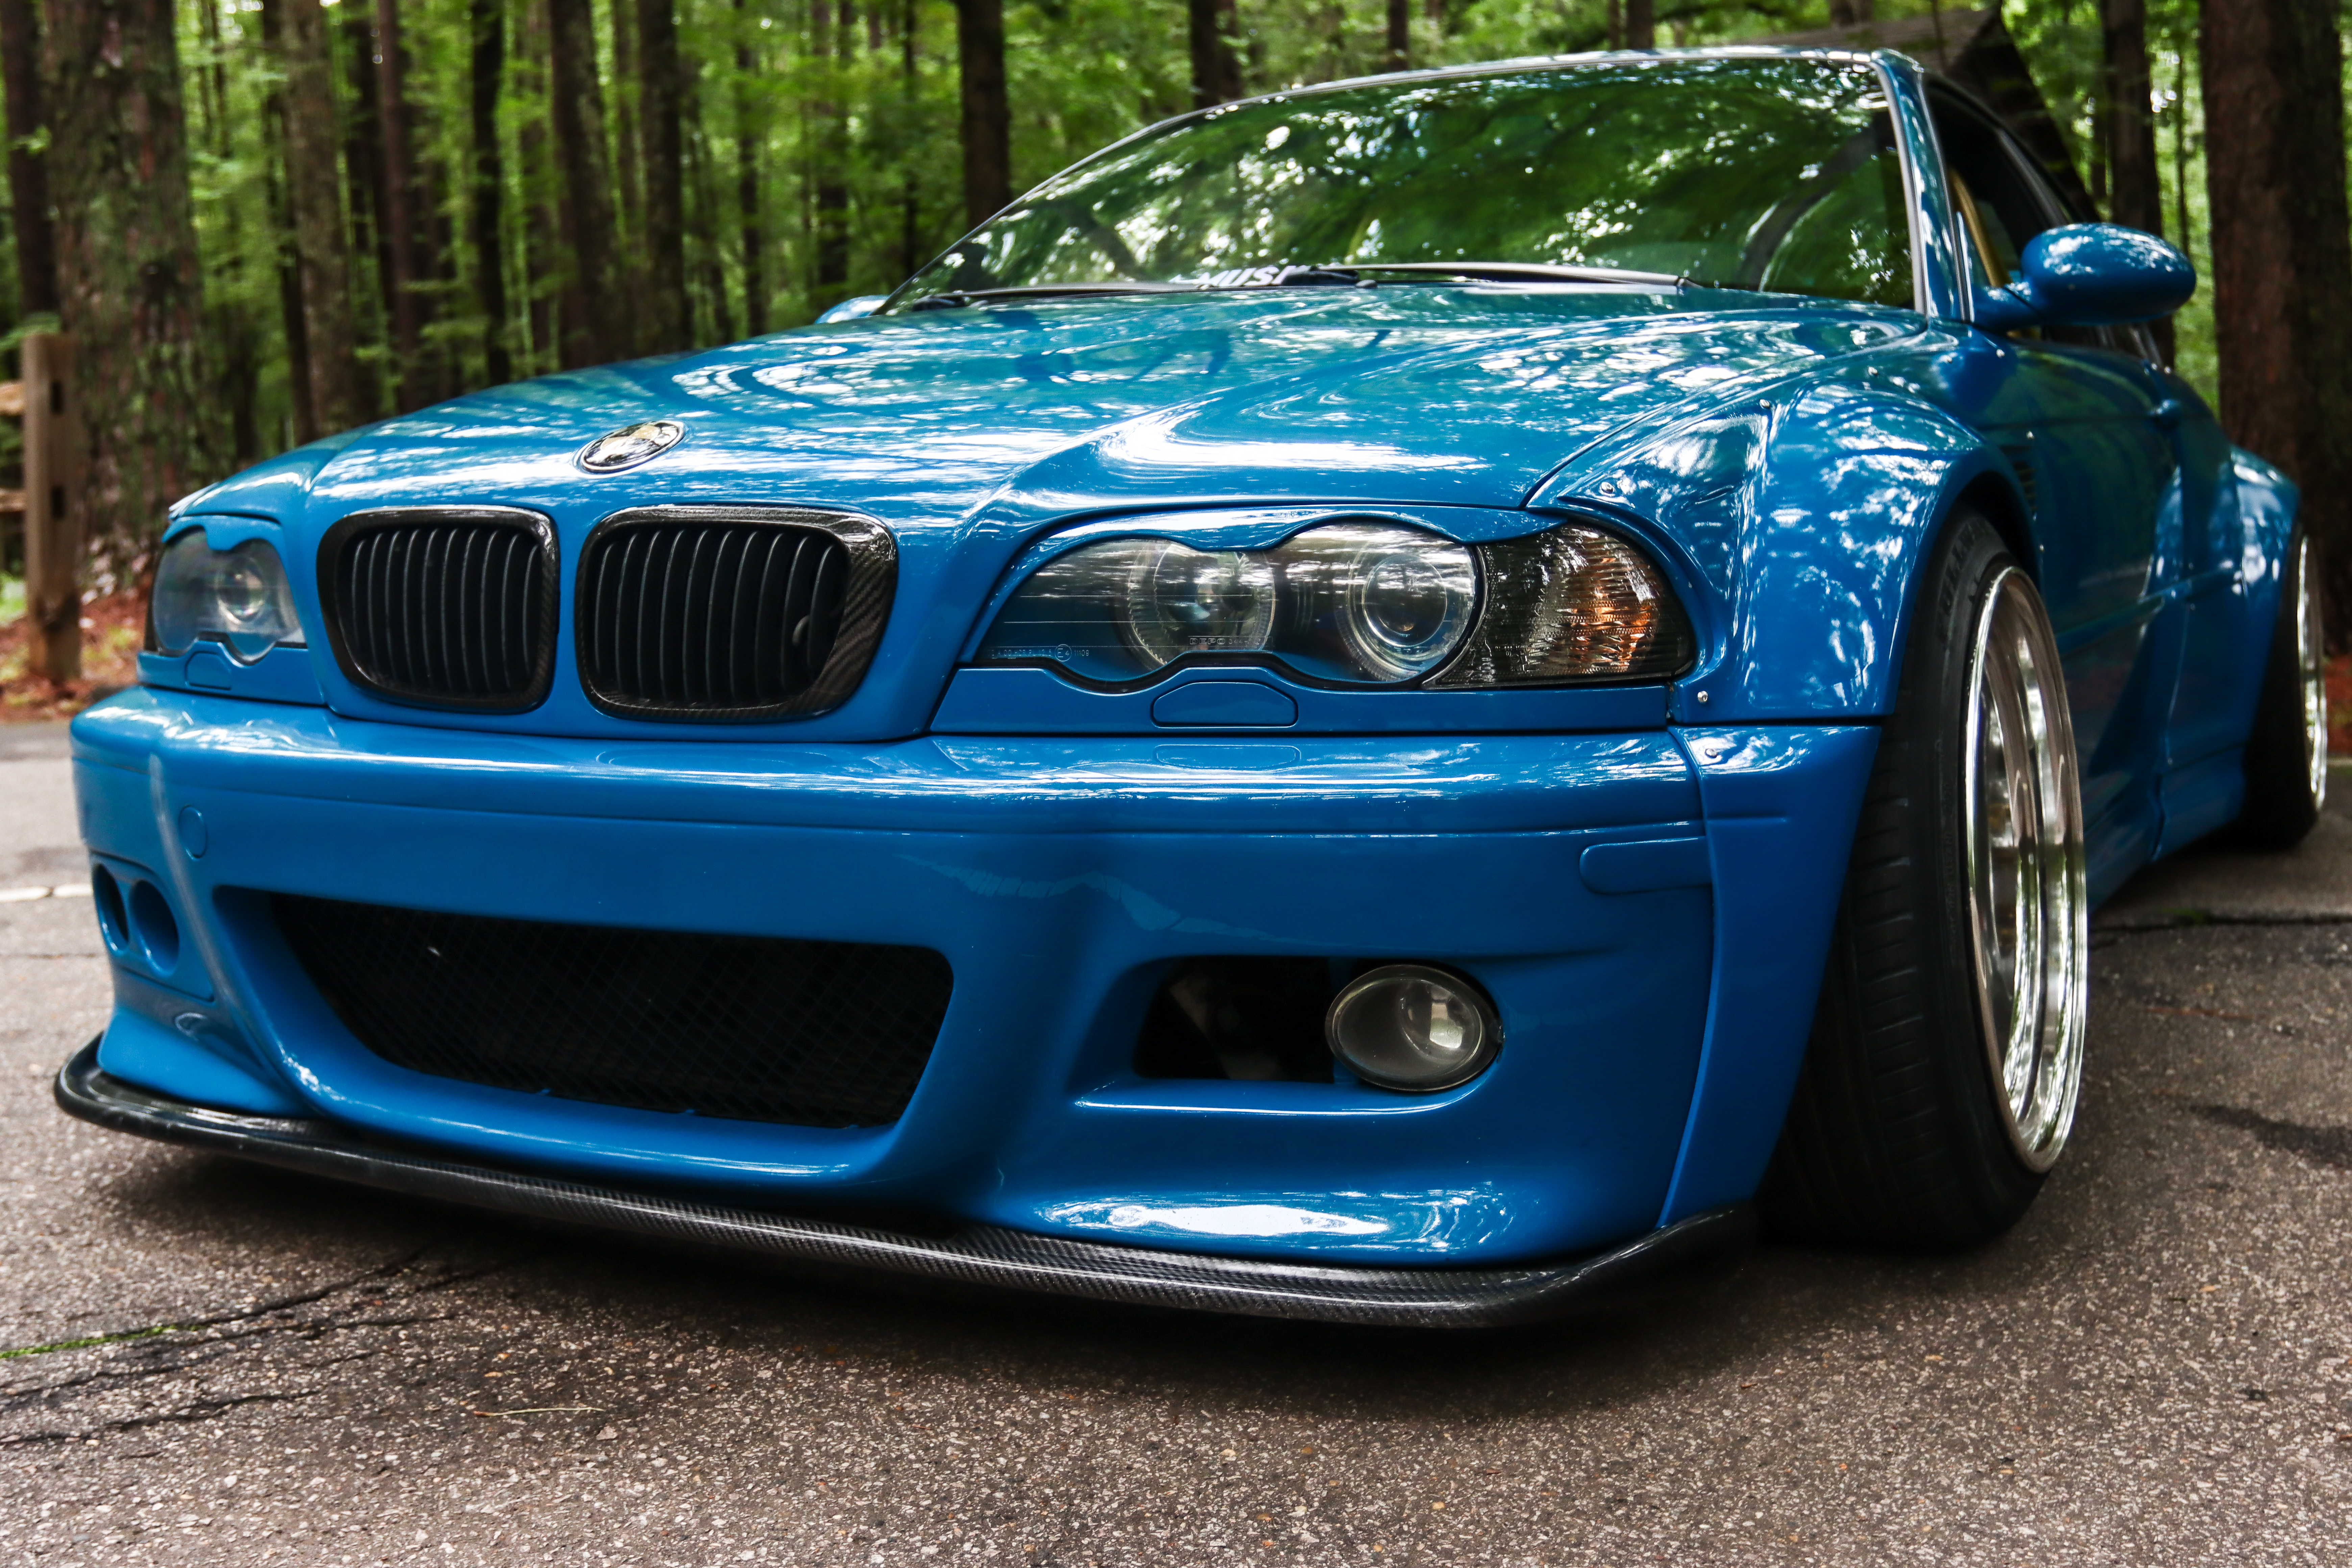
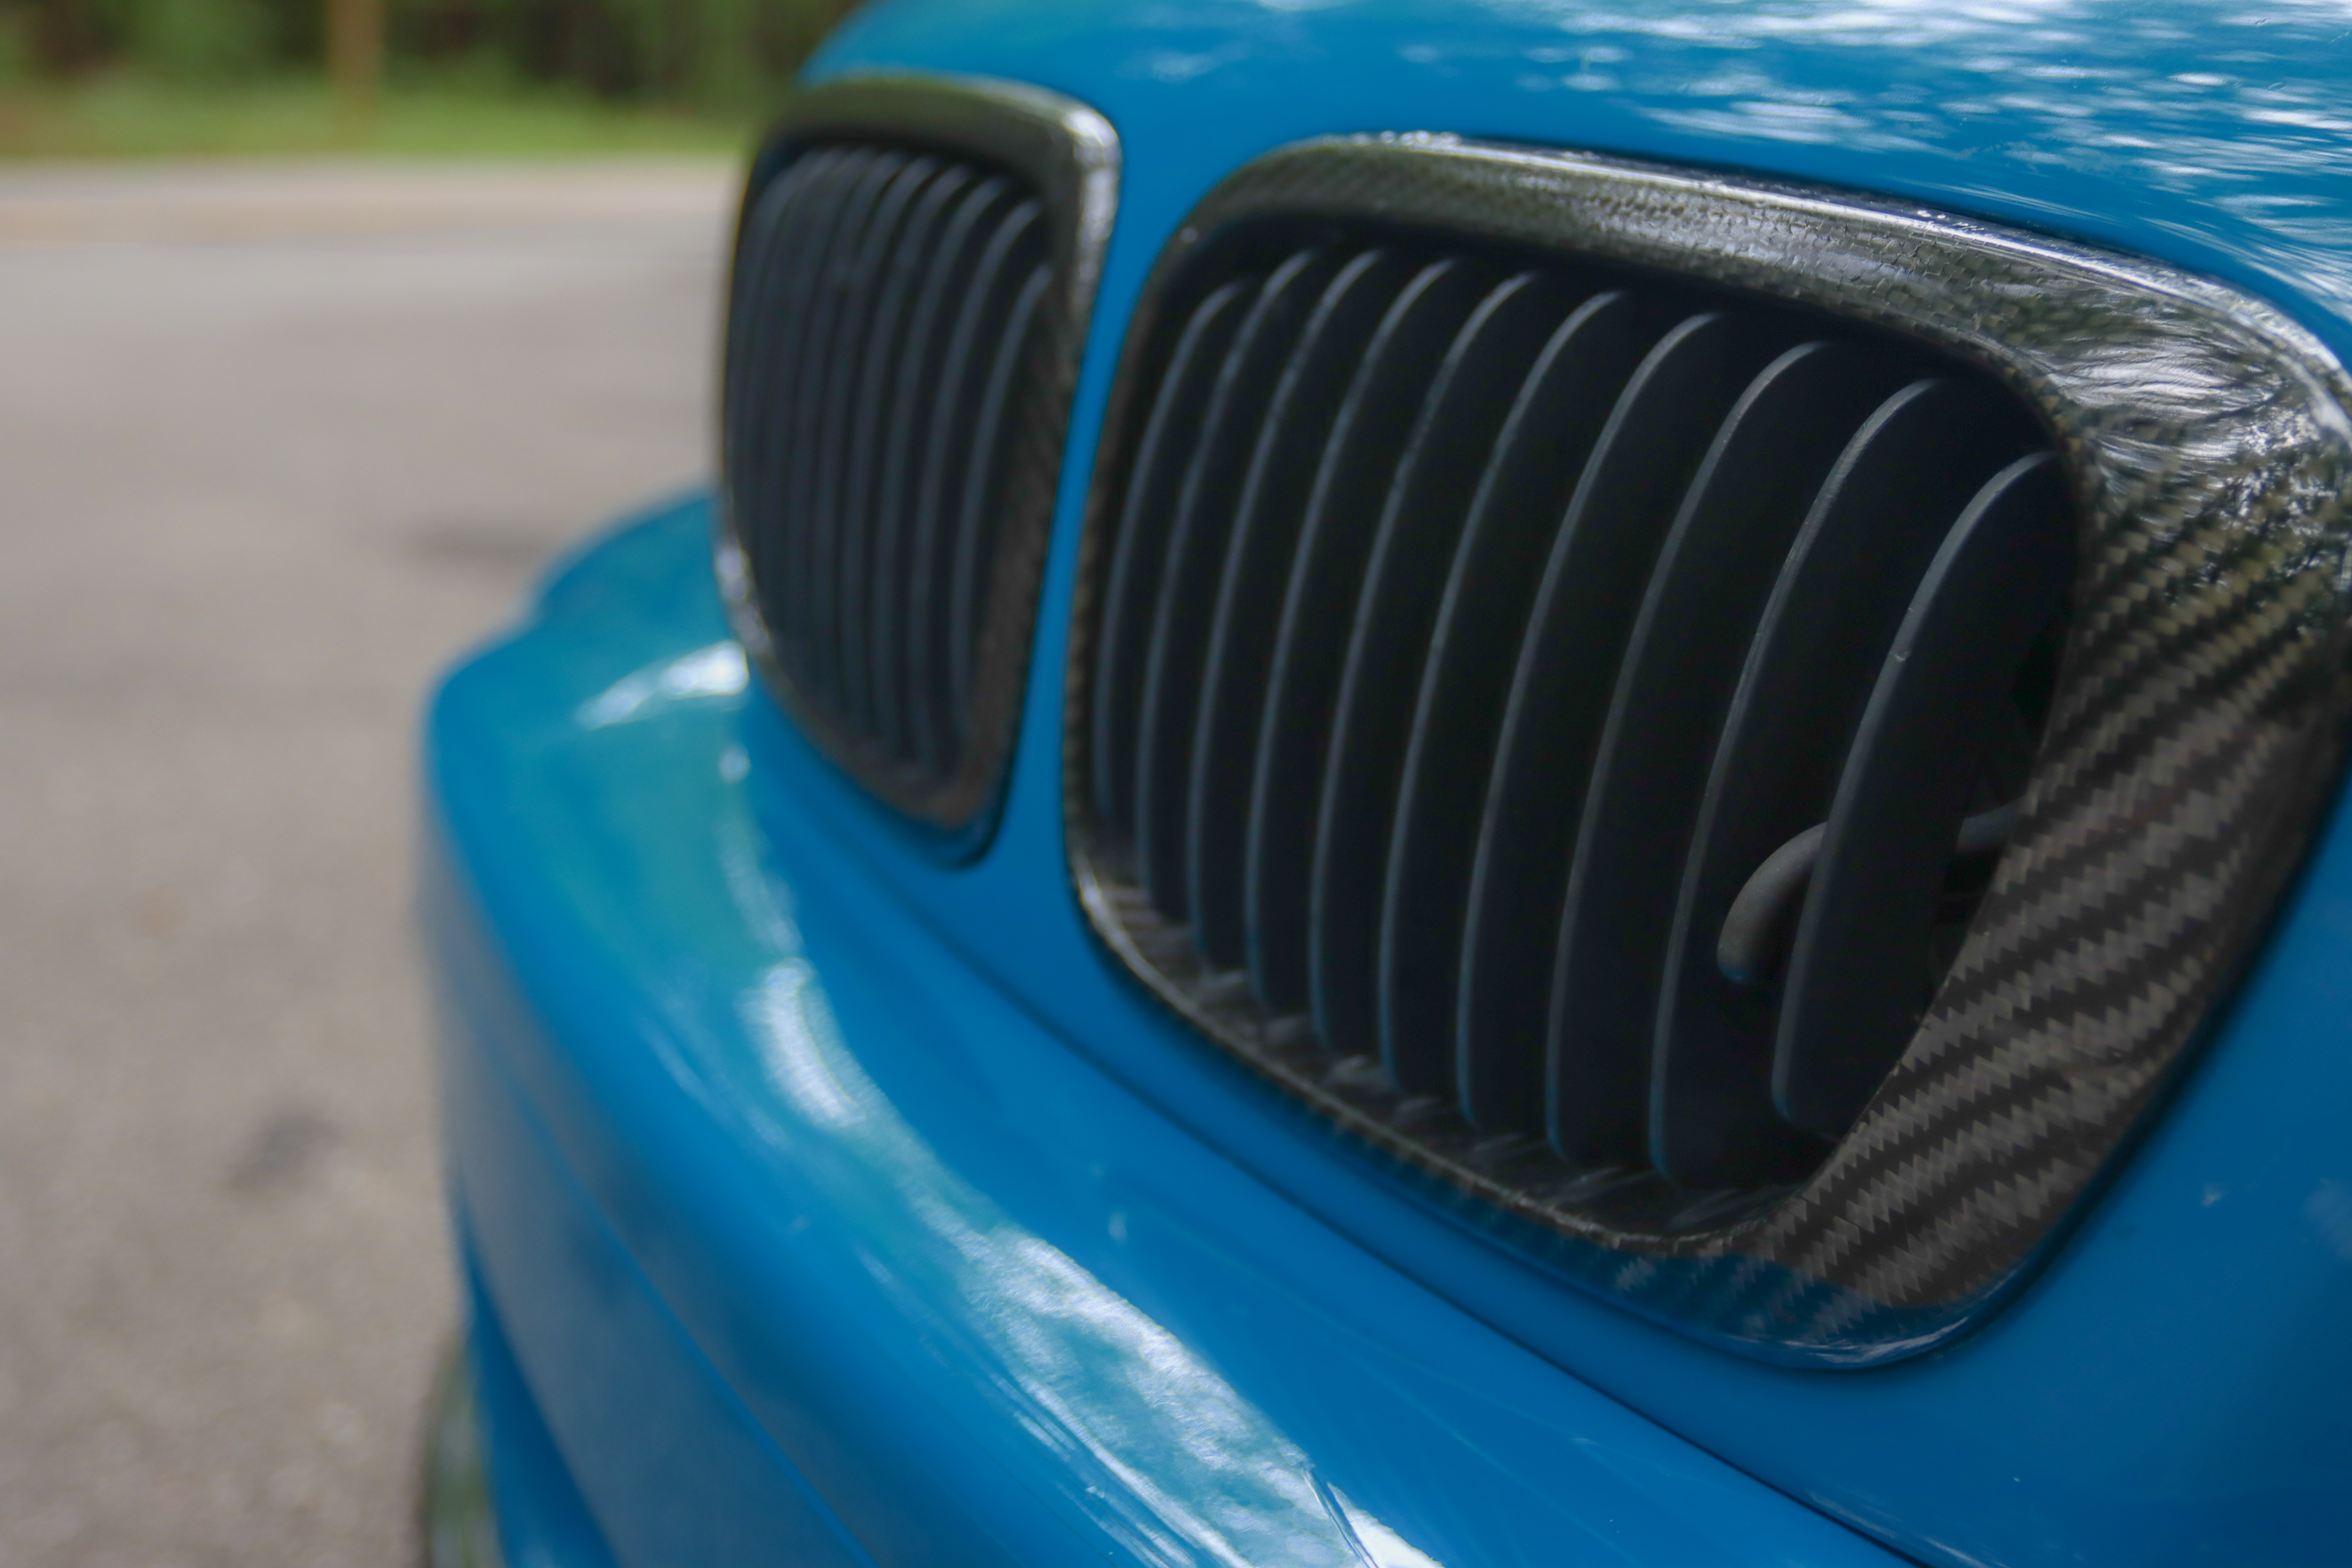
Clean up…
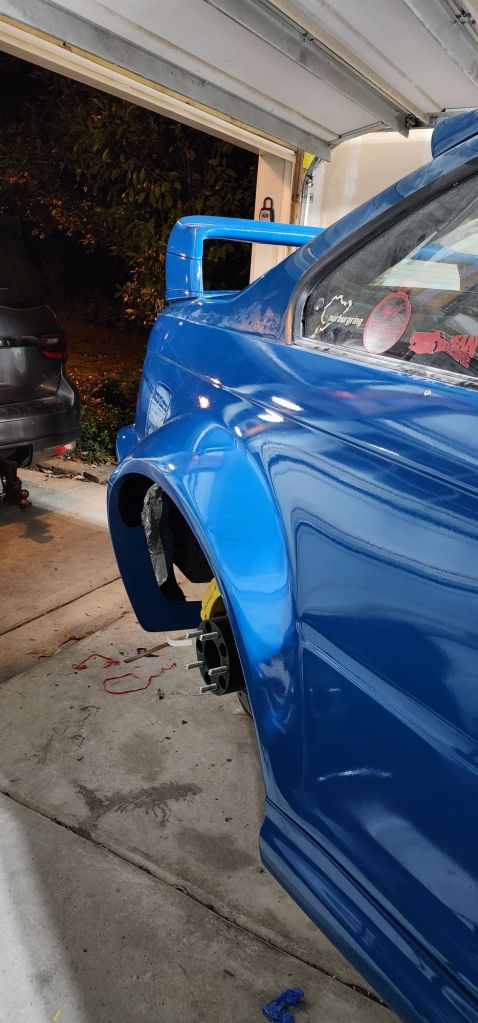
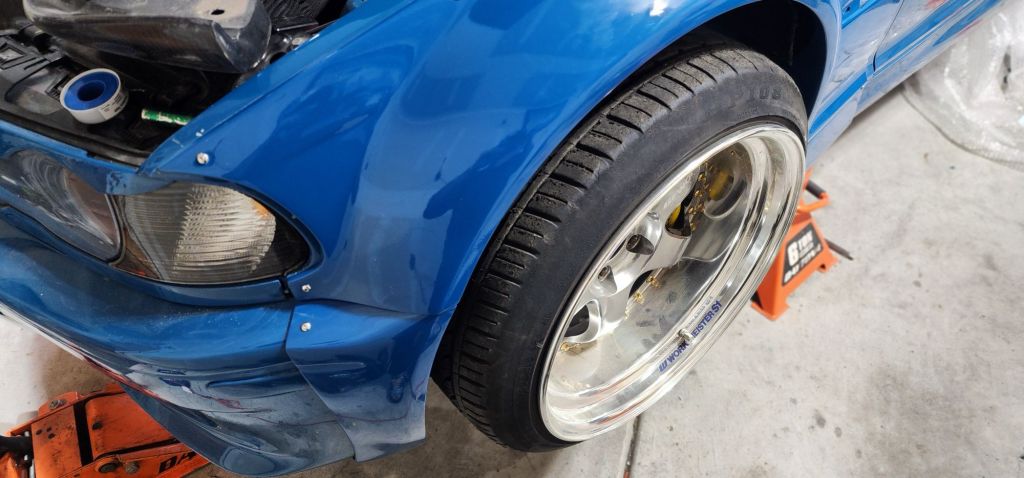
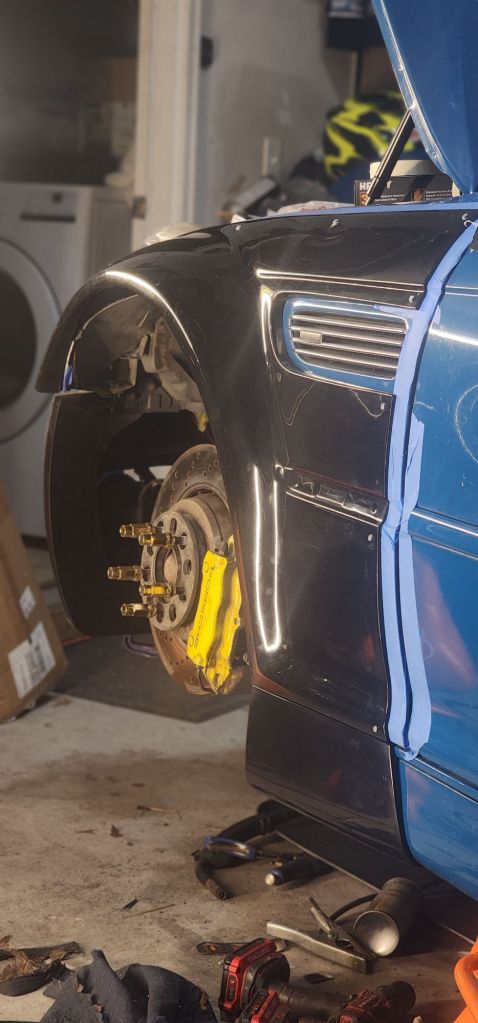
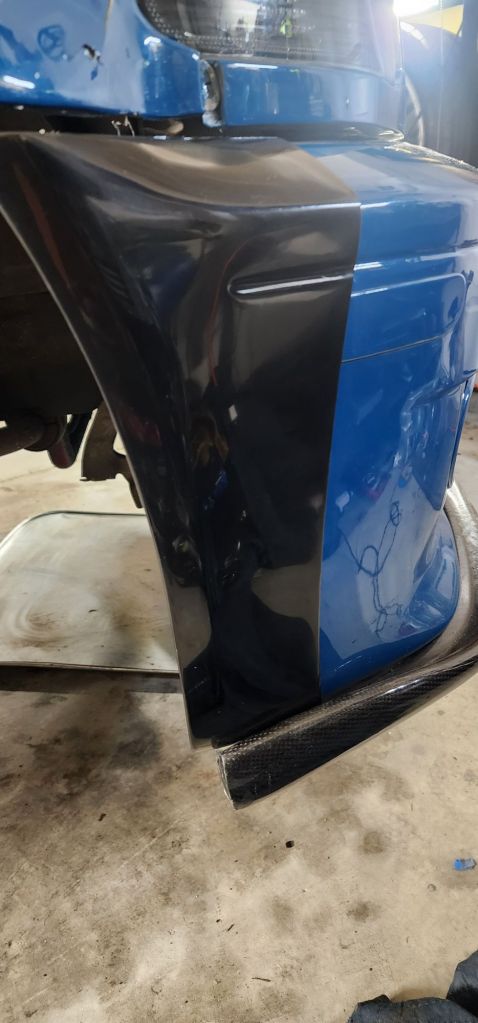
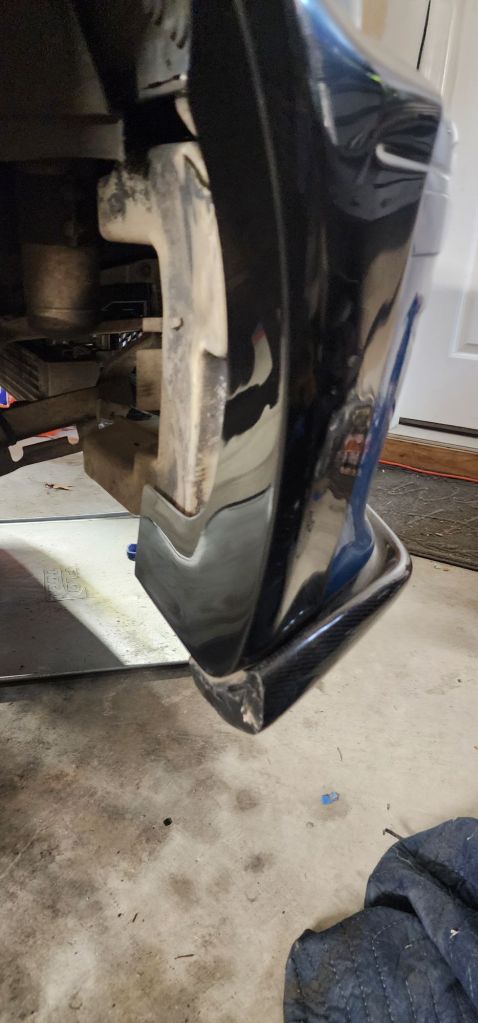
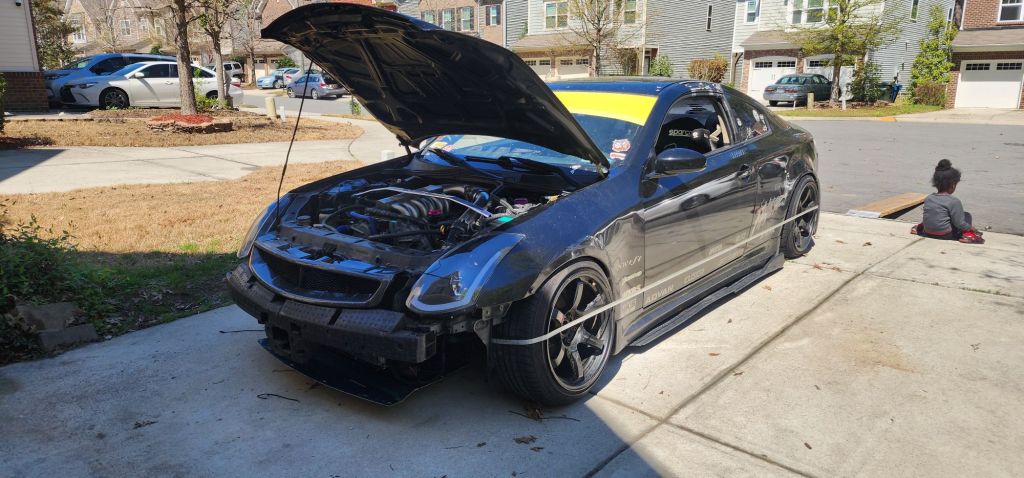
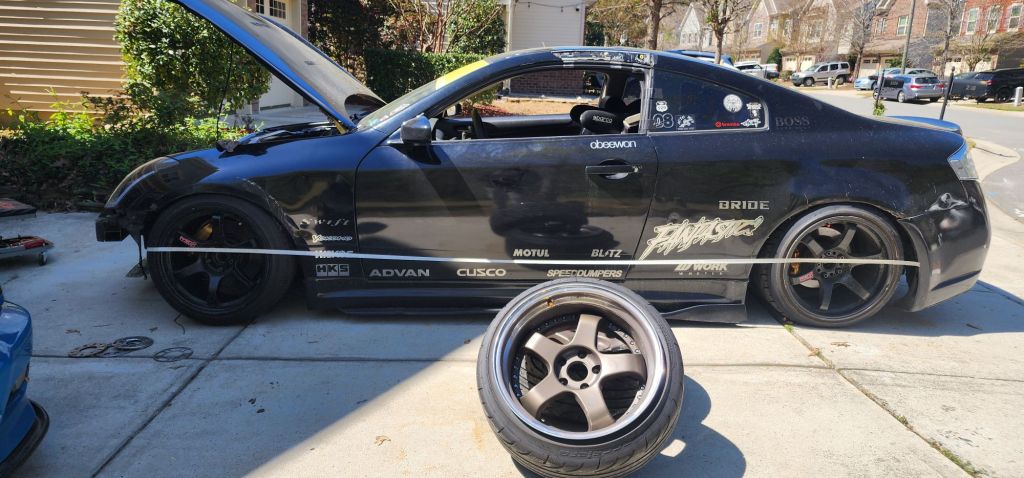
As with any project there are some things you have to revisit. The front left fender was catching the tire and it broke the bottom corner of the fender, the starter was grinding, oil was leaking from the drain plug, the car needed to go lower, the rear toe needed addressing, and it needed more front camber.
I started with the fender.
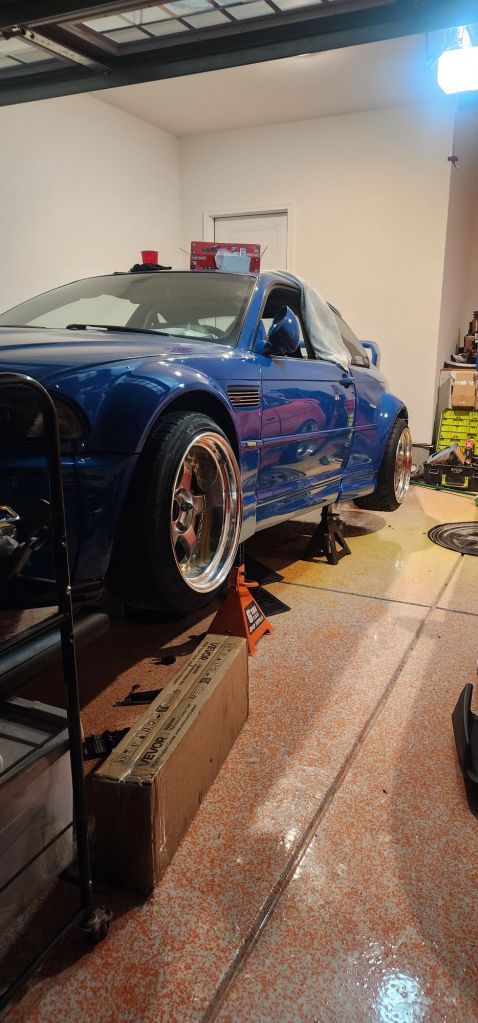
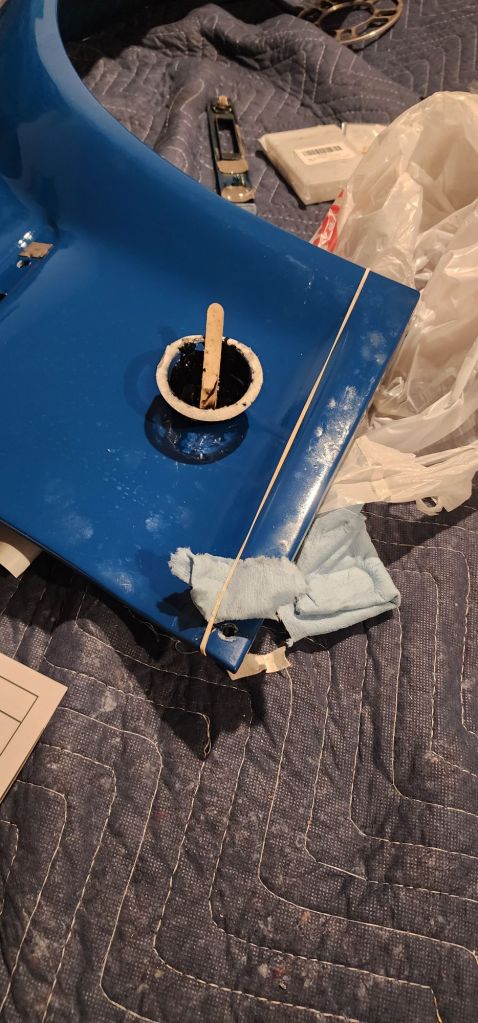
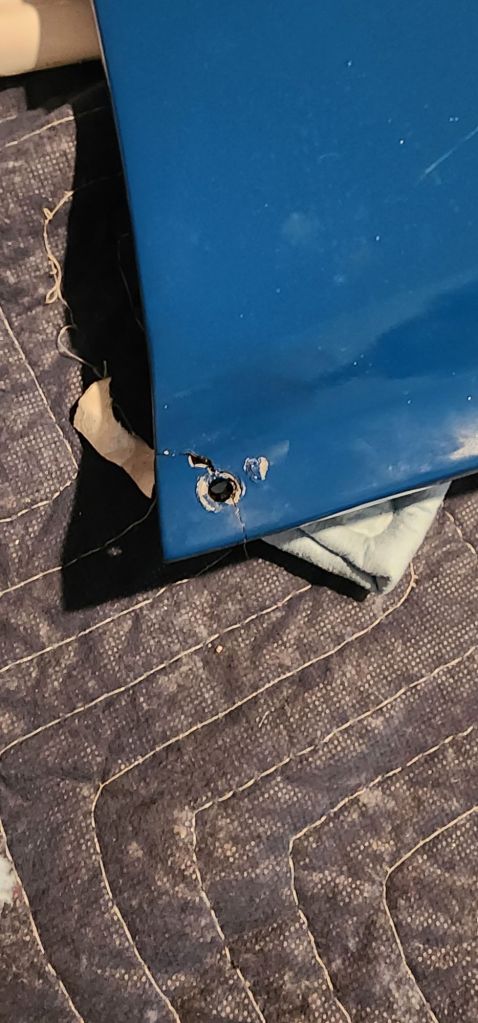
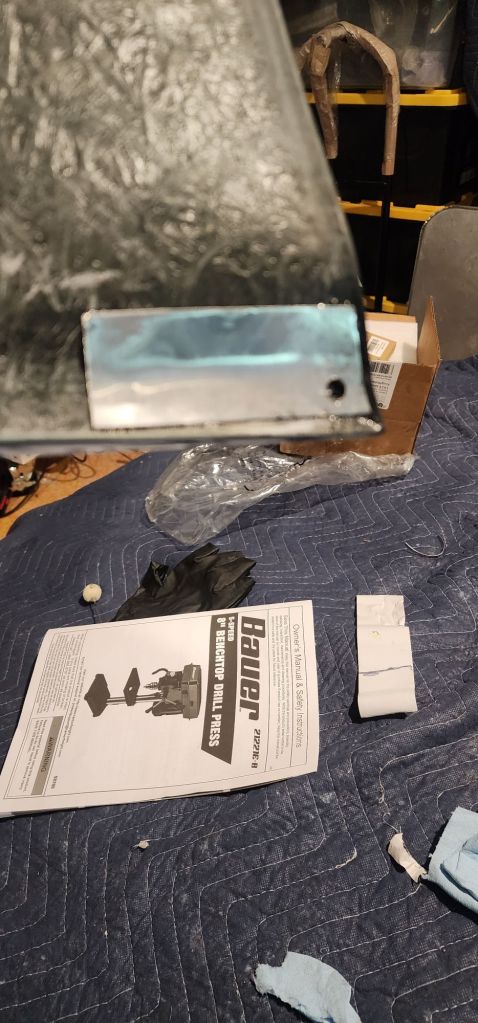
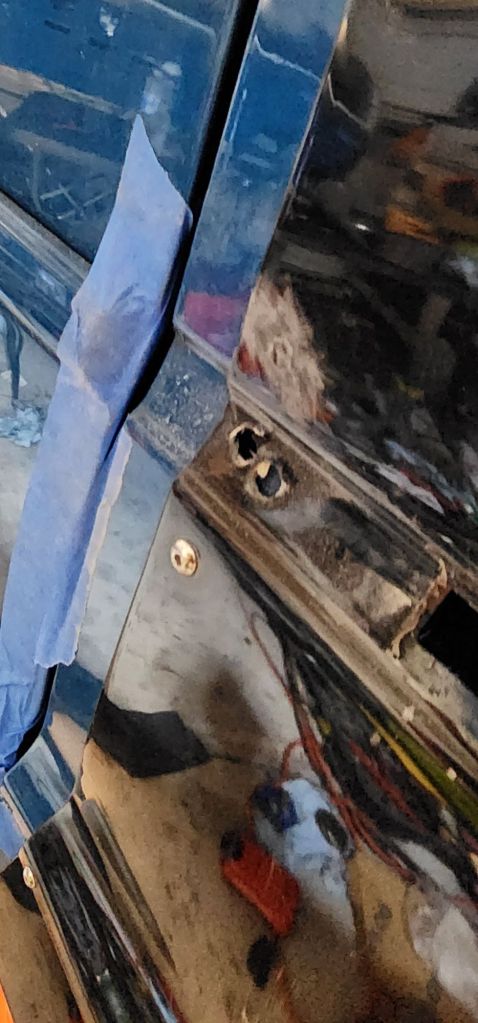
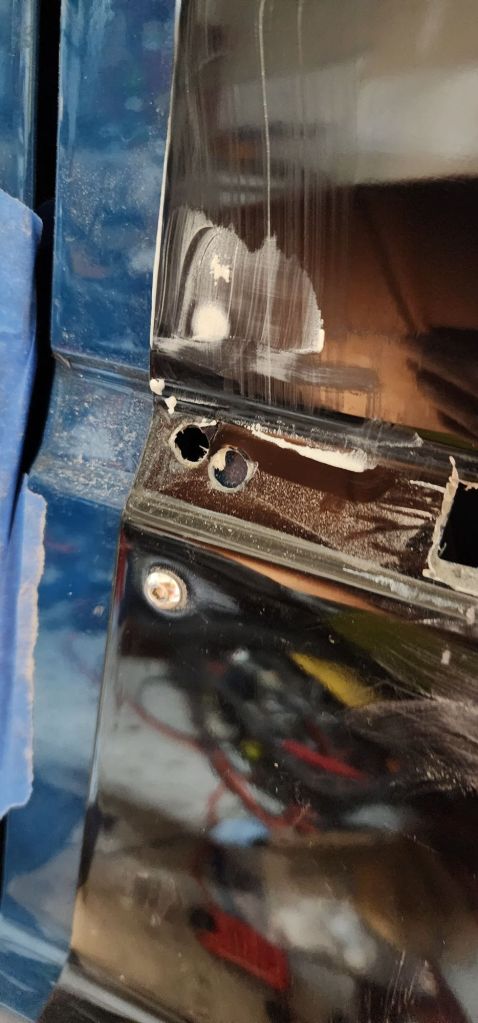
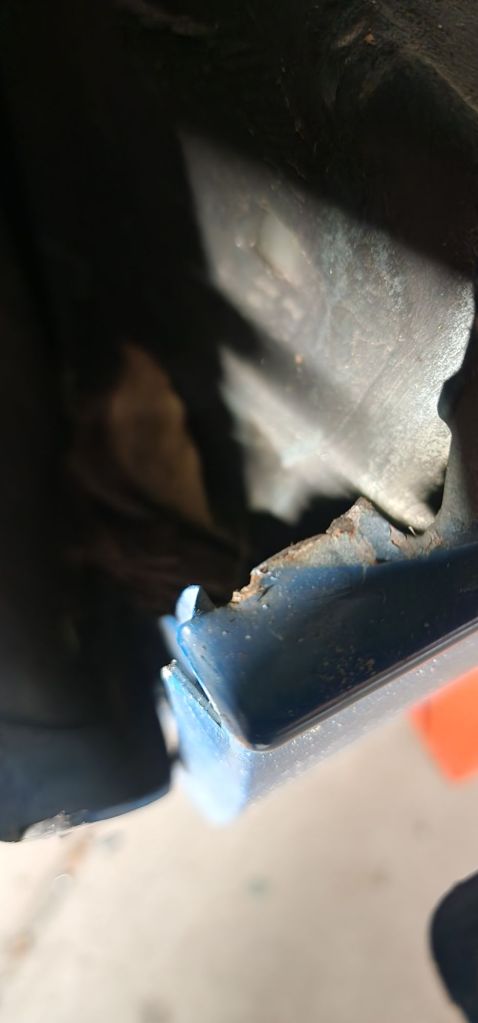
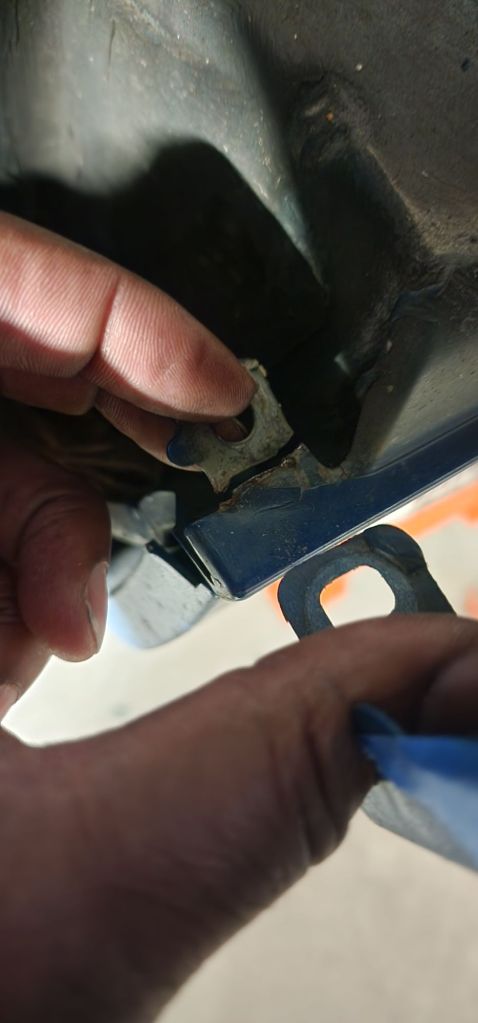
I used a two part epoxy and a piece of metal on the back for reinforcement. I’ll fill and repaint this later. Maybe just some touch up paint.
Then I did the drain plug. No pictures but I switched to a longer magnetic one and added Teflon to the threads. No leaks.
Next was the front camber. The top coil bolts were about an inch away from maxing out in the hole of the strut towers. So I used a drill press and hole saw to extend the slot.
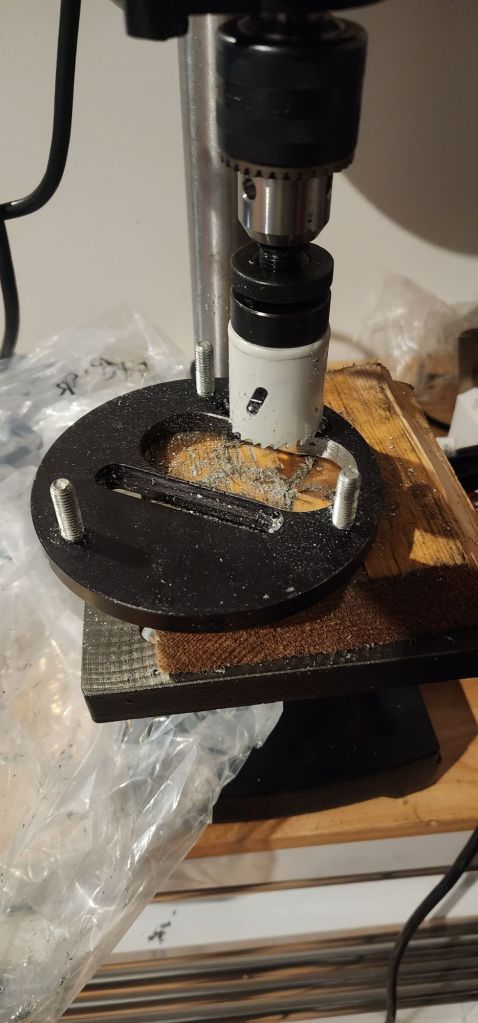
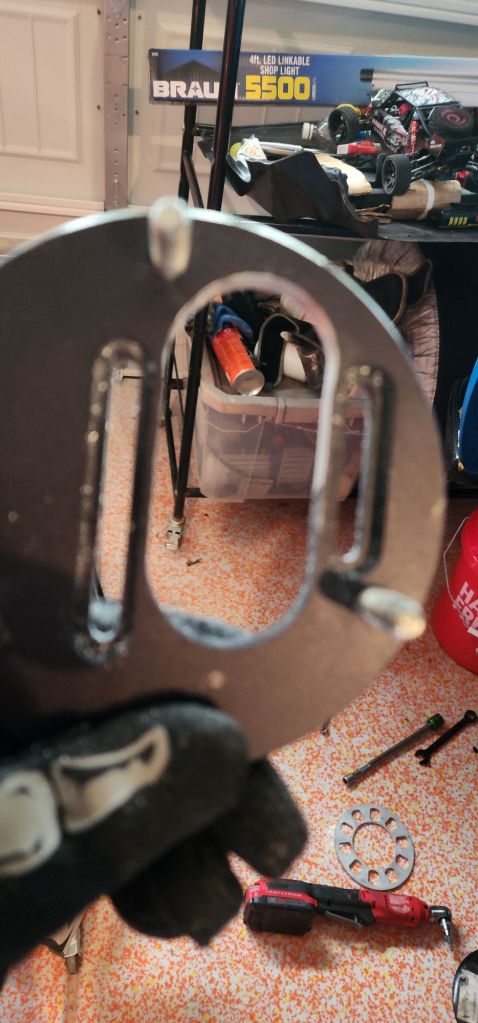
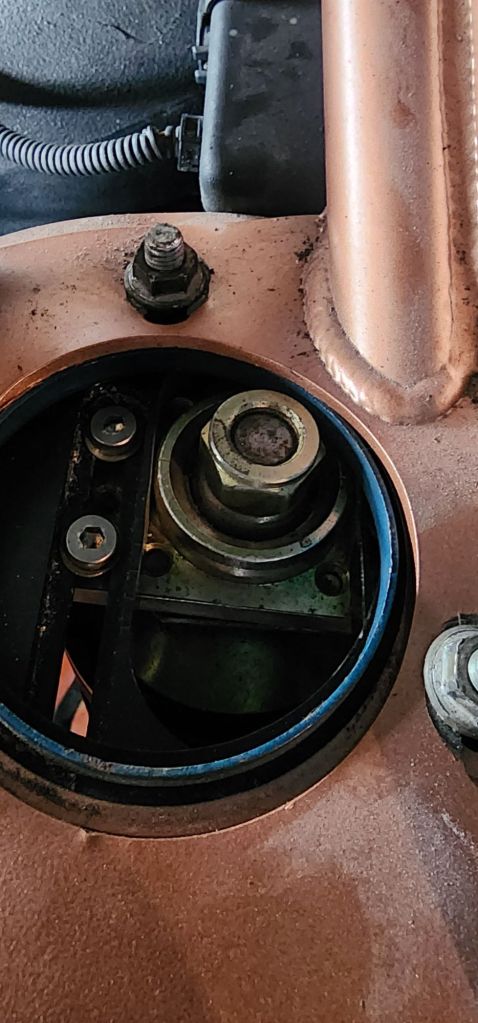
Now I can put bigger tires up front.
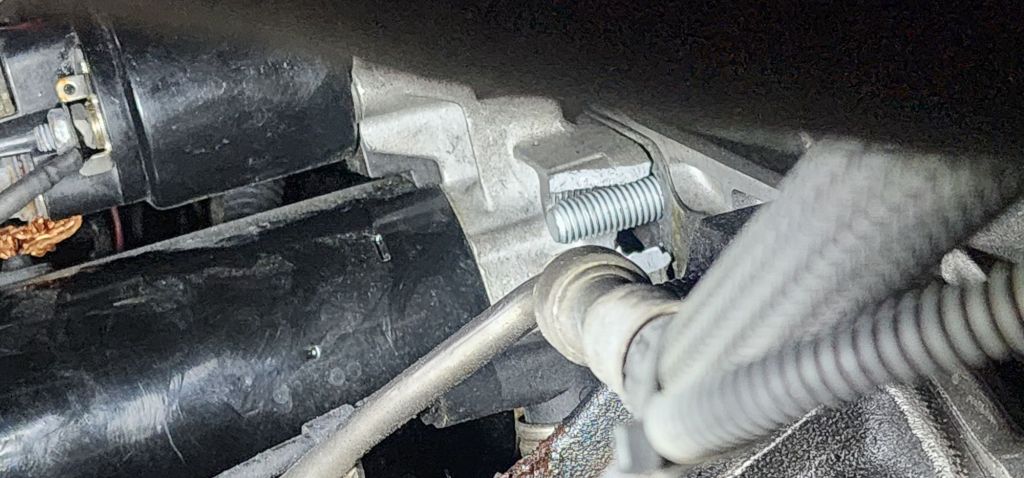
The starter was grinding because the bottom ear broke off and the starter was misaligned. I’ll have to pull the intake manifold an install a new one.
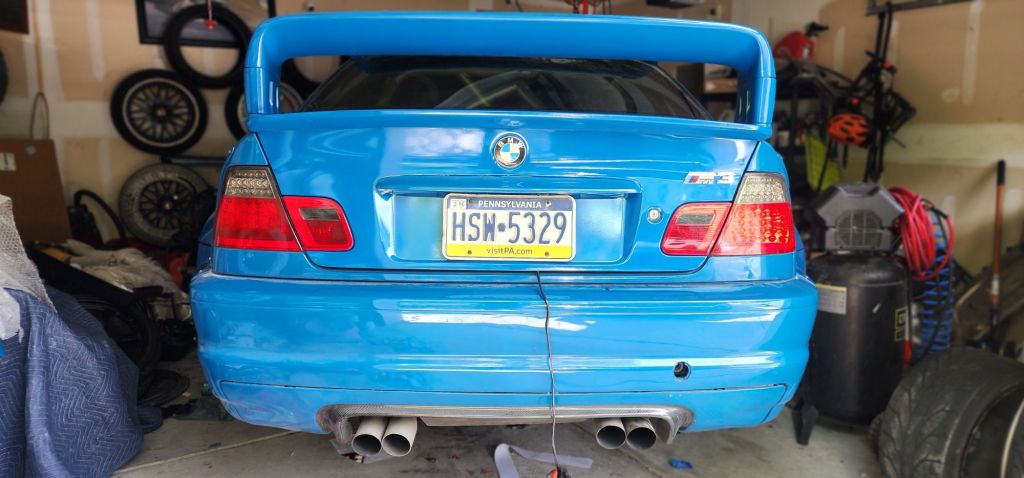
Then I installed rear toe plates and lowered the back. I also installed stronger trunk struts for the metal trunk and wing.
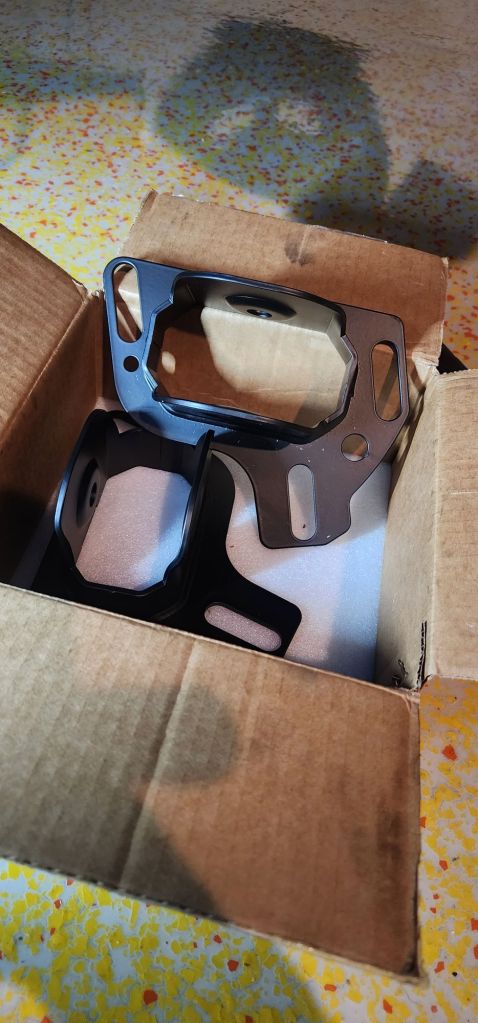
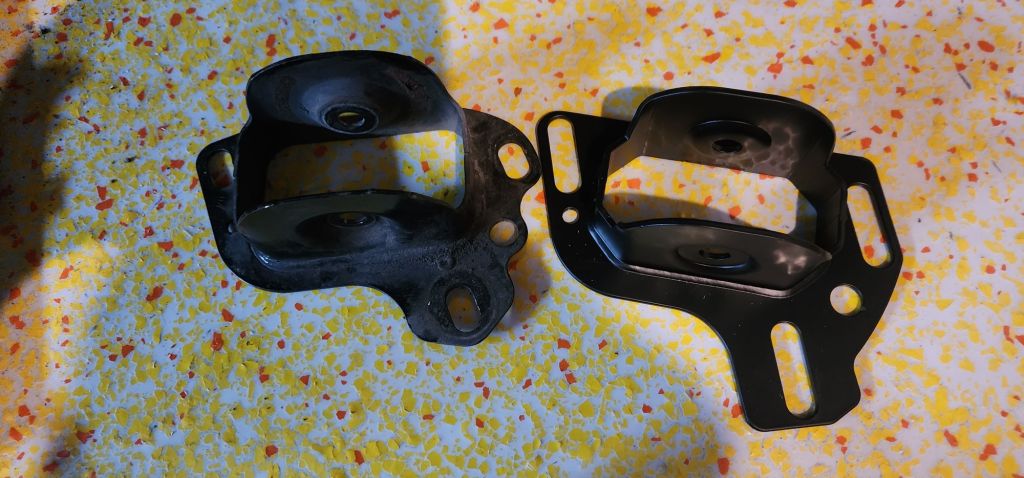
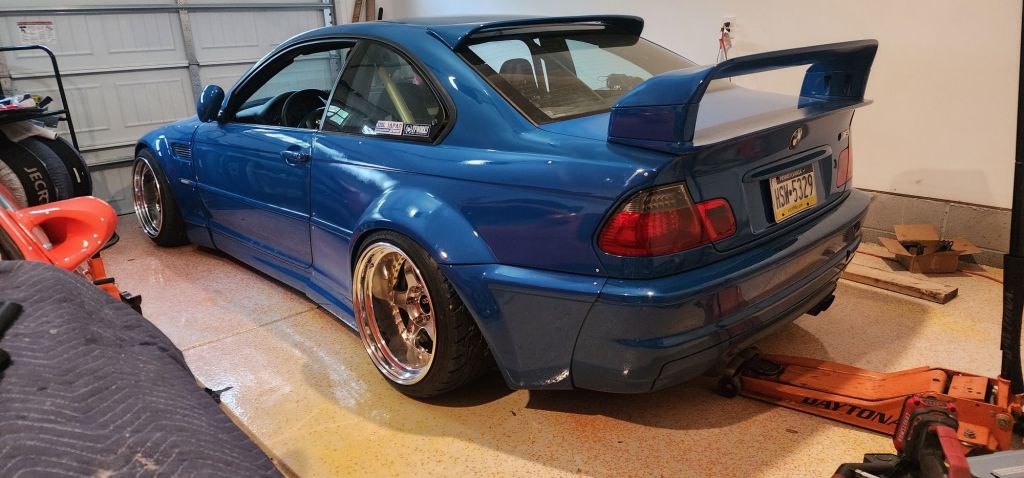
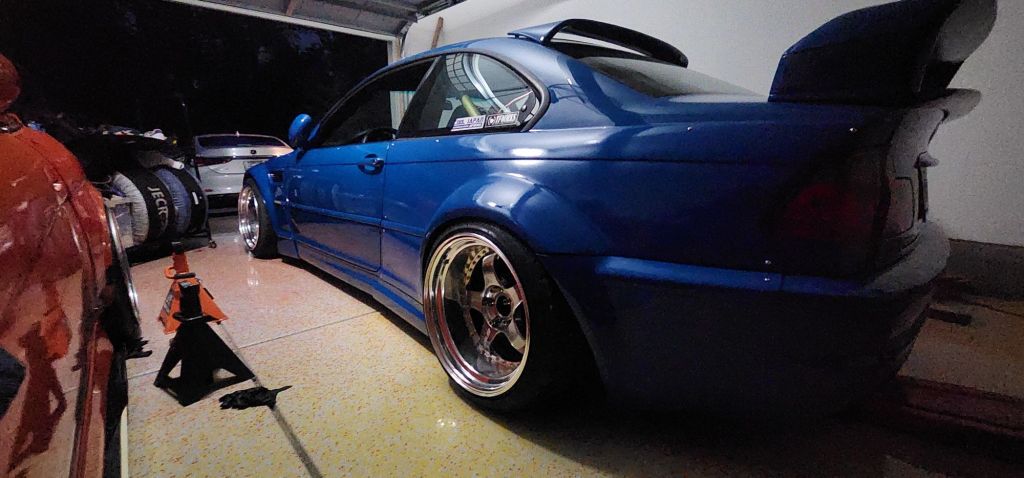
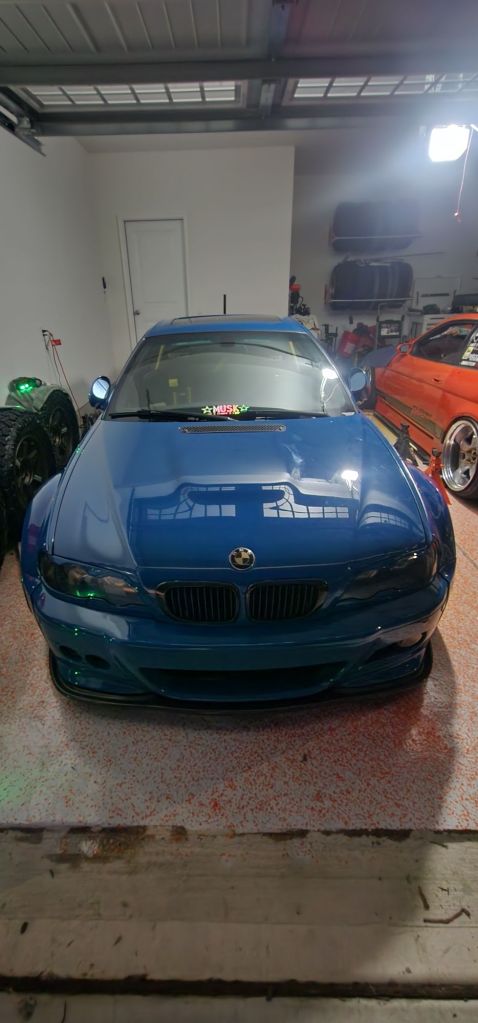
Musk ///M Pt. 10
After getting the car together I had to focus on moving for the next few days. I was actually living as the new house and had to come back and book end some of the outsanding parts. Topping up the trans fluid, securing all he panels, biltong the exhaust up etc.
Then came the nerve racking but highly anticipated part of putting the car on the ground. I wanted to lower it but I didn’t have the time or the energy.

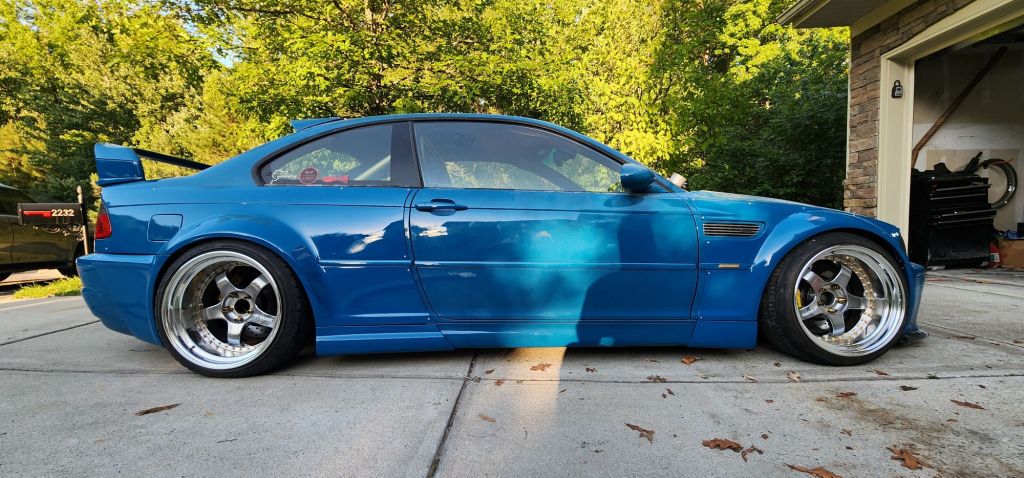
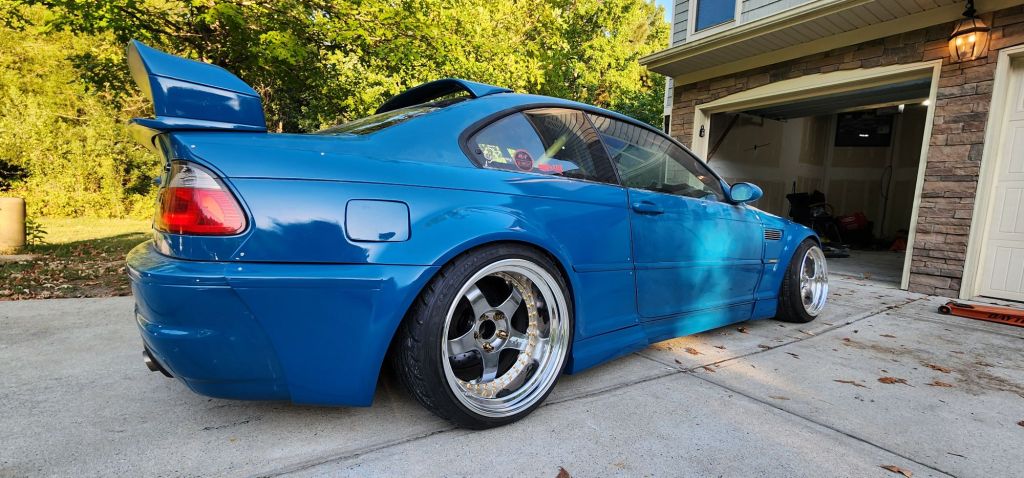
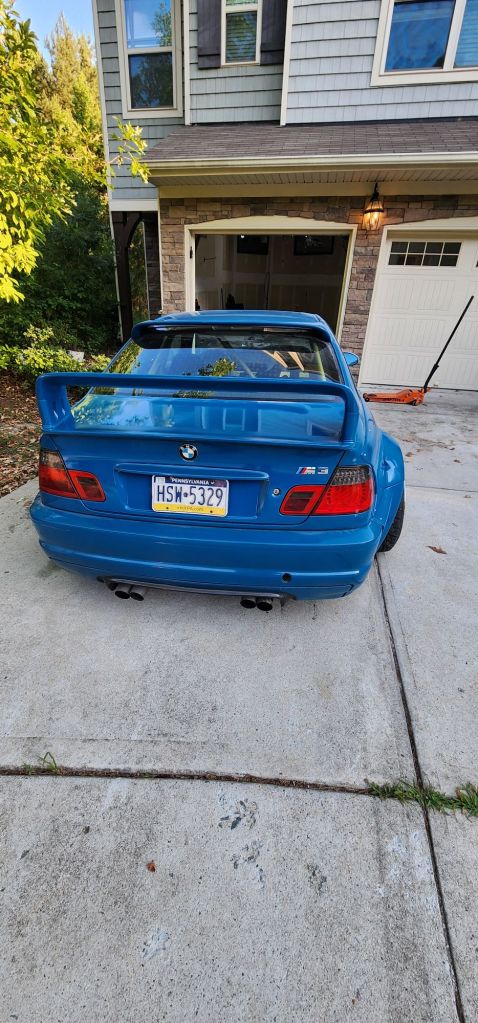
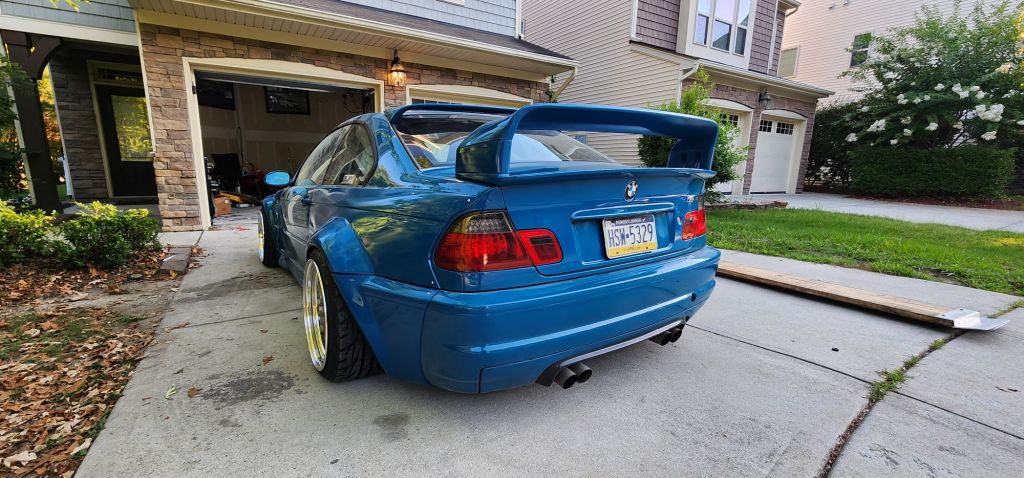
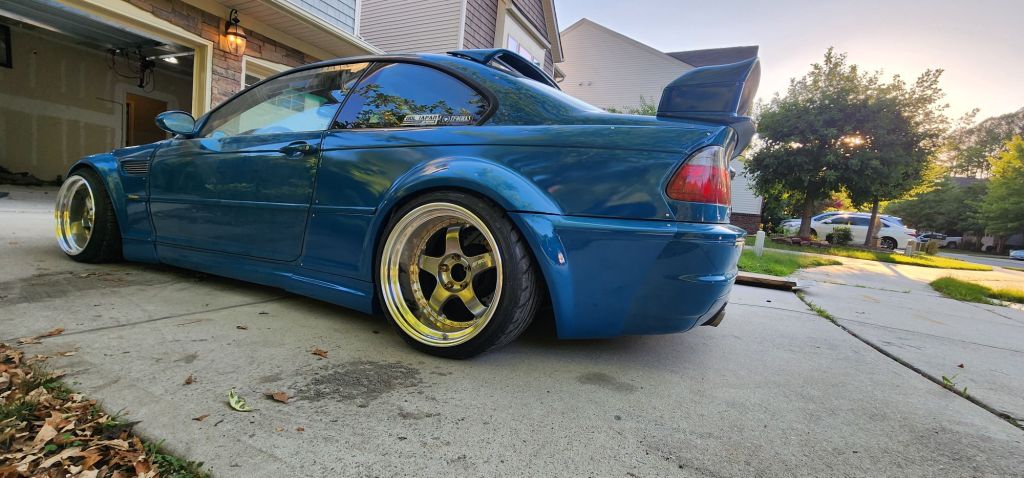

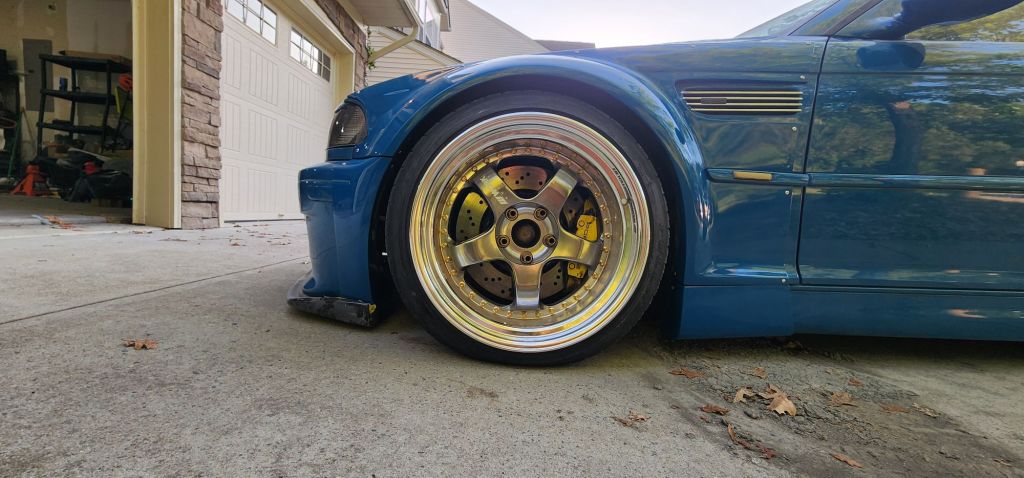
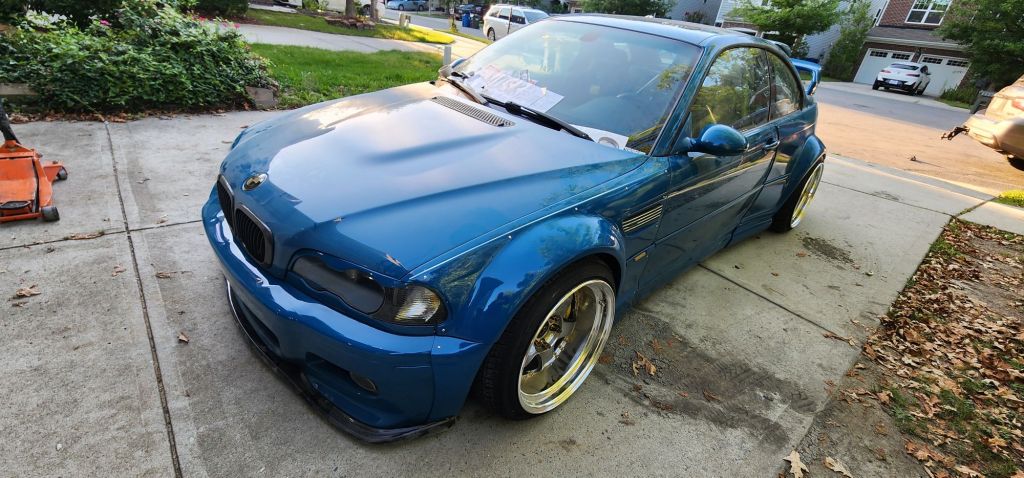
Backing it out the garage for the first time was amazing. It was dusty but it looked insane. However the starter was grinding. It seems the metal plate between the trans and engine was misaligned. I’ll get to the later. After it burned off the grease and grime I attempted to flip the car around in the driveway to load it on my trailer. In the process the front passenger tire caught the inside of the glass fender abd broke it at the bottom. I was so angry but I tried not to let it dampen the progress.
I sprayed the car off and loaded it very carefully on the trailer.
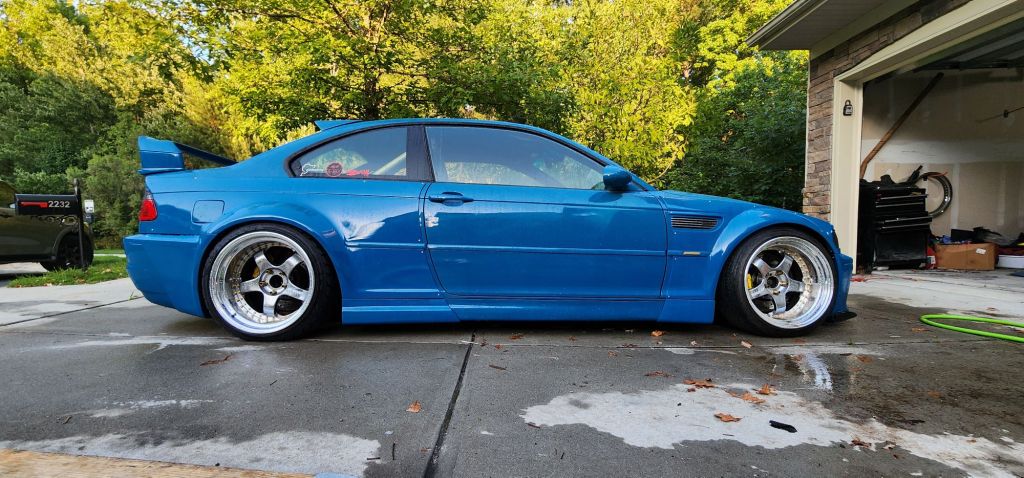
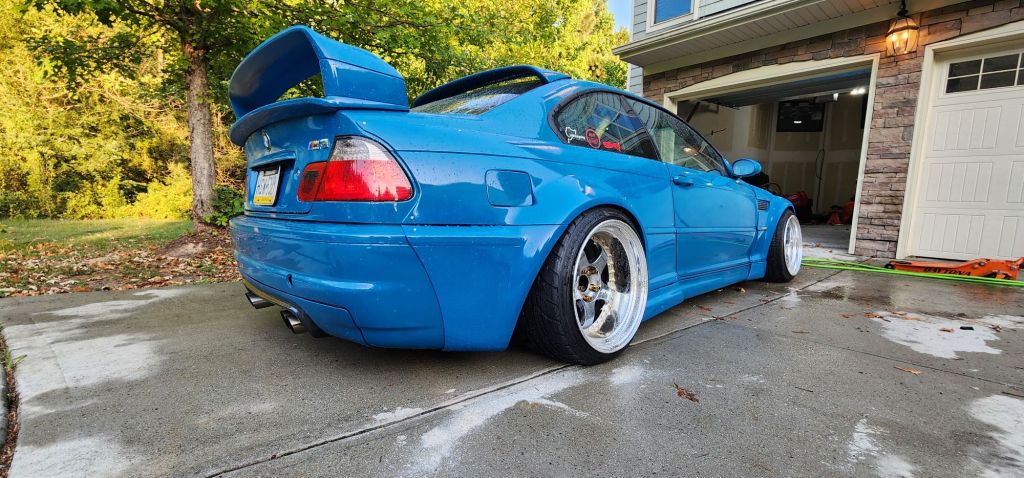
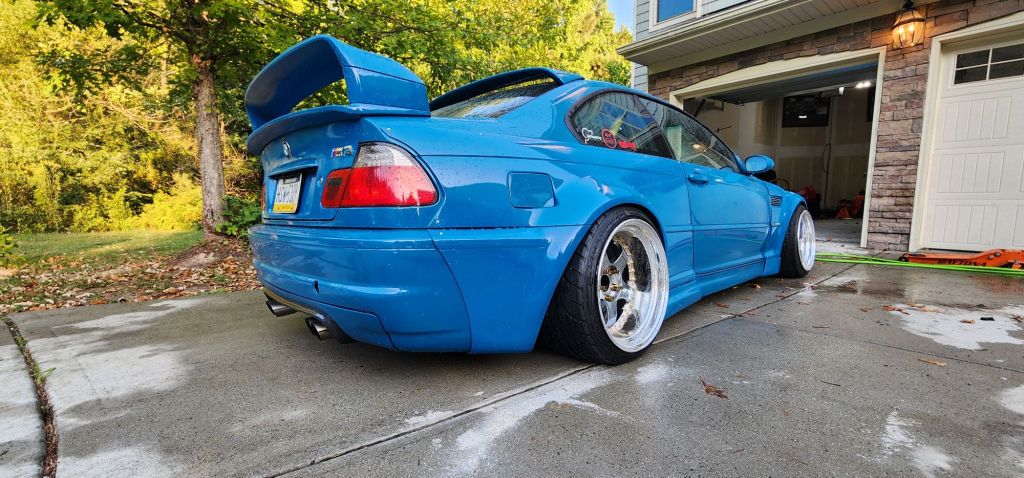
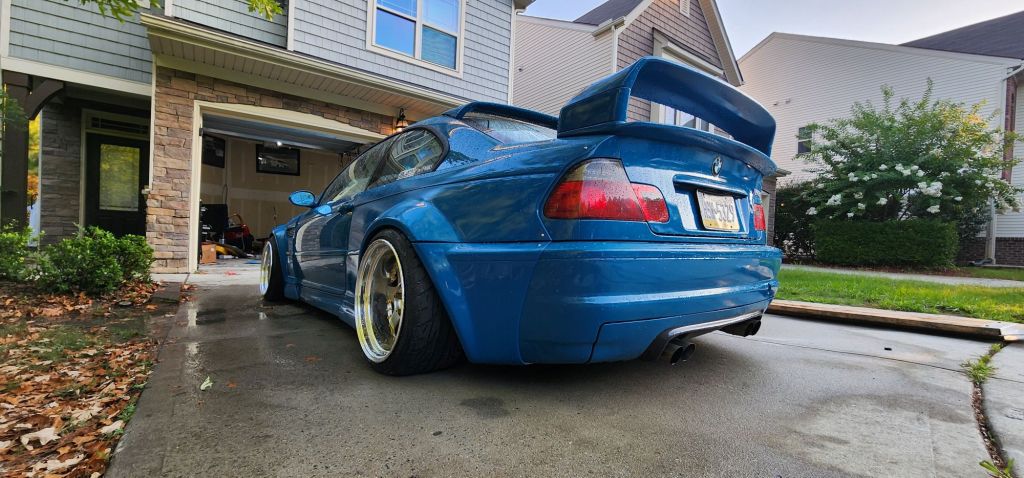
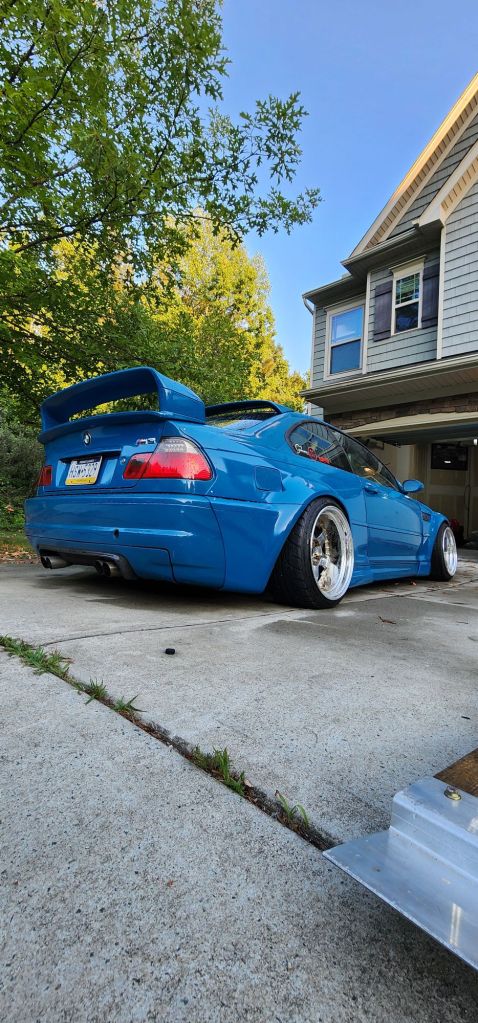
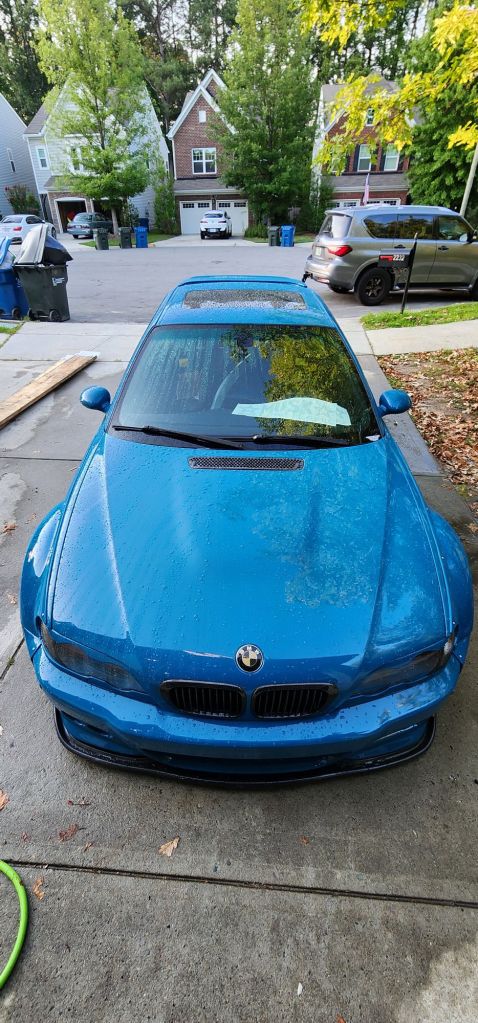

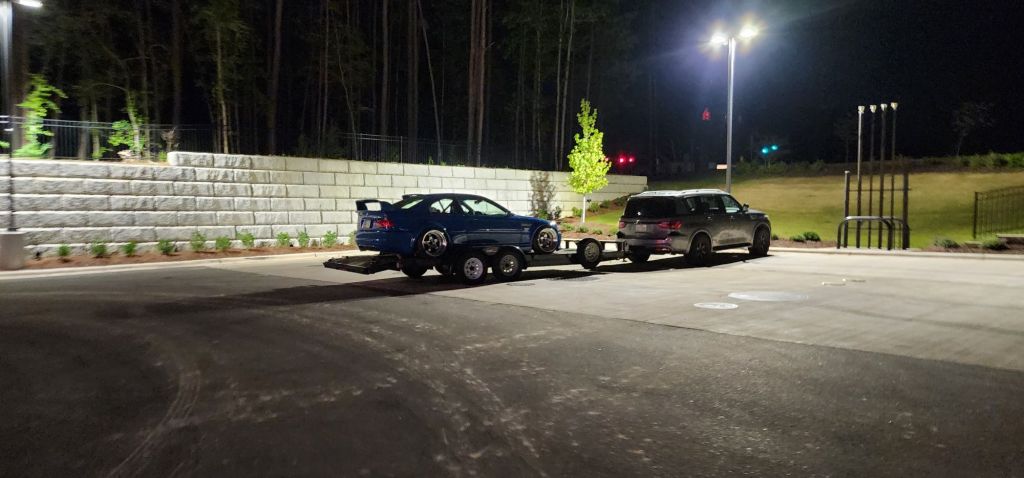
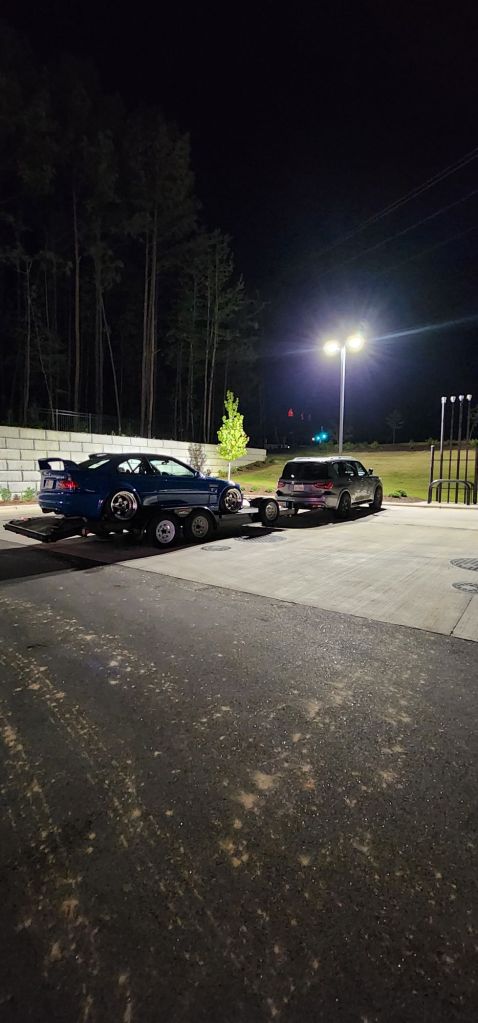
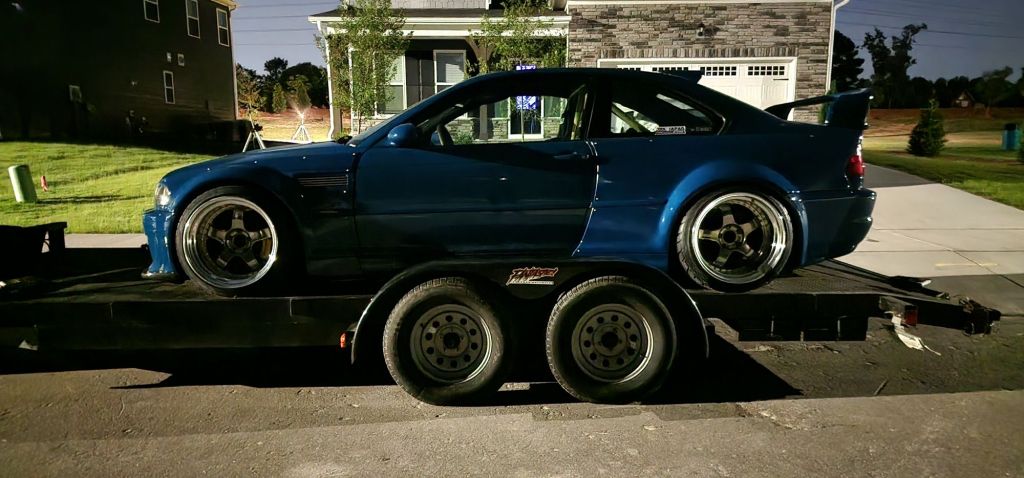
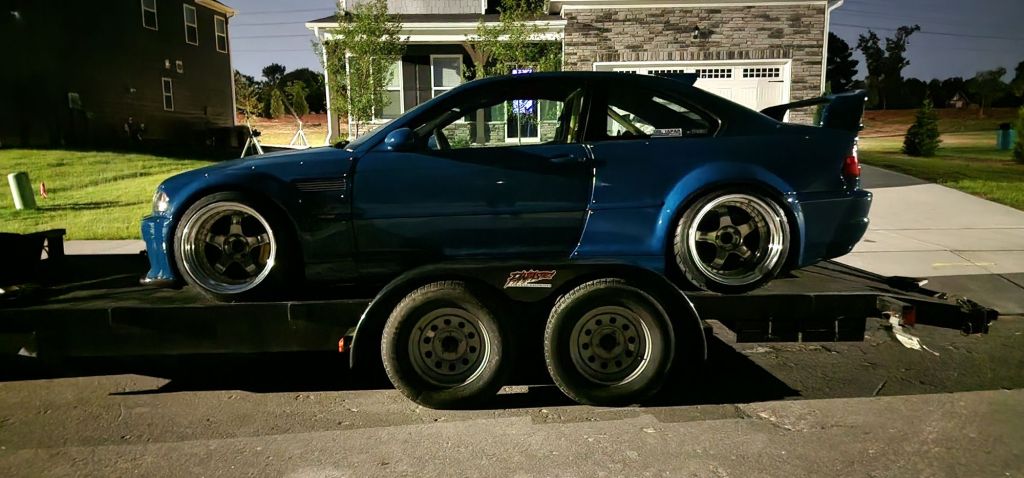
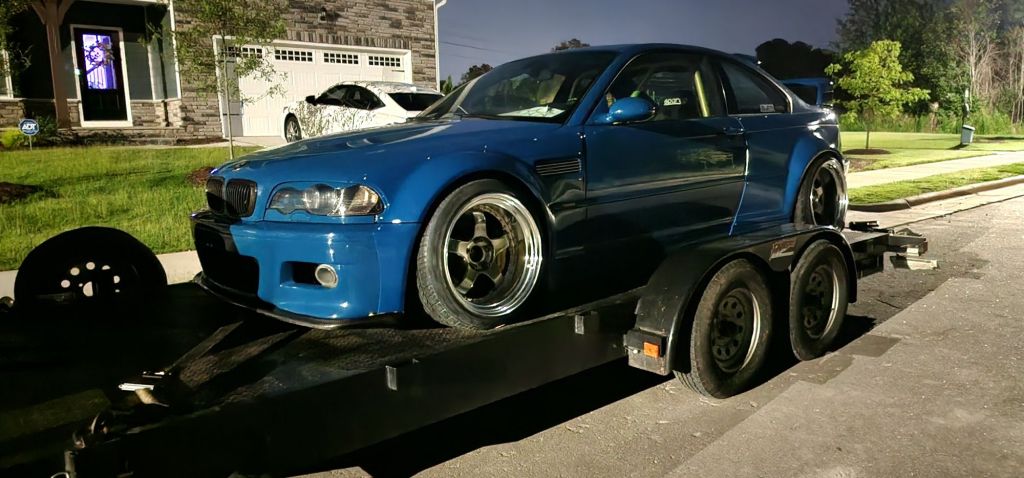

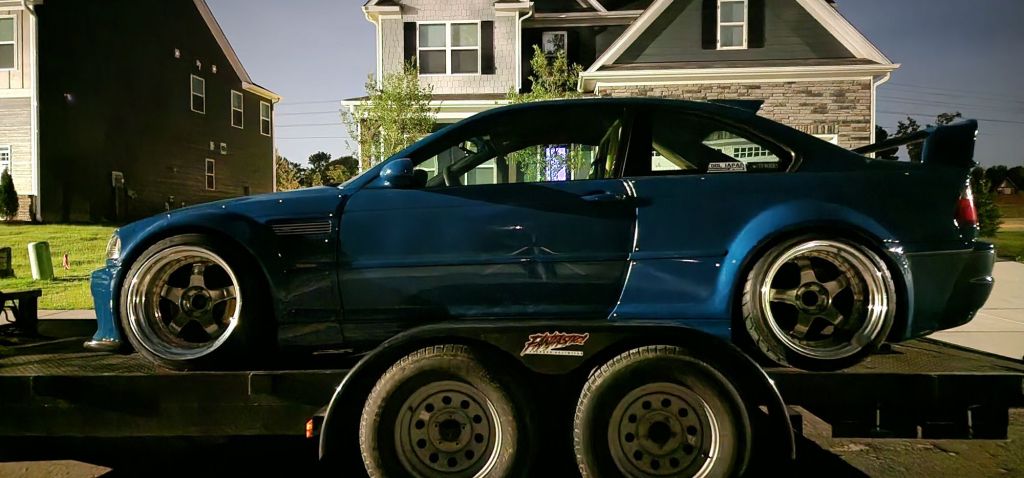

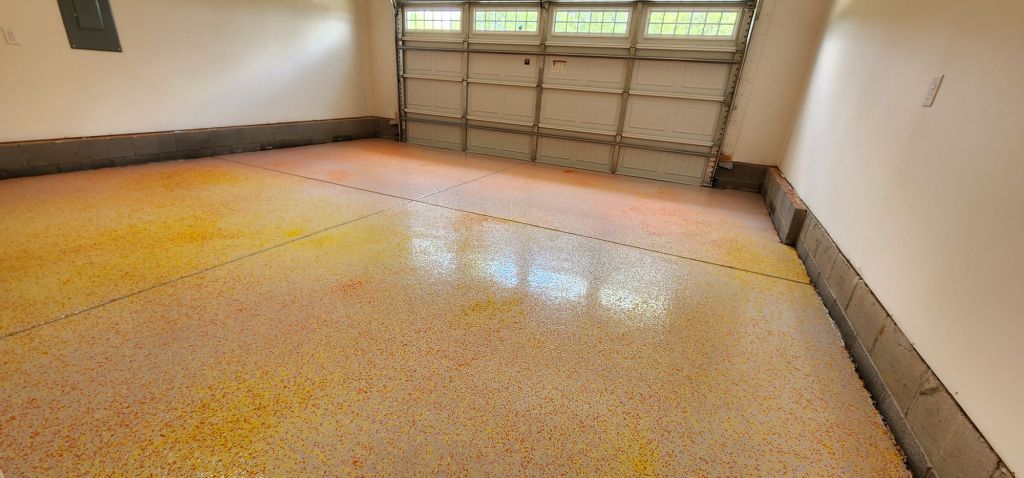
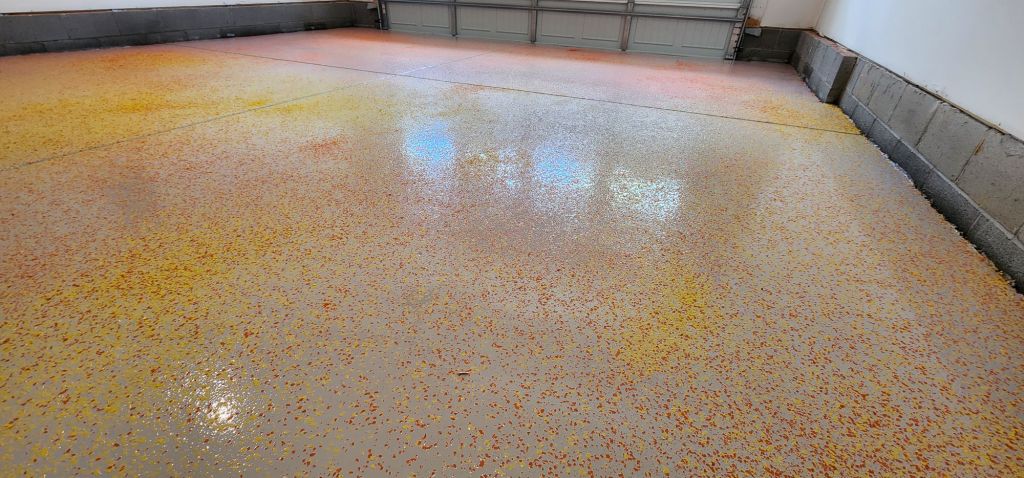
I got back to the new house late so I left it on the trailer over night. The next morning I pulled the first car onto the freshly epoxied floor.
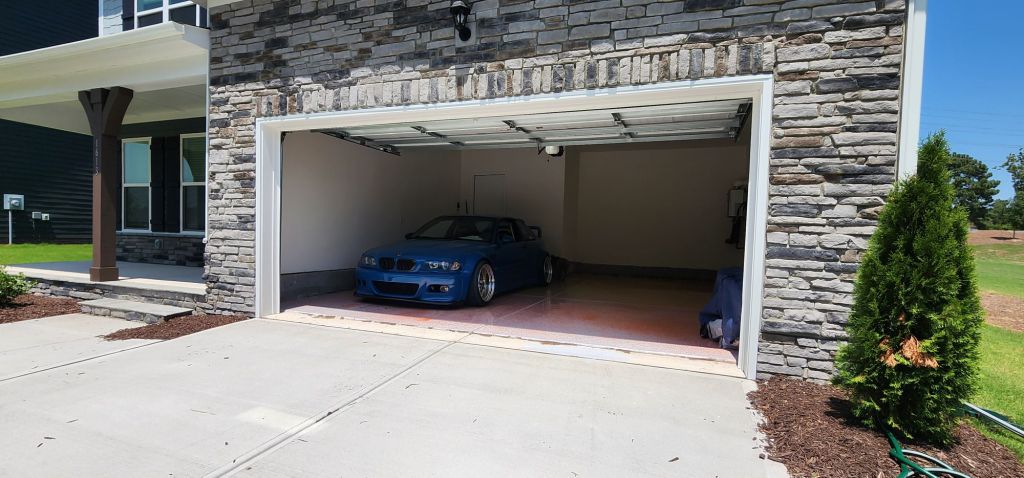
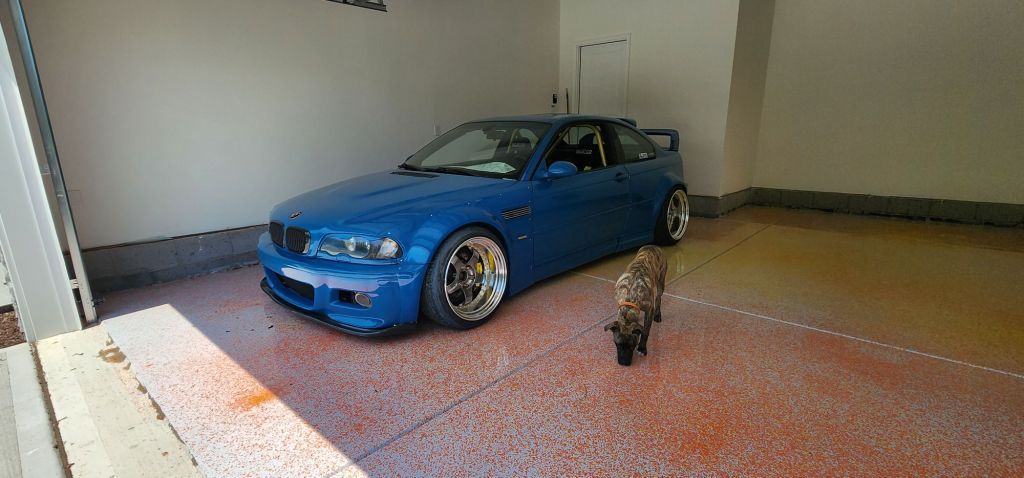
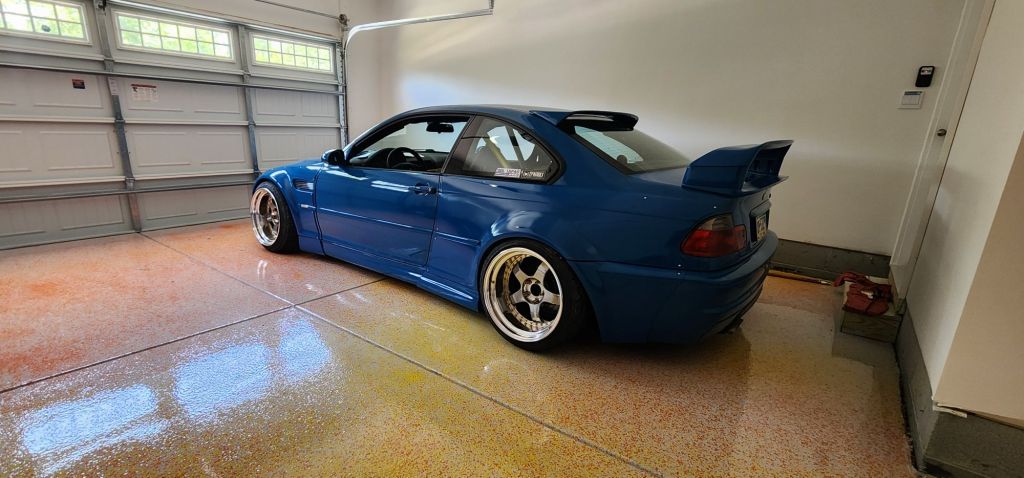
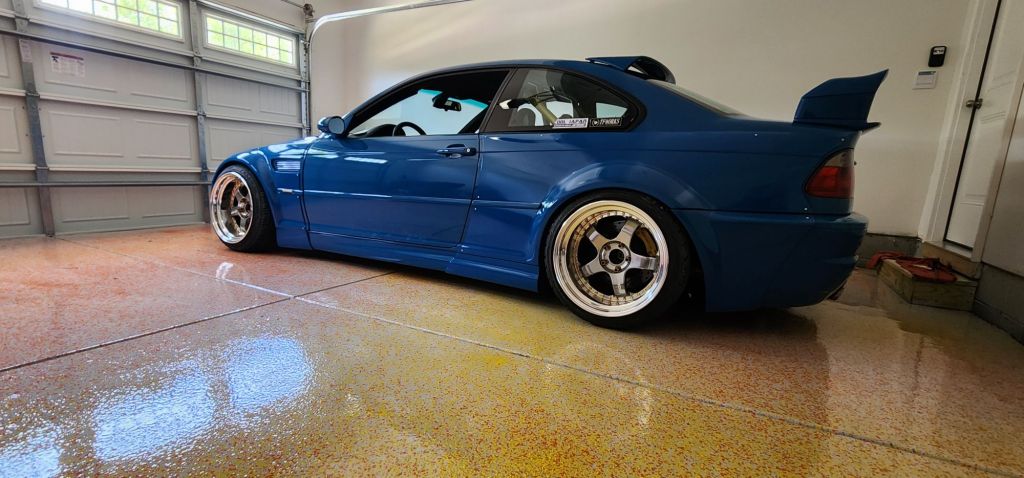
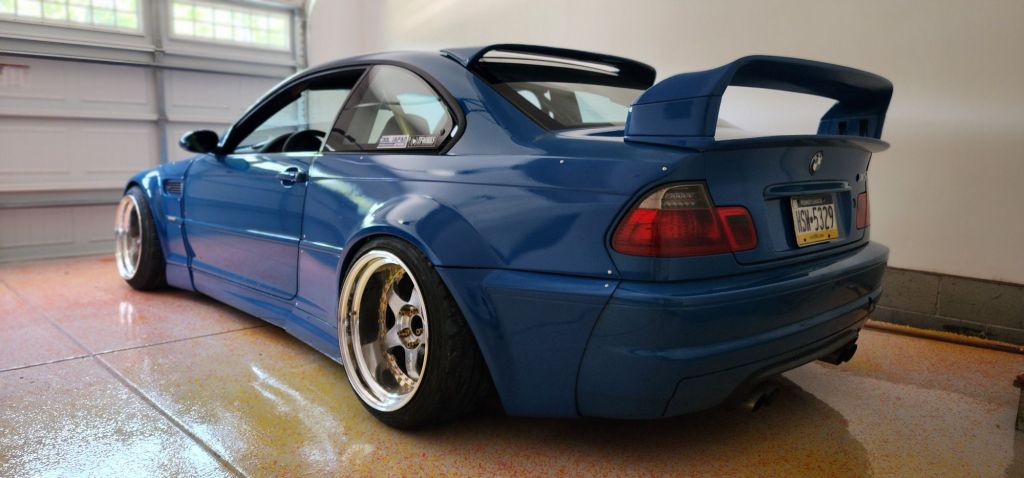
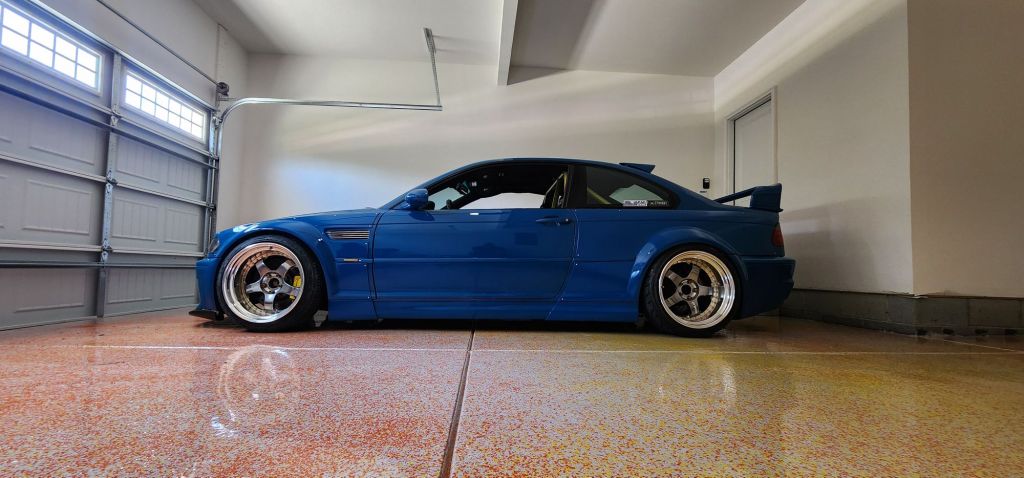
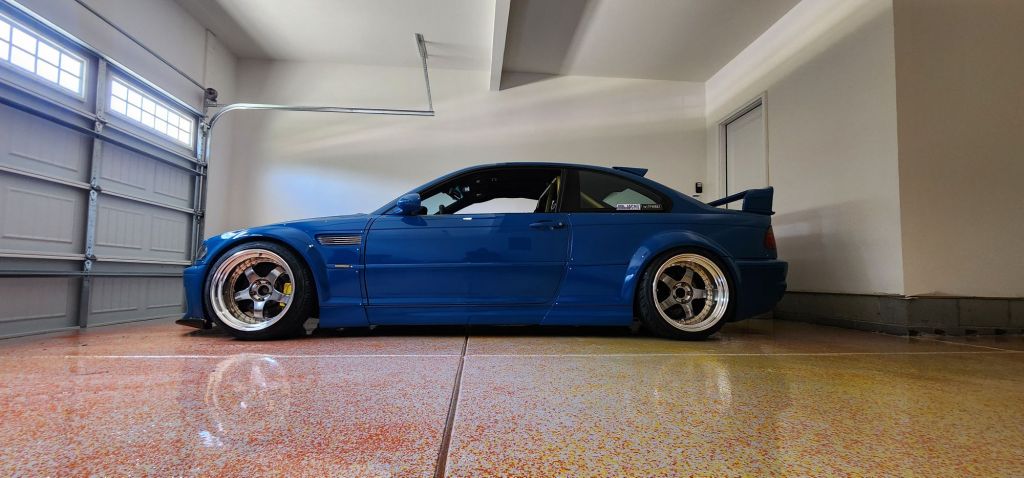
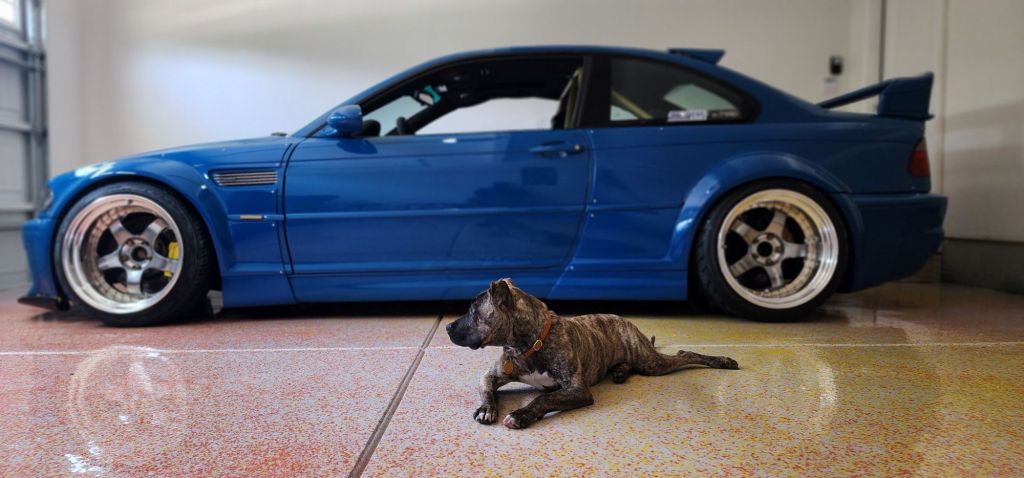
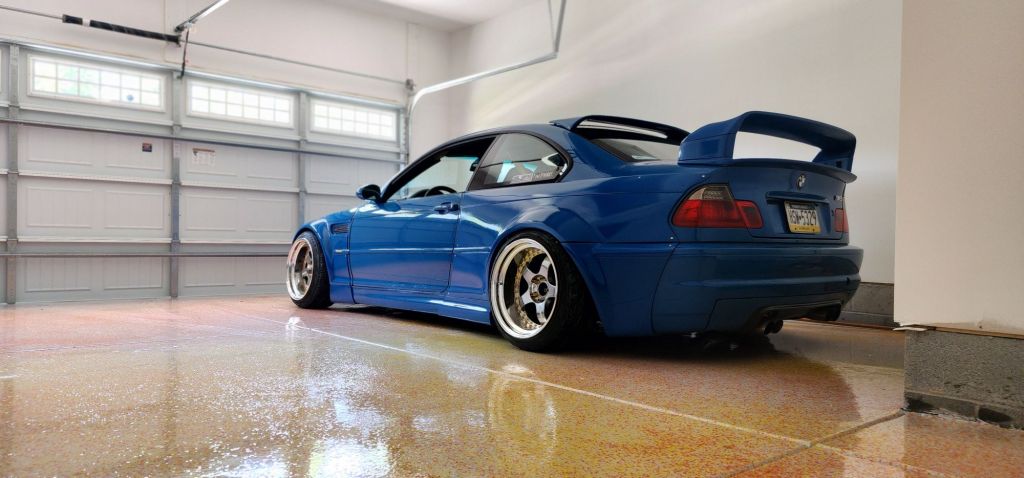
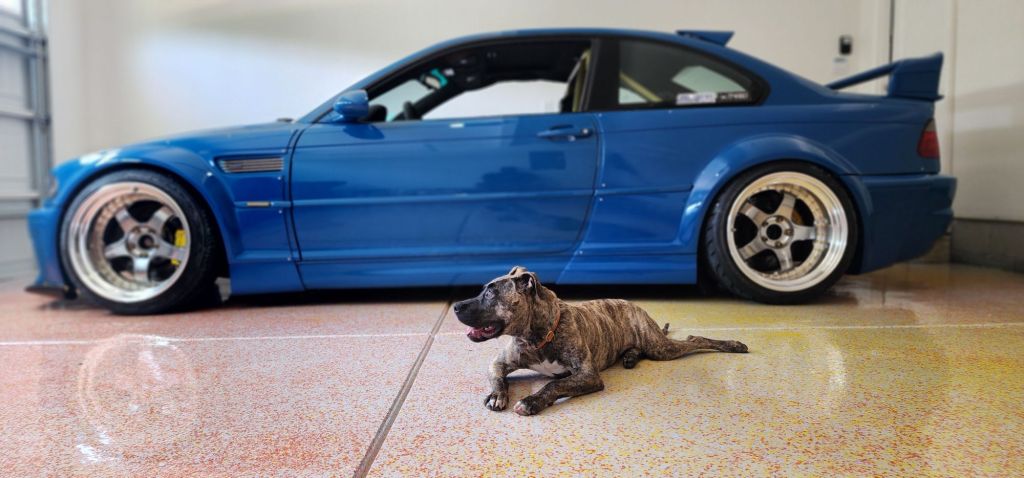
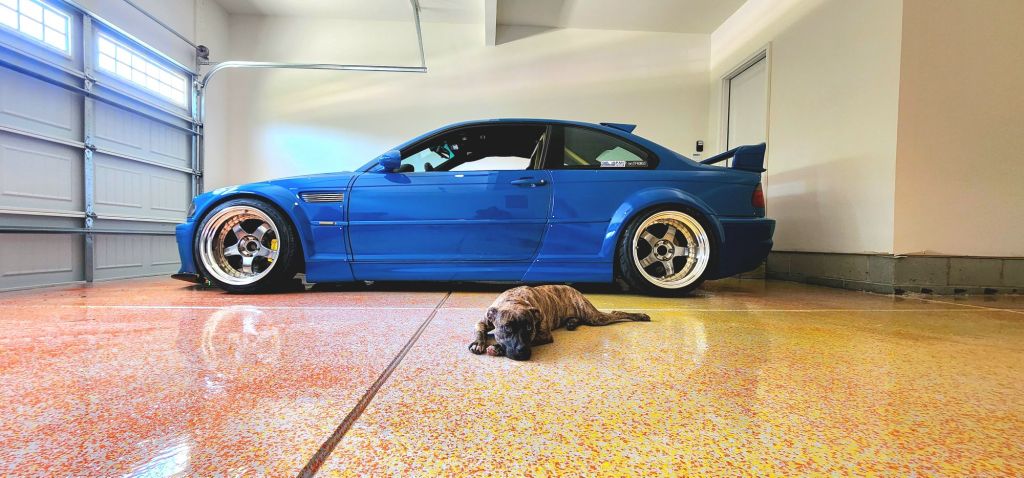
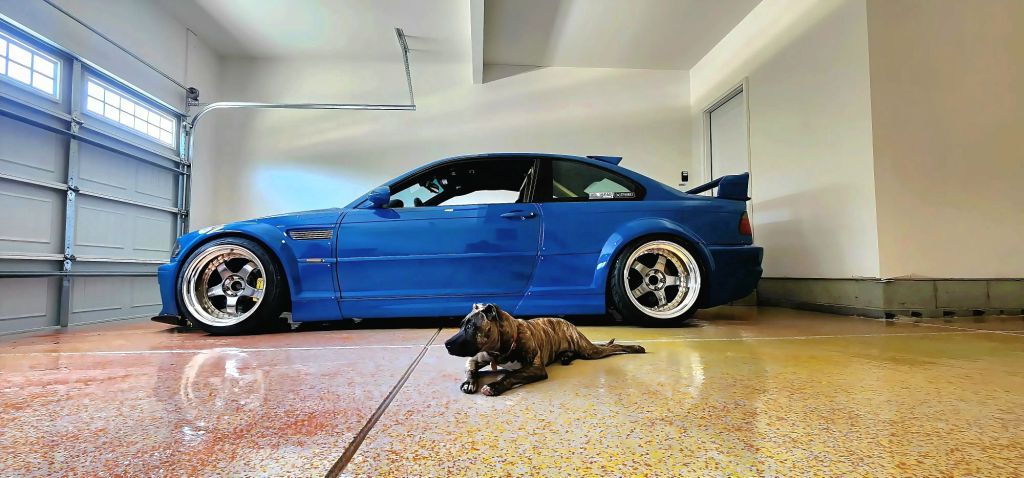

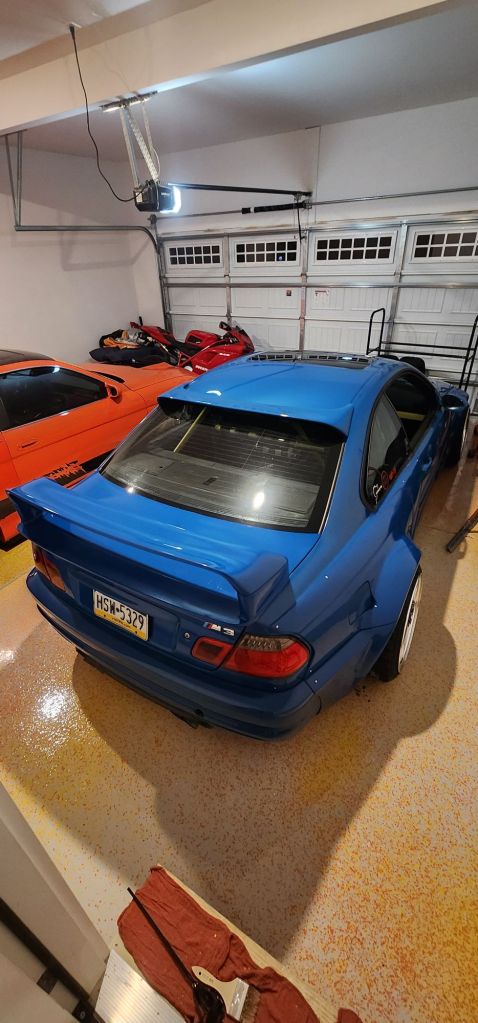
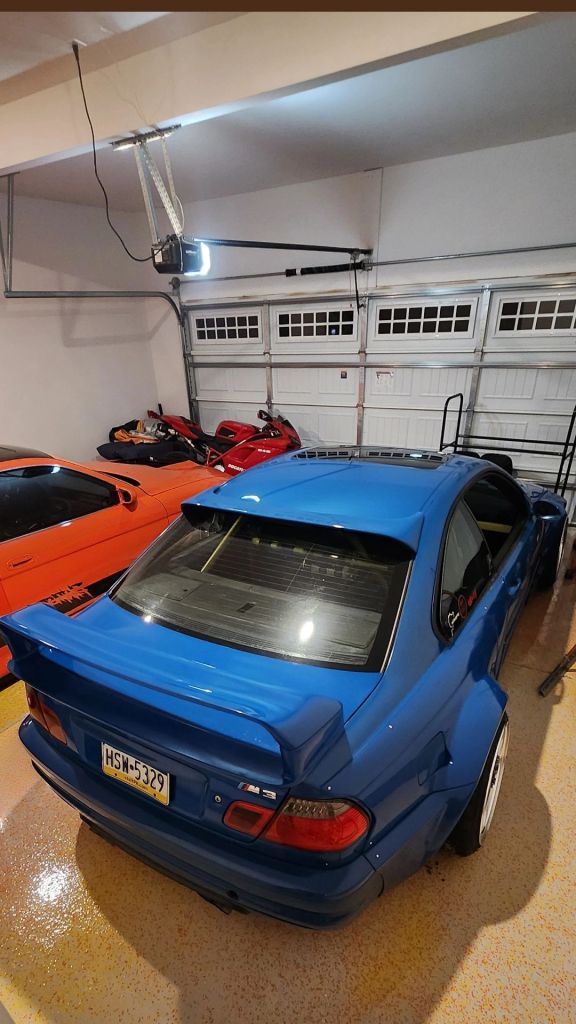
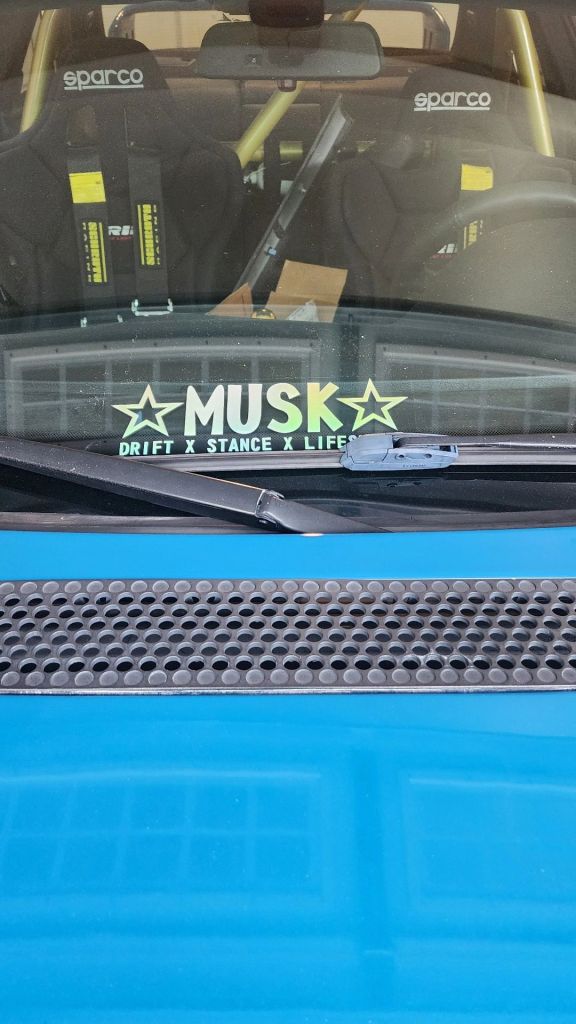
I sent pictures to Musk Customs. He looked and didn’t respond. Maybe he wing or ride height is not his thing. But clearly I can’t get enough. It will be lowered more. Less rear camber and more front. I also plan to add a gurney flap where I was going to add the Musk sticker, but I don’t want to rep it if he’s not feeling the car. Don’t want to be bad advert.
Once we get a little unpacked I will put the car back up to figure out the starter and pull the passenger fender to glass it back togehter and trim it so it doesn’t break again. F
Fin
Musk ///M Pt. 9
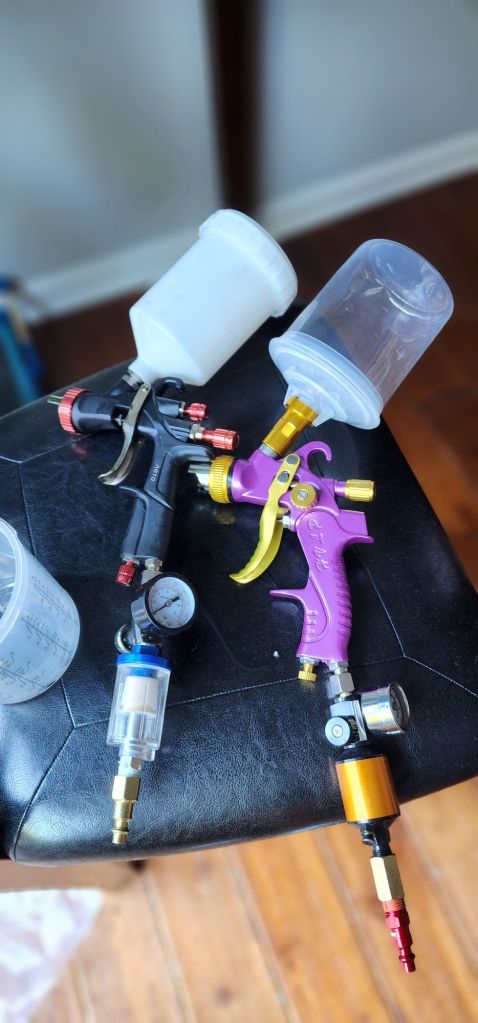
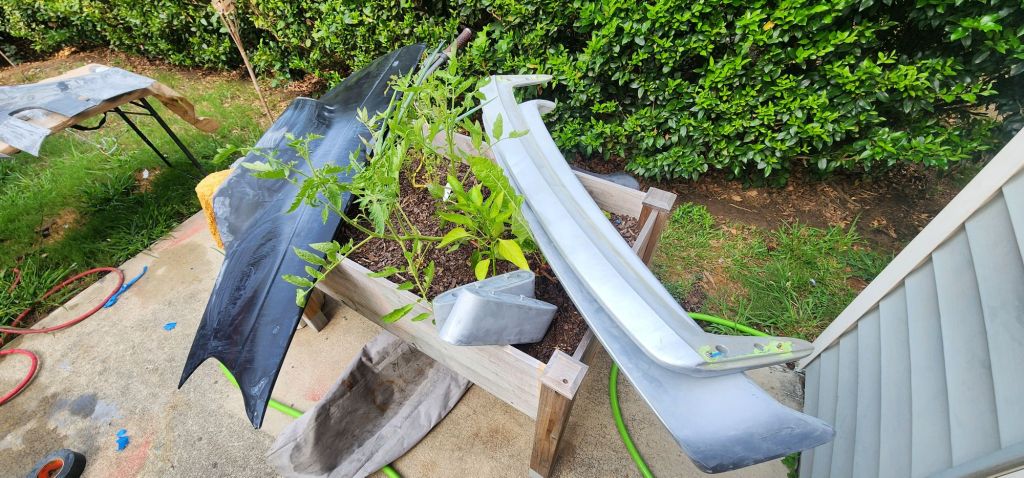
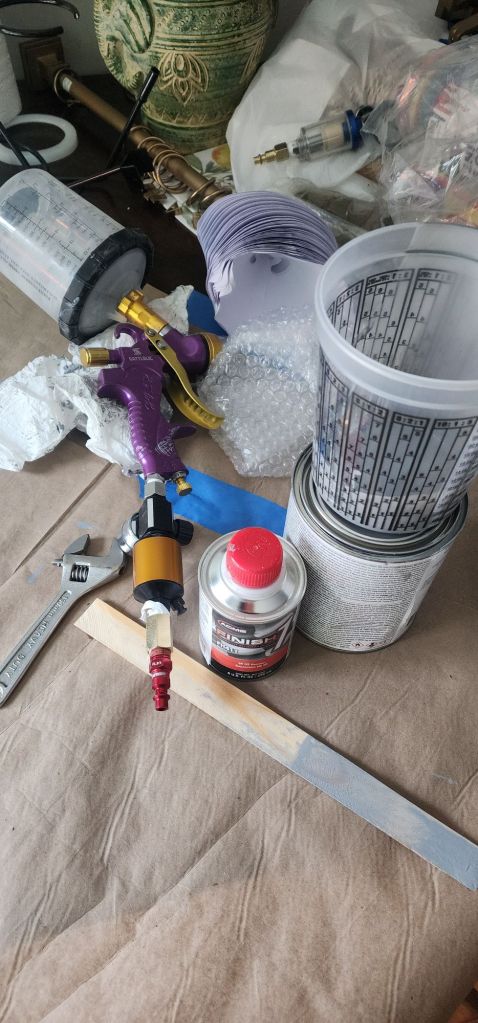
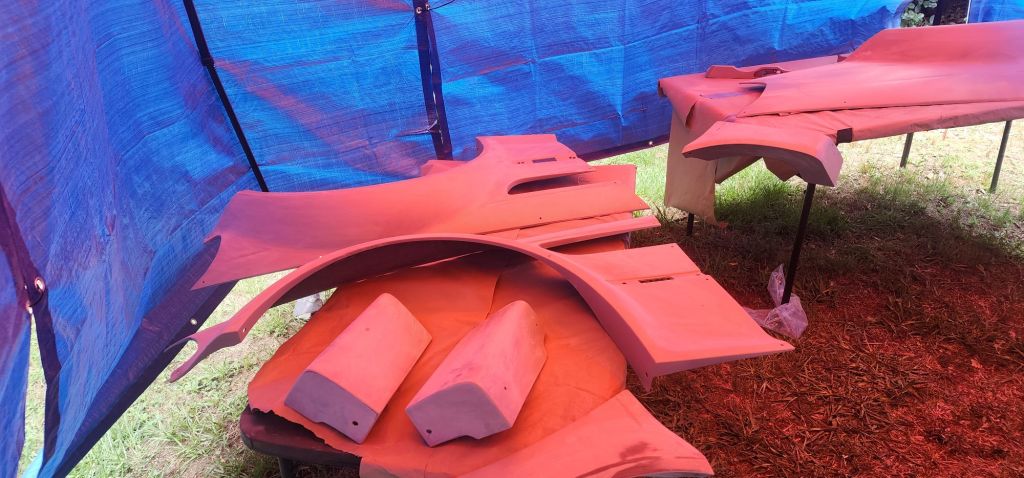
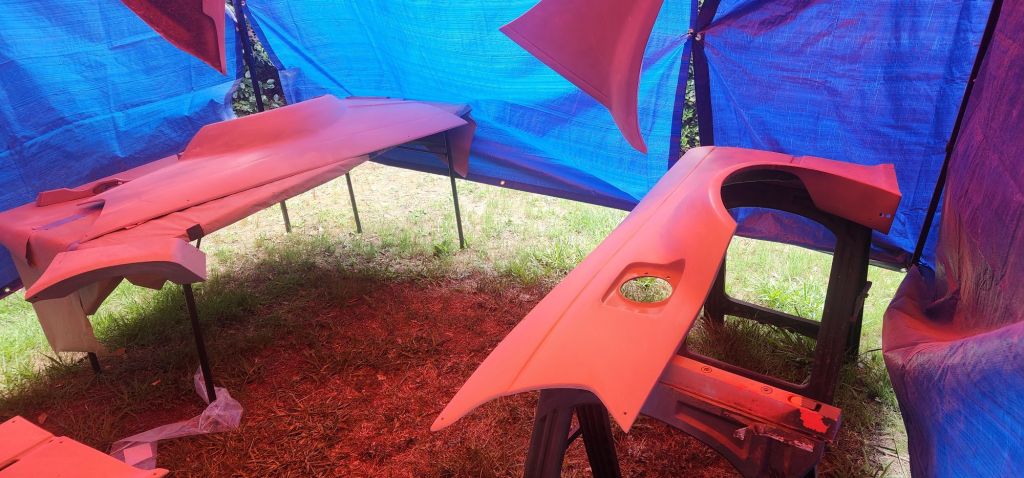
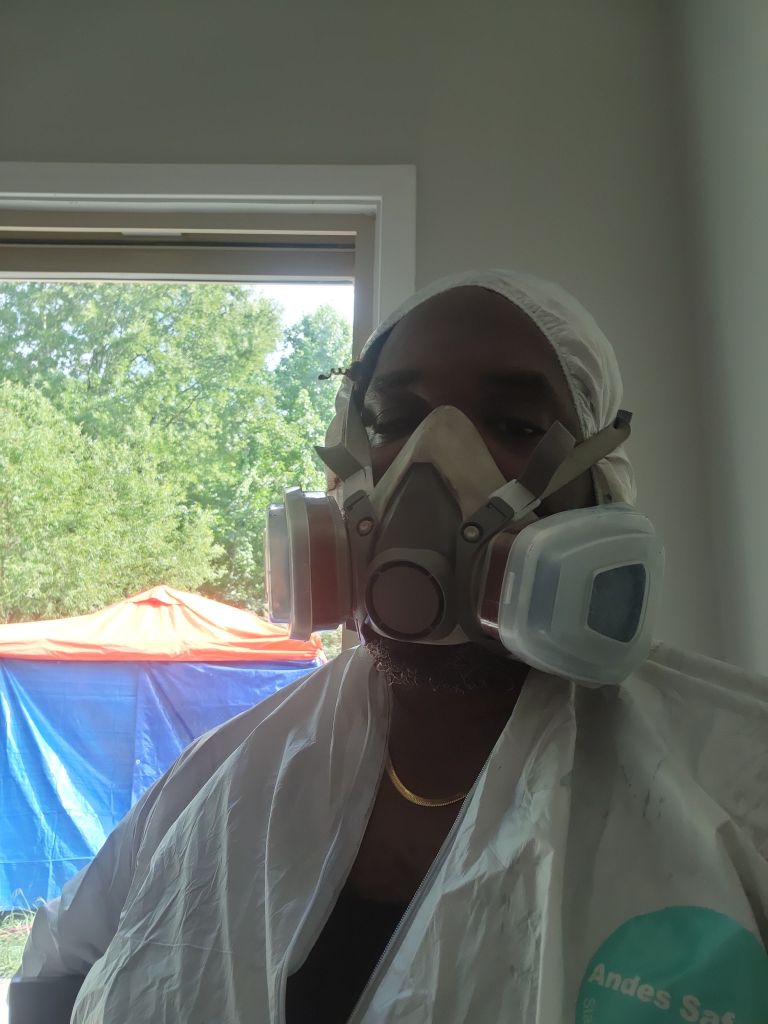
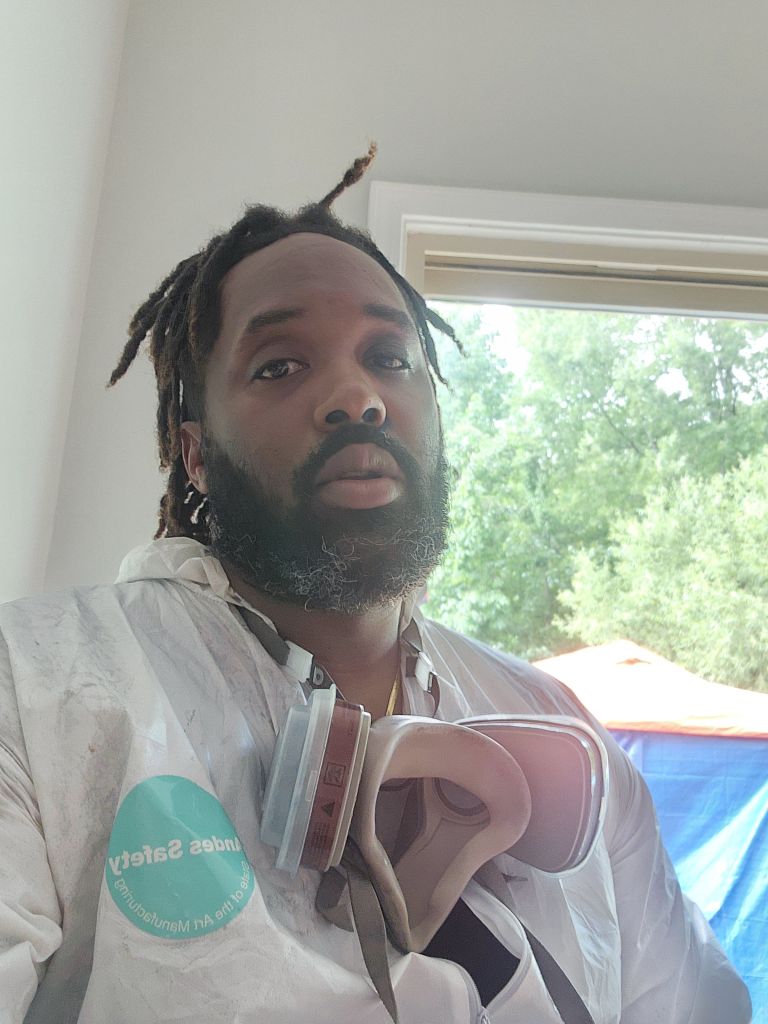
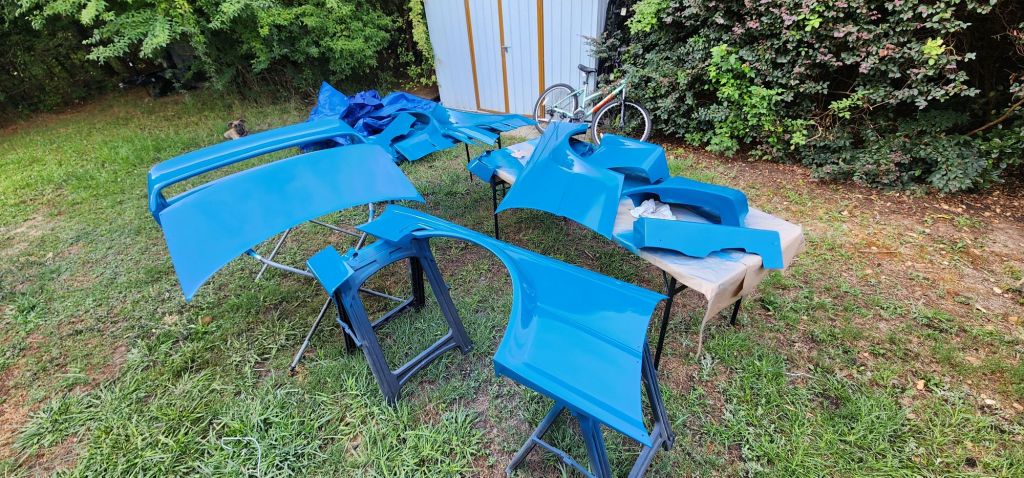
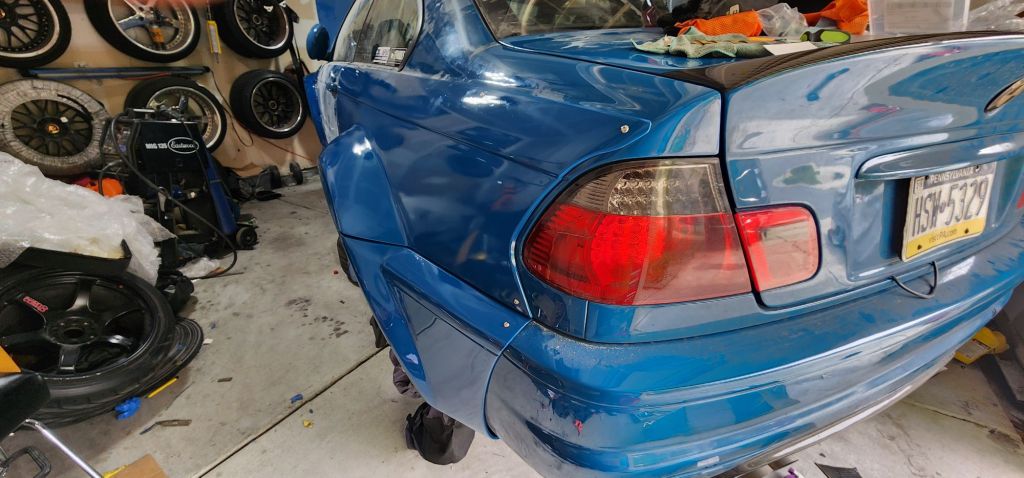
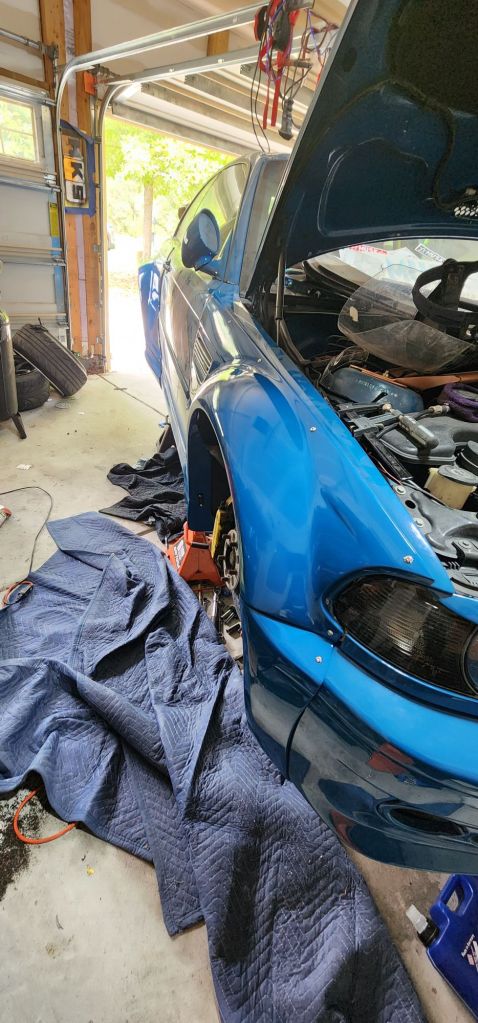
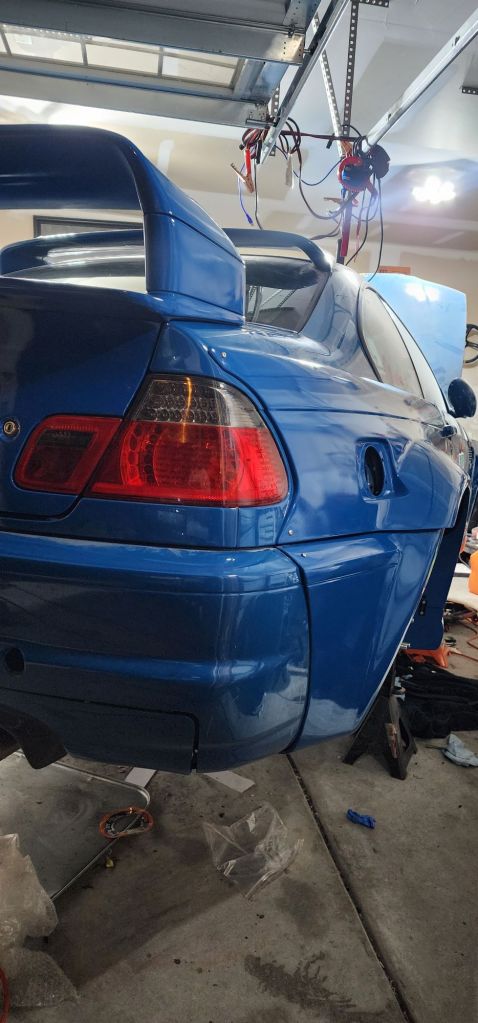
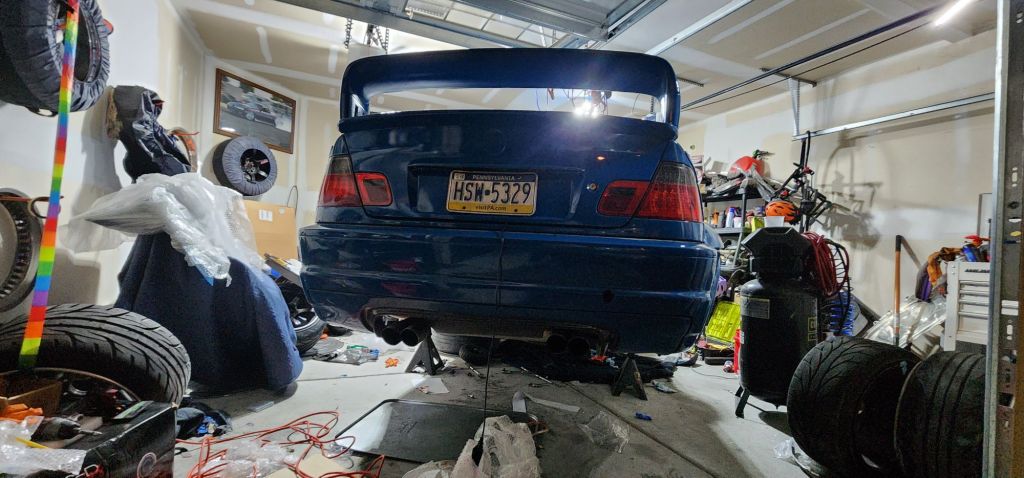
Paint time.

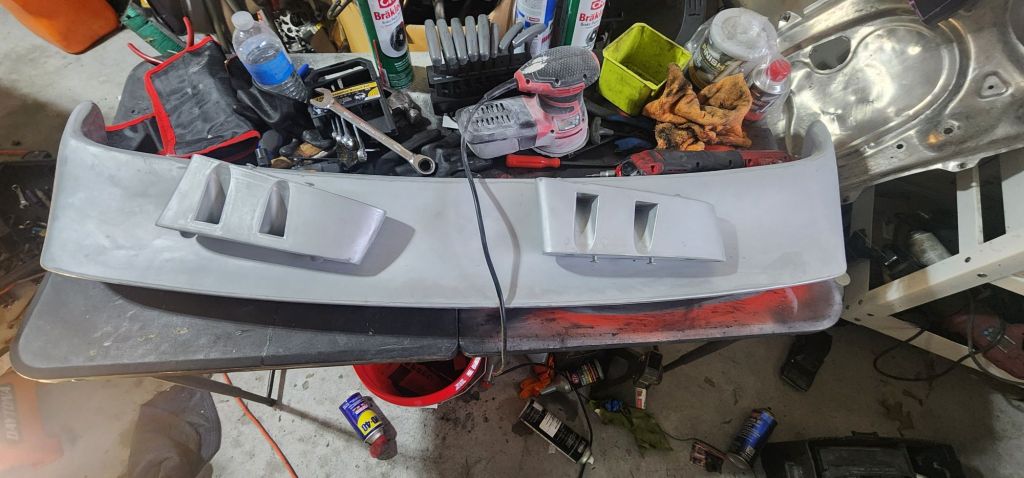

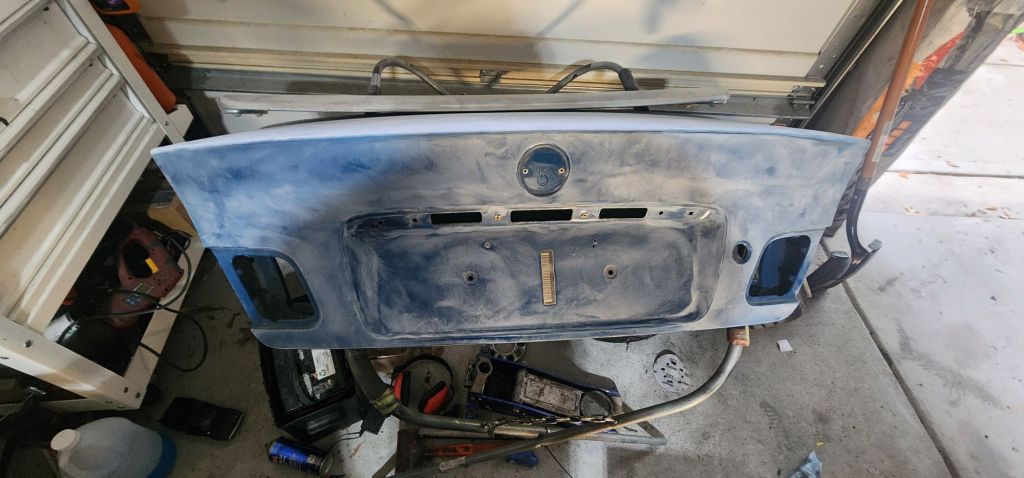
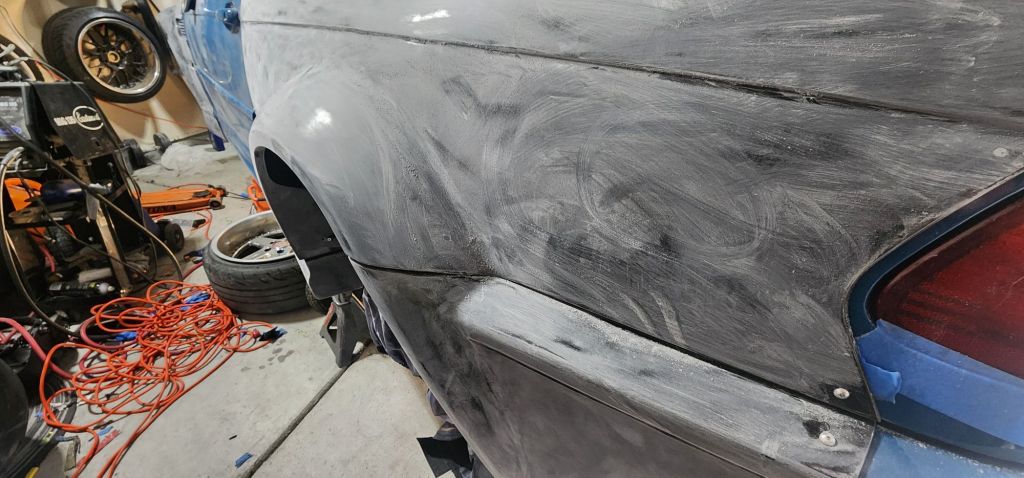
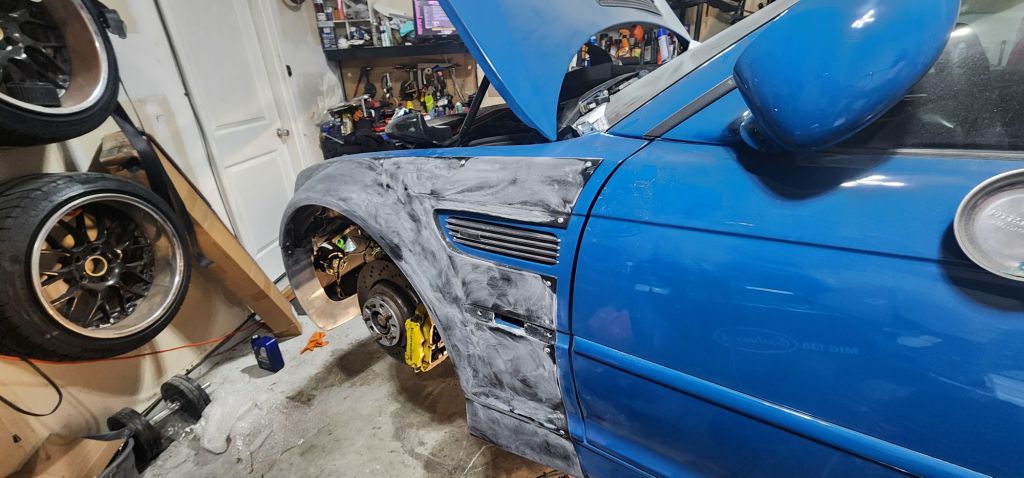
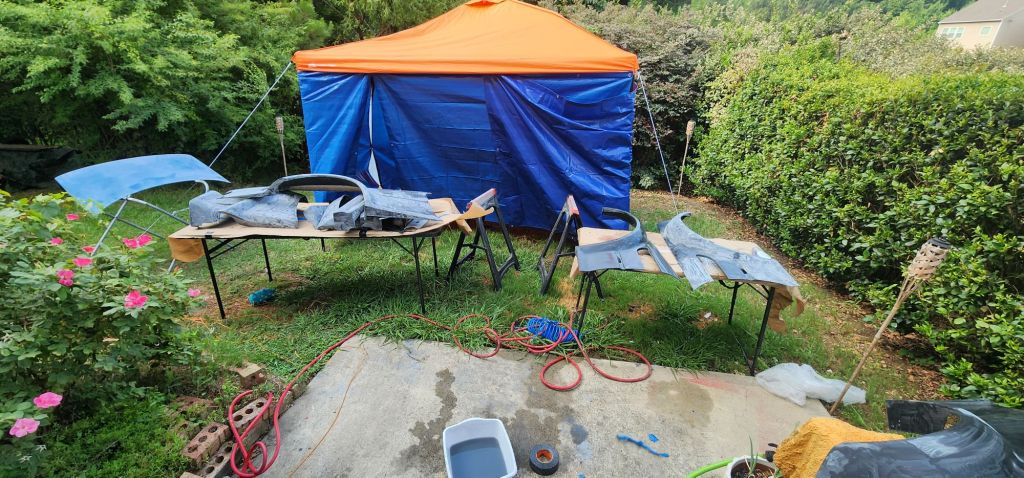
Sanded as much as I could with the panels on the car. Then took them off to get the areas missed.
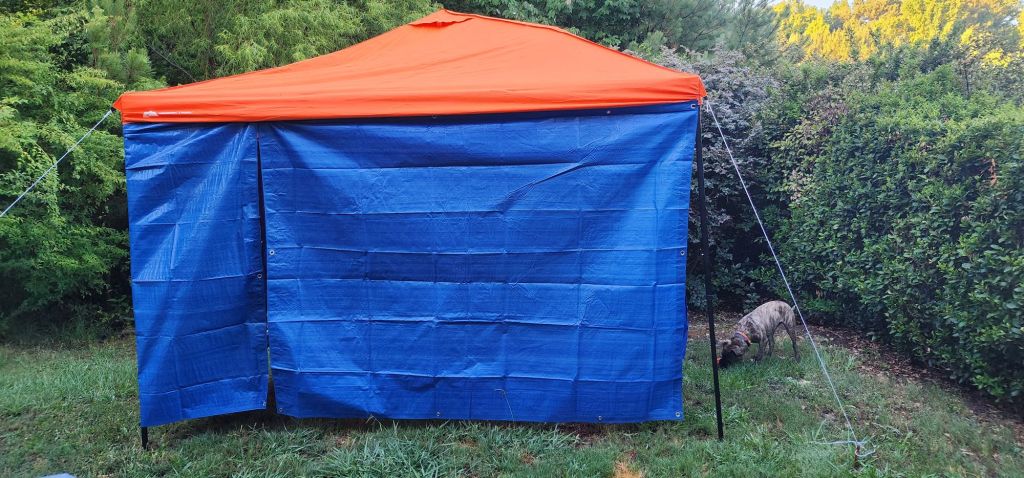
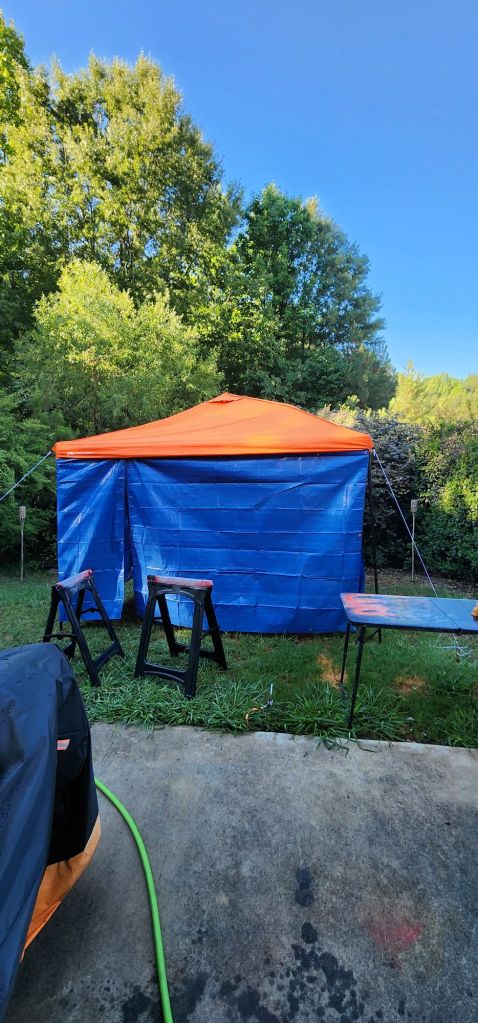
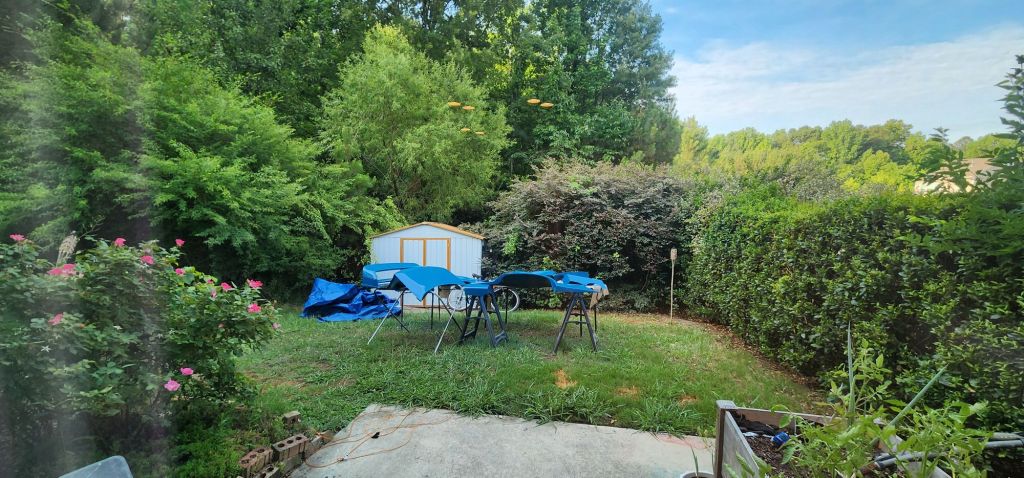
Used my tent with tarp on the sides to make a booth and sprayed the grass with water. I put 4 tiki torches at each corner to keep bugs away and used wire hangers to steak the tarp into the ground so the wind didnt blow it.





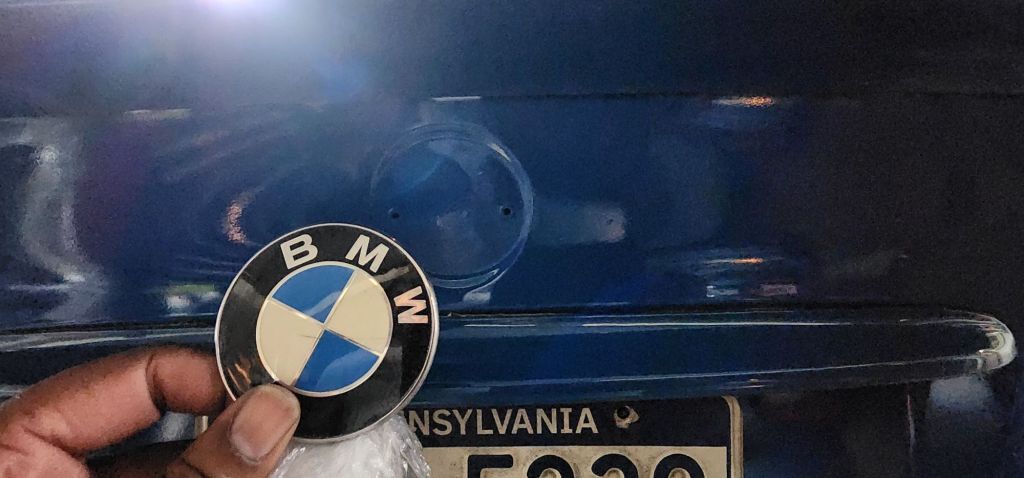
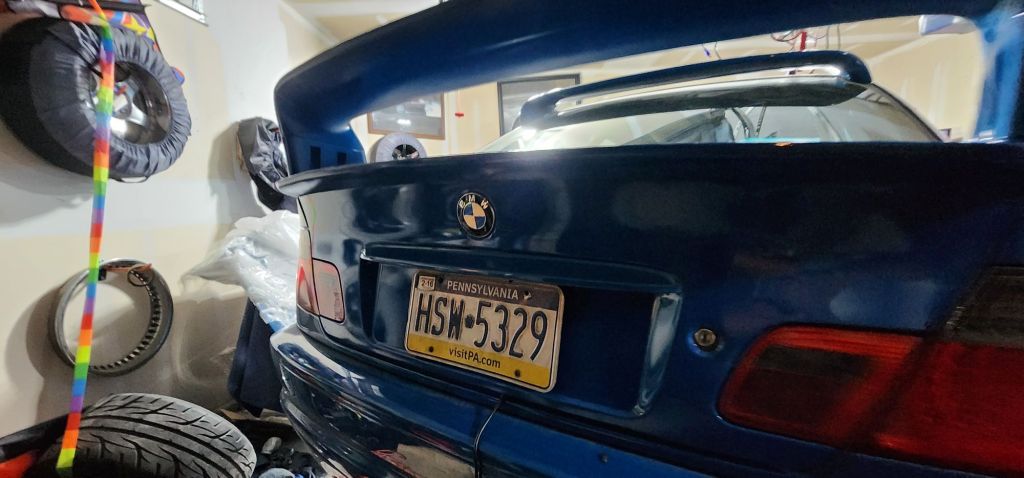
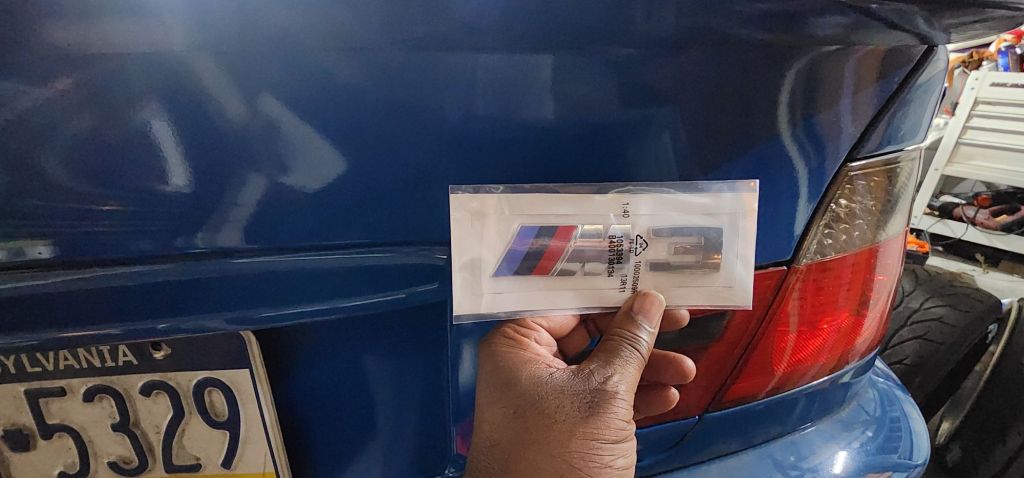

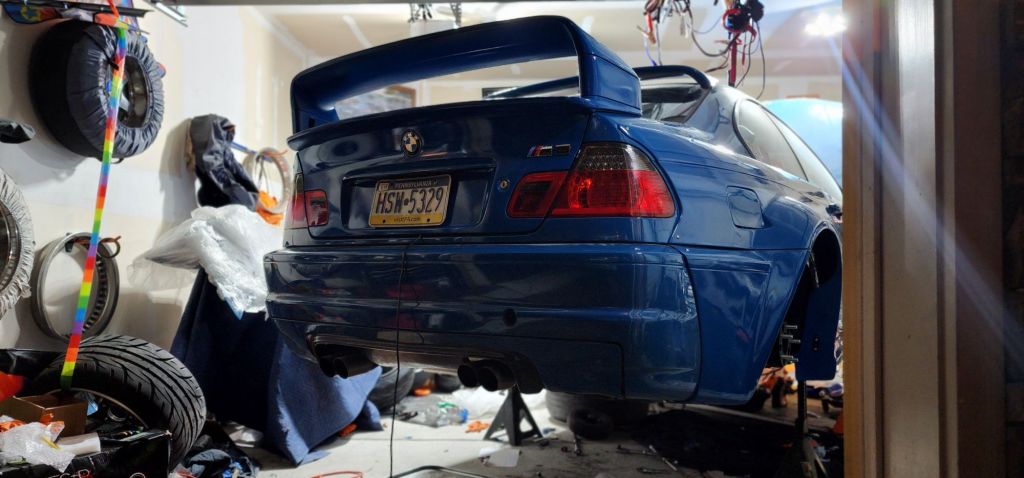

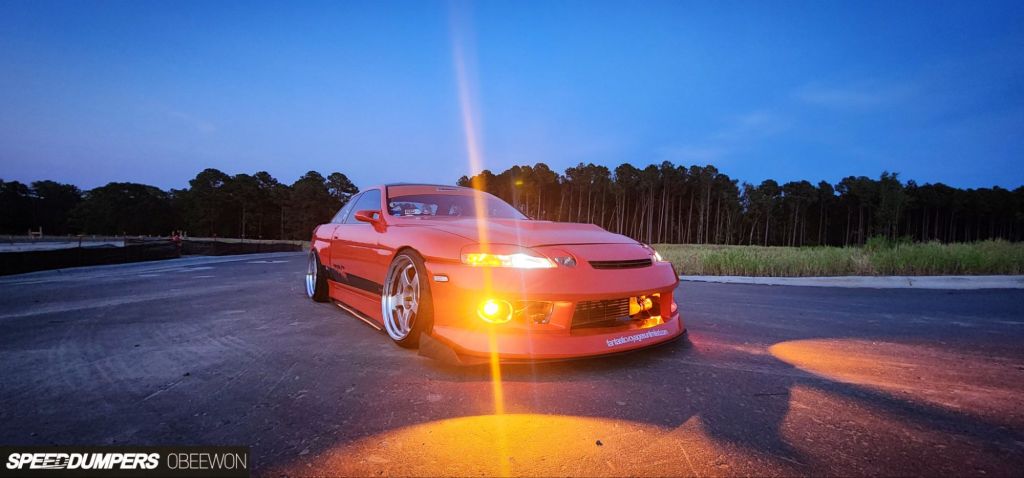
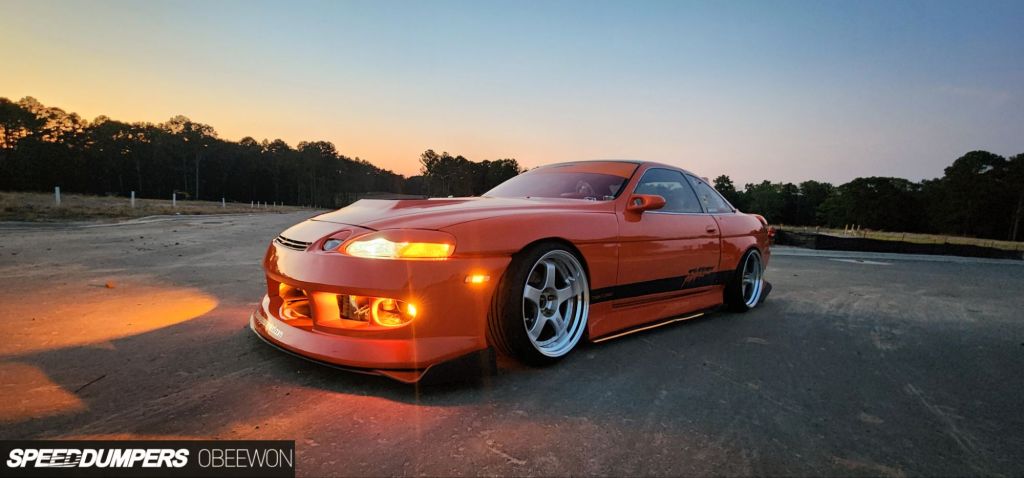
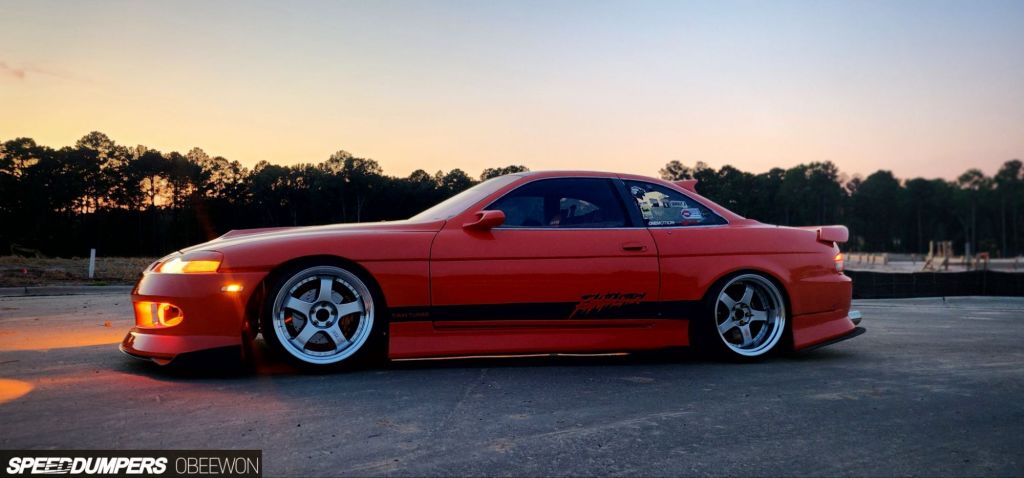
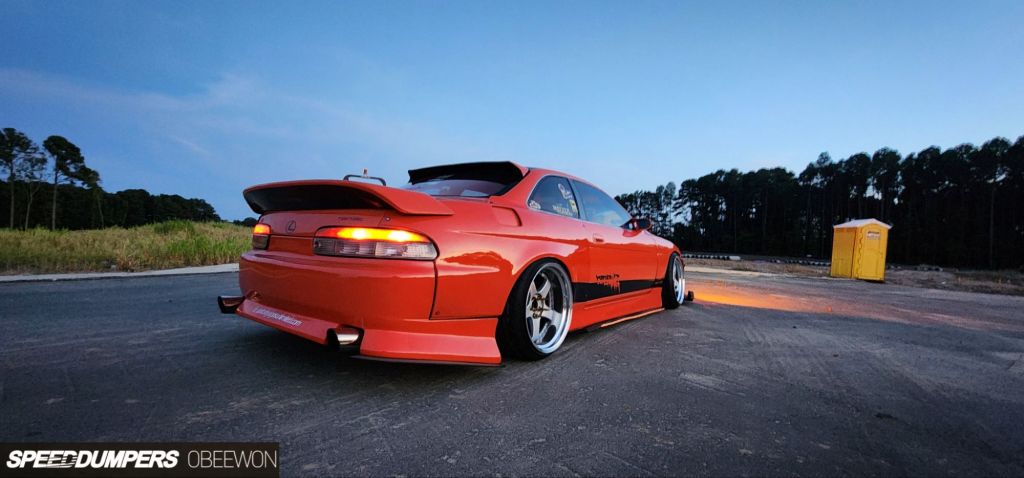
Musk ///M Pt. 8
I pulled the trans. My shifter had been flopping so badly I was breaking the trim and wore a hole in the shift boot.
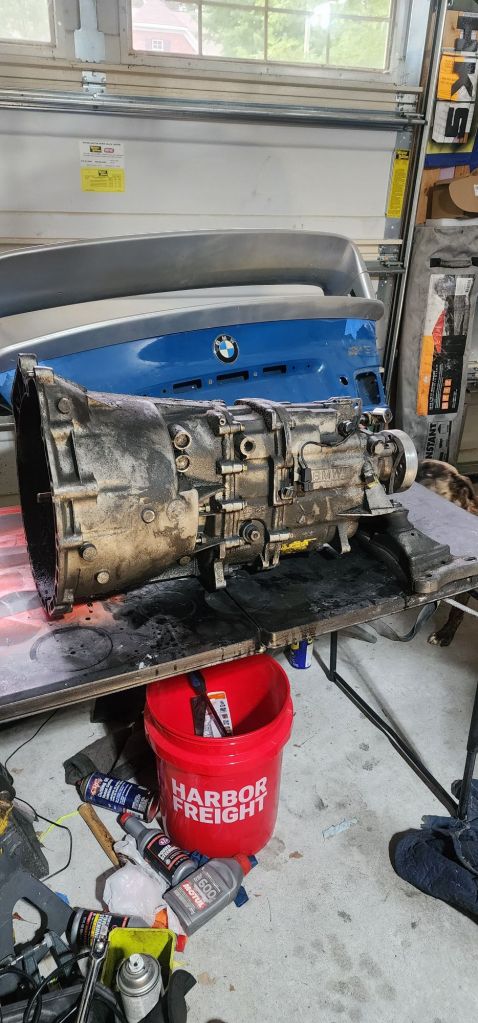
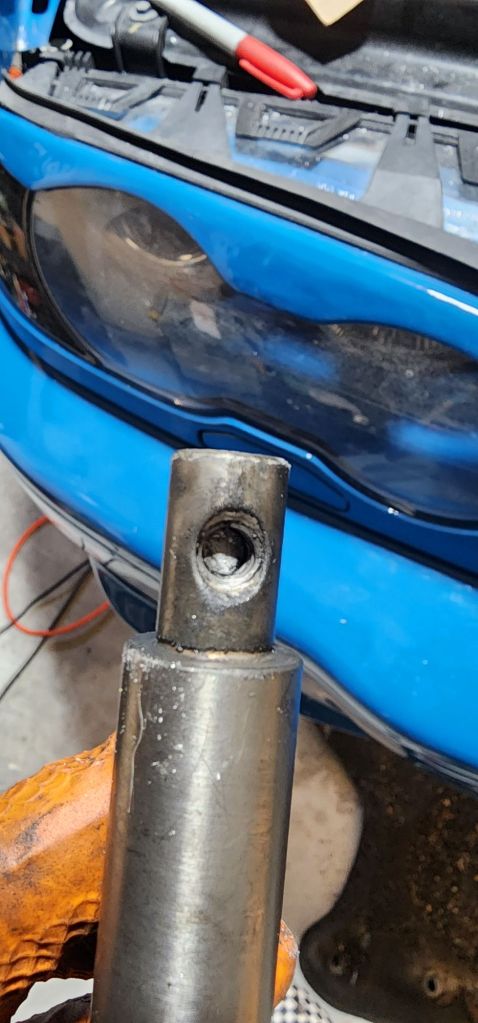
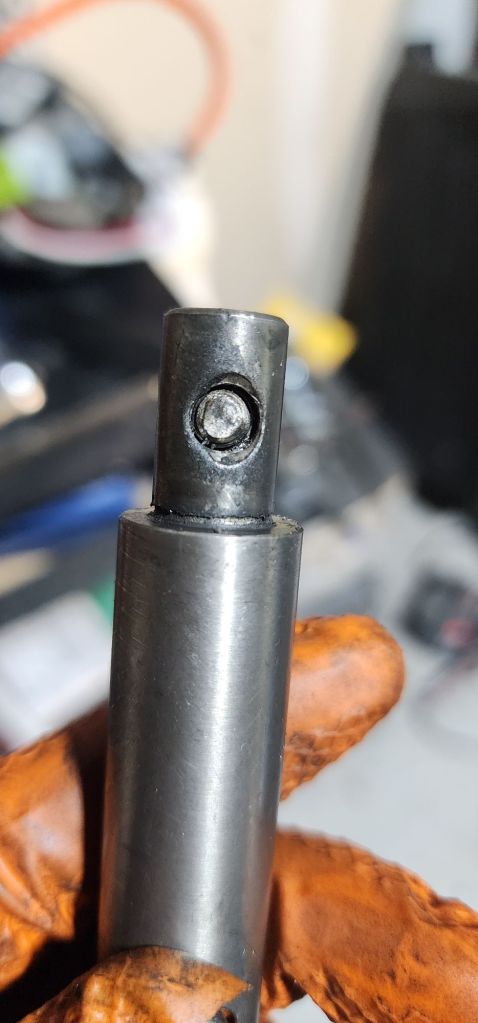
The Rogue engineering selector rod had a bolt snapped off in one end and the linkage was rotating around it. Had the broken end fallen out I would have been stuck bad. This was 50% of the play so I kept going.
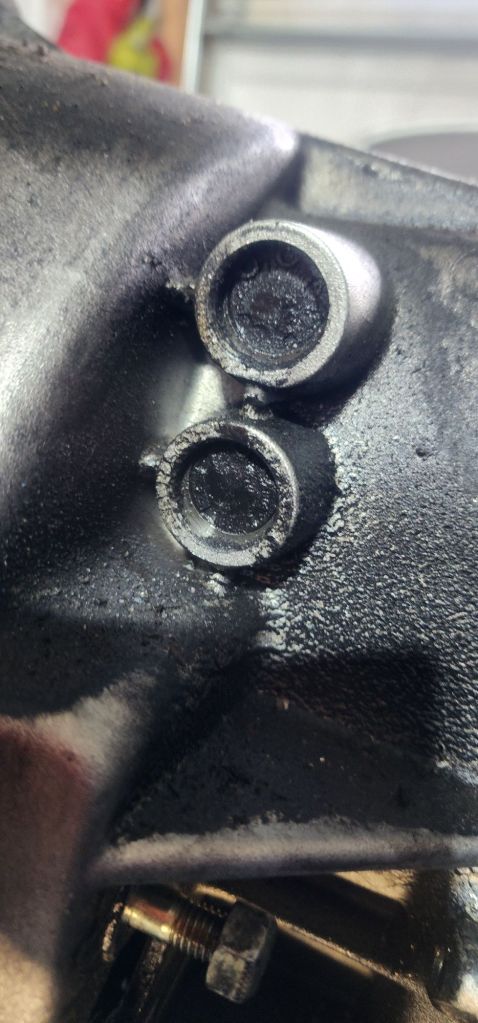
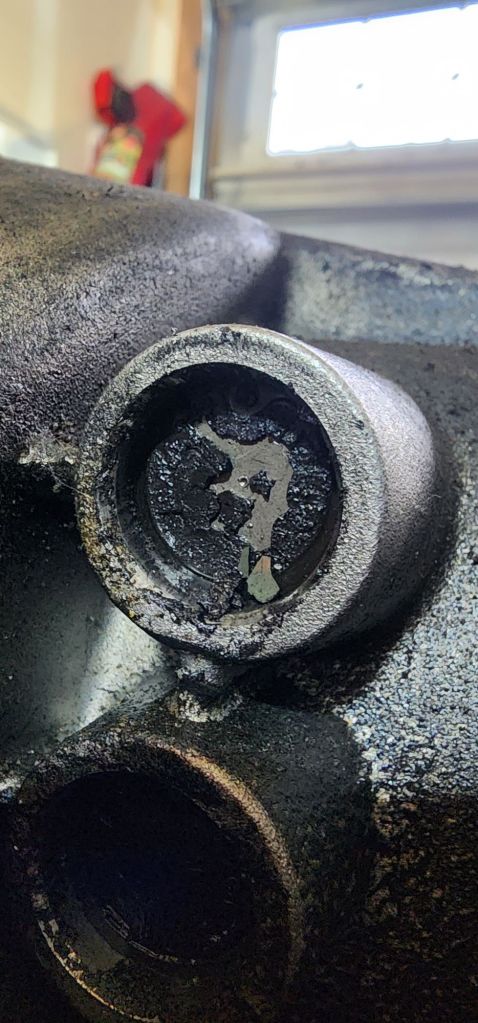
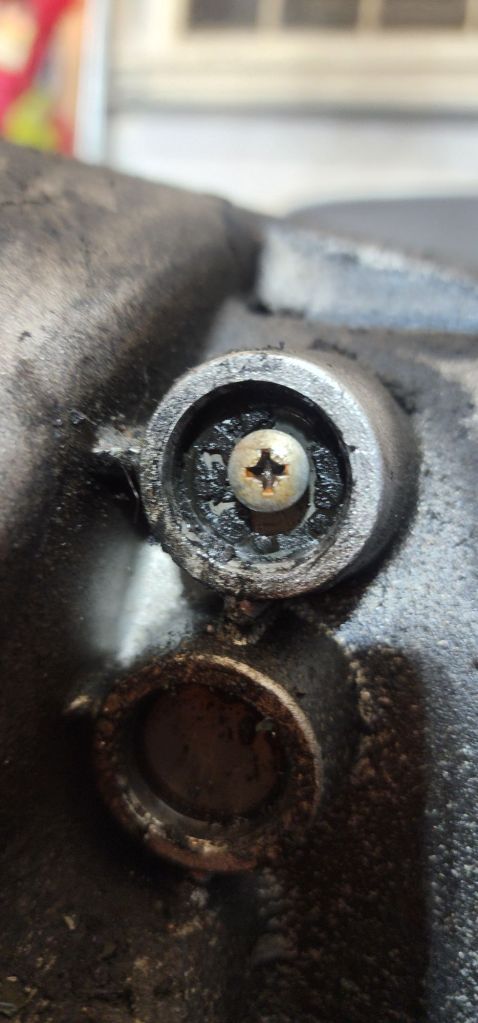
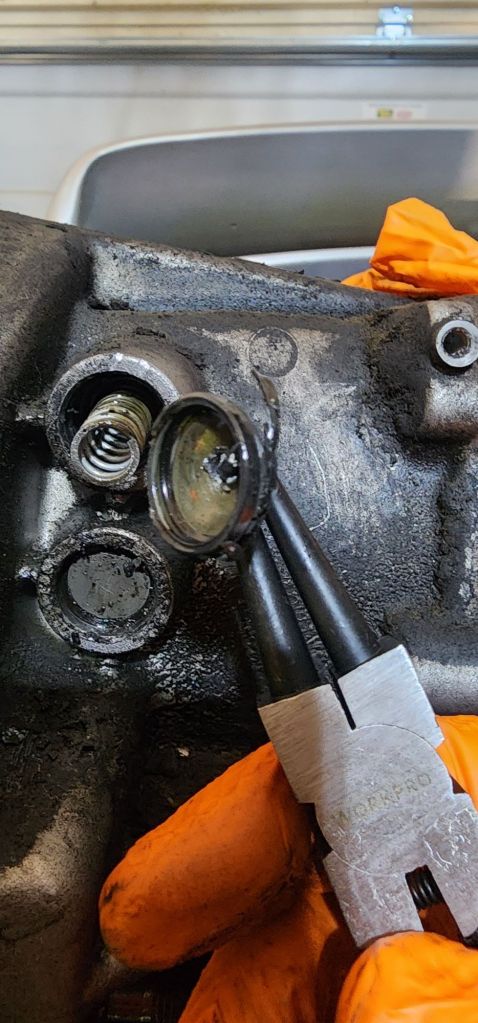
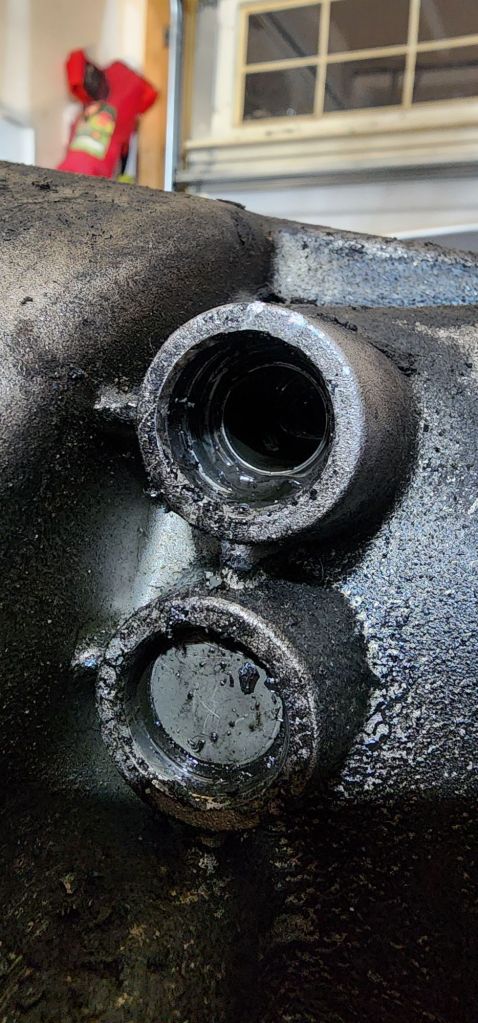
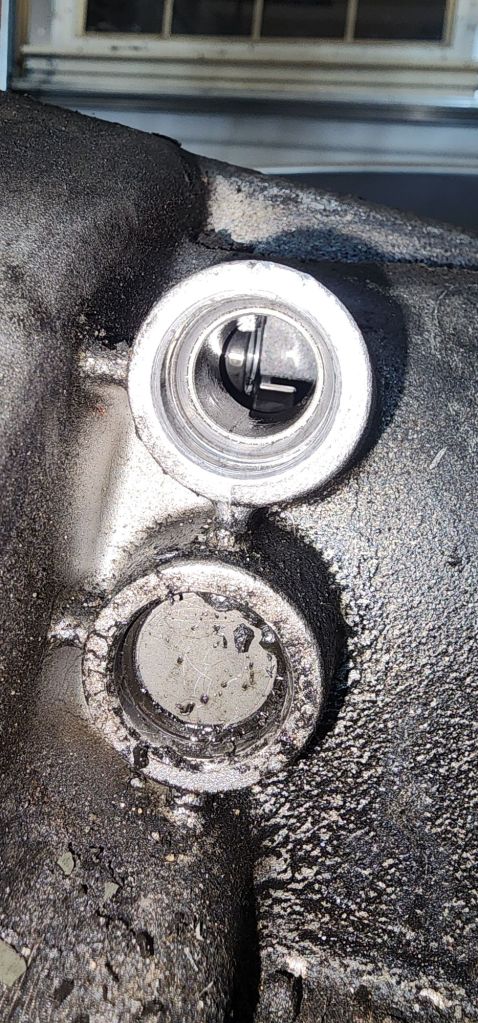
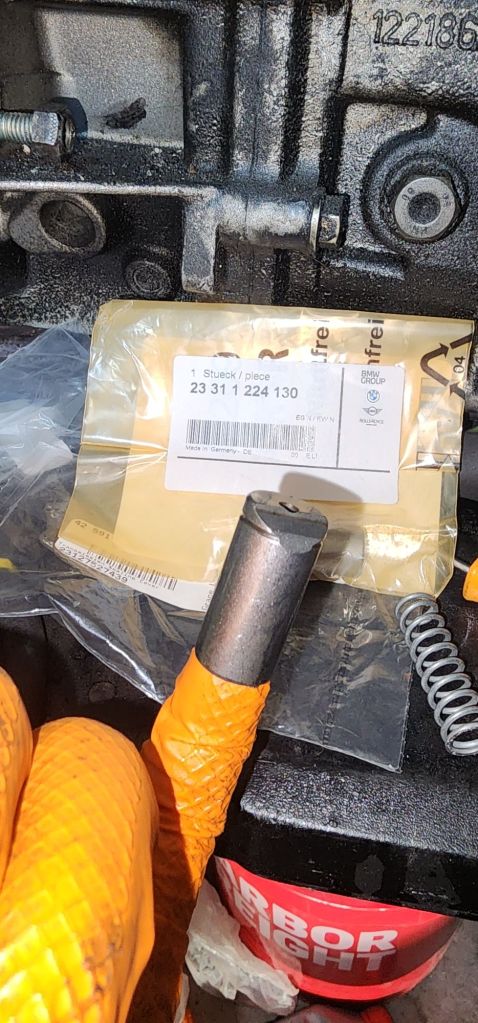
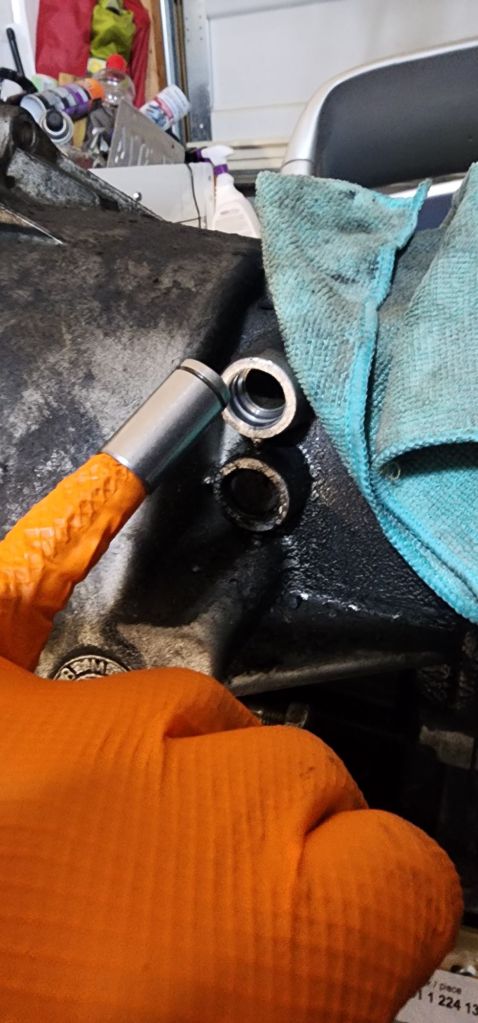
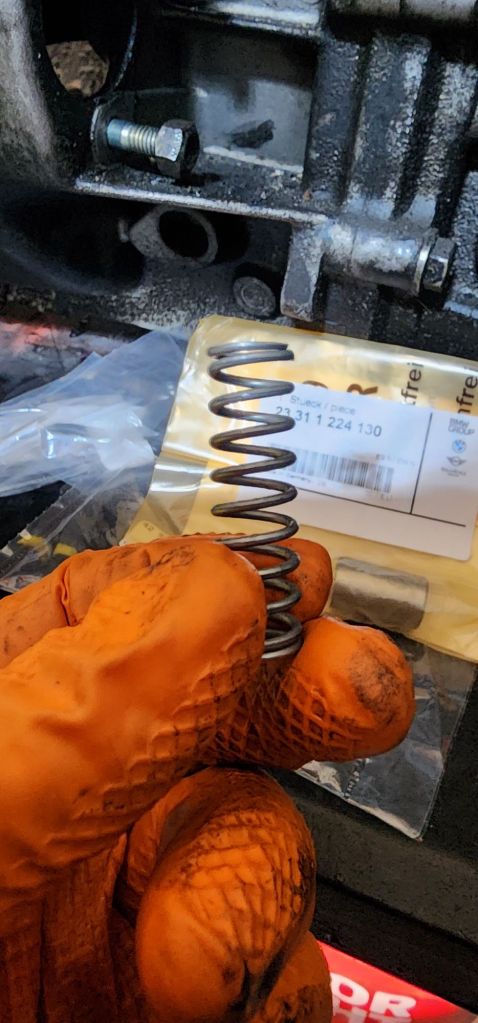
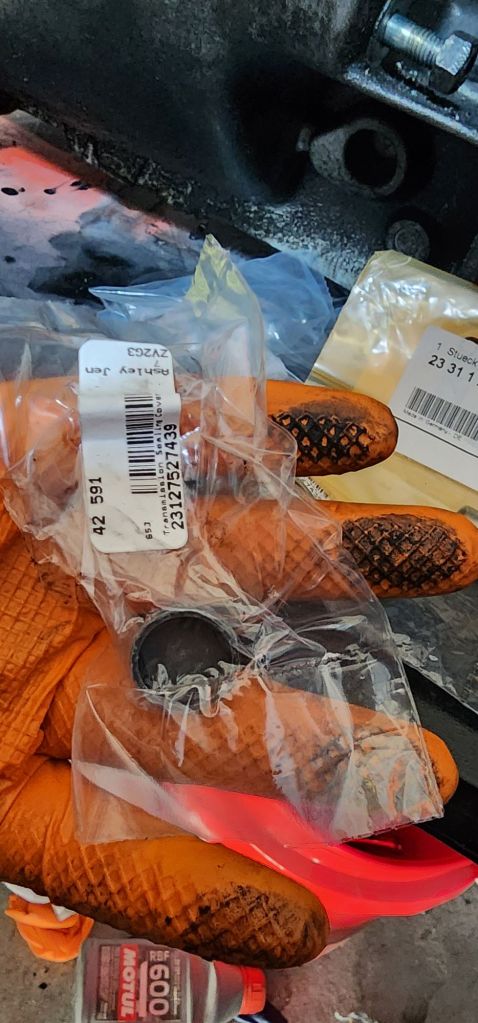
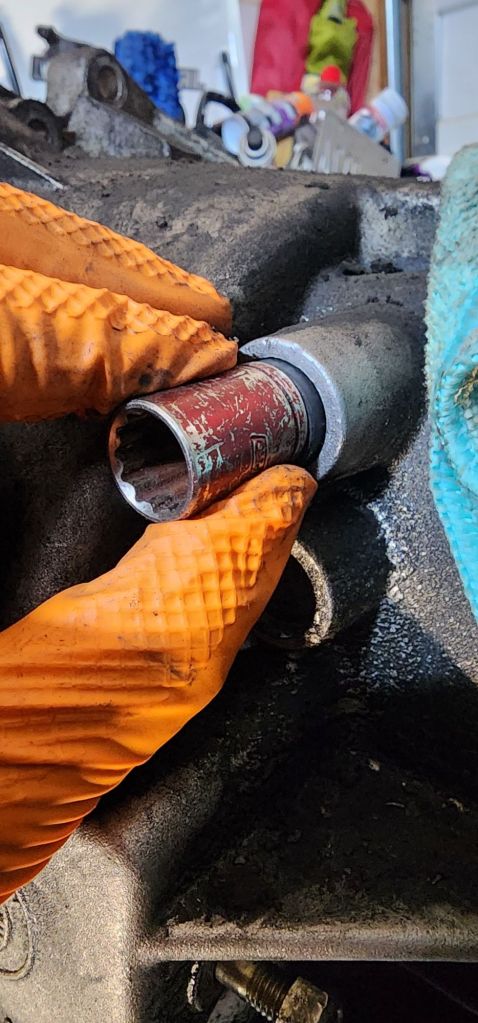
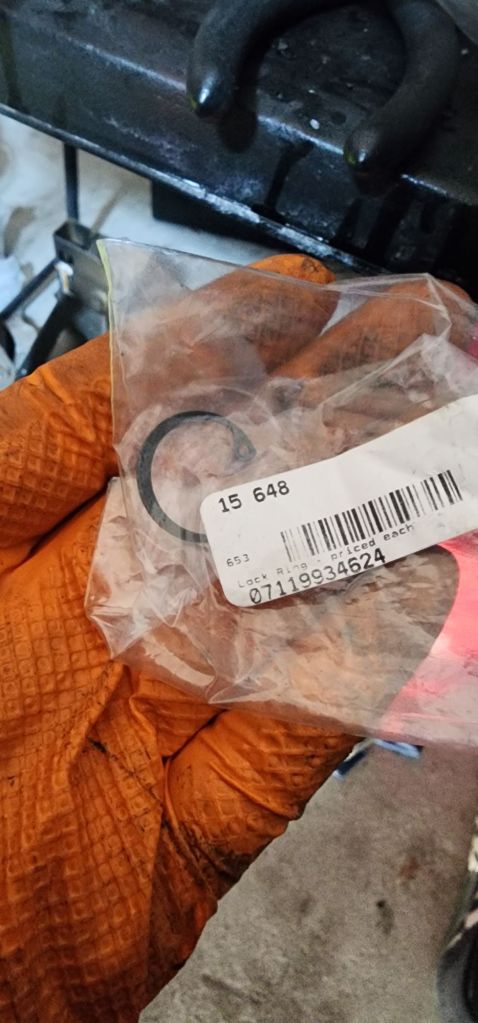
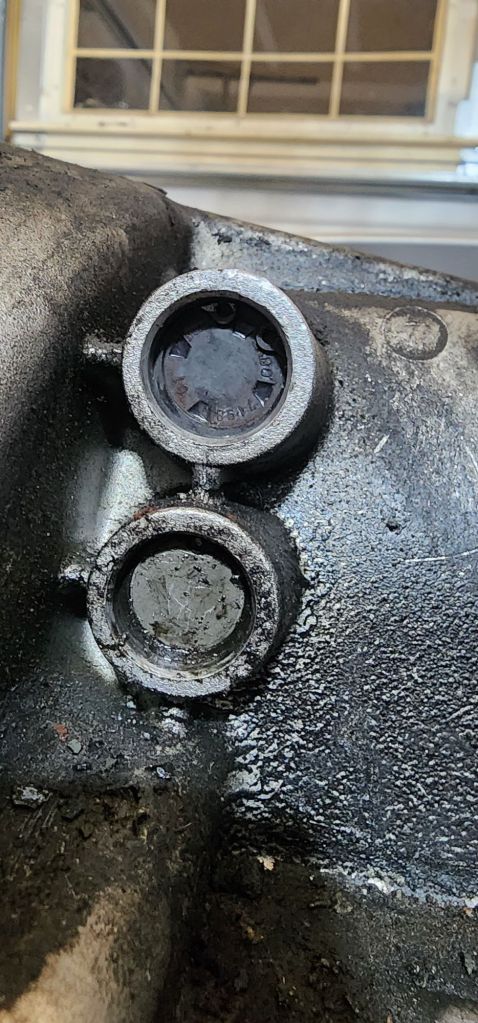
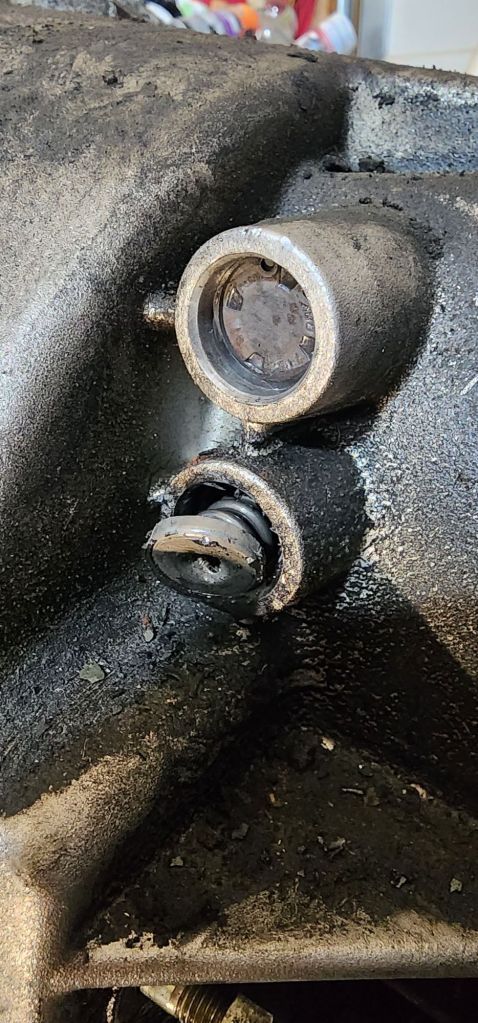
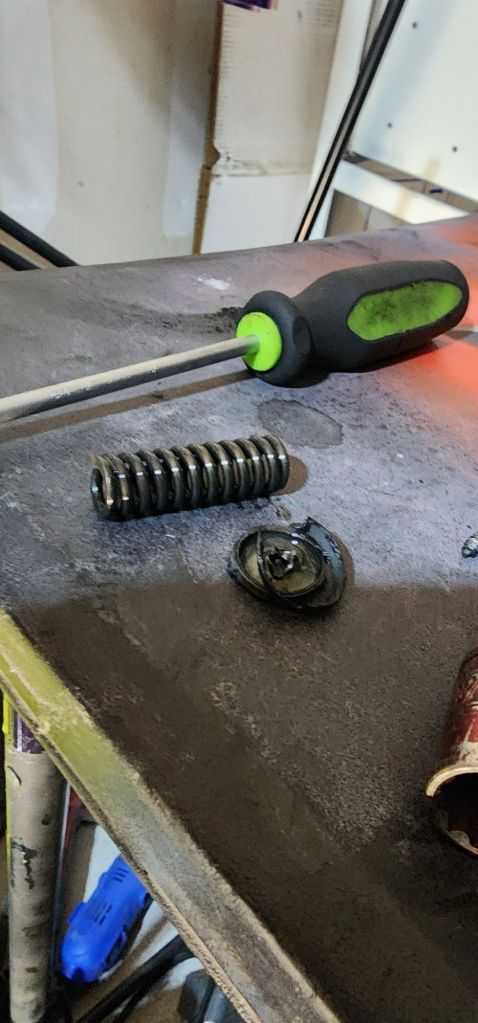
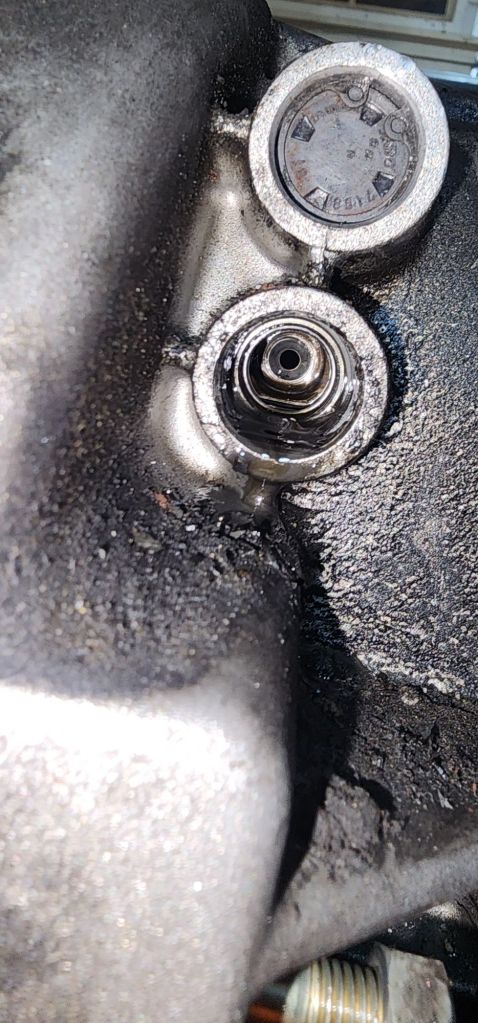
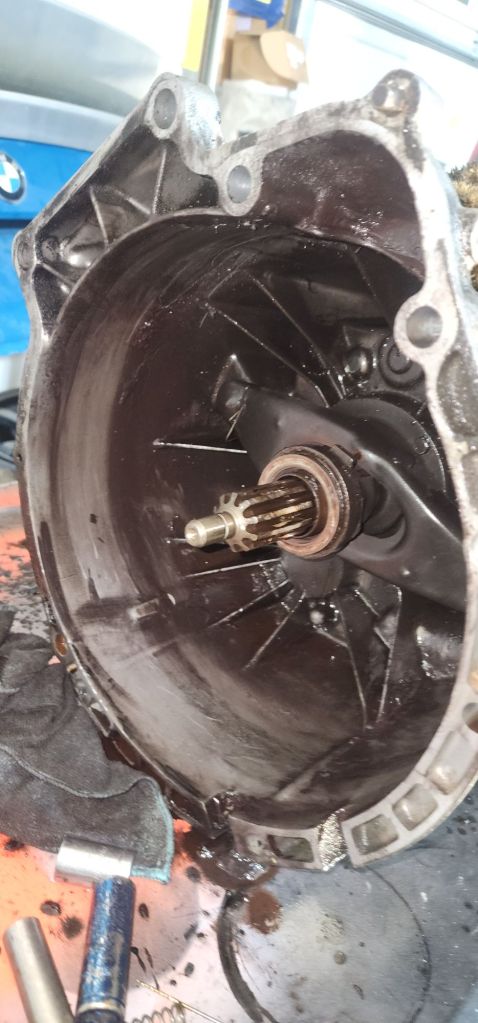
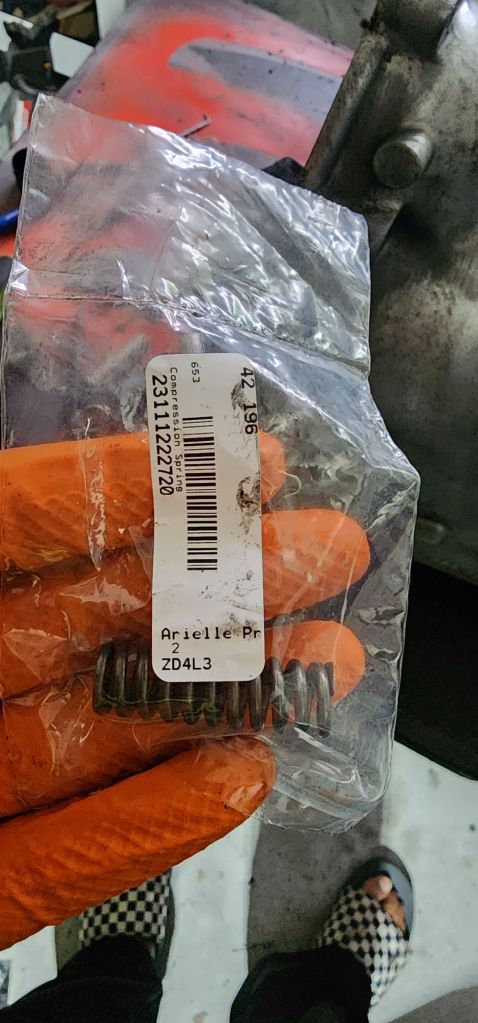
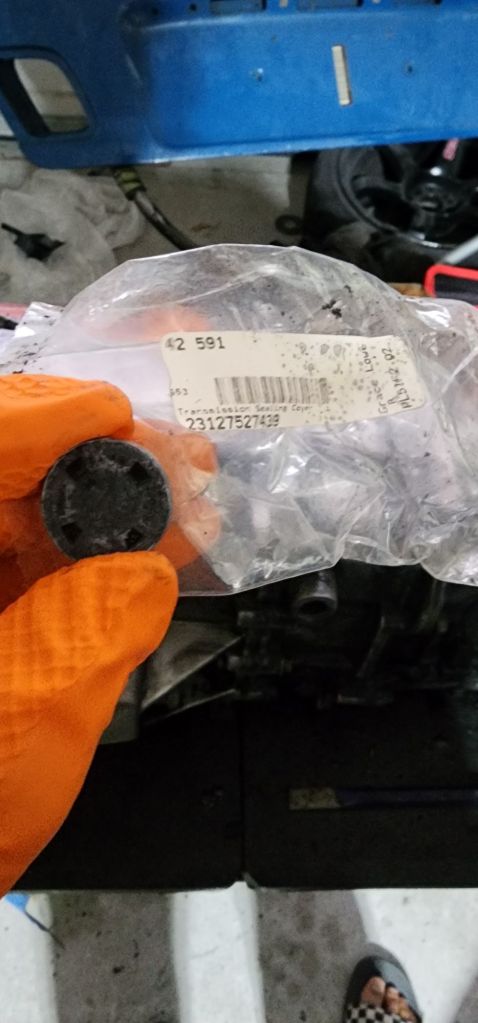
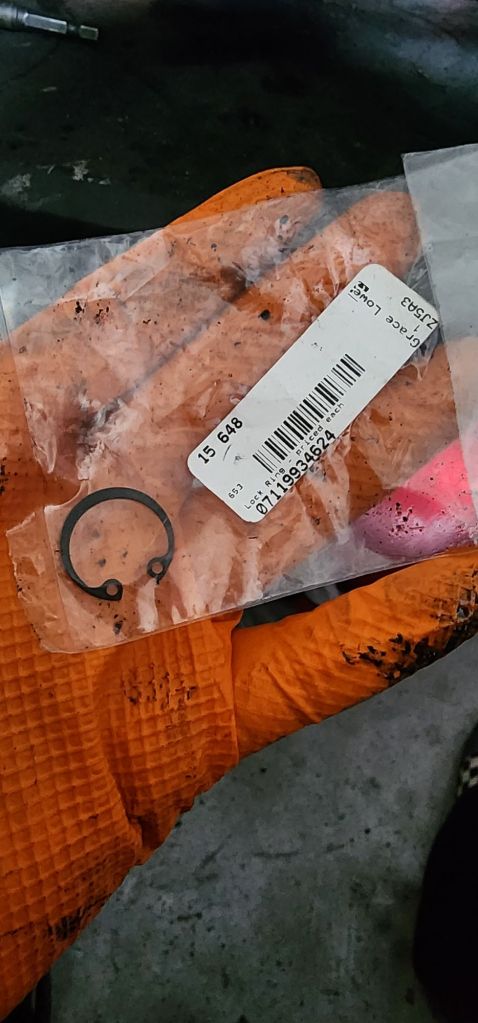
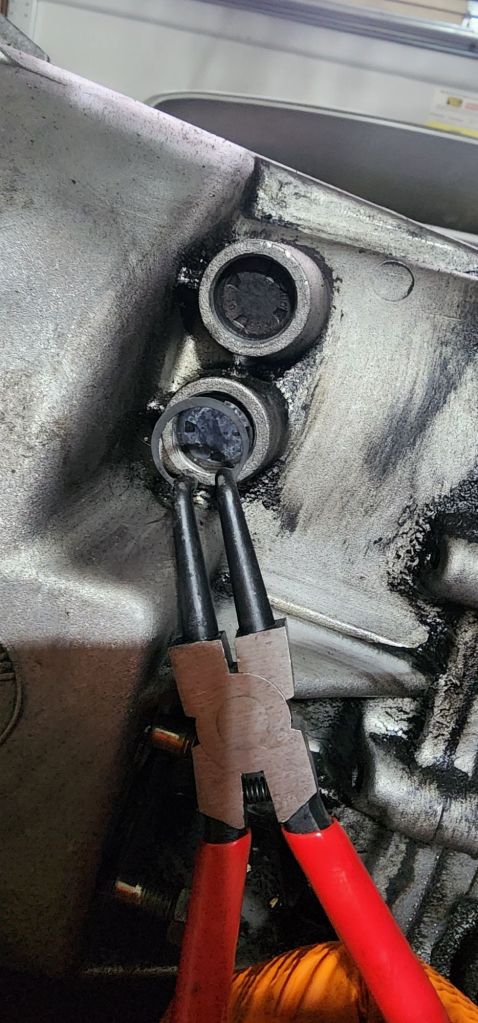
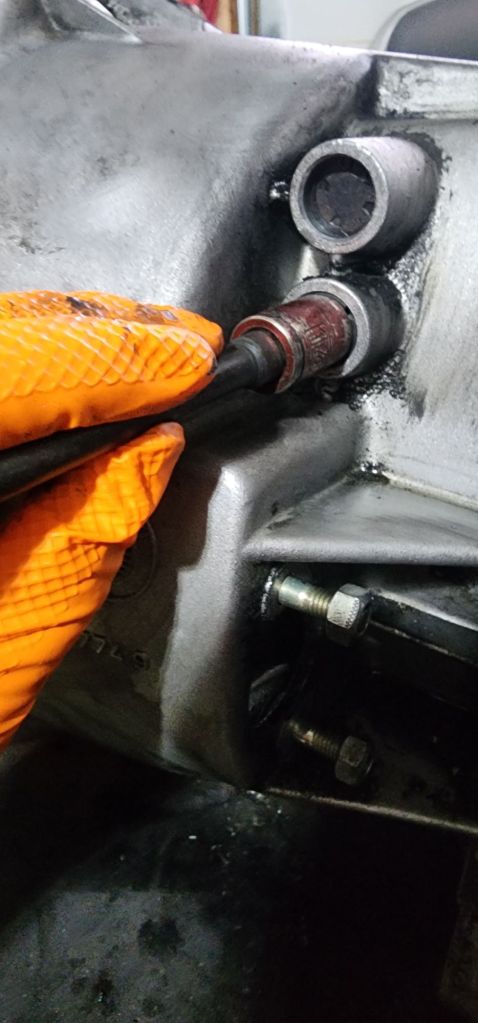
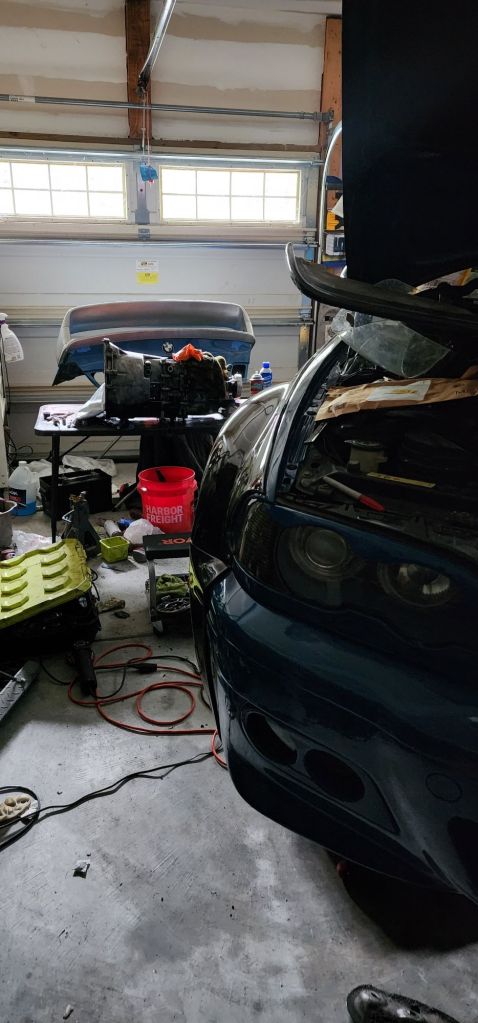
Detents replaced. I didn’t change the top ones because the fore and aft shifting felt fine. The side ones were so cooked the plastic had melted off the metal caps and it was seeping tranny fluid.
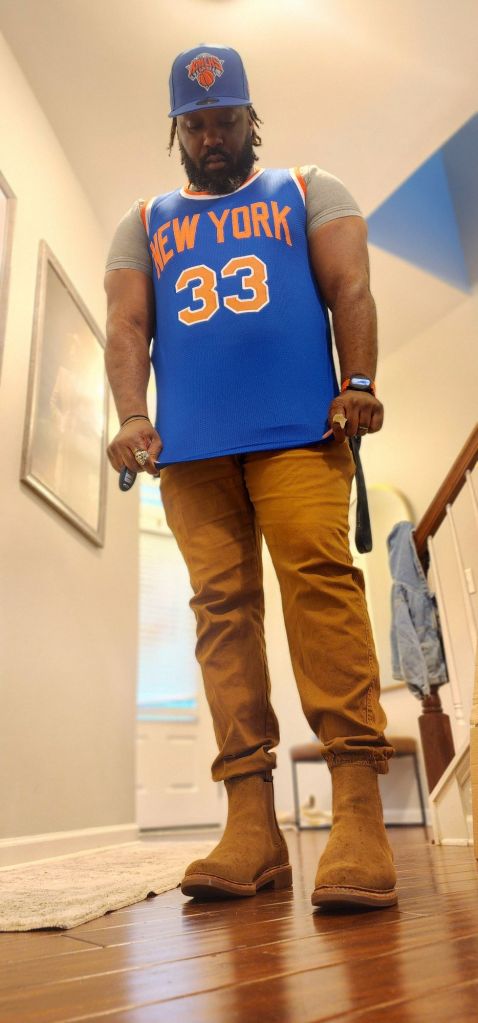
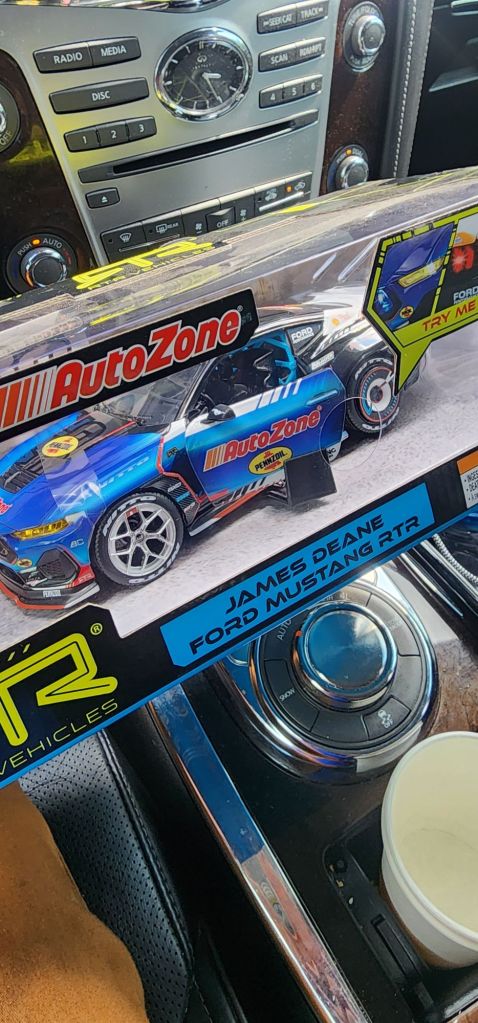
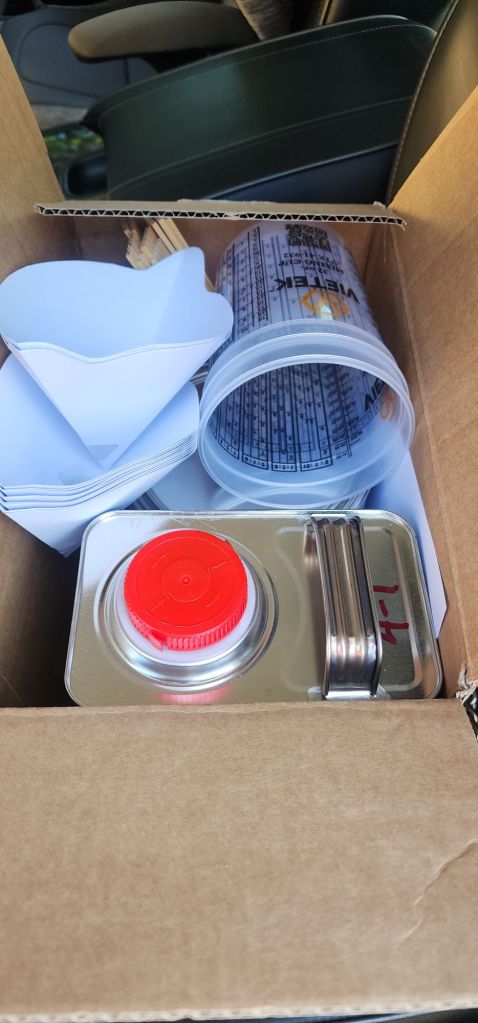
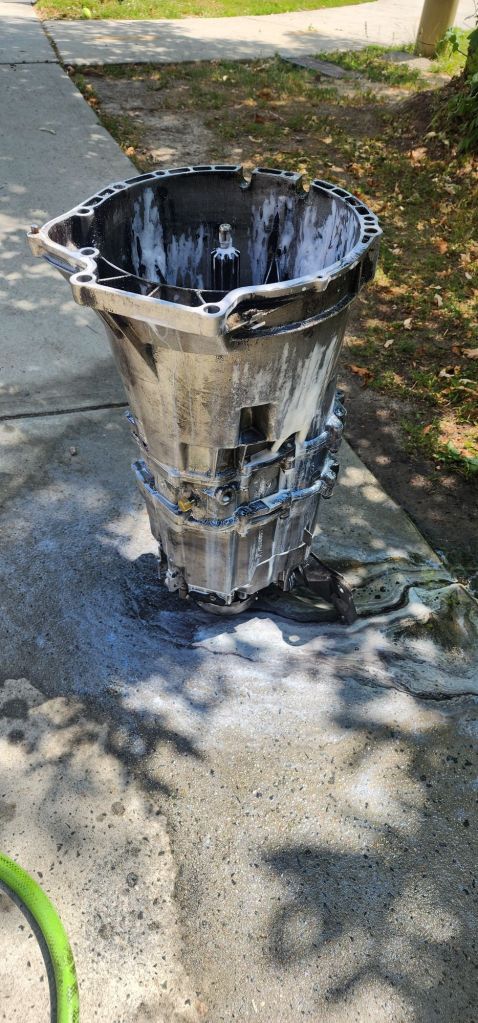
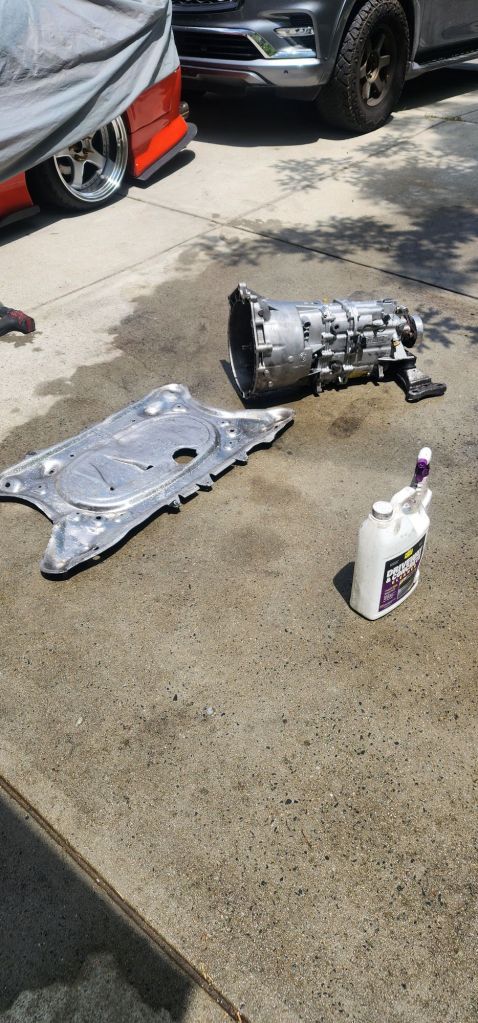
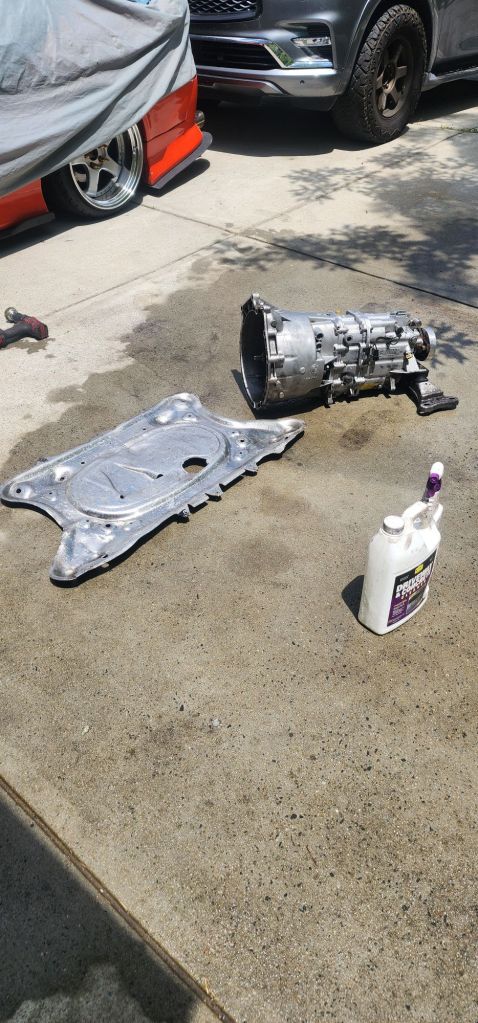
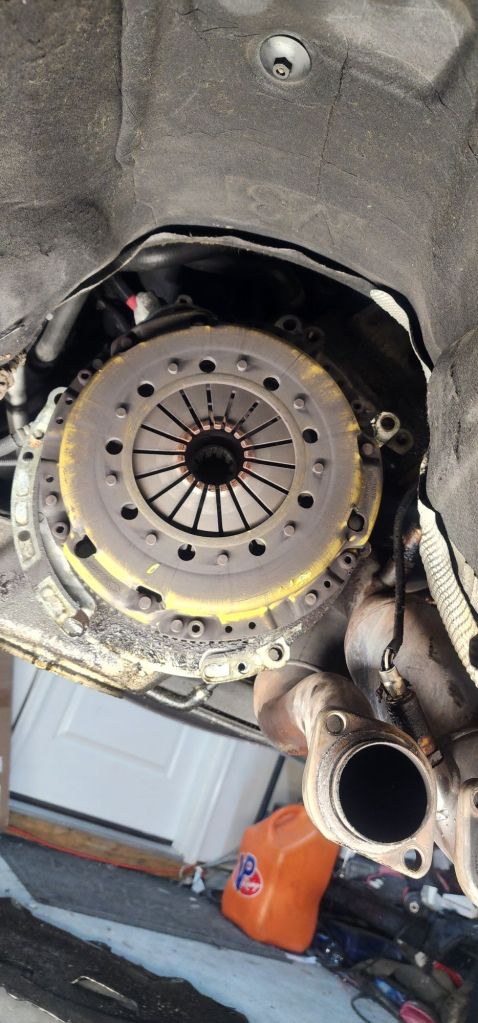
Knicks won. Some guy at auto zone convinced me to buy this James Dean model.
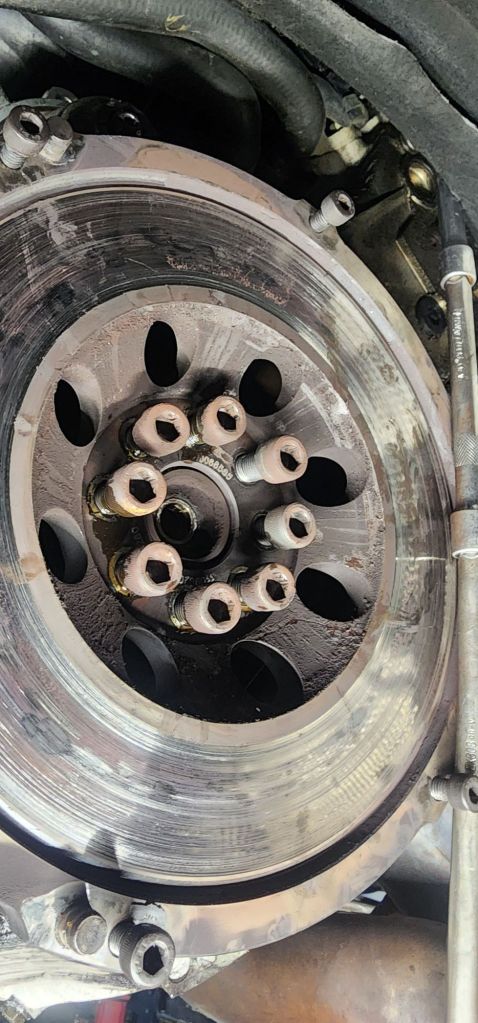
I noticed a lot of oil in the bellhousing so I pulled the clutch down. Oil was seeping past the flywheel bolts. So I ordered a rear main seal. I picked up the paint and clear as well.
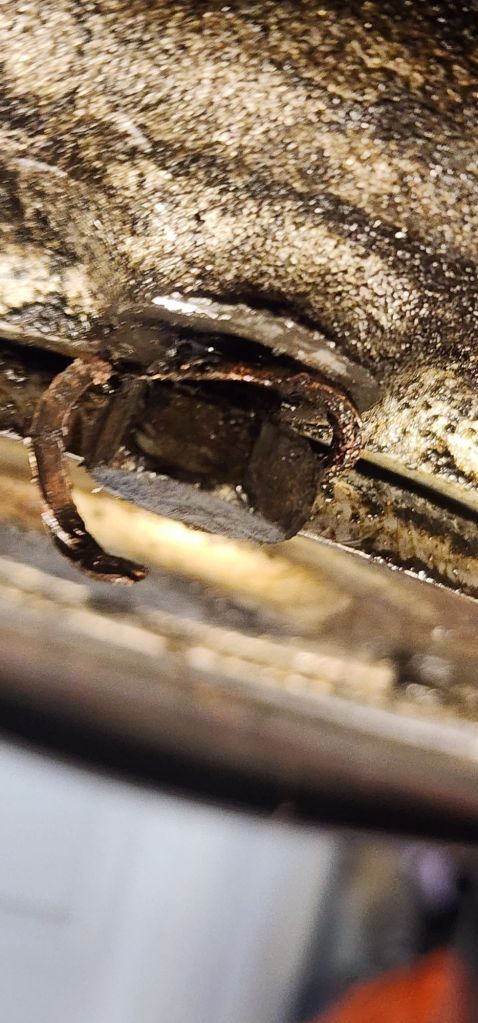
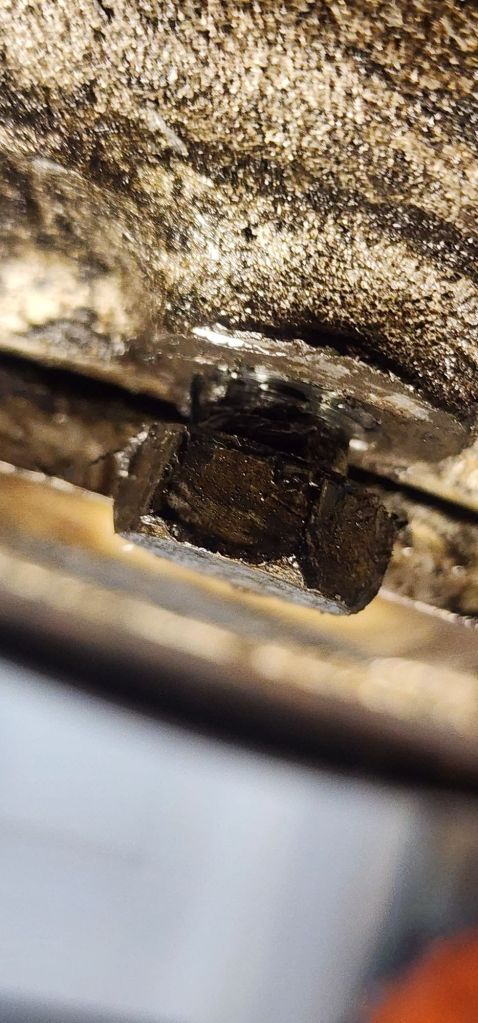
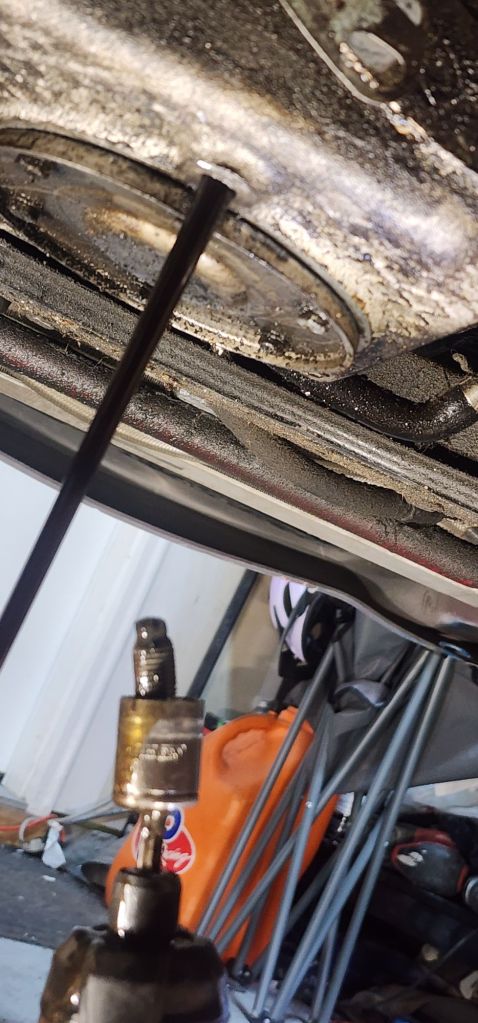
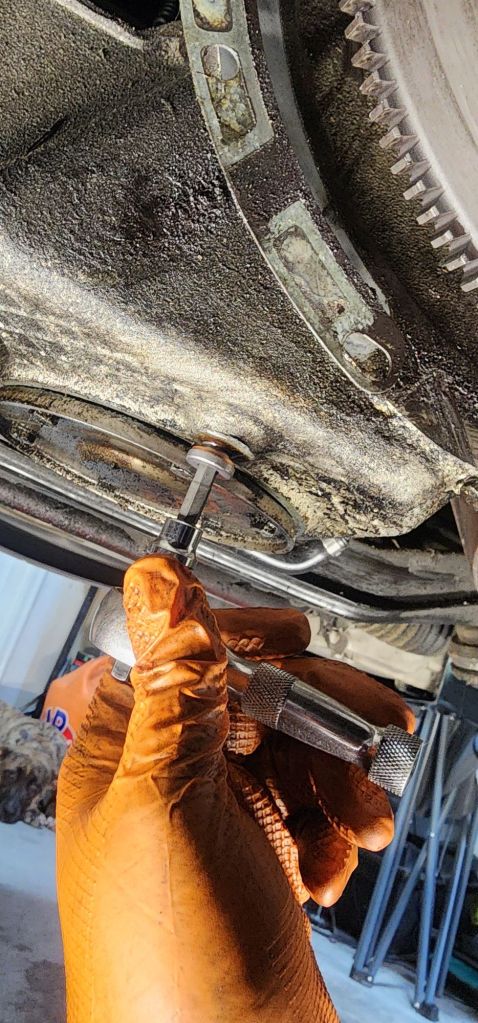
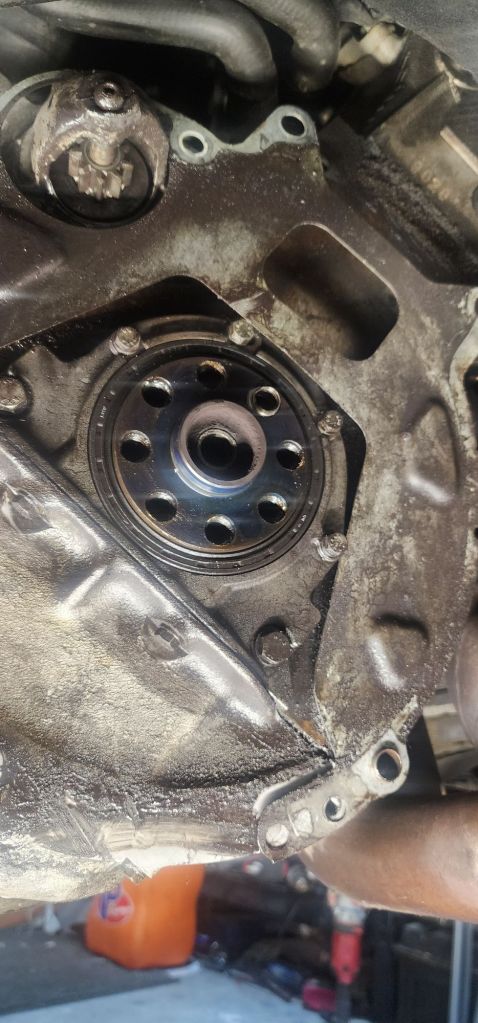
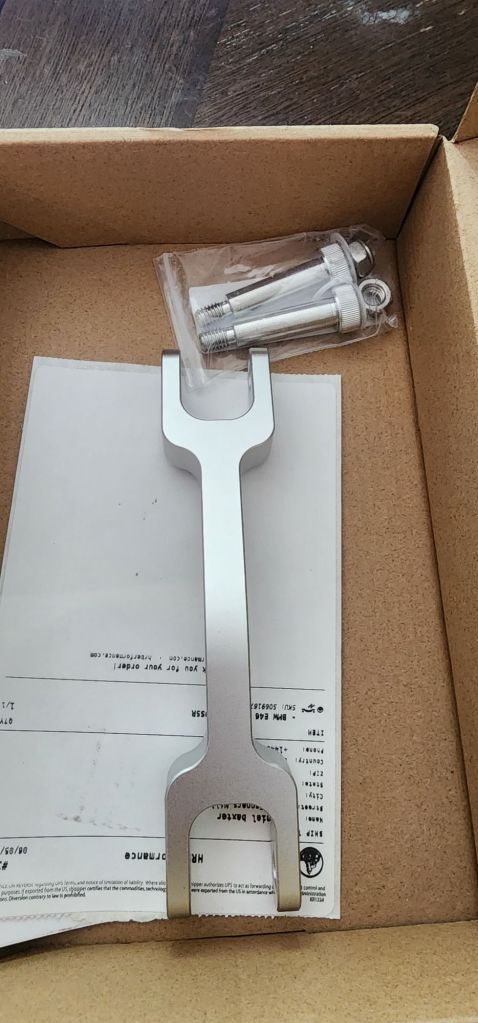

Rear main replaced. Flywheel and clutch torqued. The disk could be replaced but I don’t have the time right now.
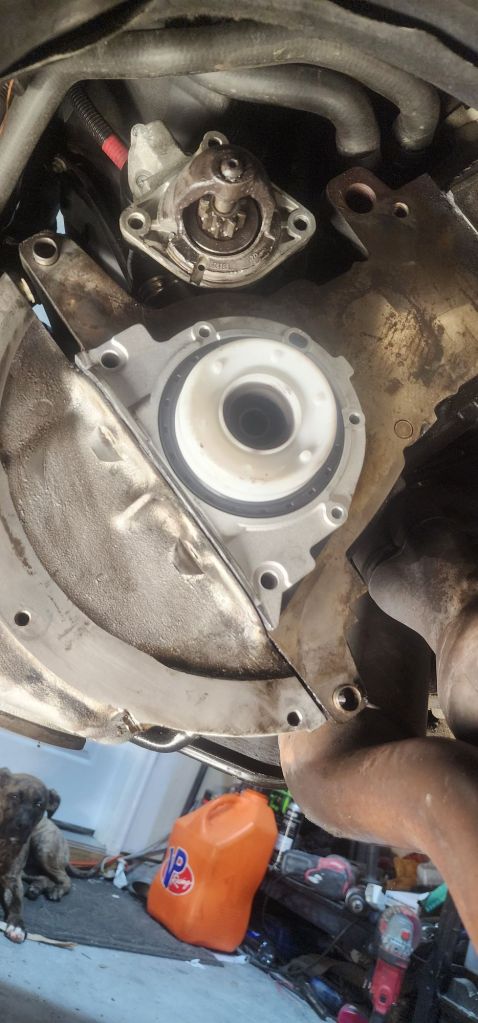
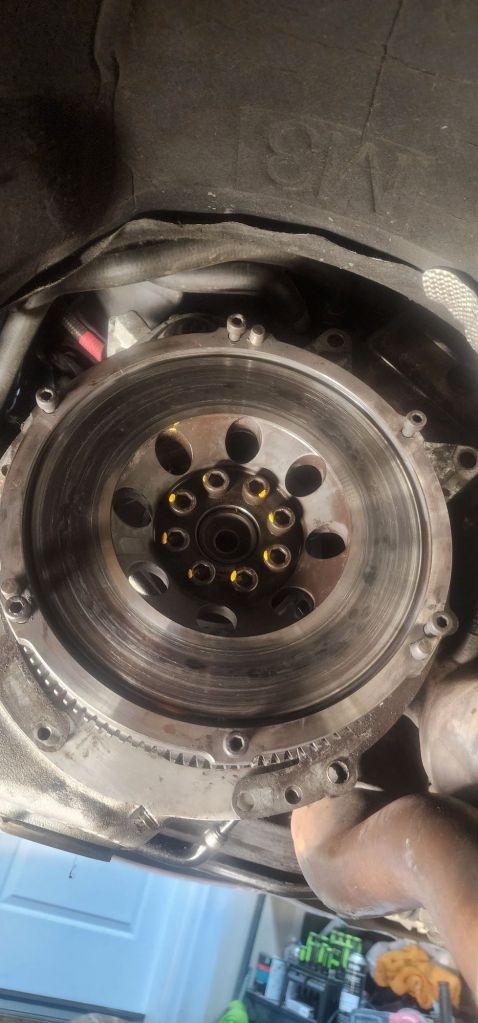
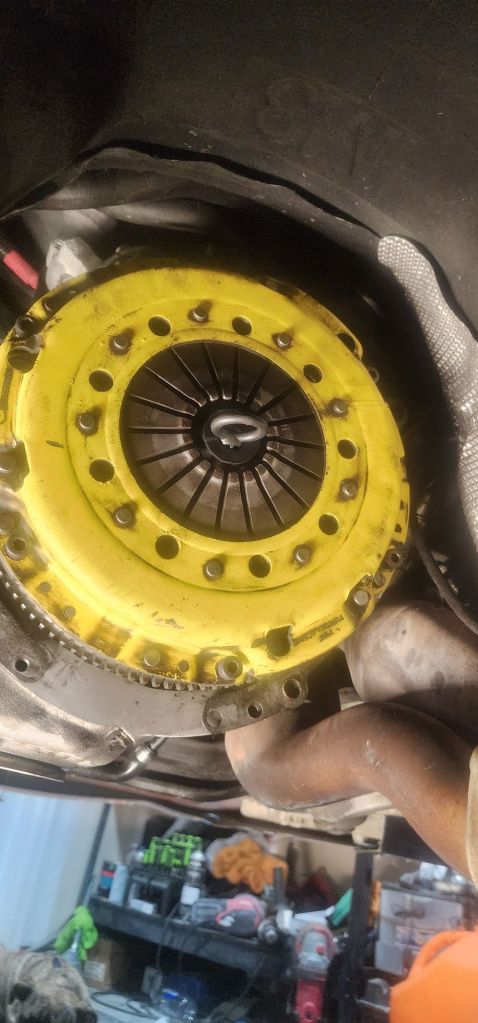
Shifter pulled down to replace shifter elements.
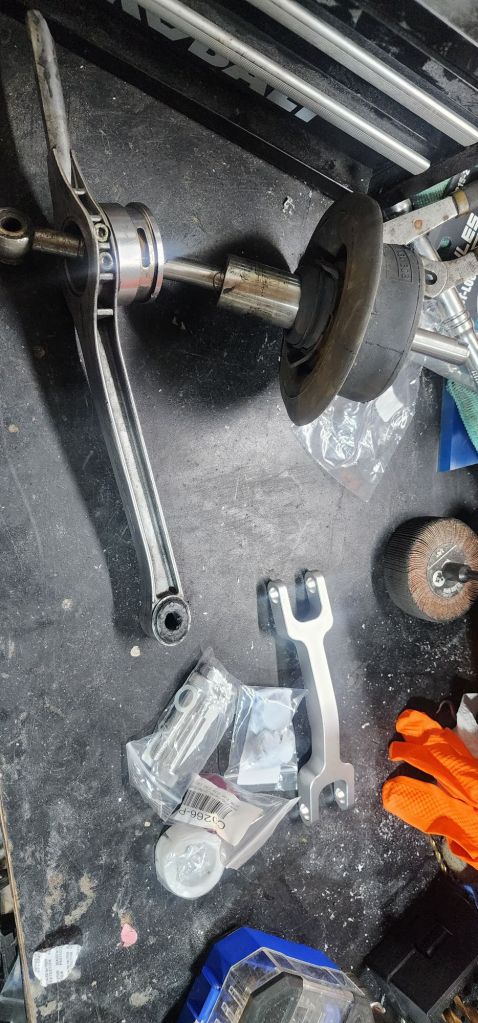
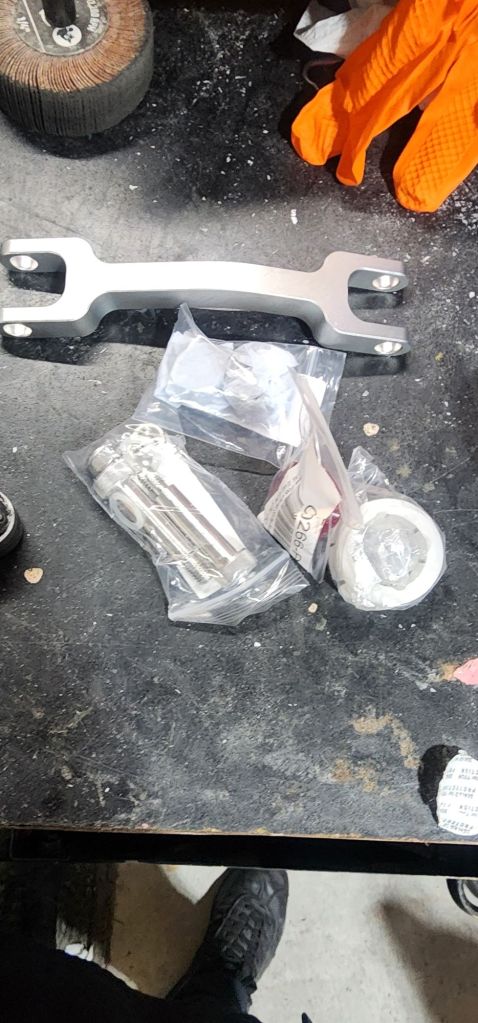
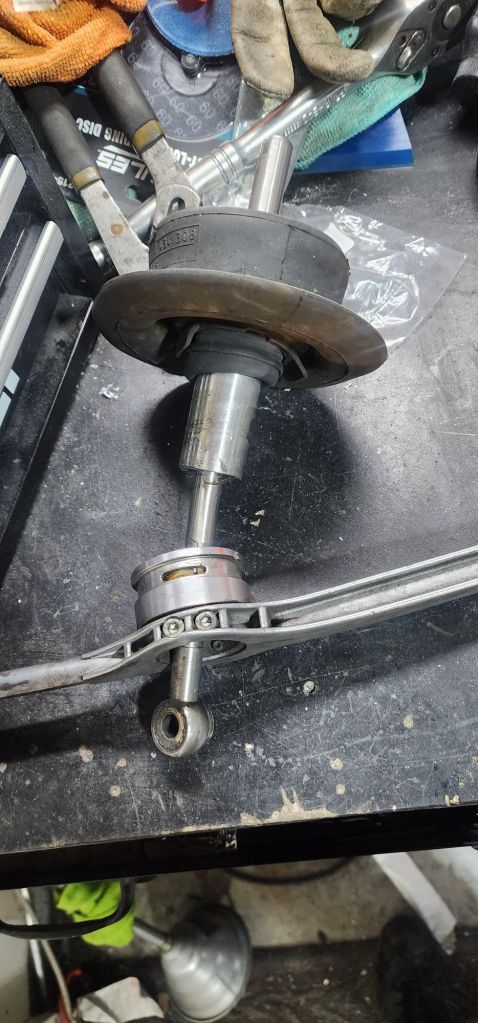
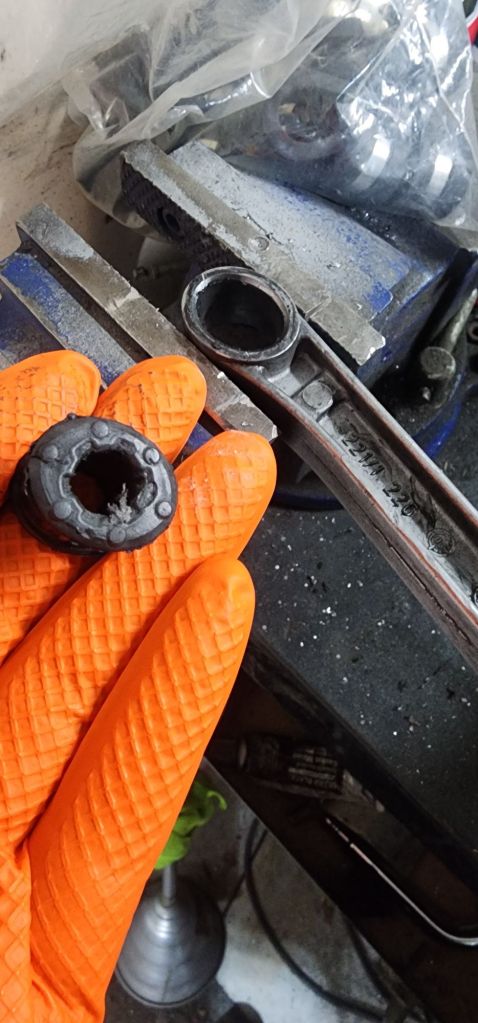
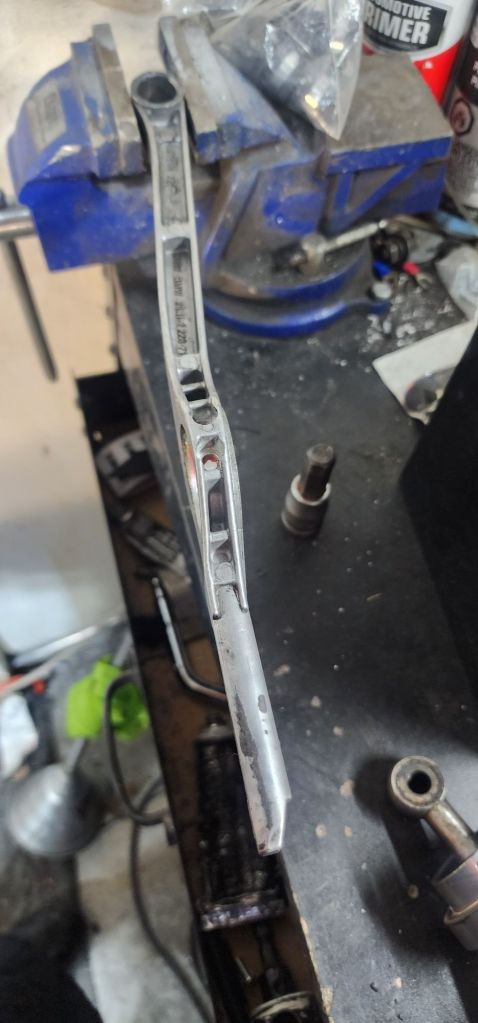
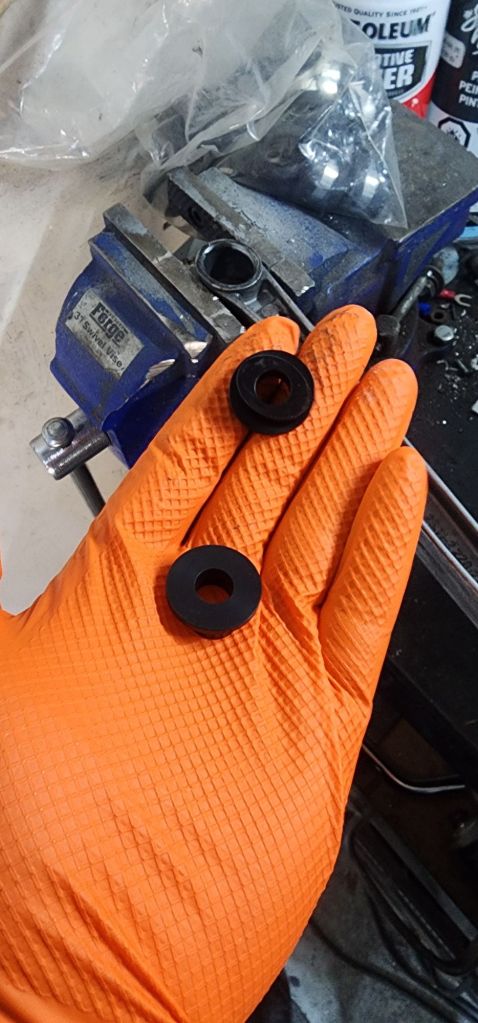
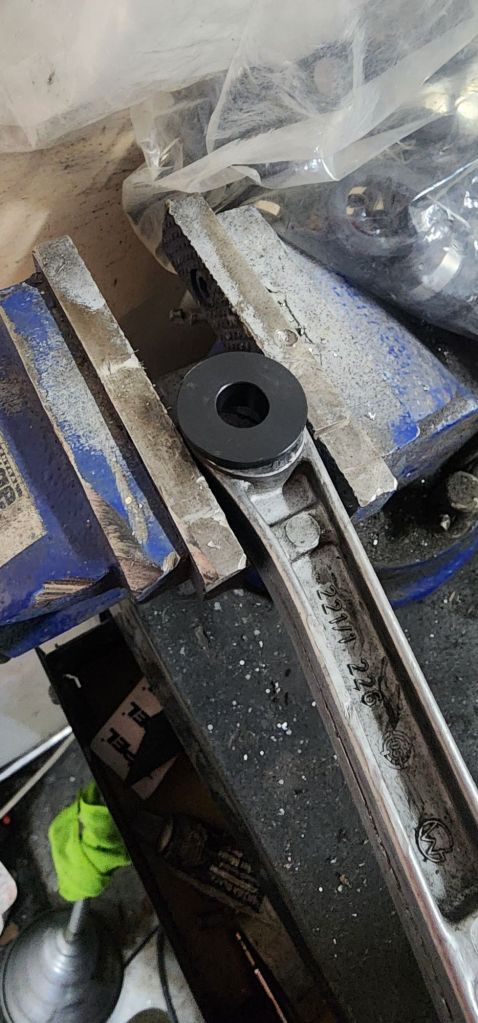
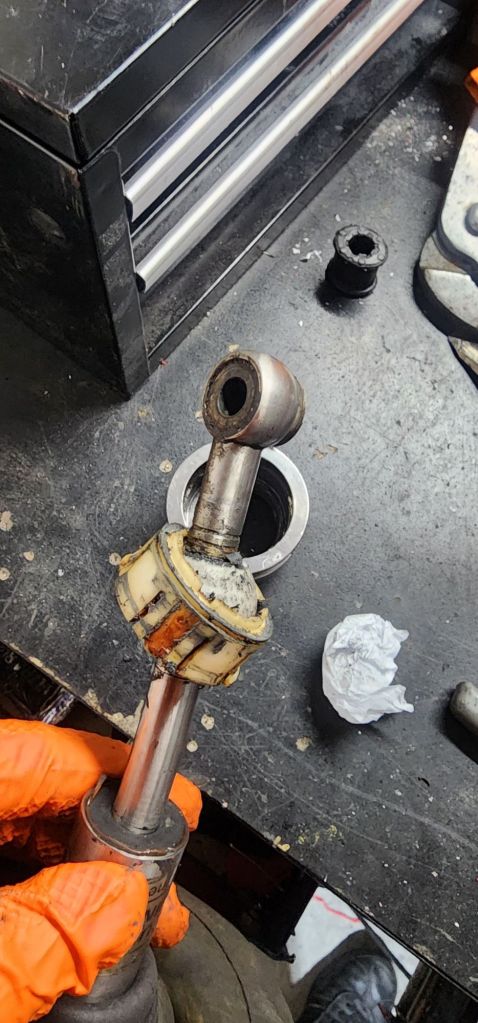
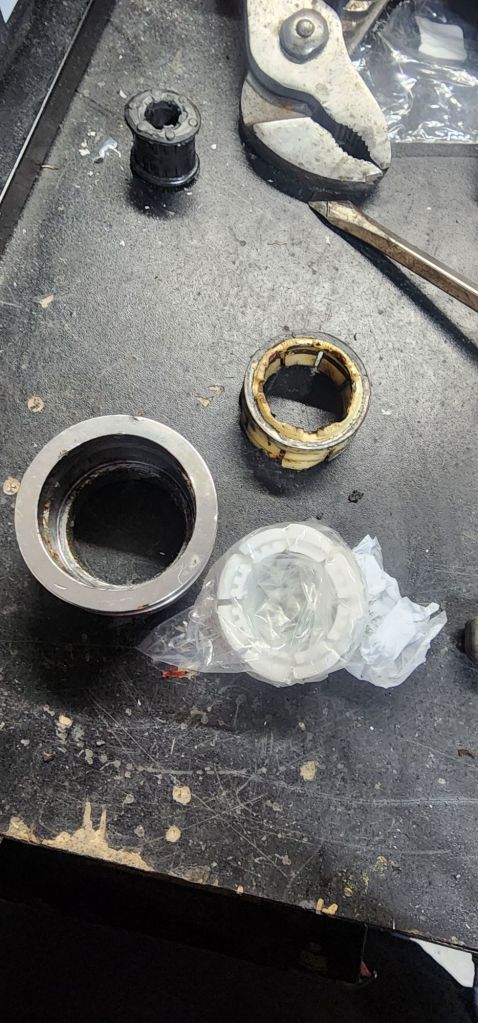
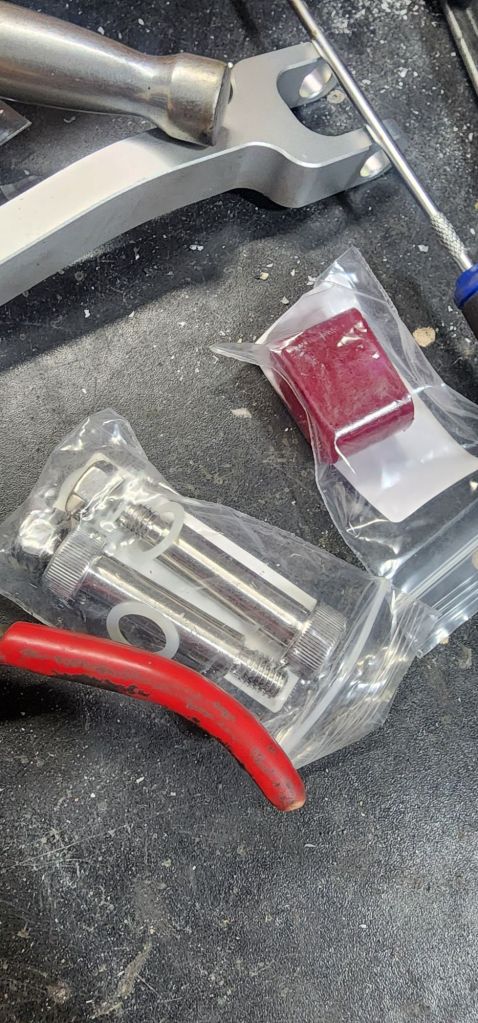
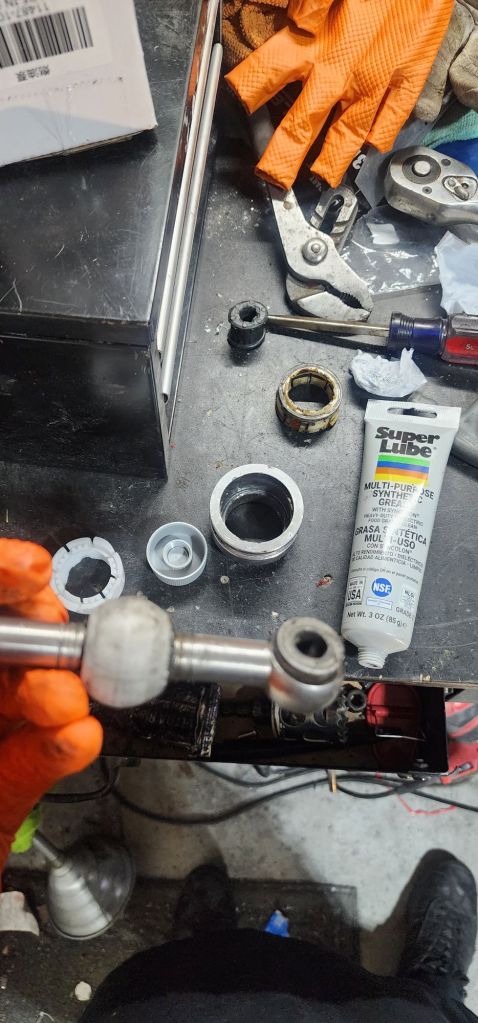
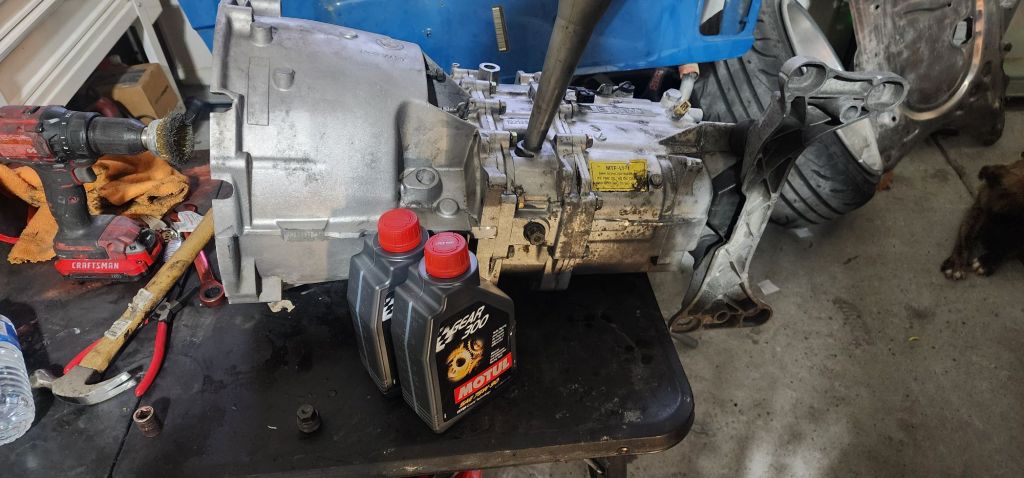
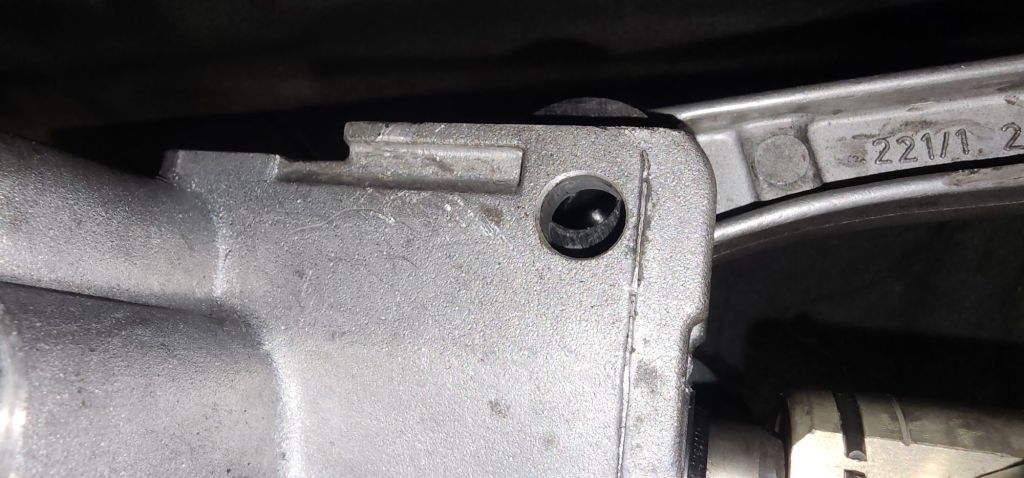
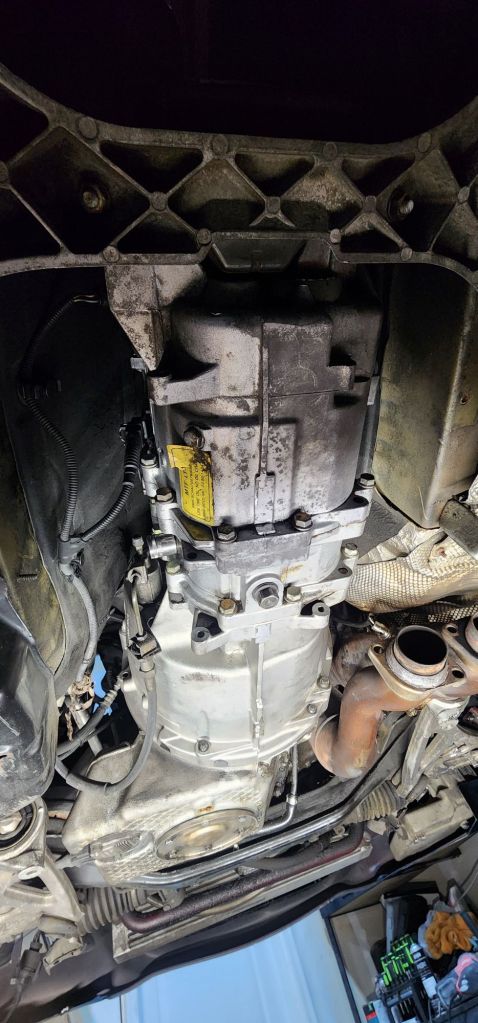
Trans up. Exhaust and ds as well. I need to add engine oil, change the filter, bolt up the under brace, and pull the panels for paint but it keeps raining randomly.
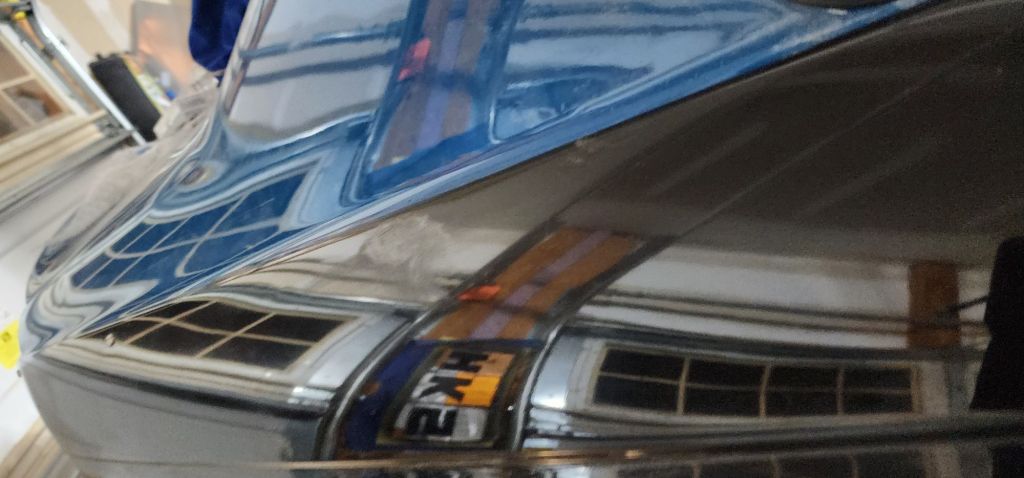
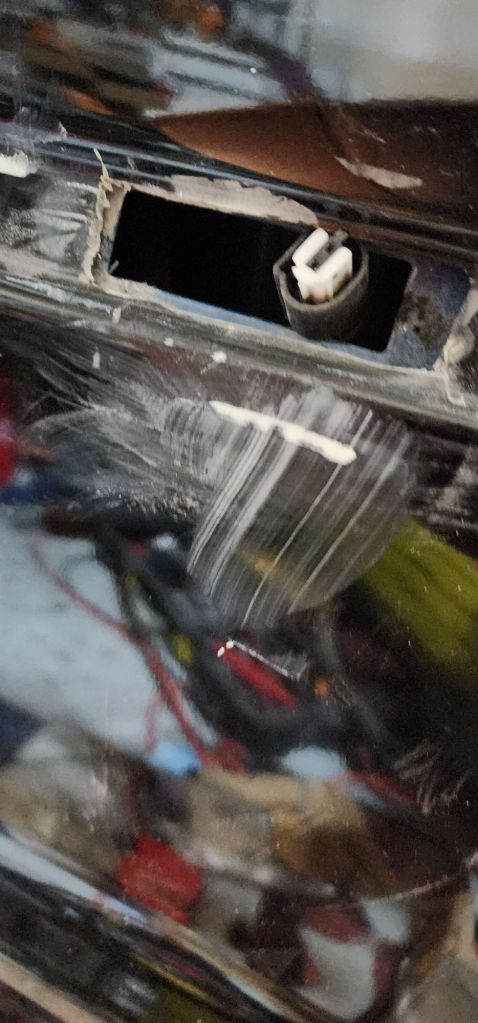
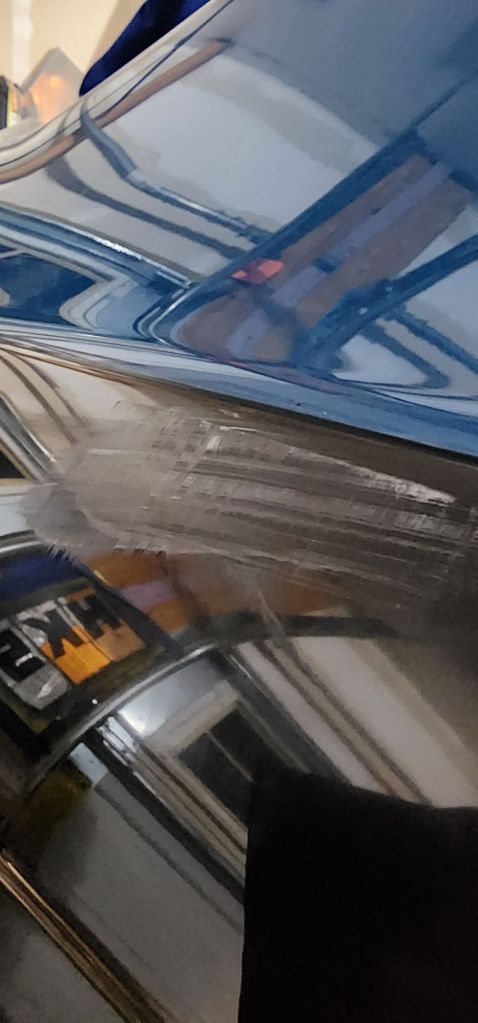
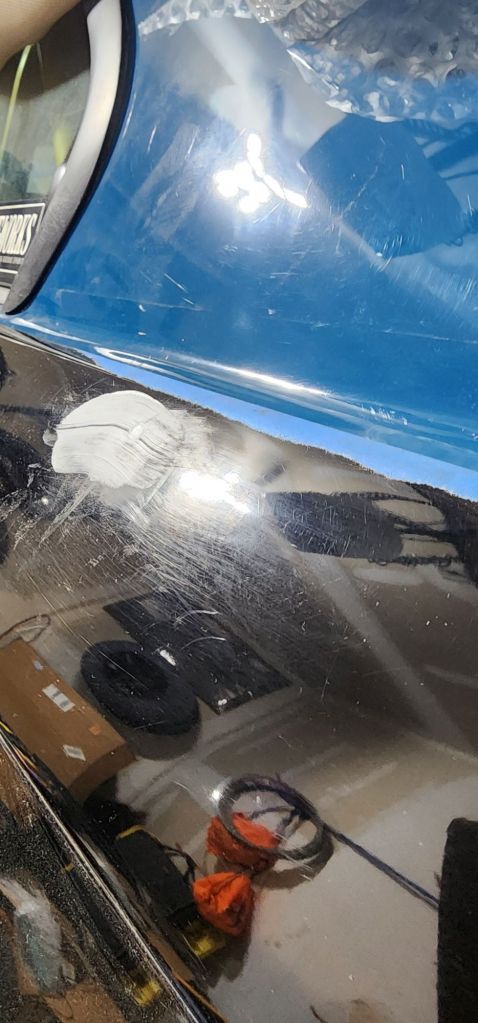
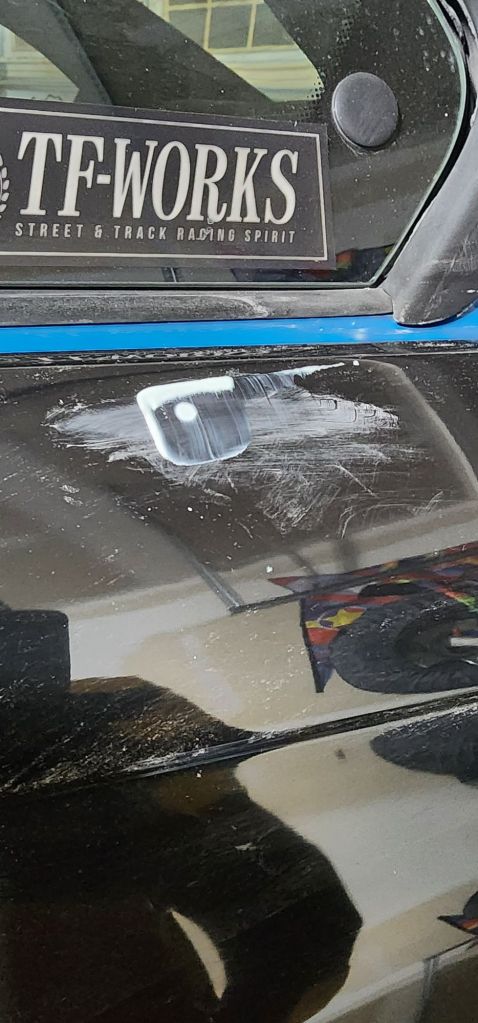
I did also fill some indents on the overs that I did not use for bolts.
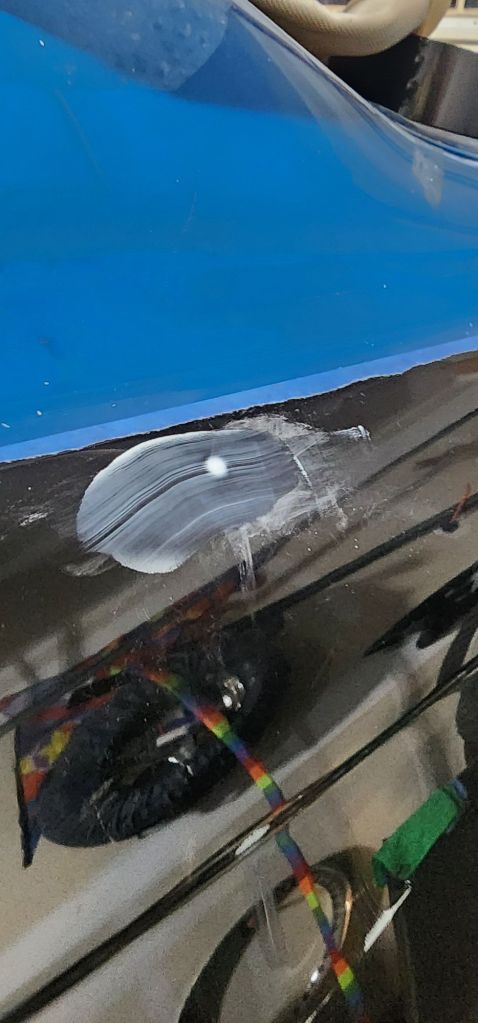
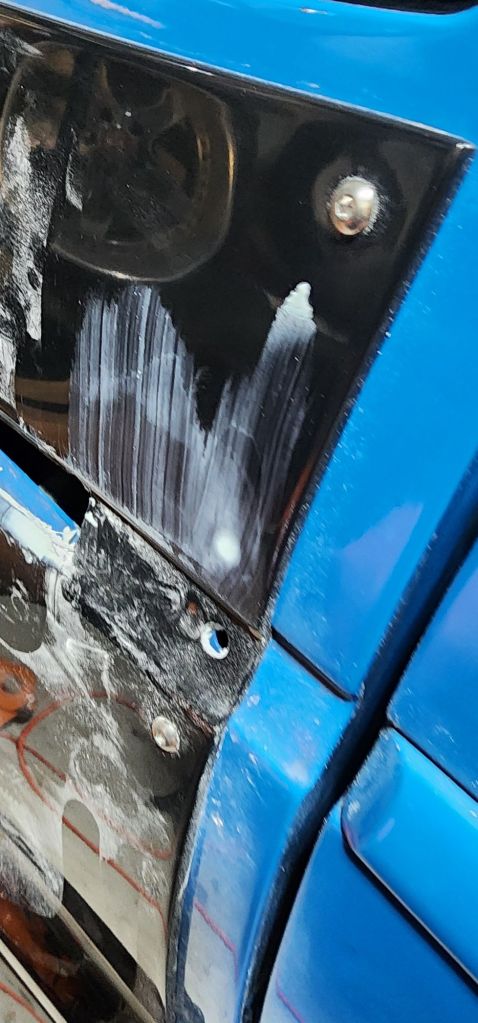
Musk Pt. 7
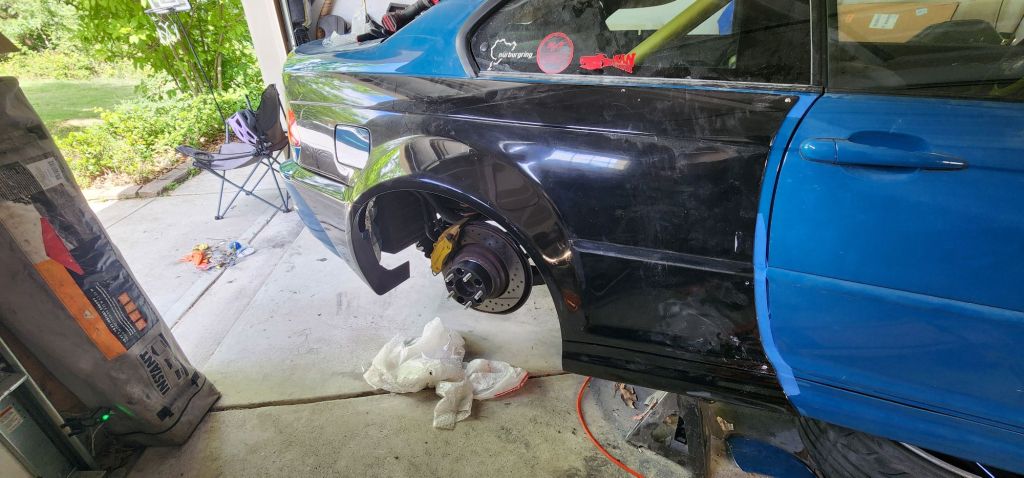
I had to trim more off the rear quarters to give enough room for the tire.
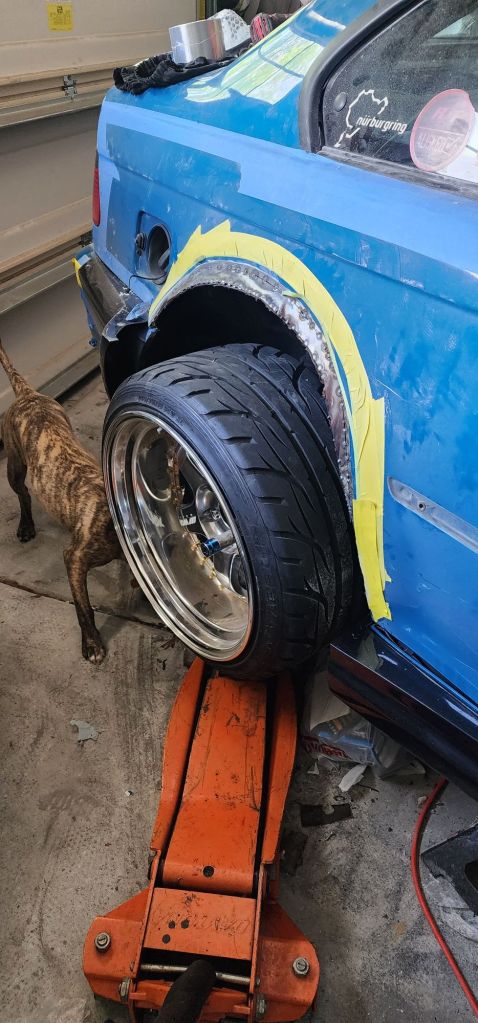
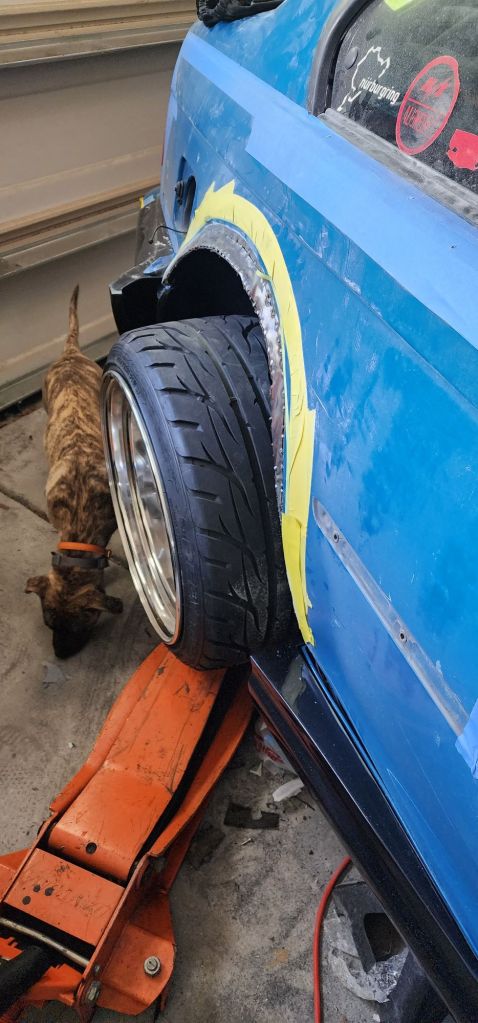
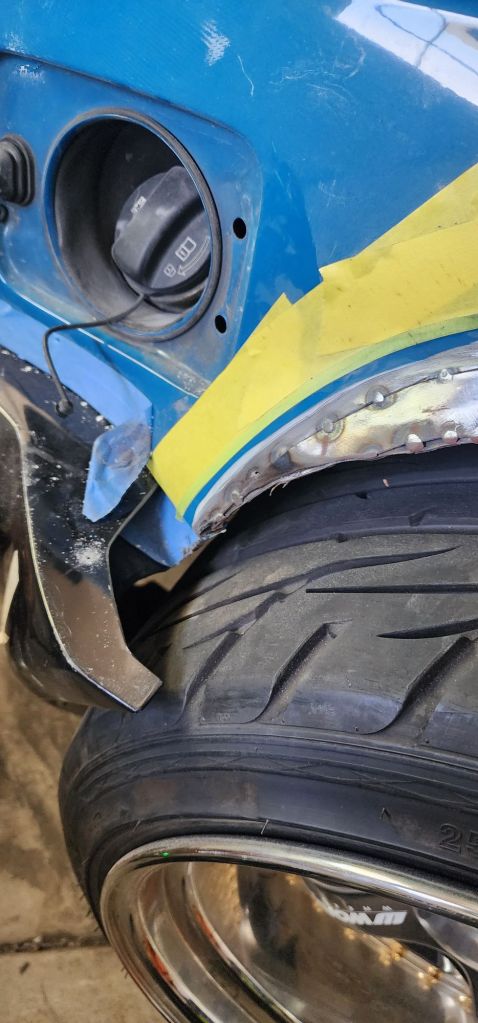
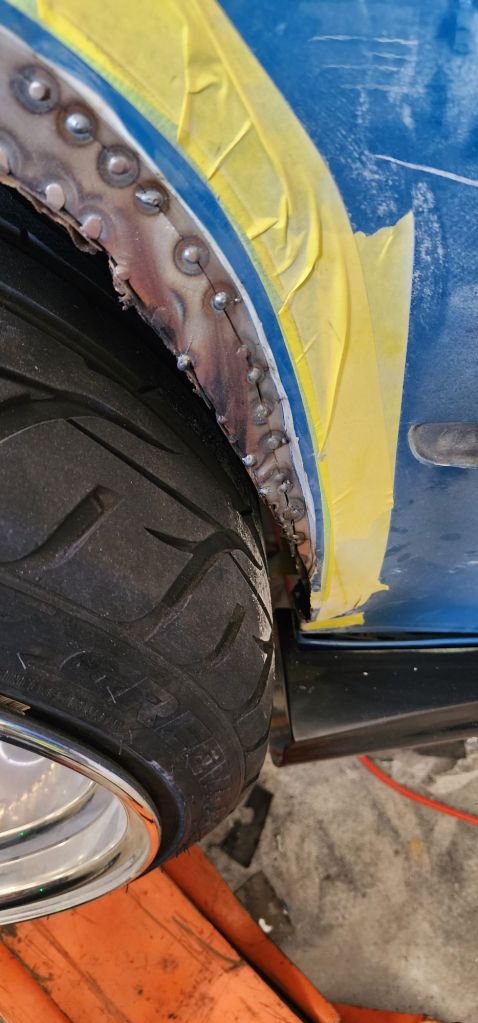
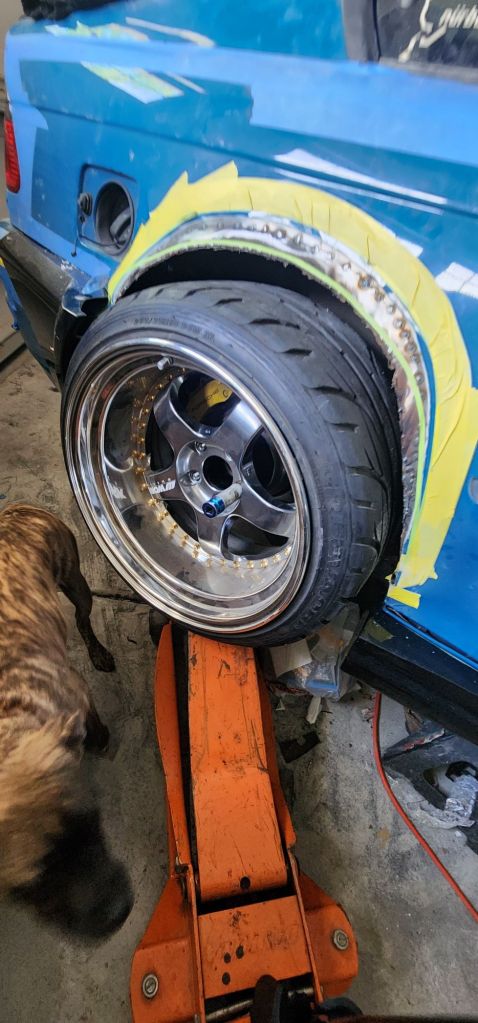
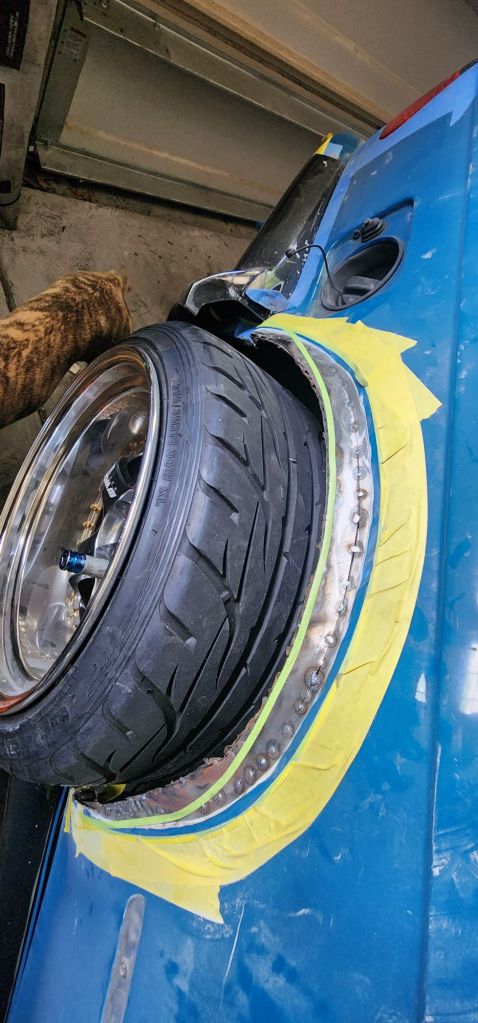
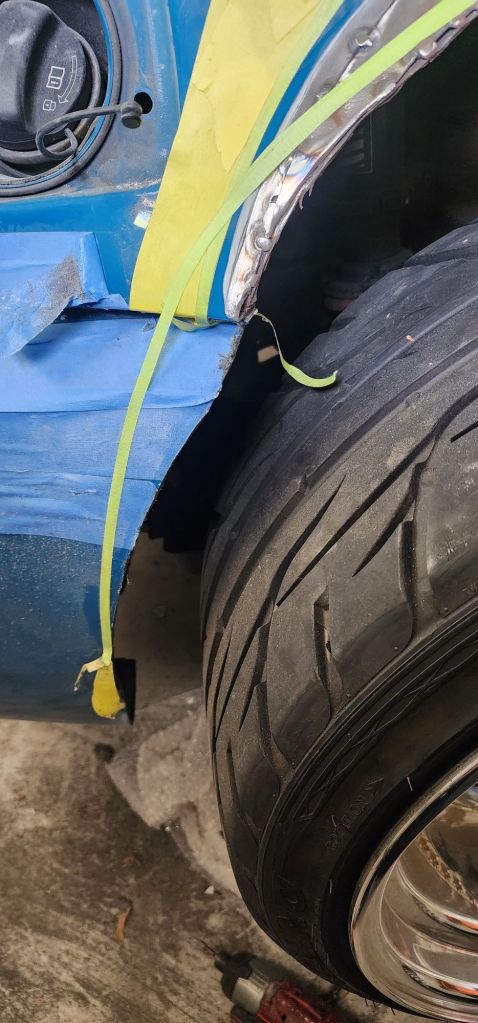
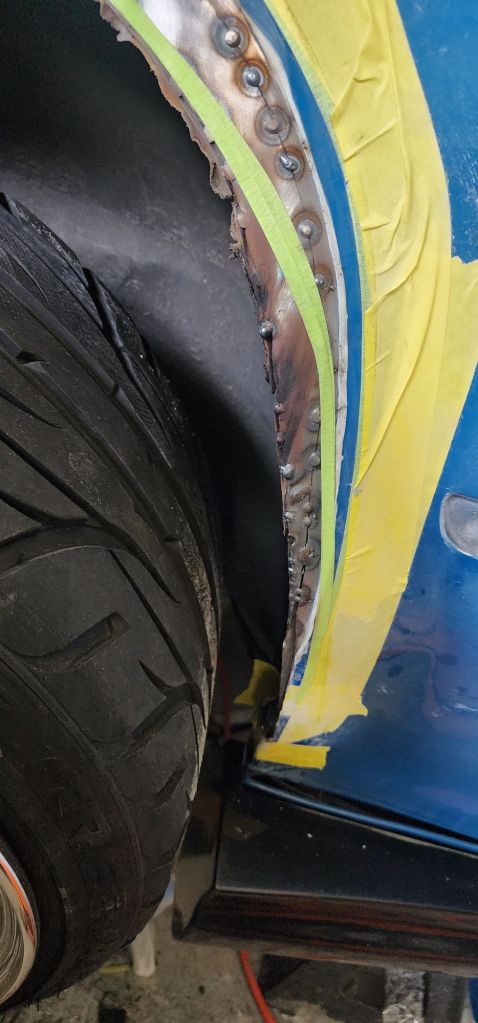
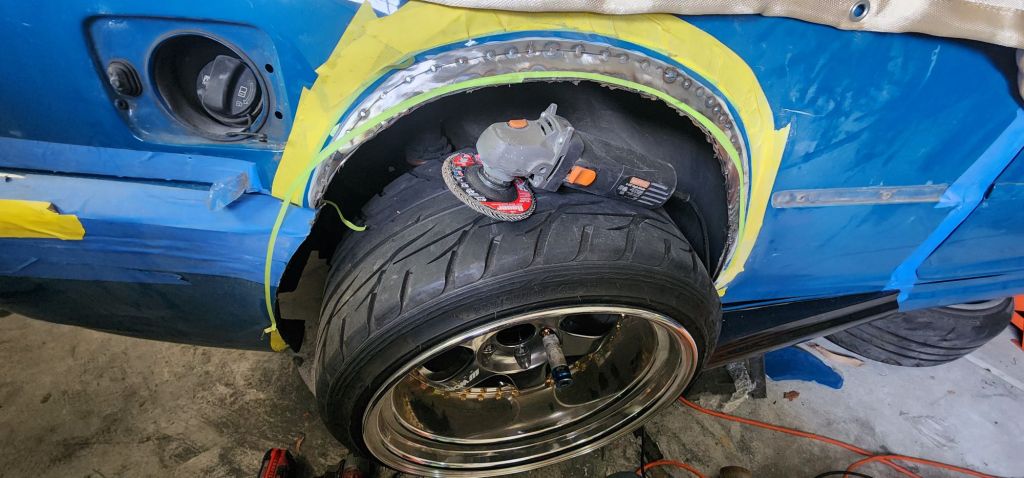
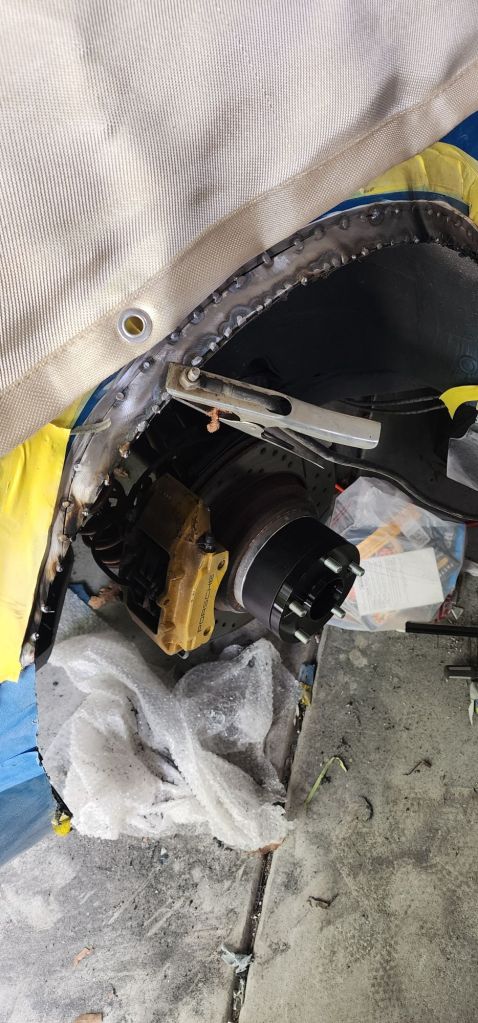
I’m blown I went too high on the passenger side but it really doesn’t matter since it’s getting covered. A lot of the paint is peeling up with the tape. Time for final welding and seam sealer.
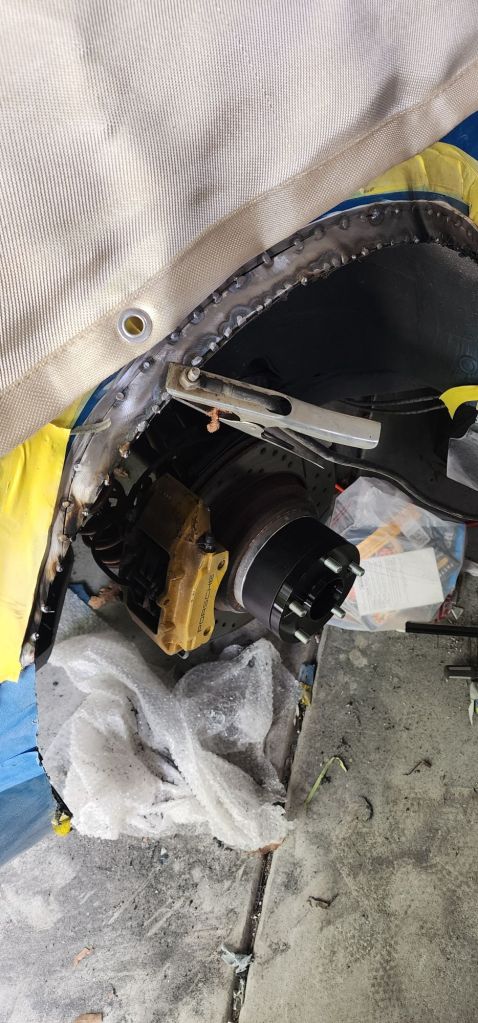
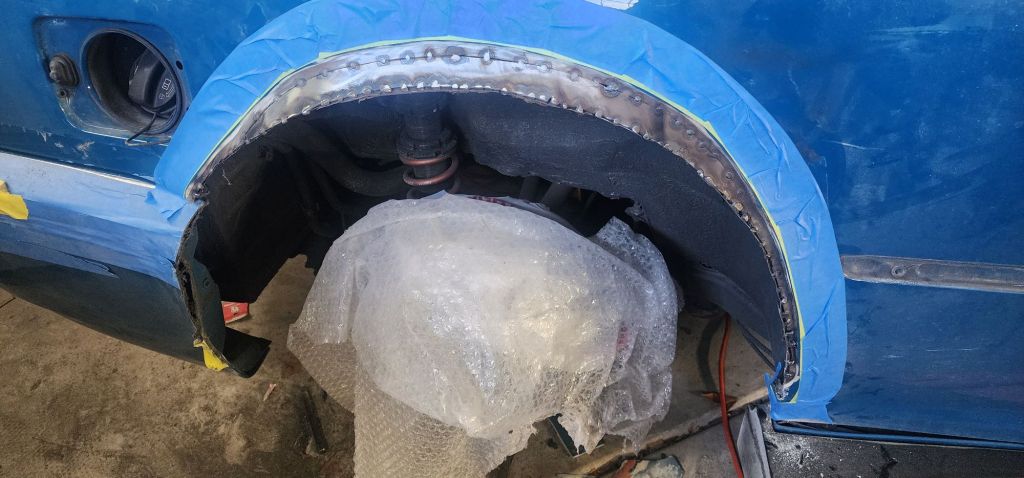
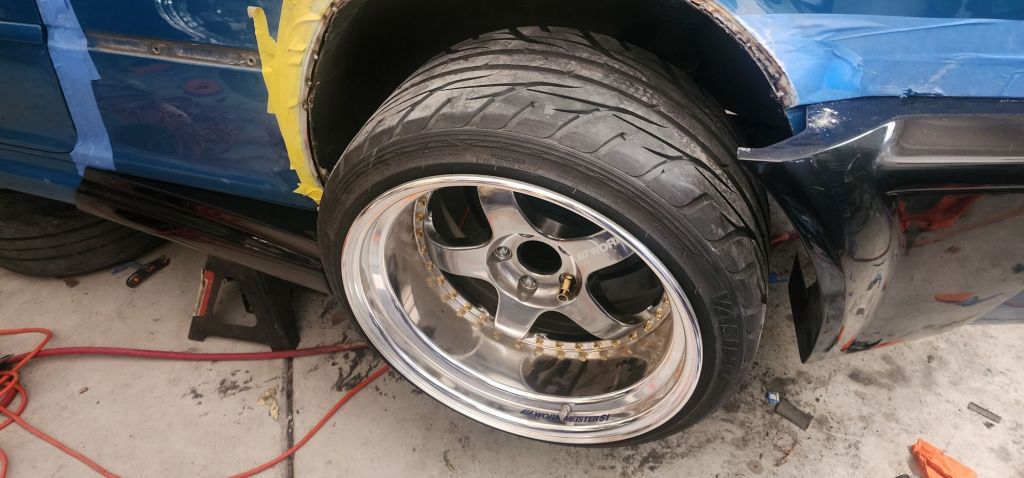
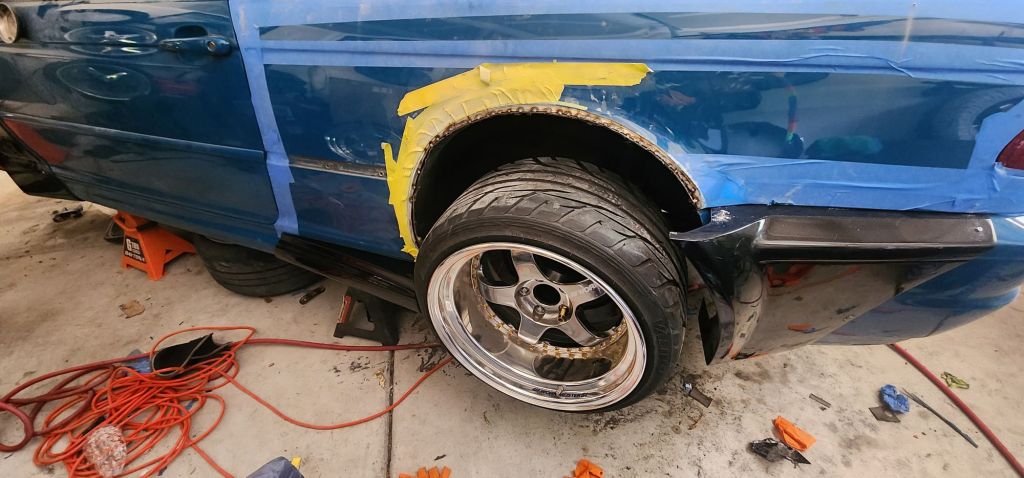
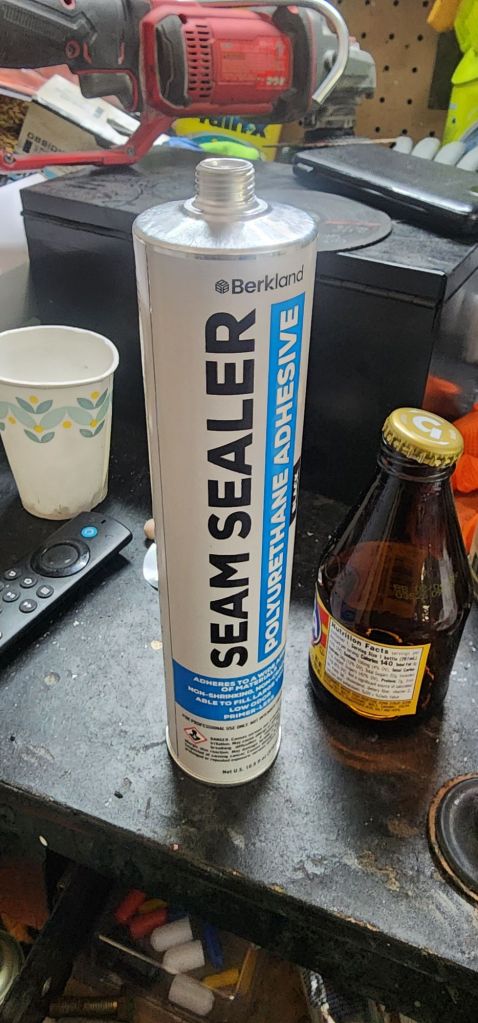
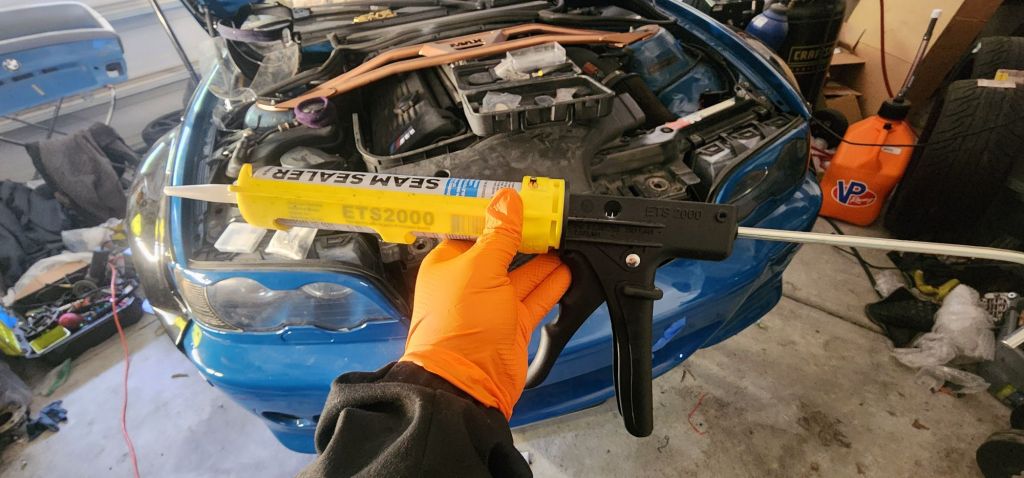
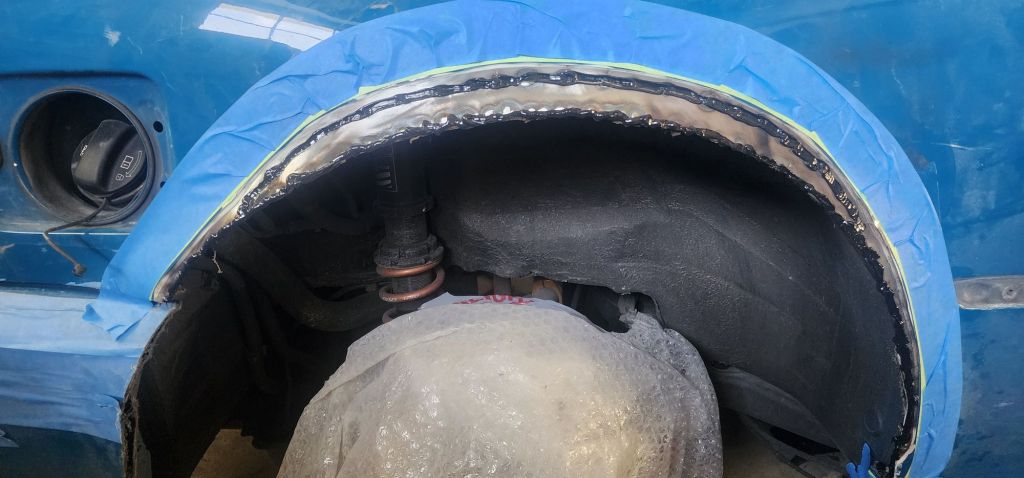
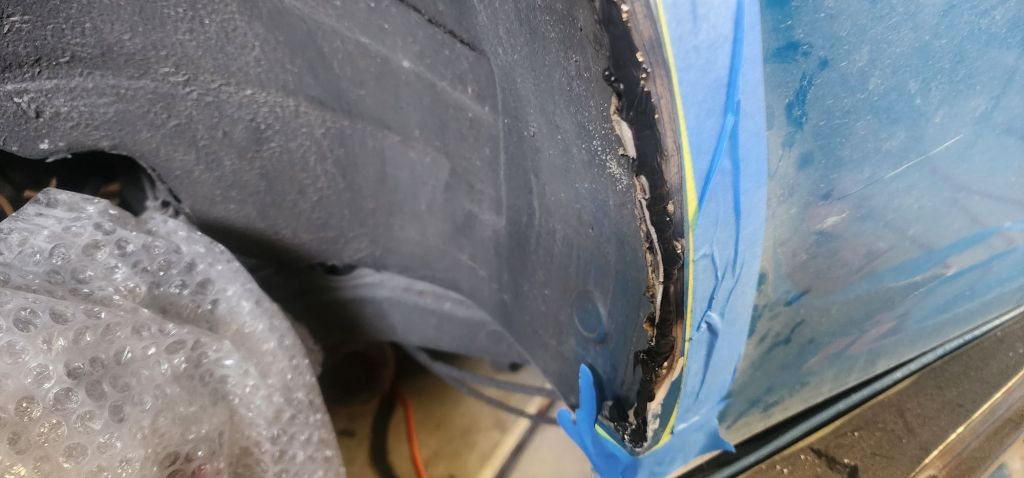
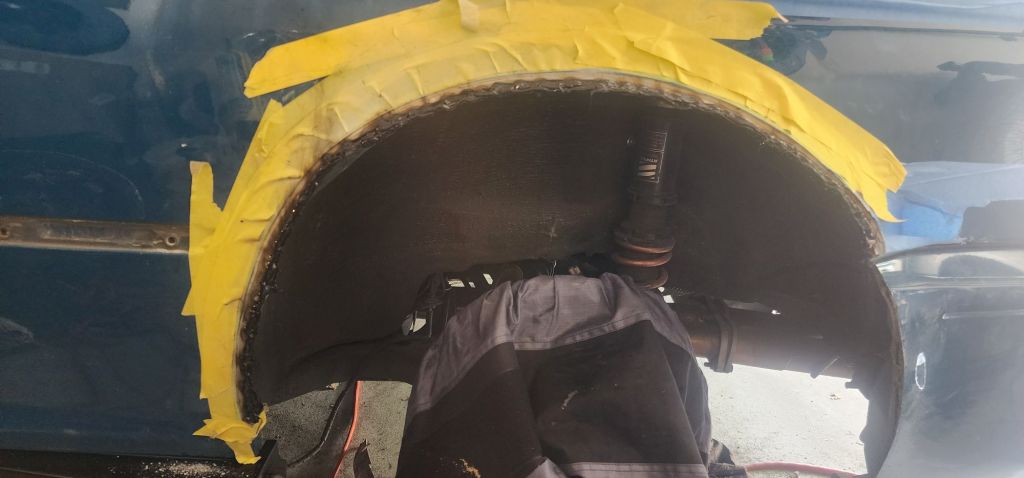
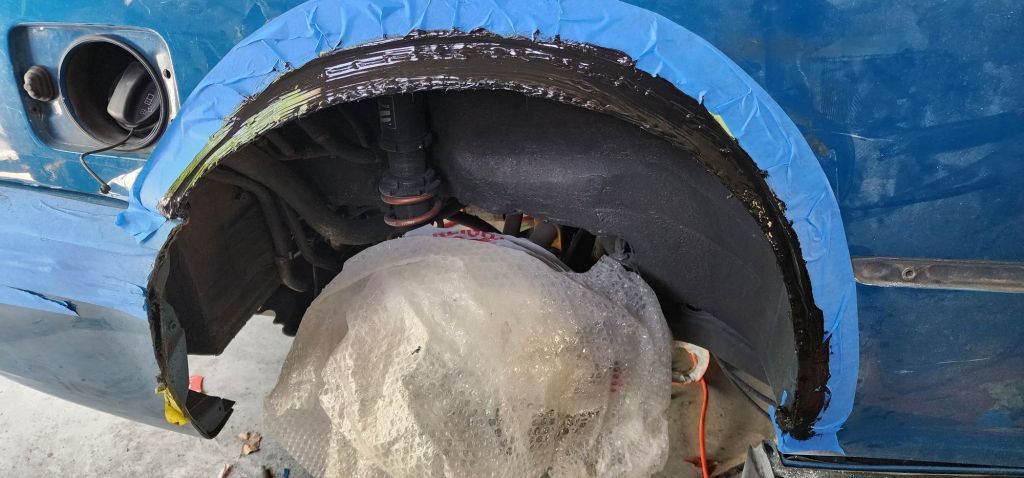
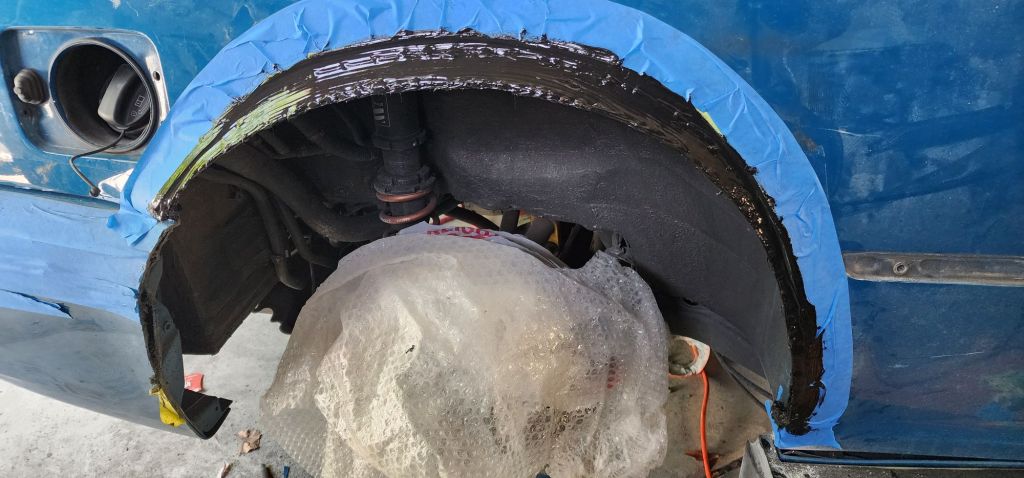
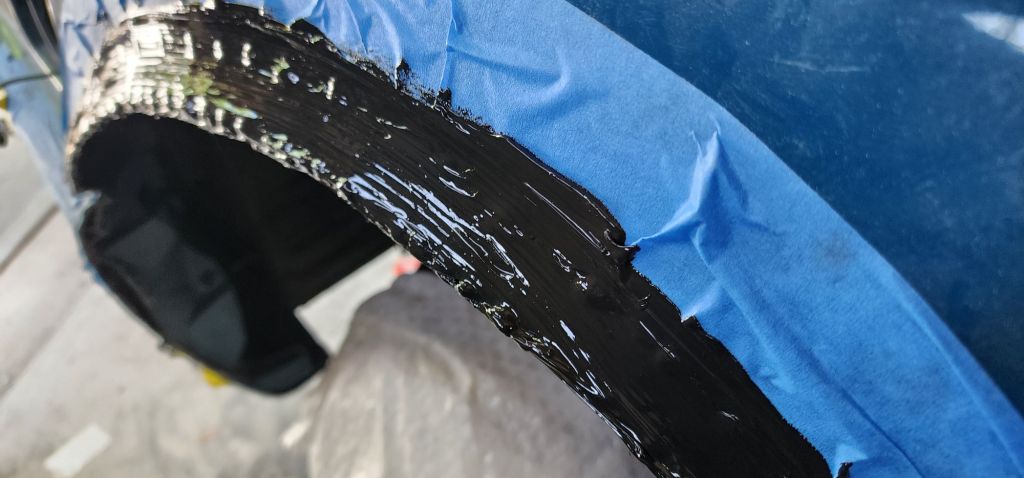
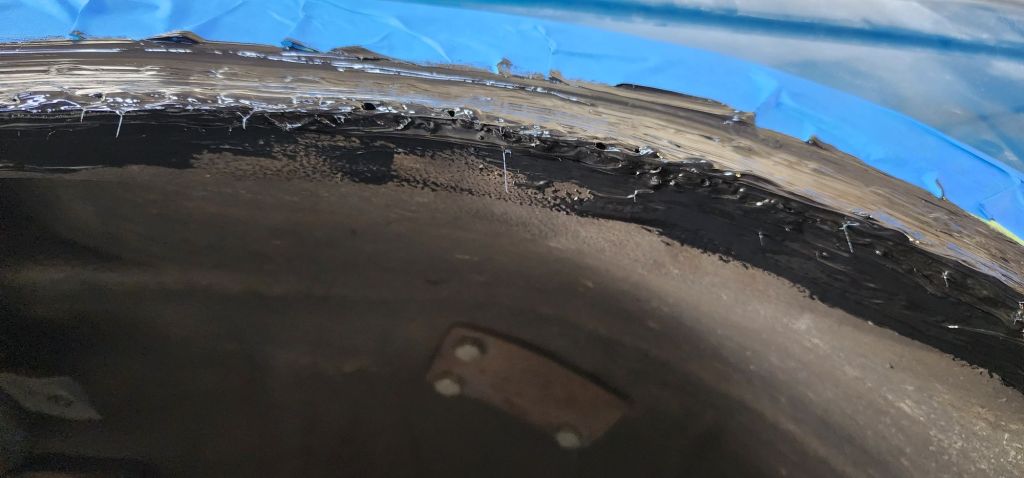
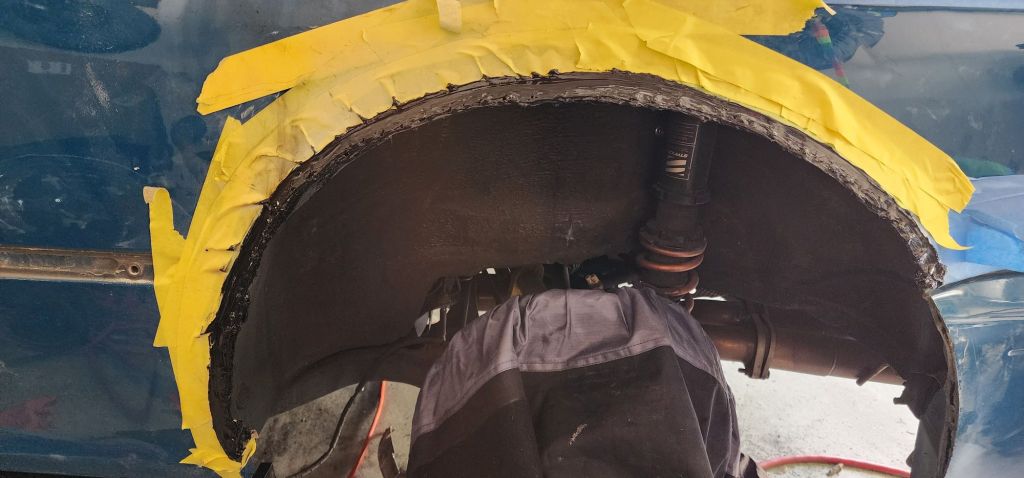
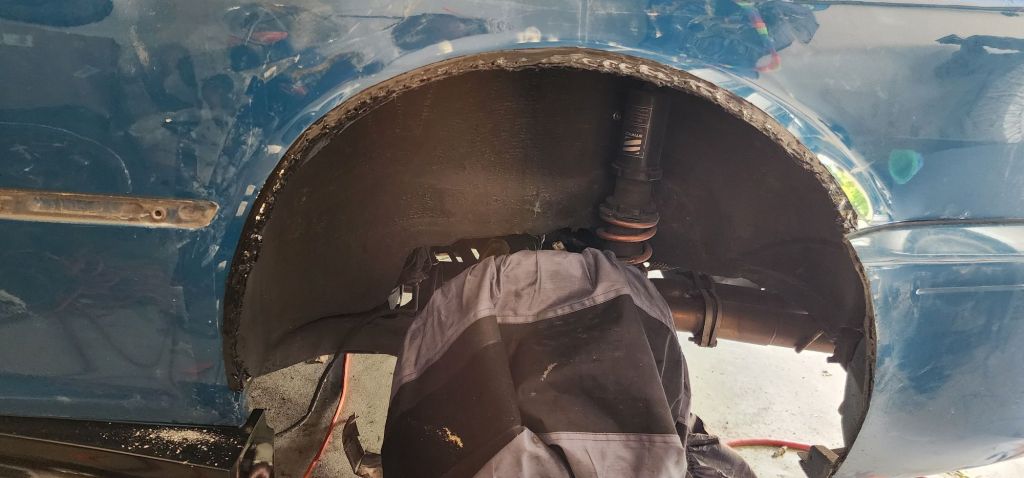
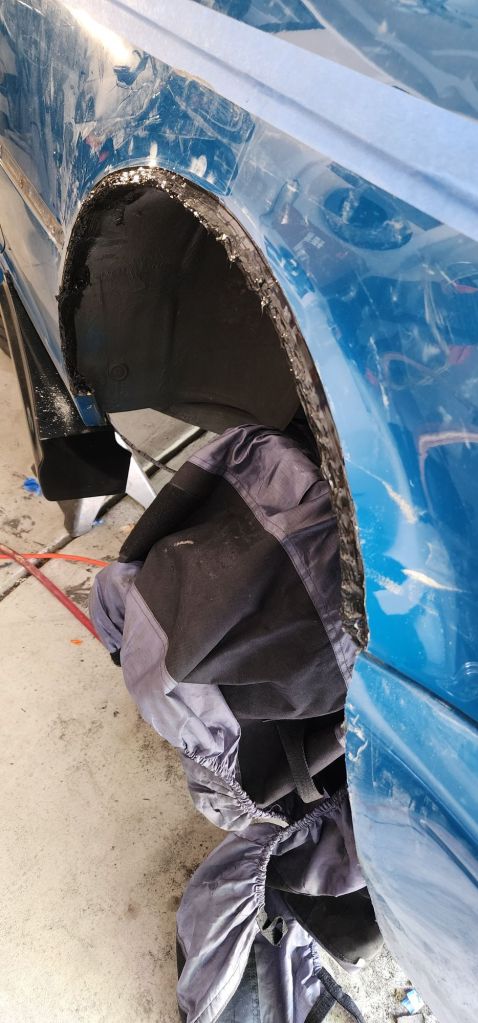
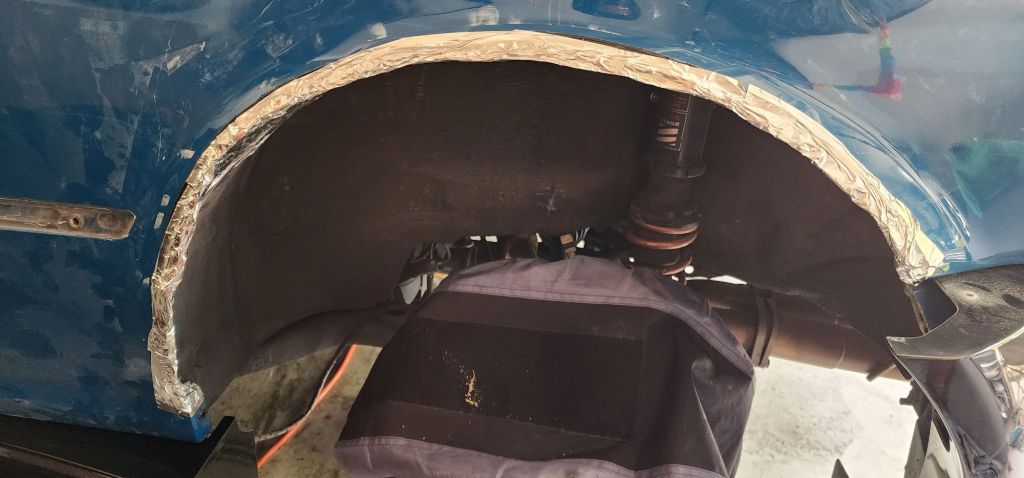
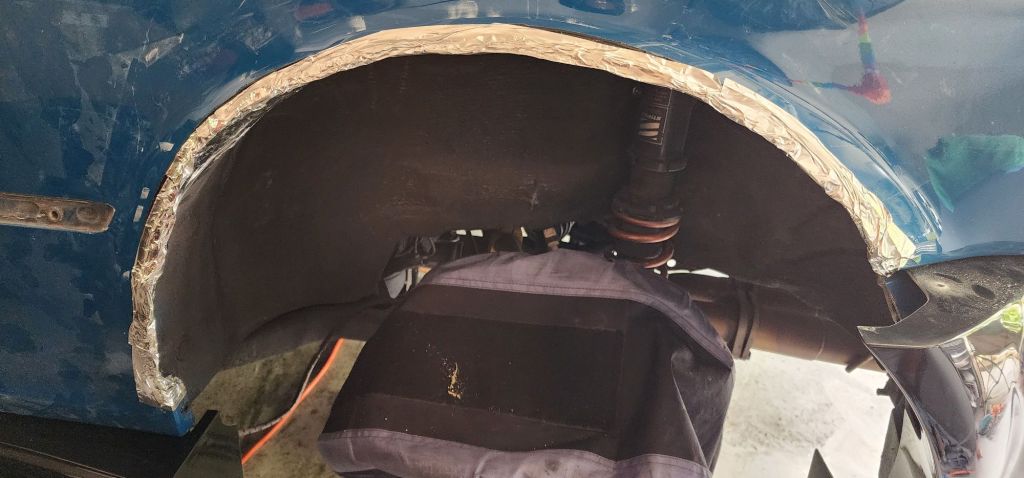
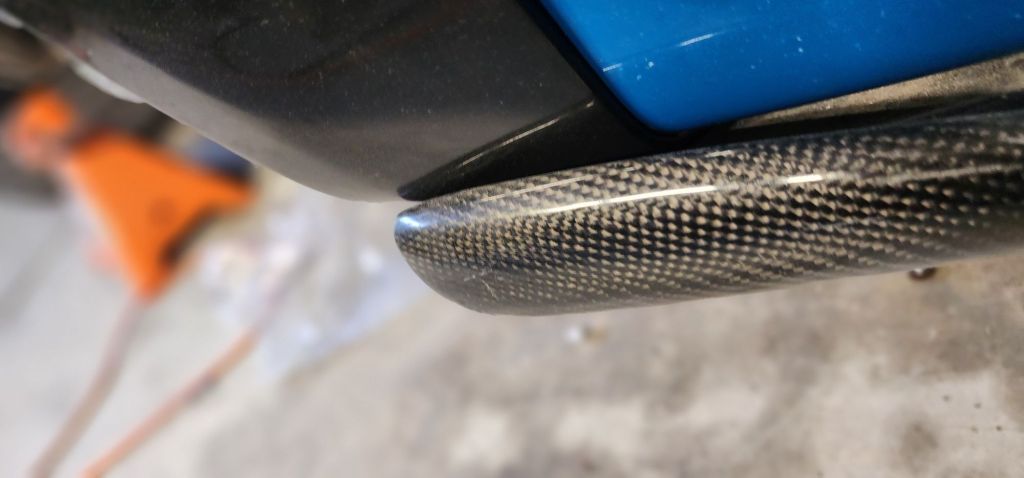
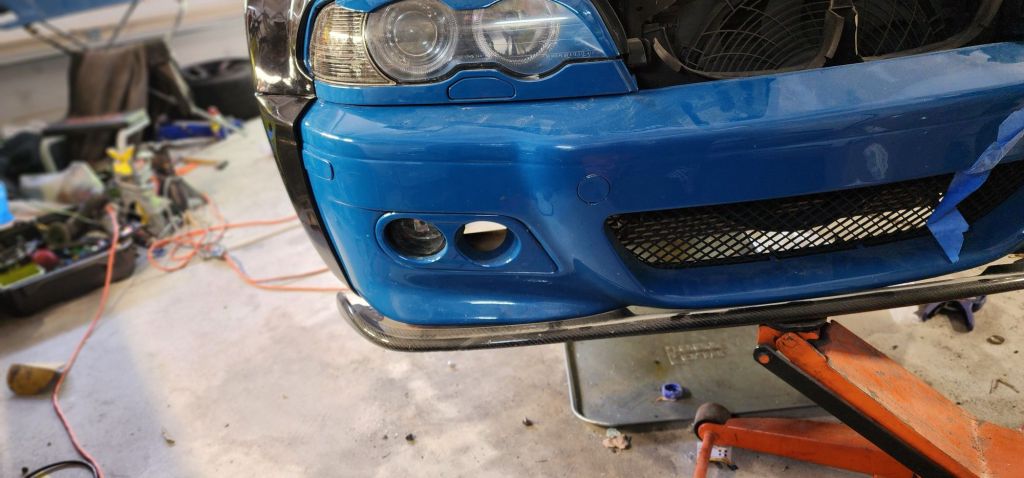
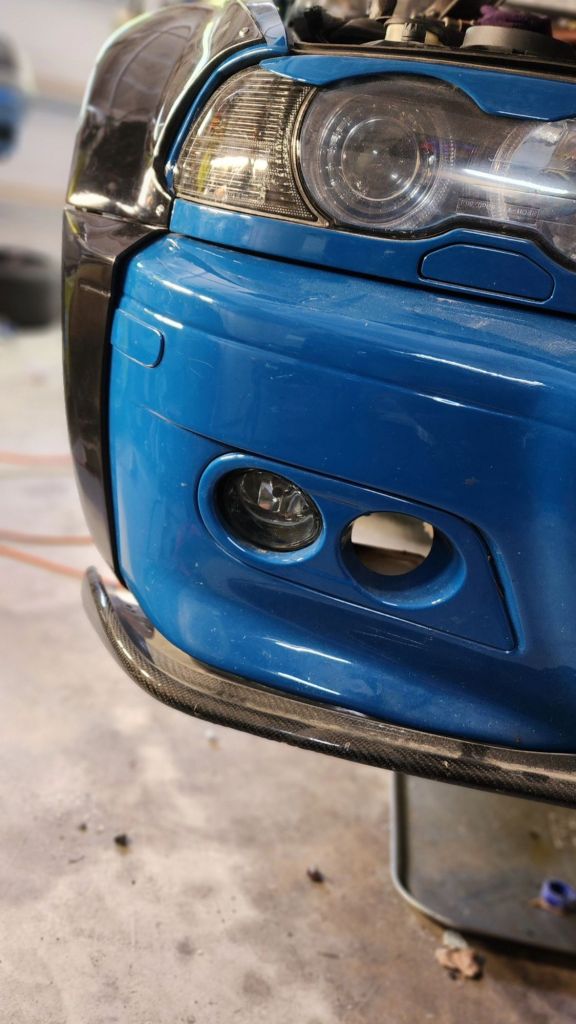
I added well nuts to the rear and widened the holes for bolts. Also test fitted the old lip. In going to have to trim the edges to get it to fit.
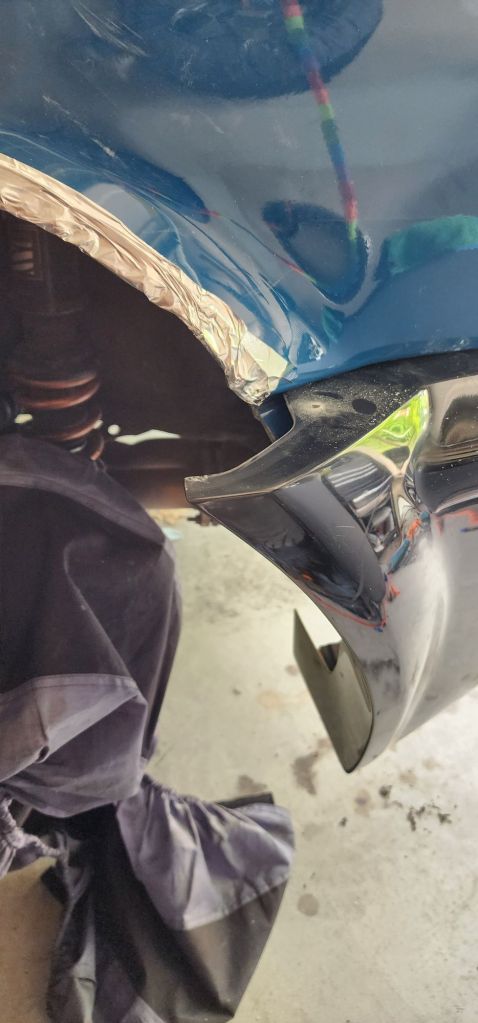
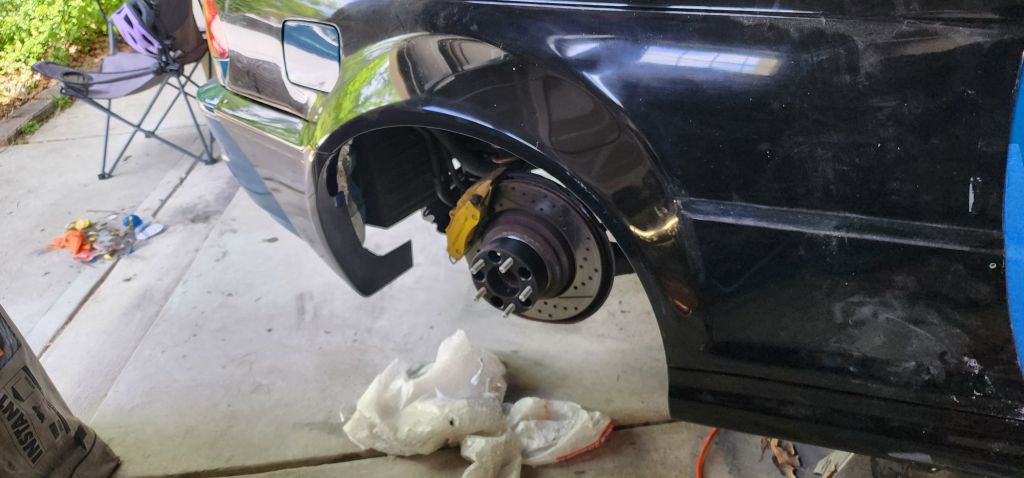
I’ll probably order paint this week.
Musk ///M Pt. 6
The new bumper guides and 3D printed spacers showed up so I could finally fit the bumper caps. The spacers help kill the bumper sag. I have an early model M3 that didn’t come with the Kevlar crash bar so fitting bumpers can be a pain.
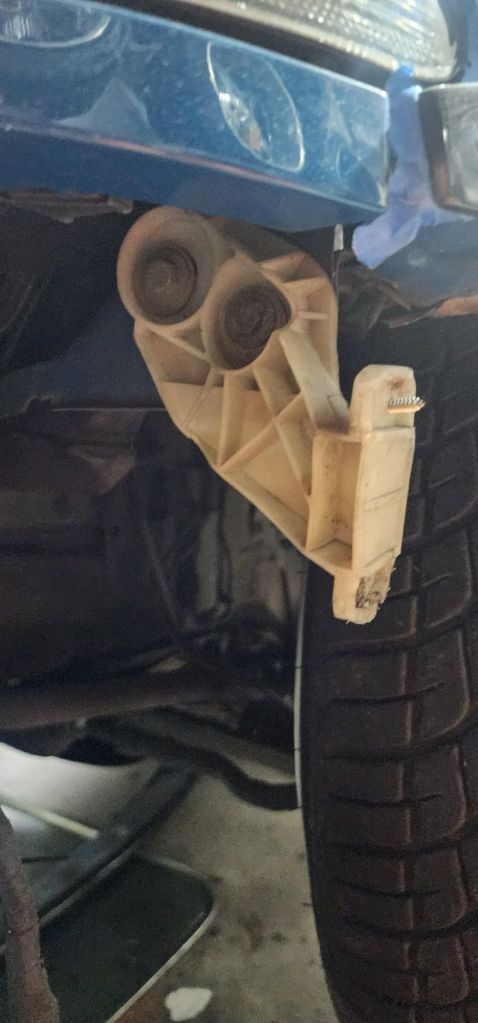
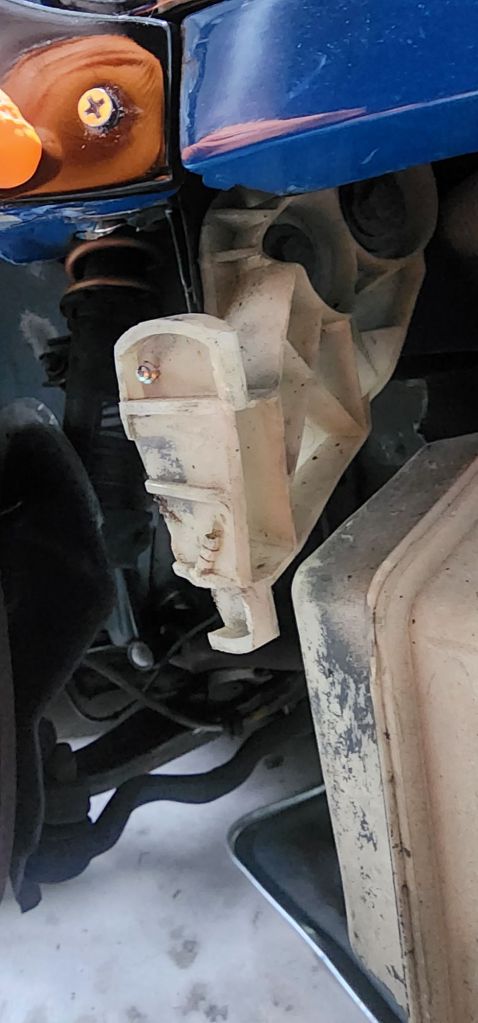
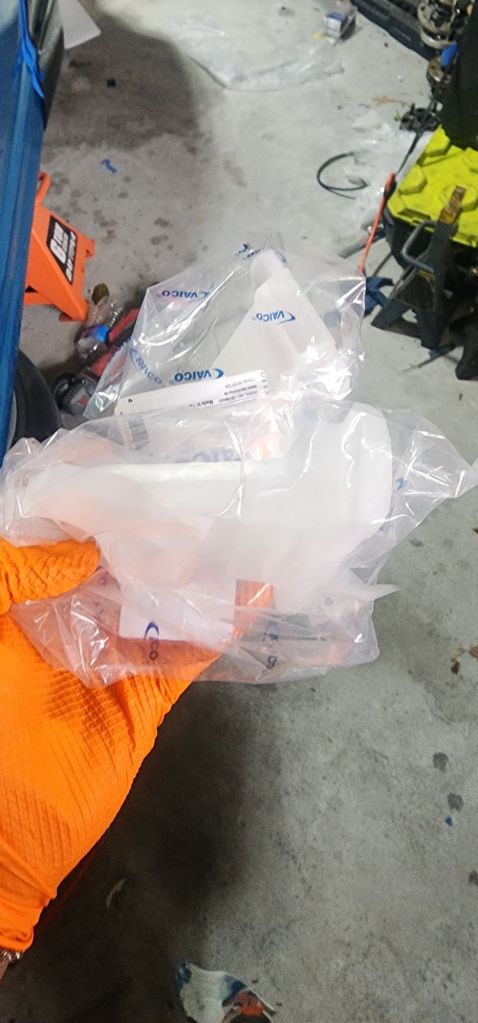
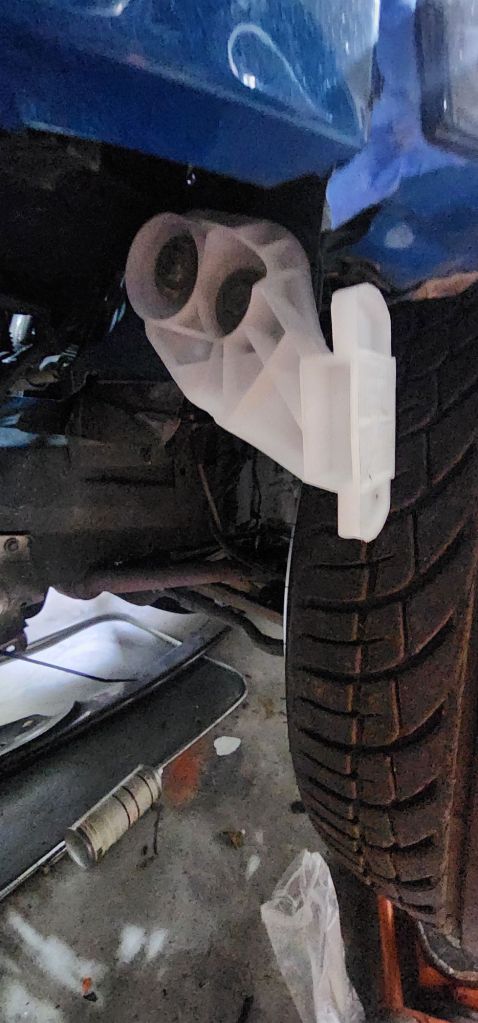
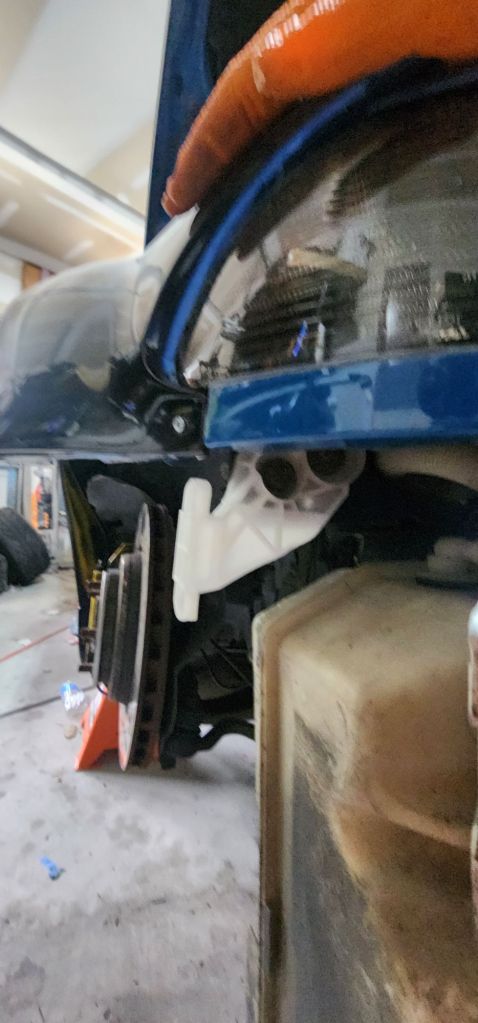
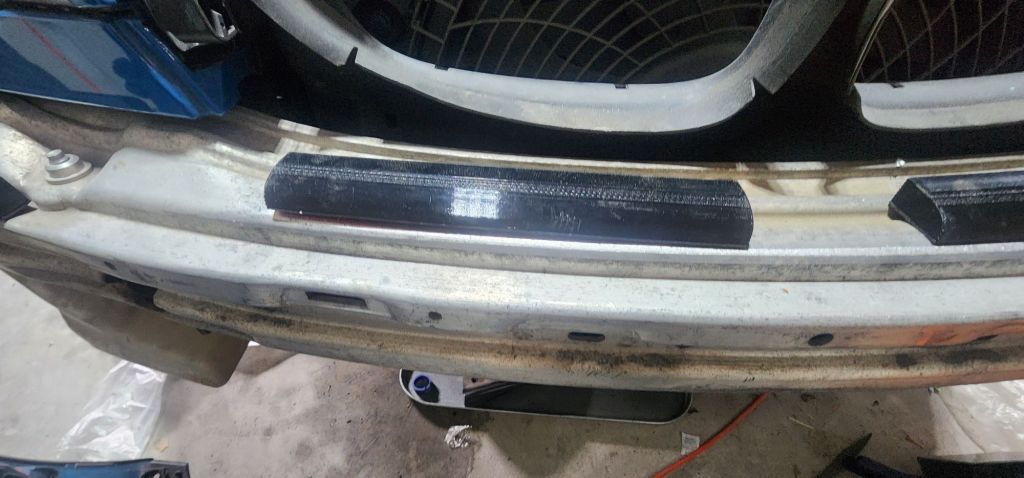
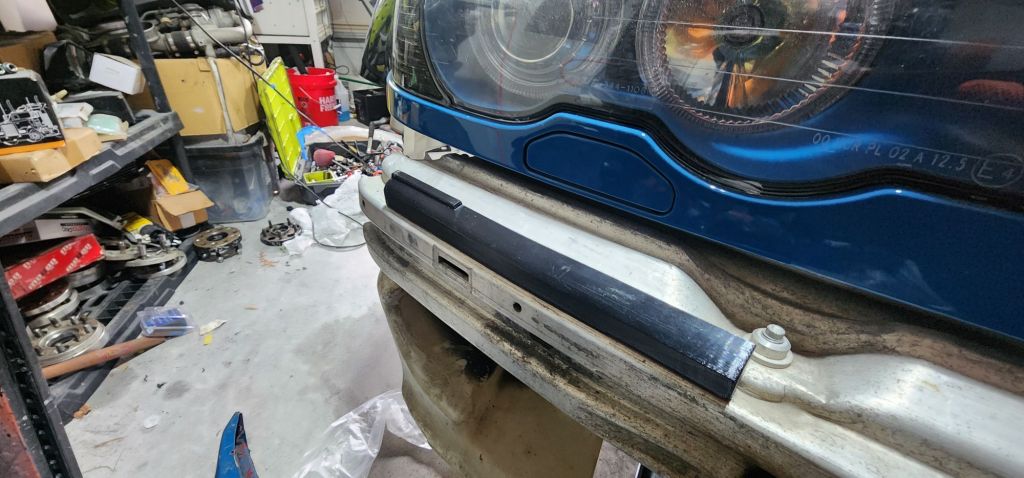
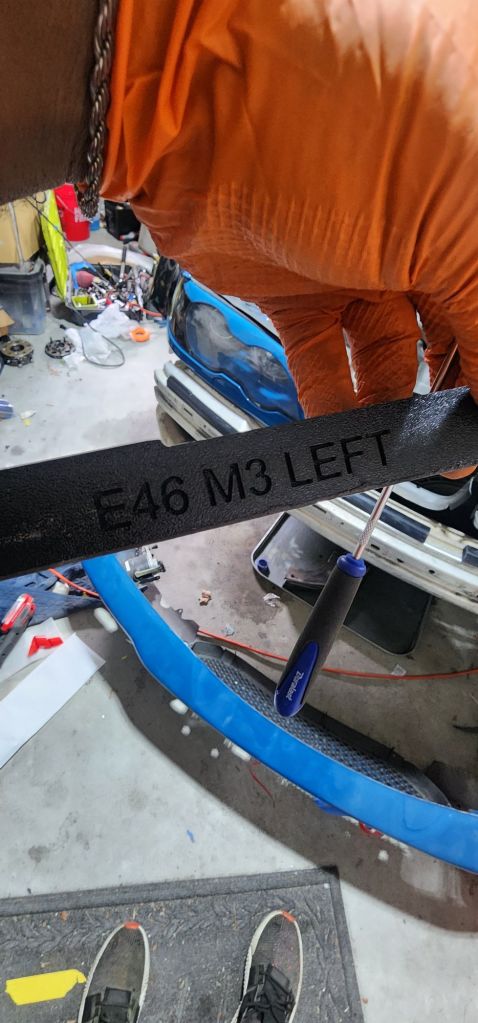
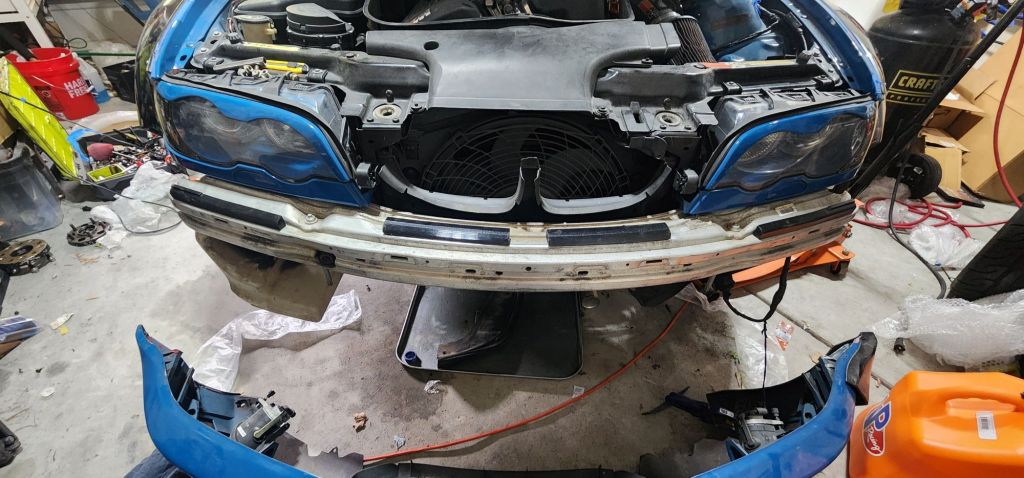
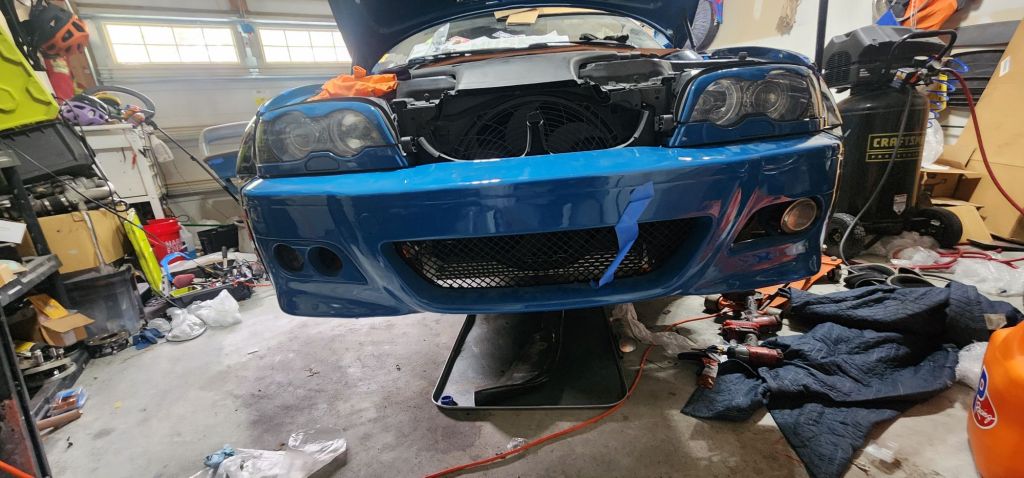
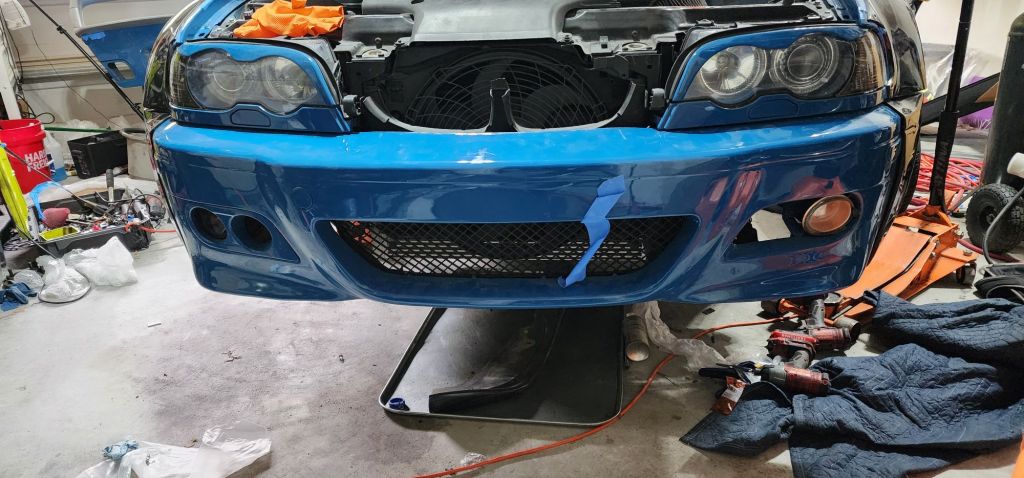
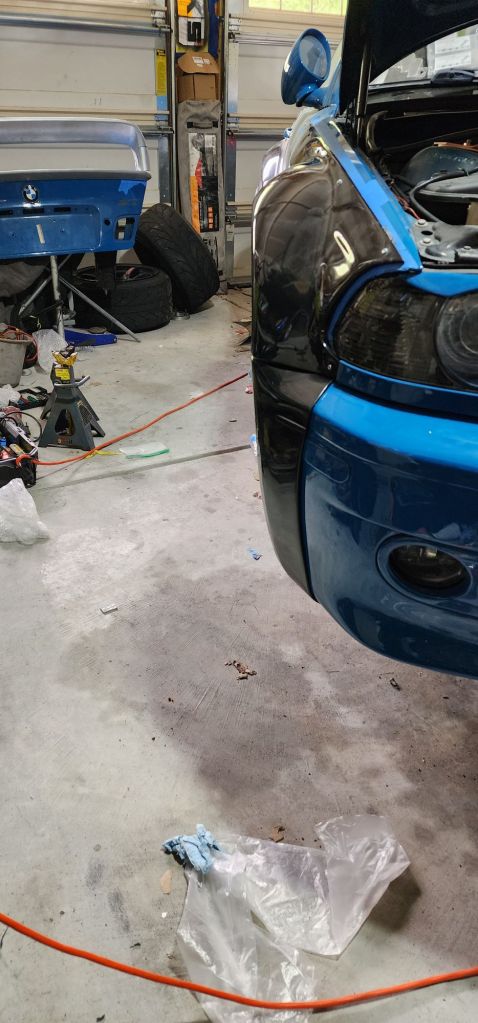
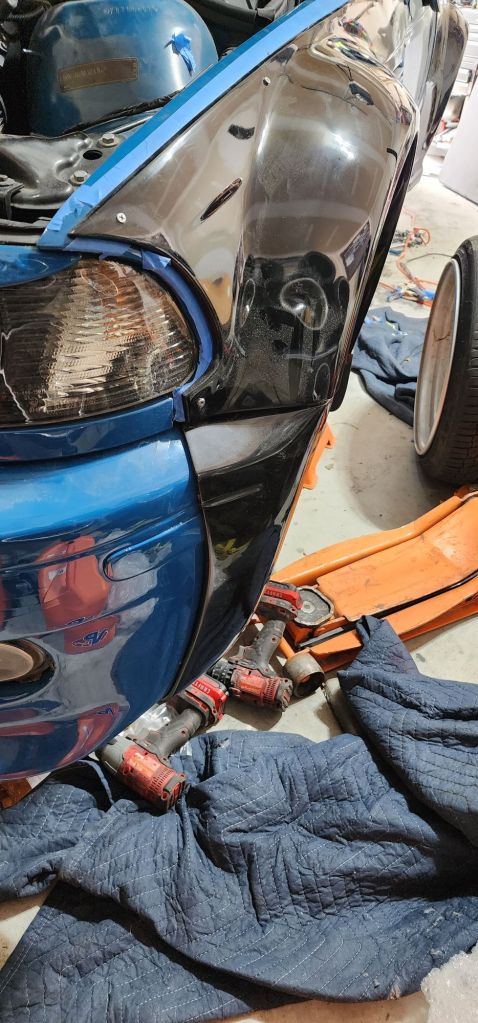
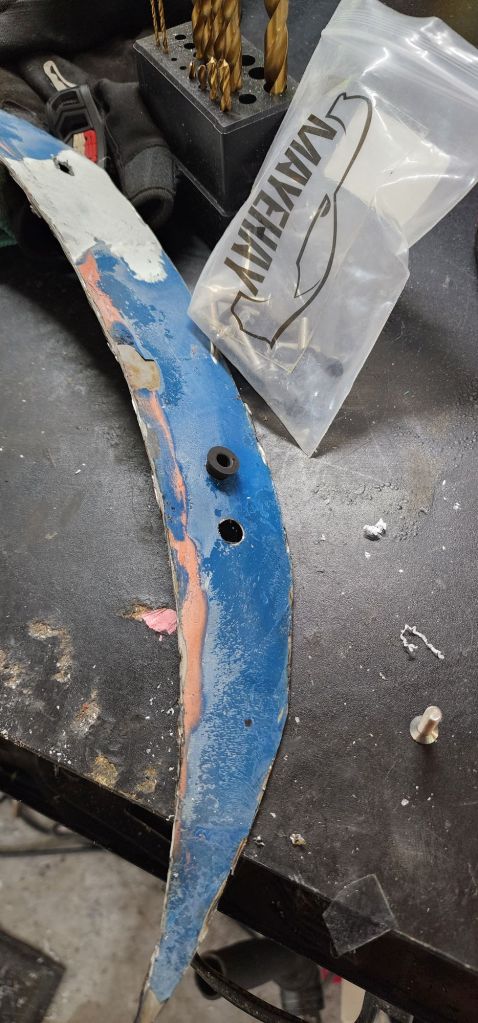
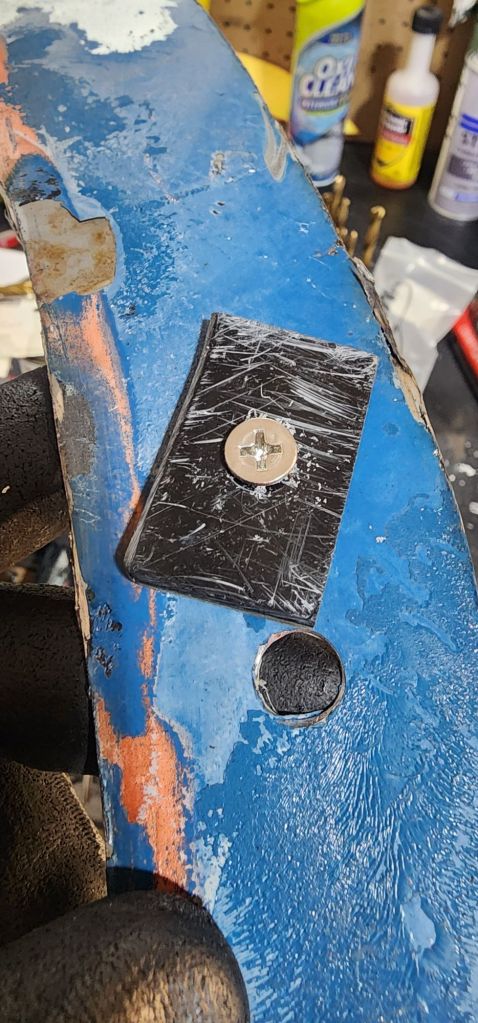
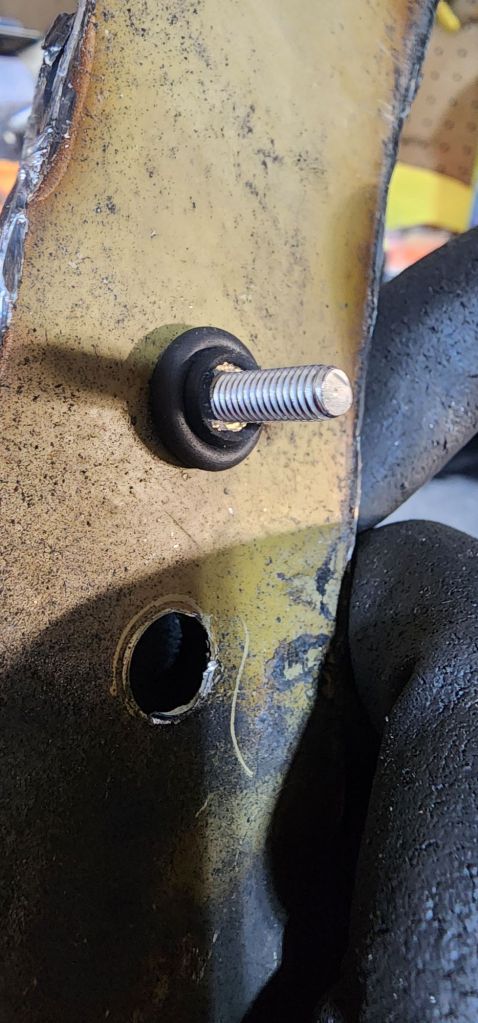
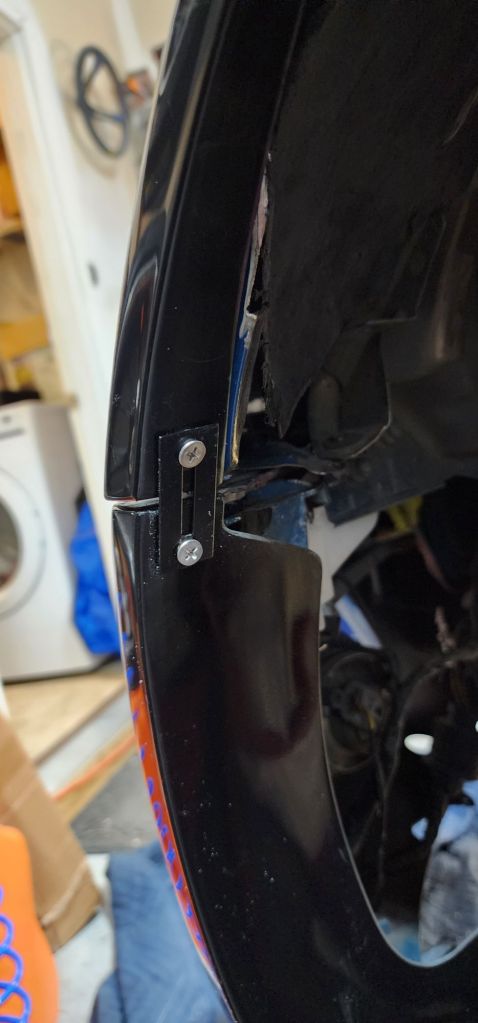
Then I started finalizing the fender positioning. Widening the initial self tapping screw holes for the well nuts. I used a scrap peice of quarter panel to test to make sure the drill bit was exact.
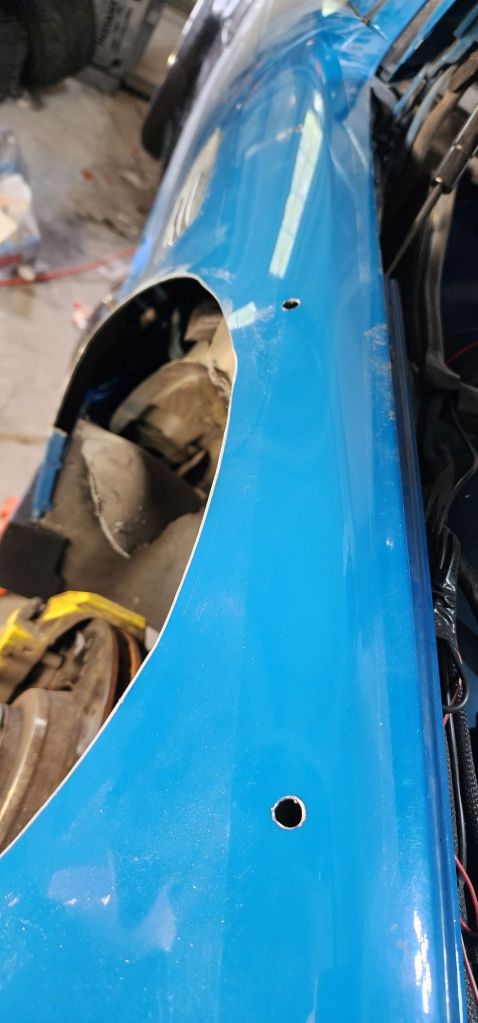
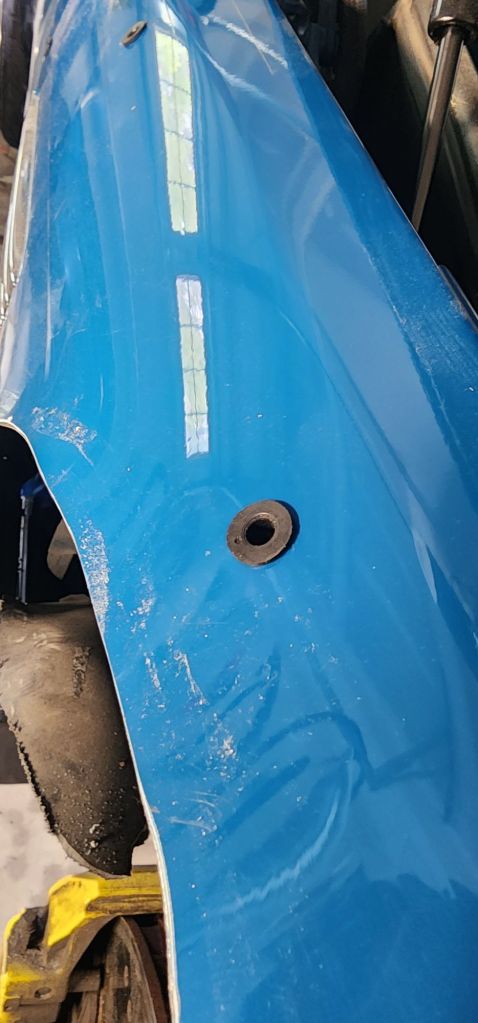
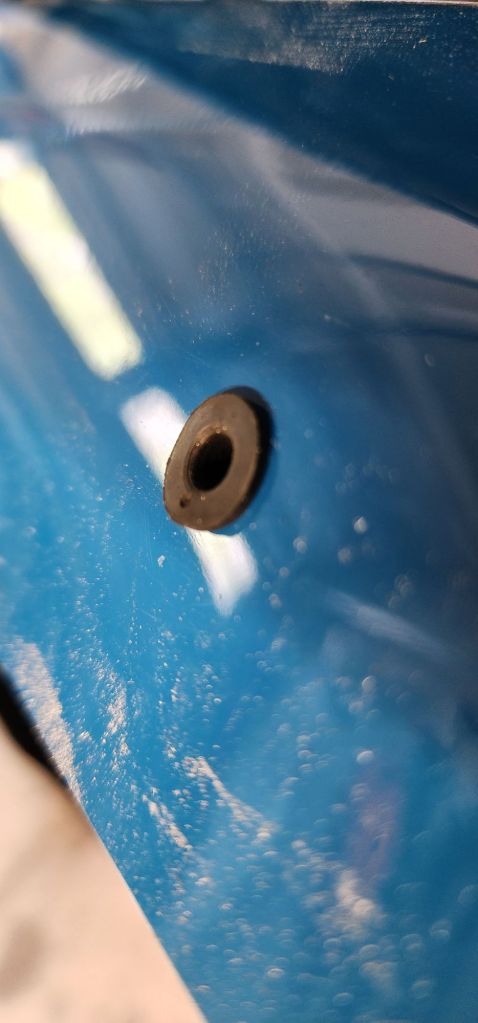
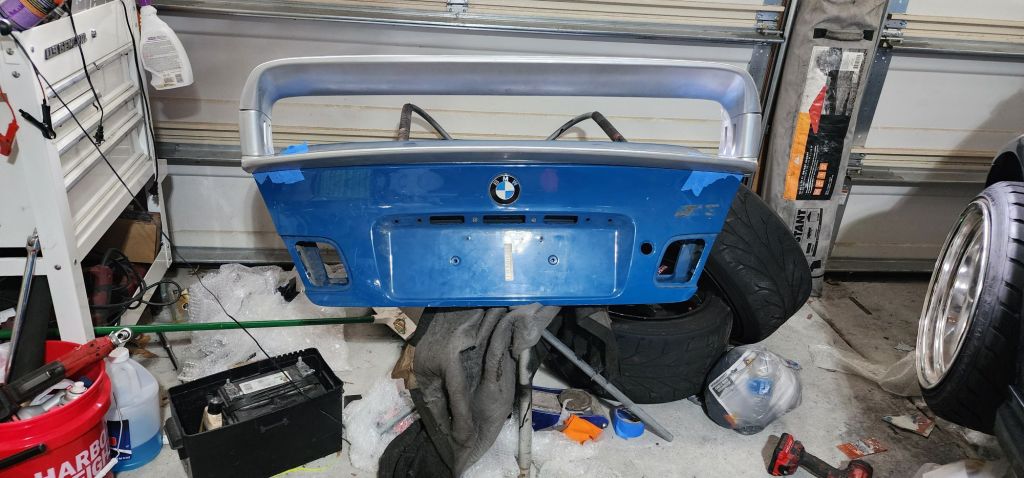
Took a break to fit the wing to the trunk. Still needs some massaging.
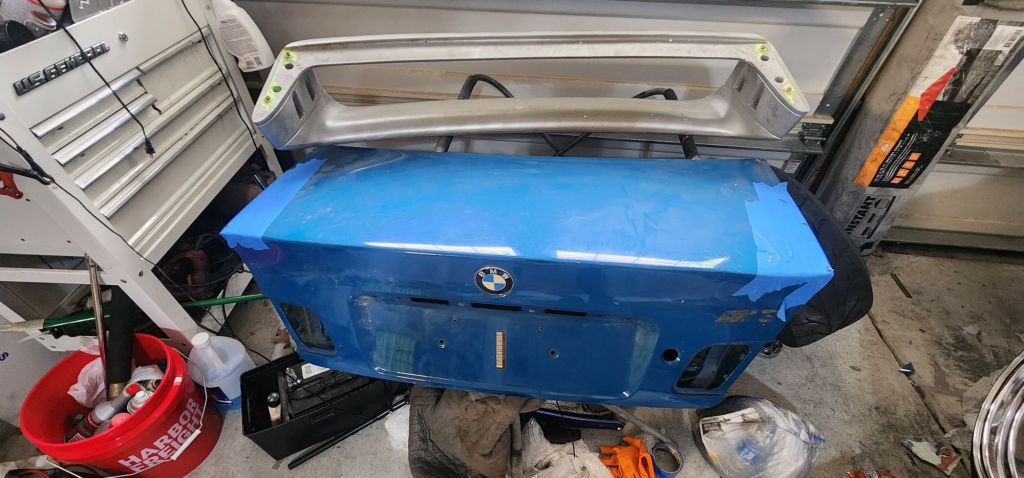
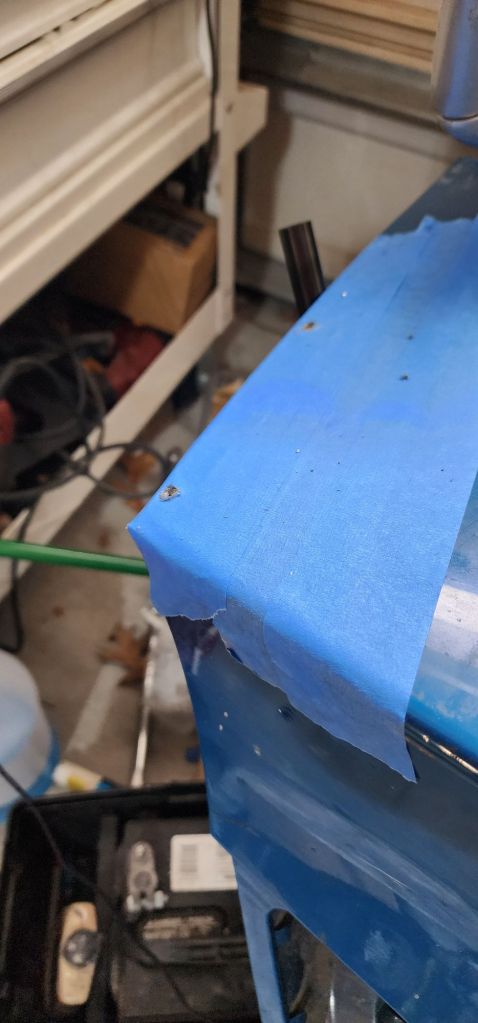
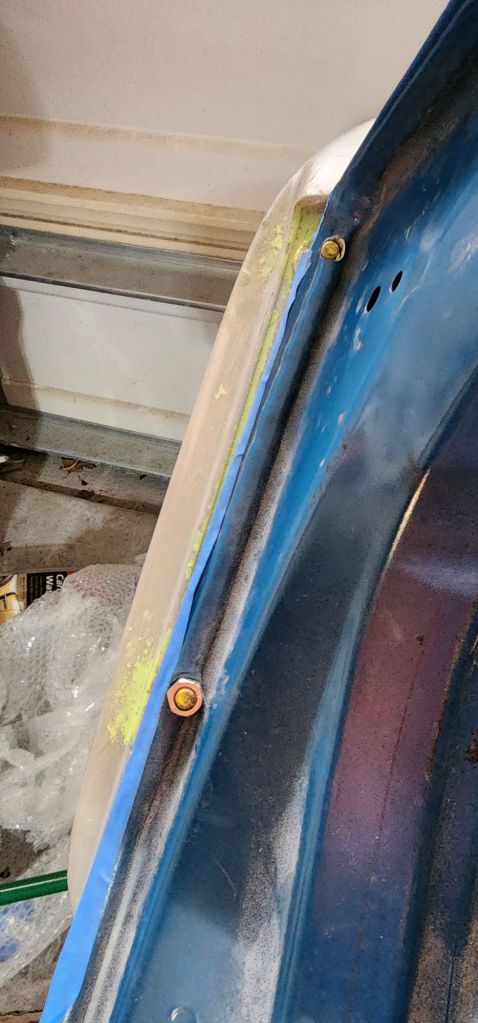
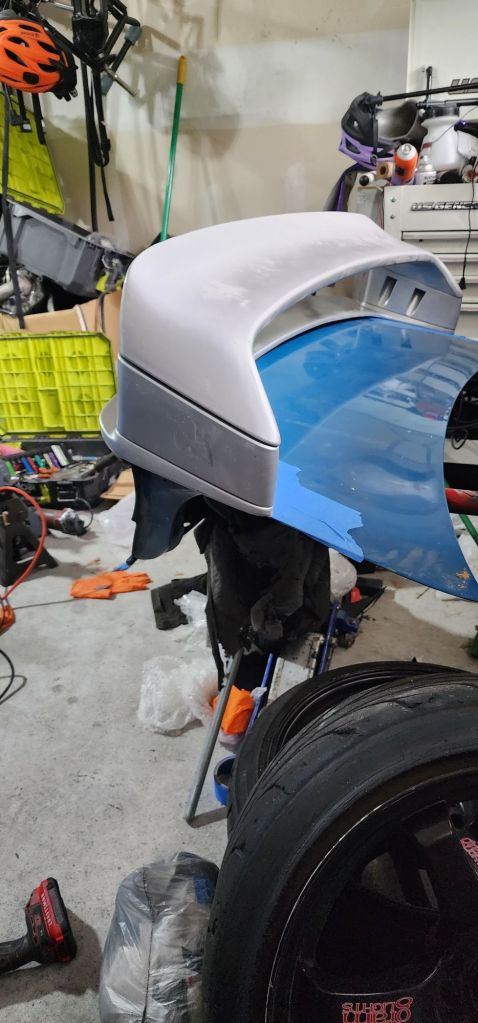
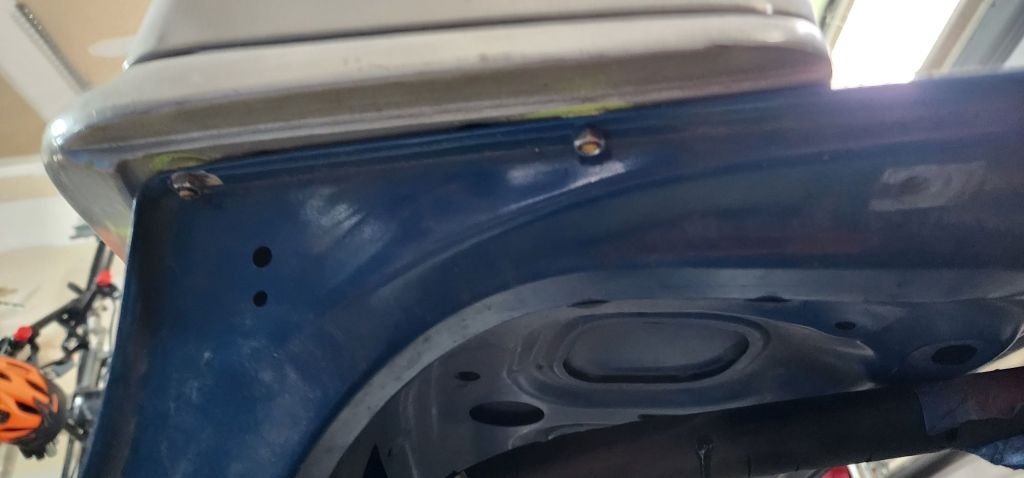
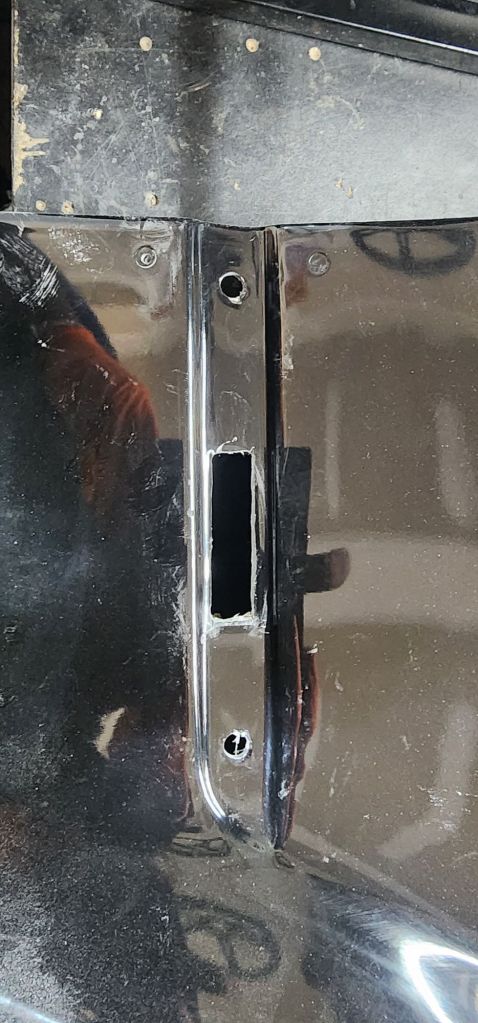
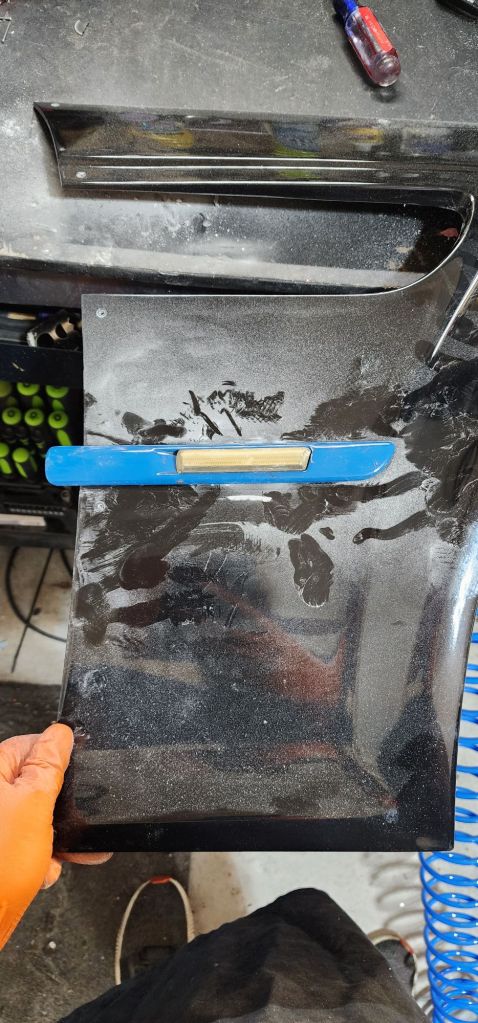
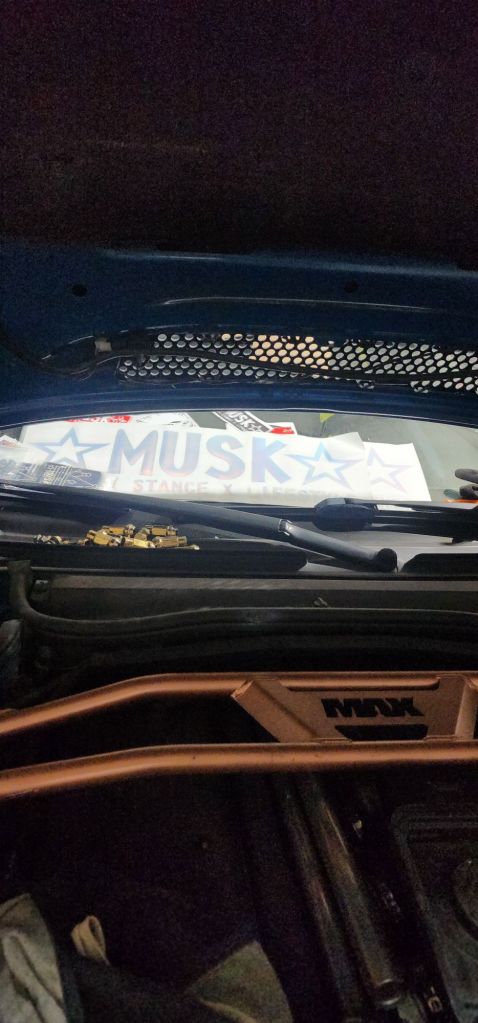
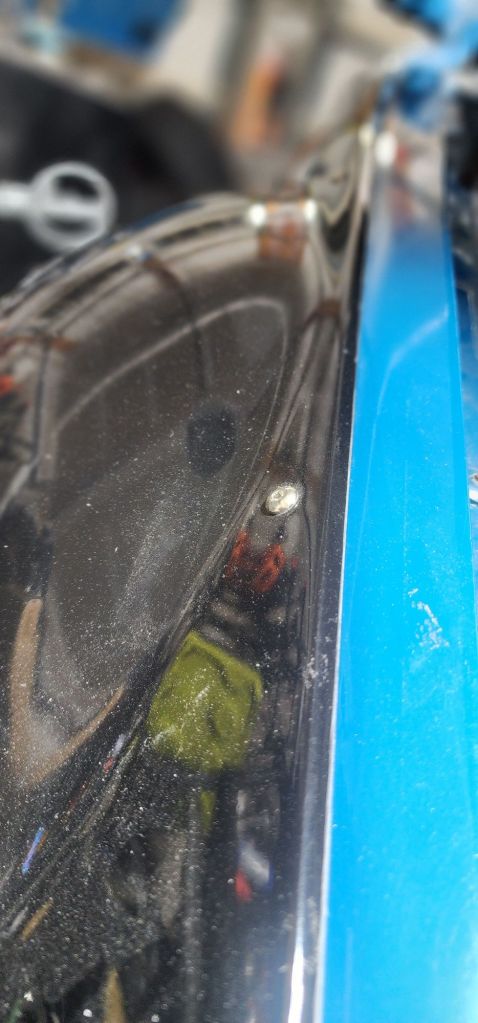
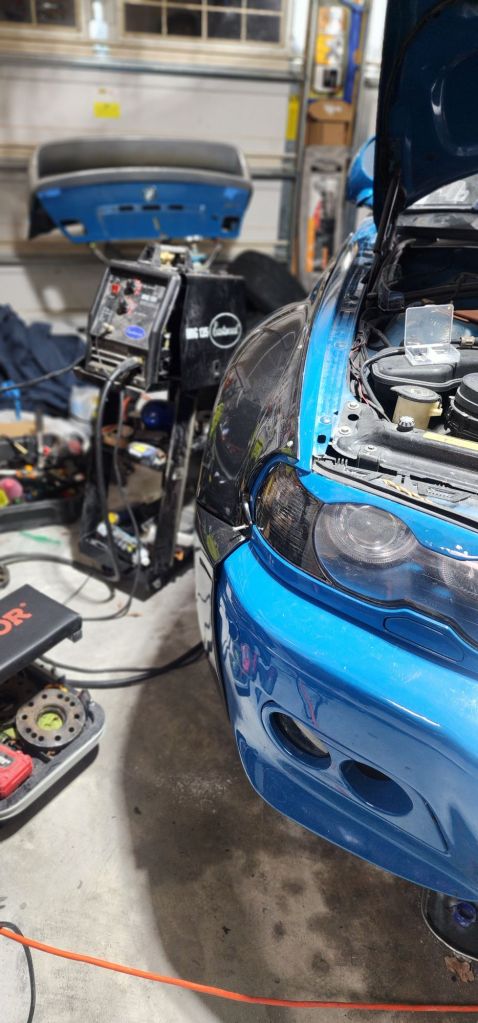
Cutting the fiberglass for the fender markers and trim.
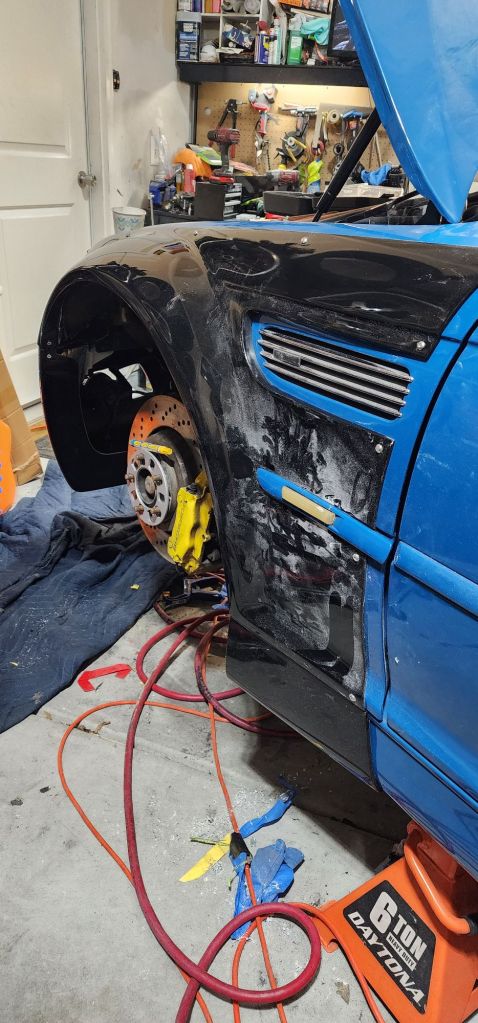
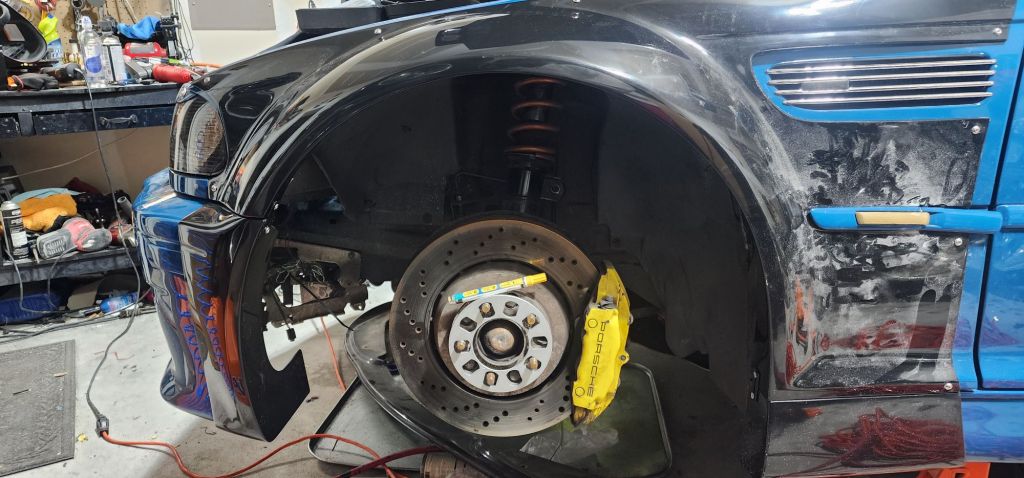
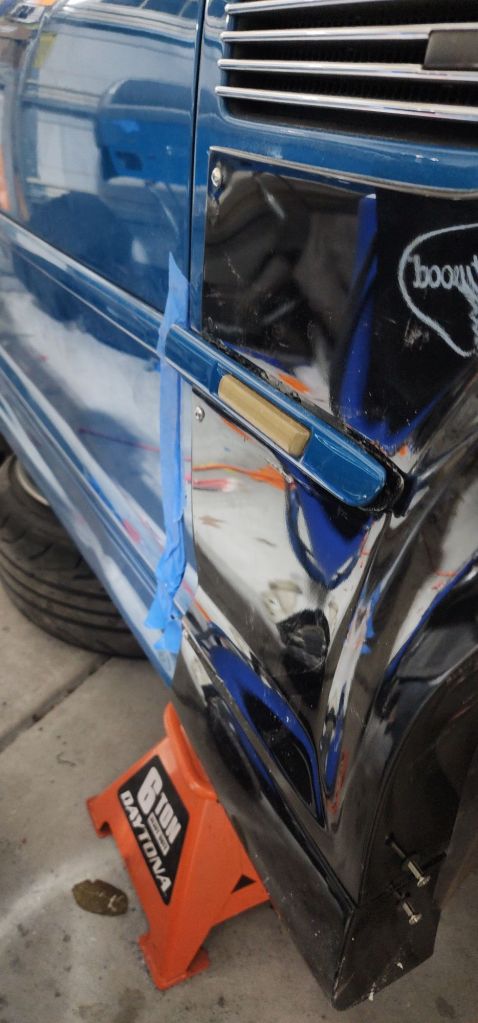
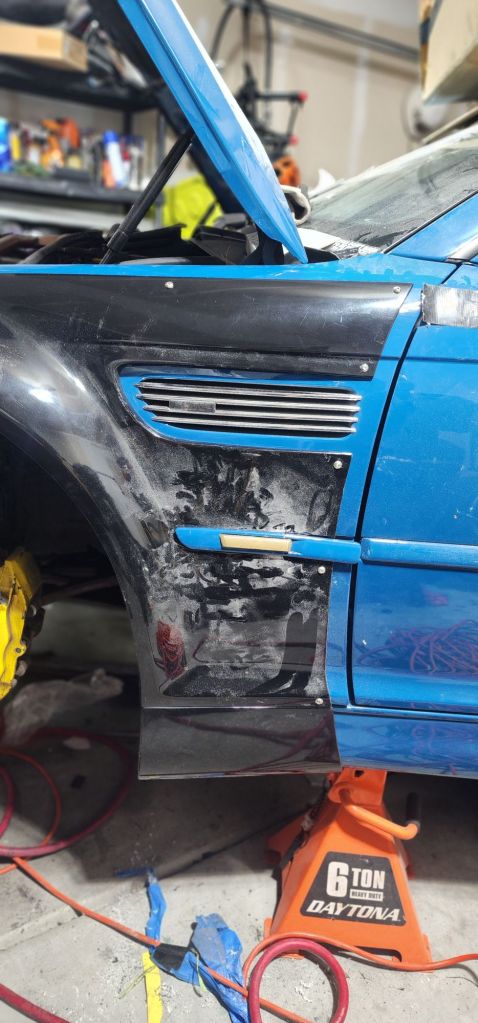
Musk ///M Pt. 5.5
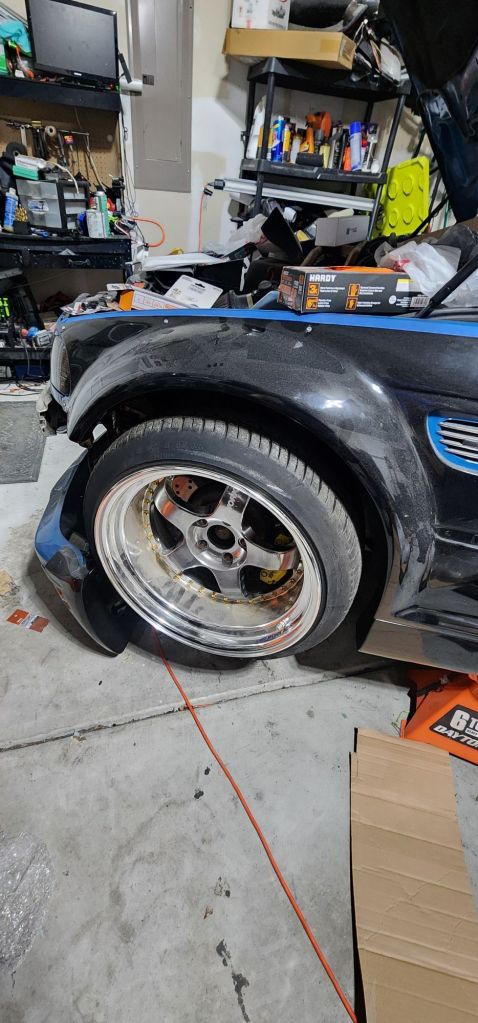
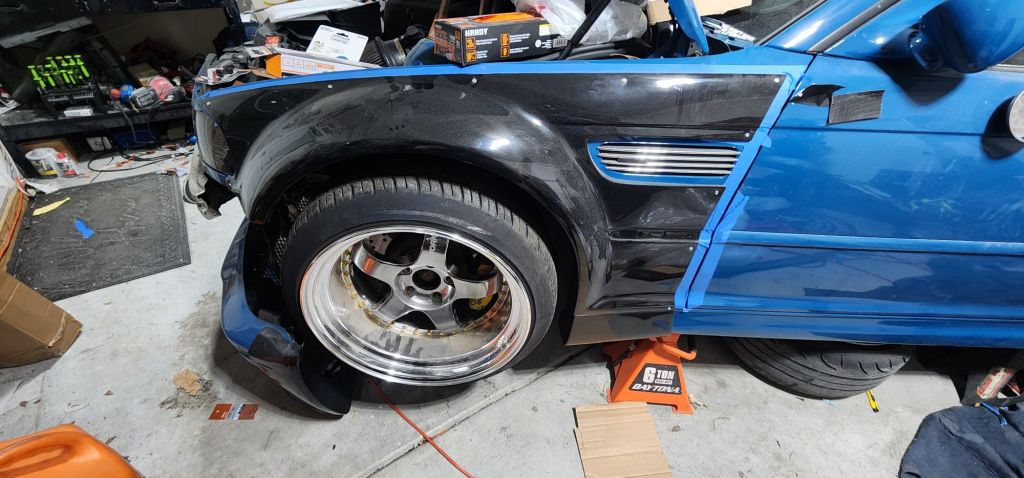
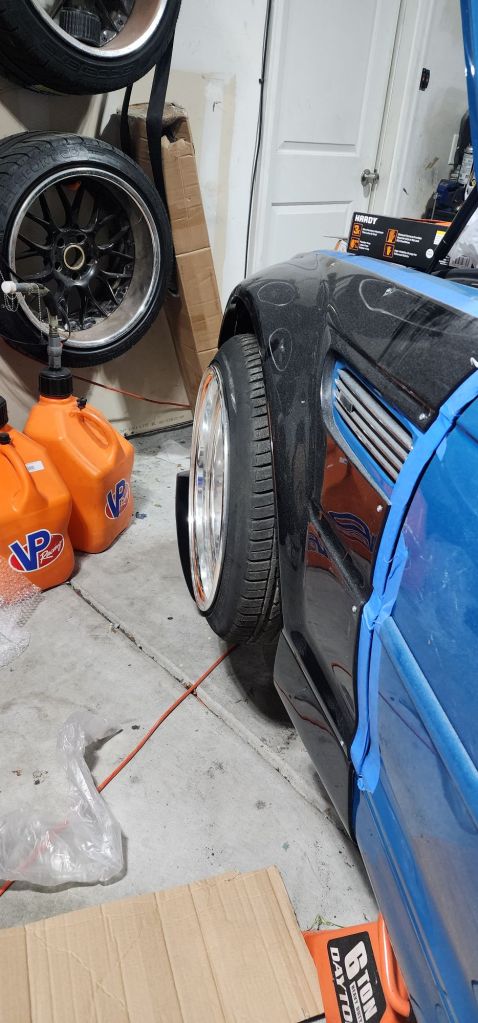
I test fit the wheels. The rears need another 15mm spacer or so and a bit more clearance on the drivers side.
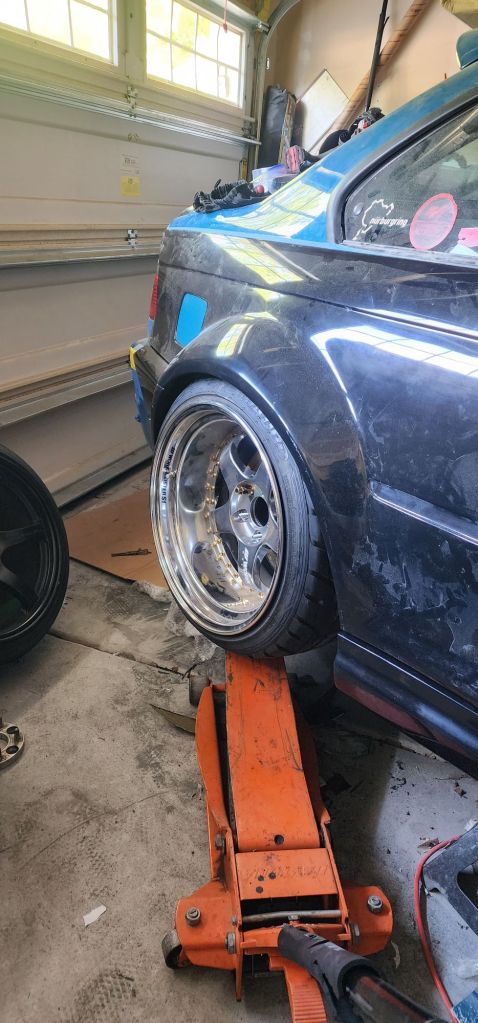
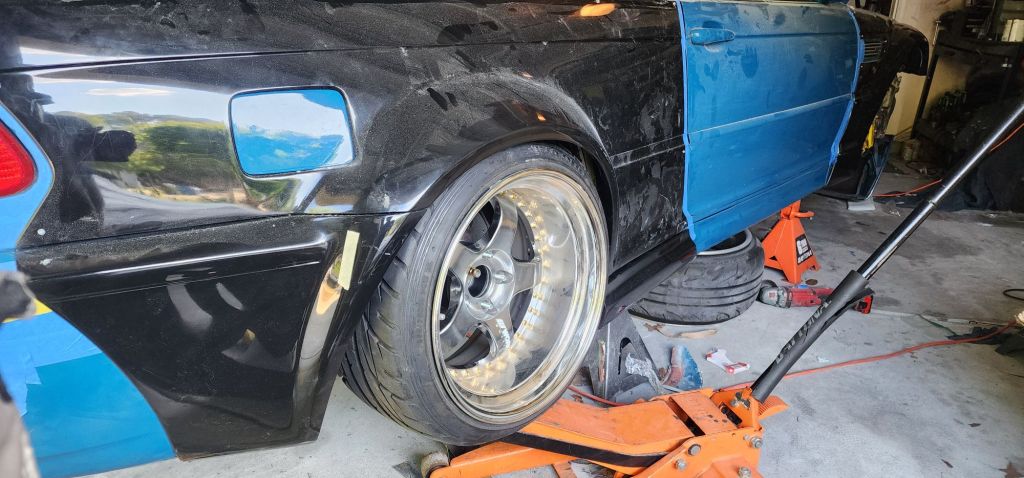
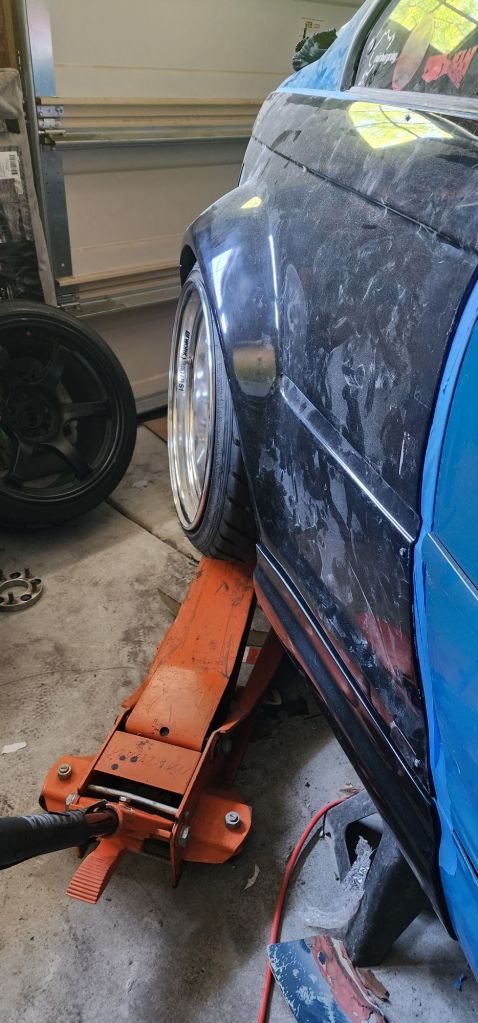
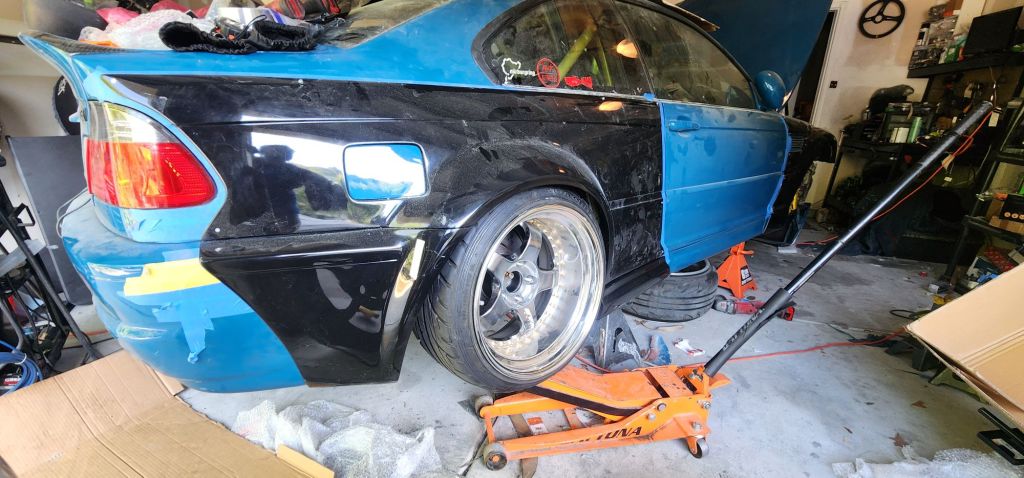
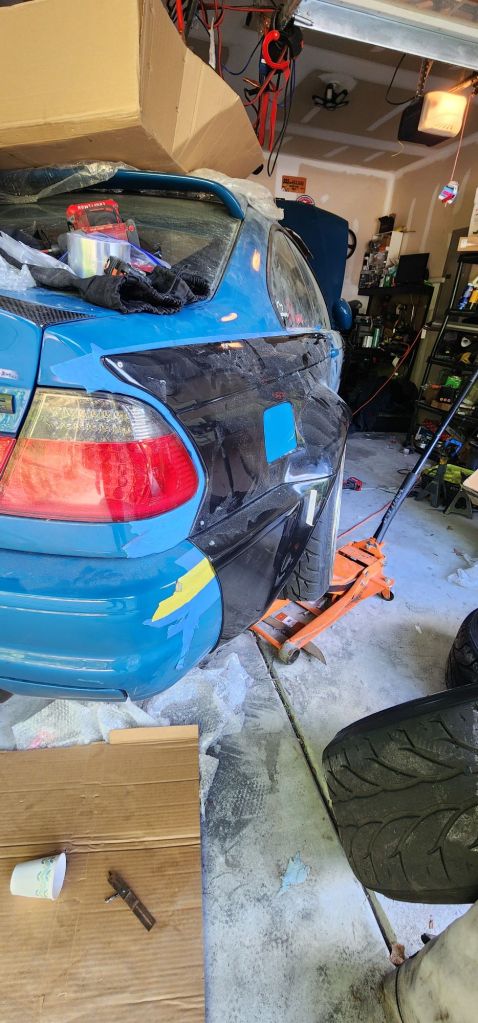
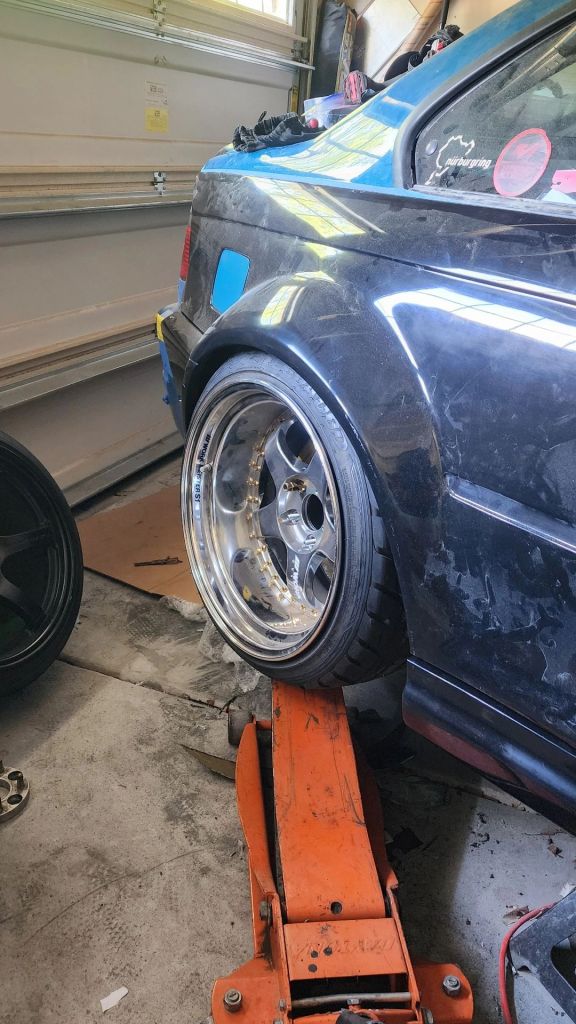
The fronts are still a bit aggressive. I wanted to run a 235/40/18 but it didn’t look like it will clear.
Musk ///M Pt. 5
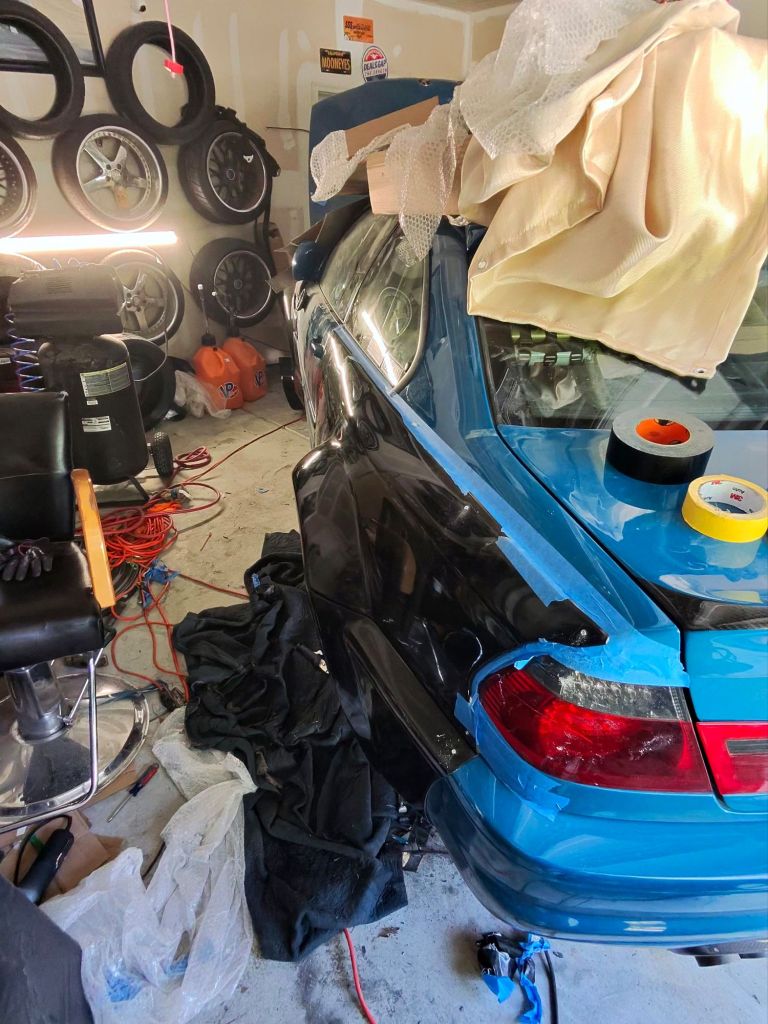
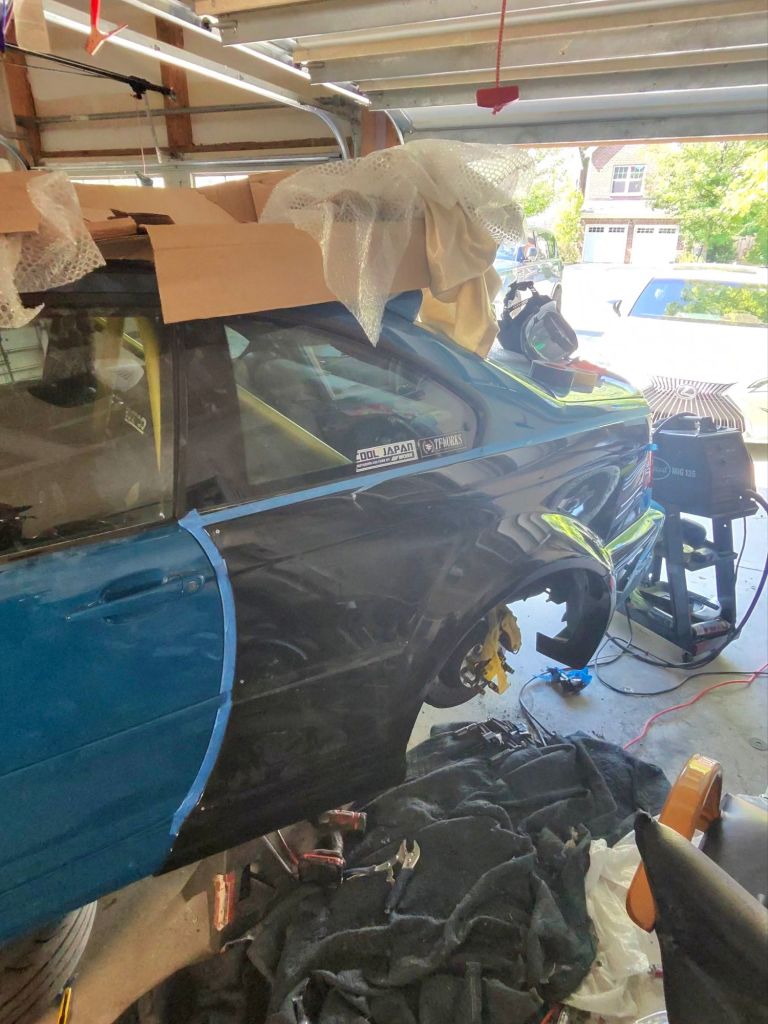
Drivers quarter fitted. Final sealing coming up.
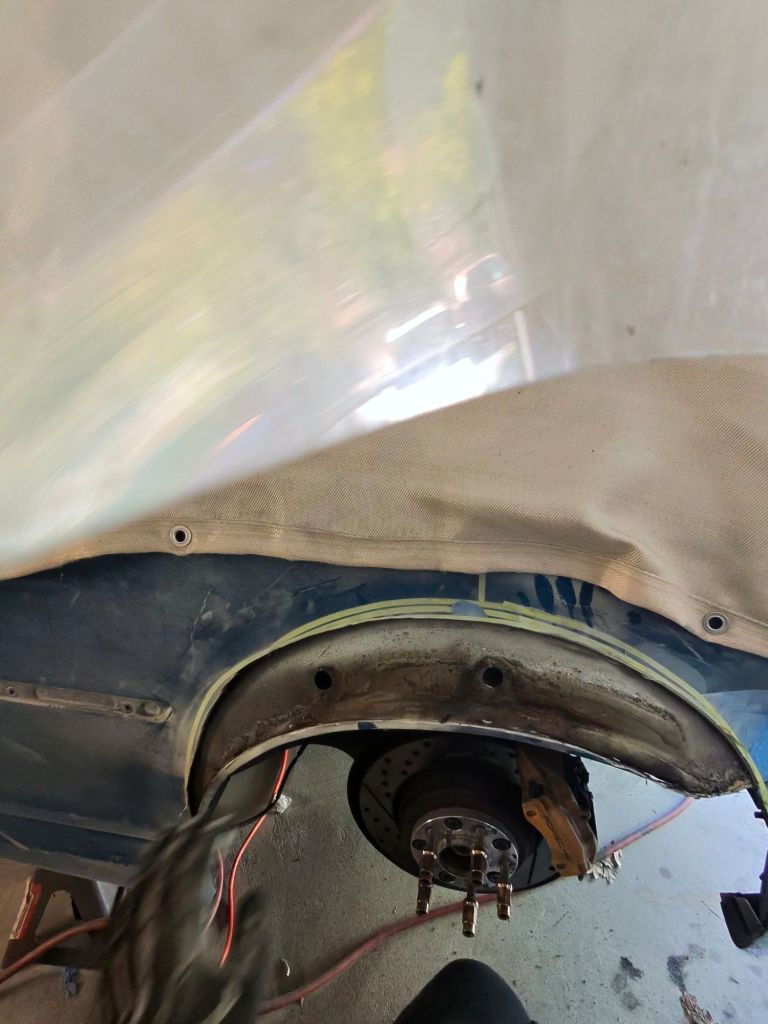
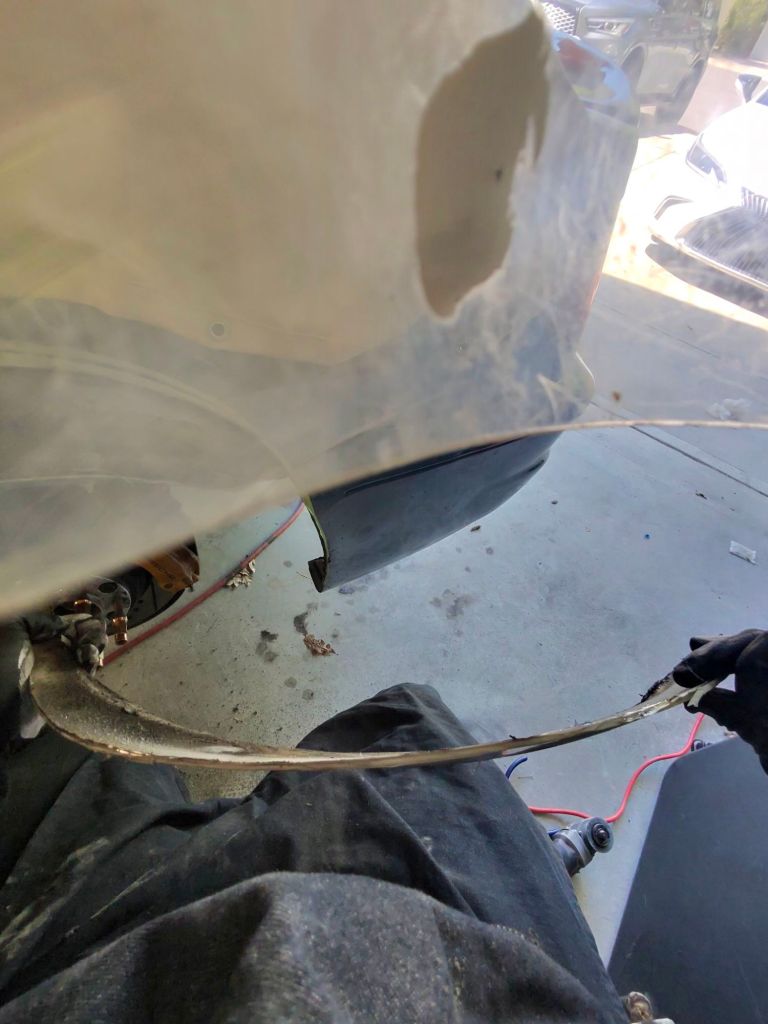
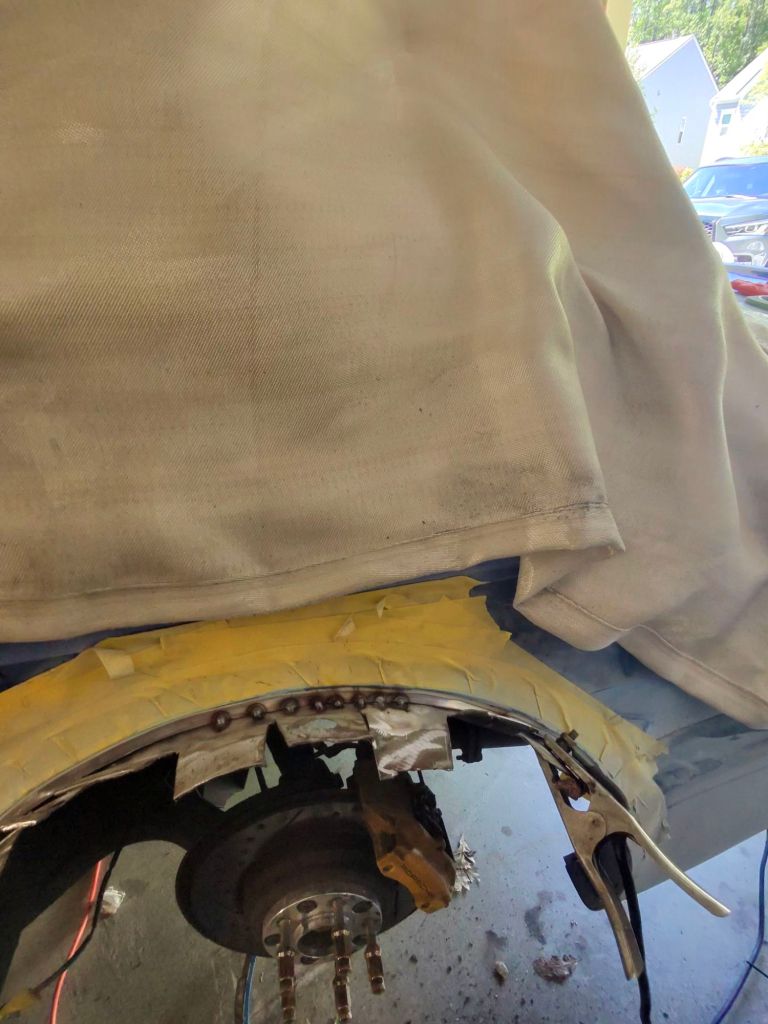
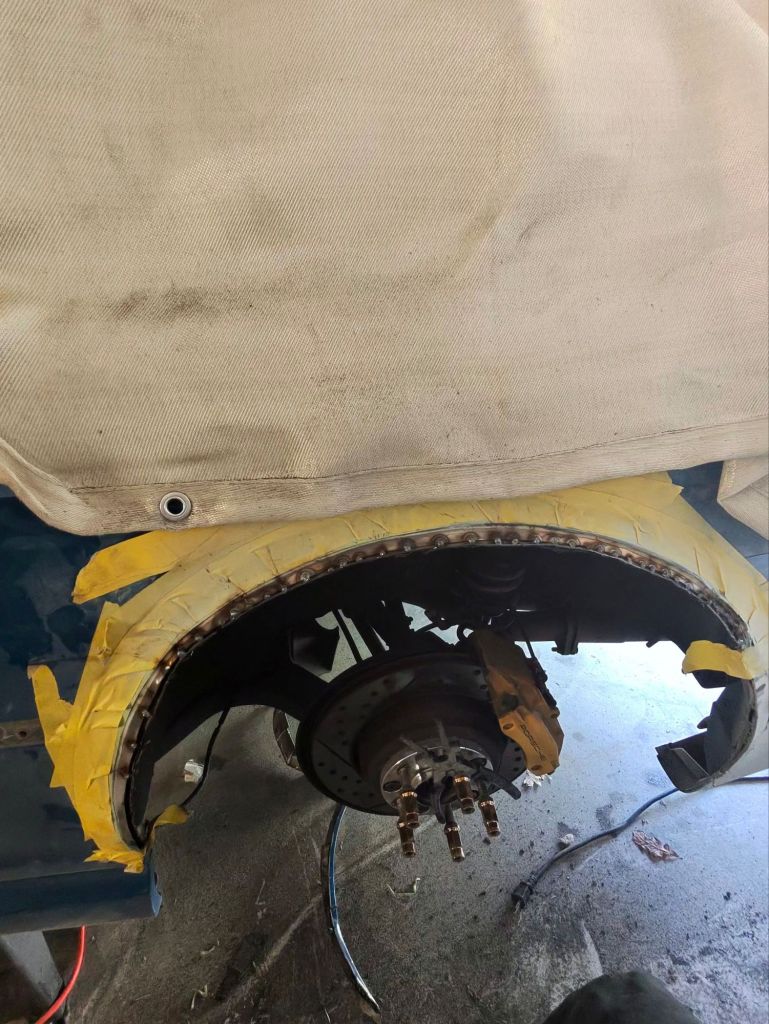
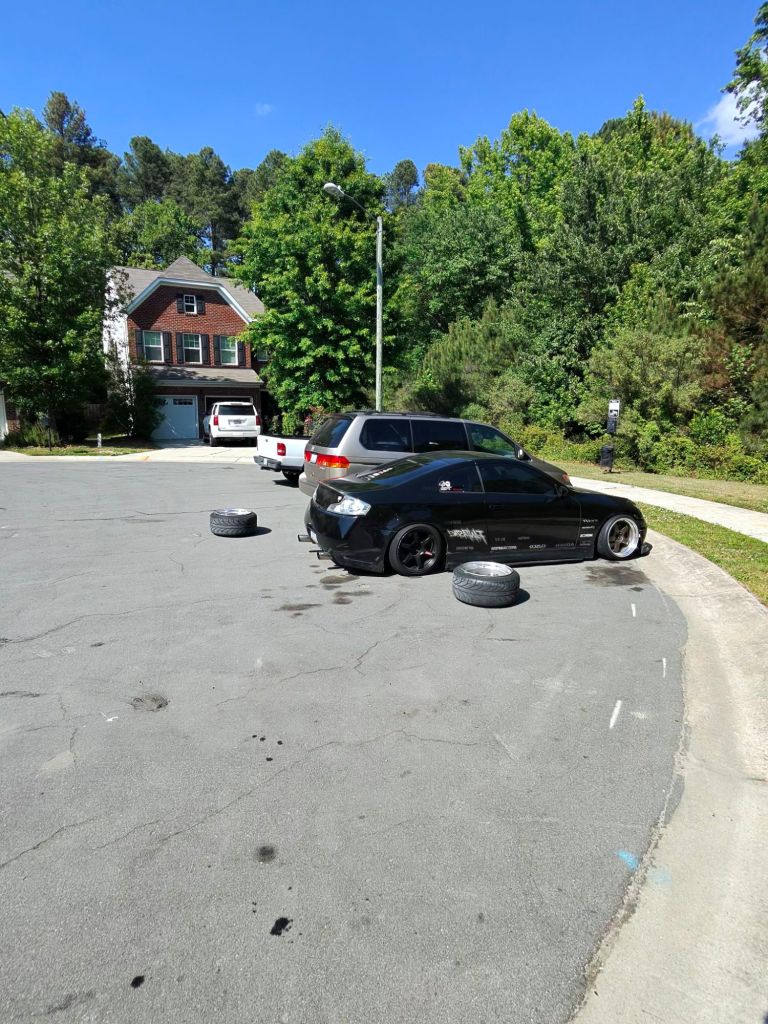
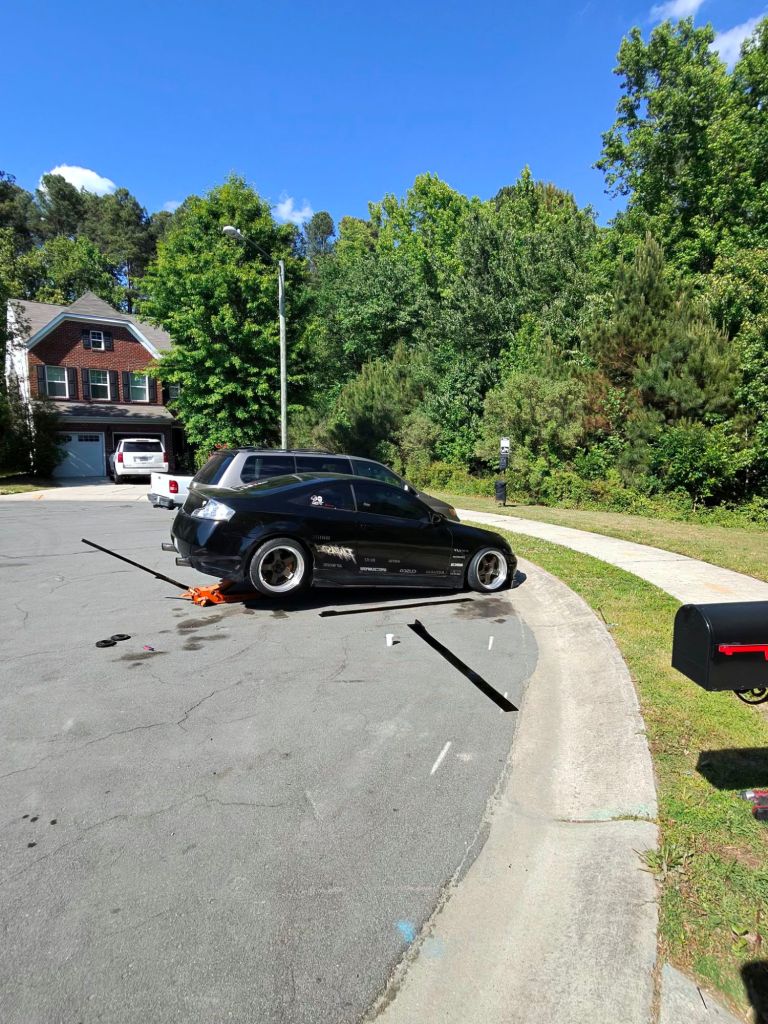
I paused to fill the AC , changed the rear wheels, and replace the sideskirt extentions on the G.
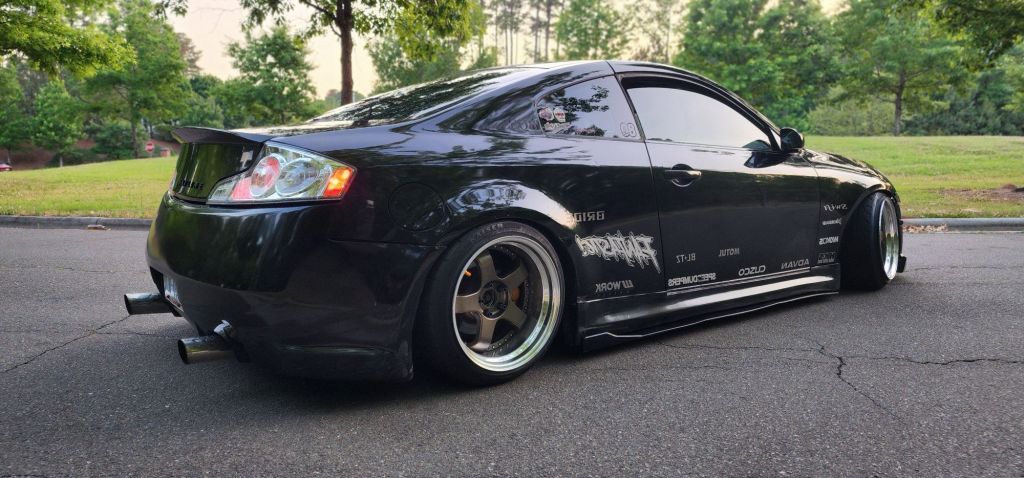
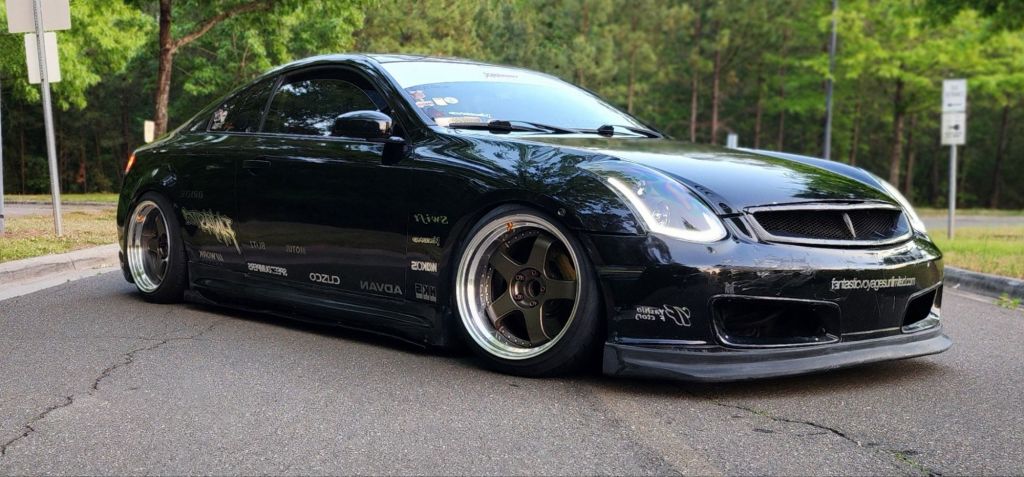
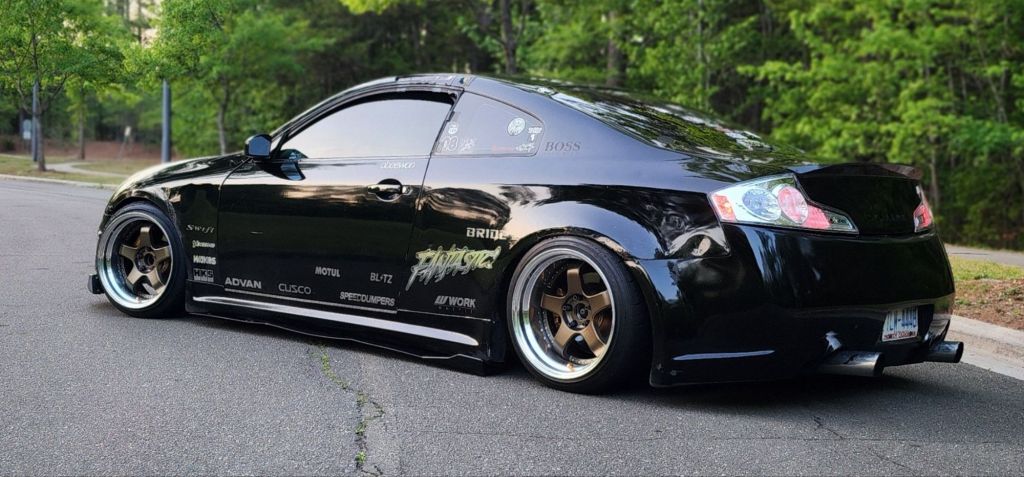
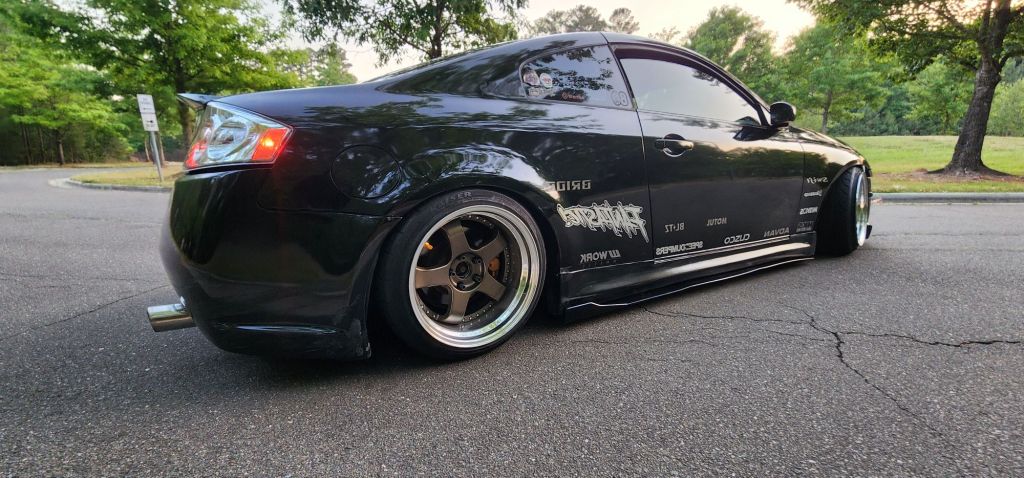
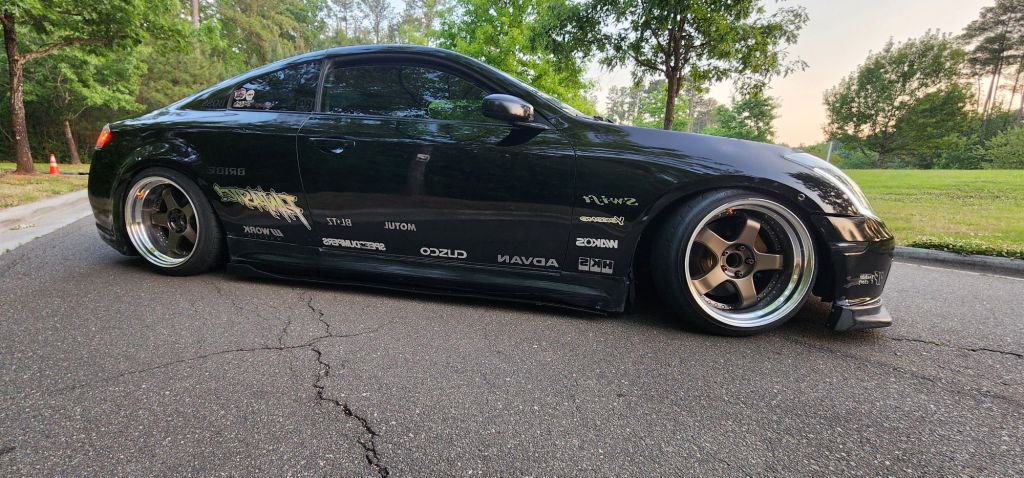
Musk ///M Pt. 4
Inspiration:
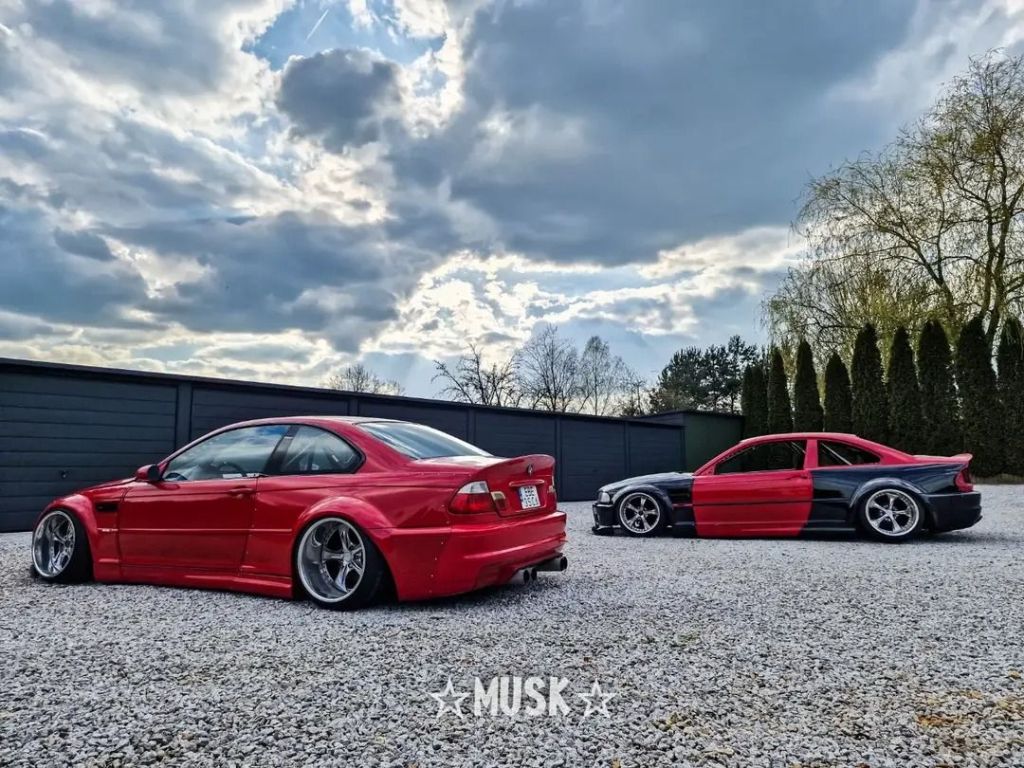
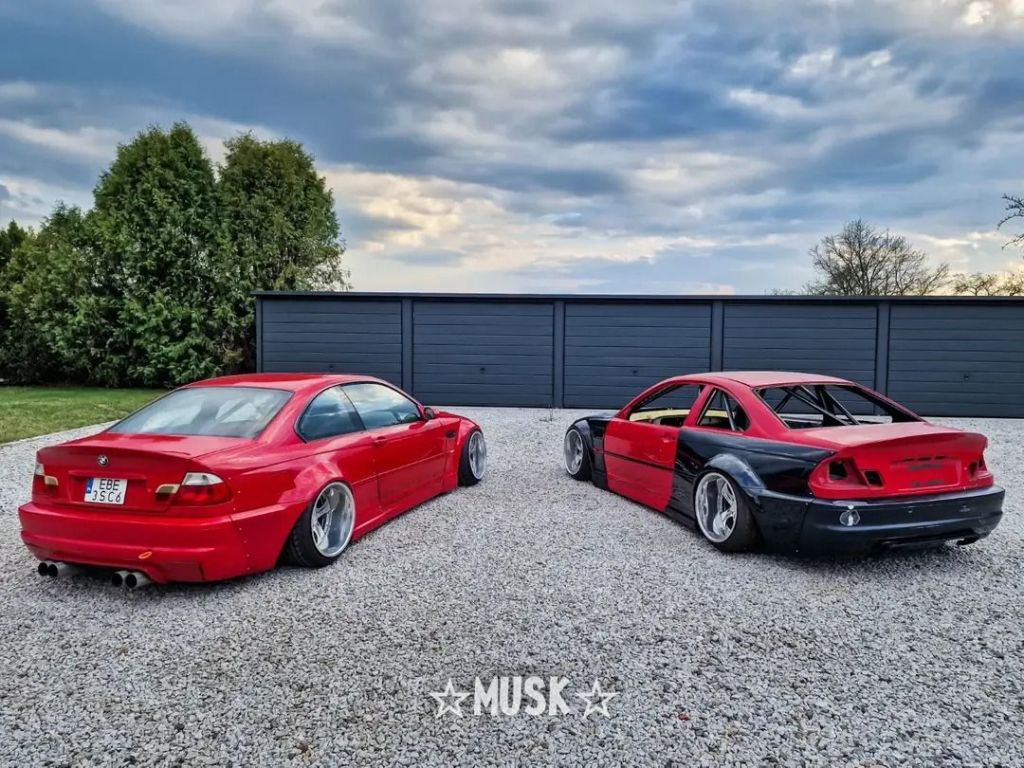
I finished up the front fenders and sideskirt caps. Then moved on to the rear. What made me feel better about chopping is that when I first got the car I rolled the fenders and didn’t realize there was glue behind the fender lip so it came out wavy. Twice I went to body shops to get it fixed and they just threw mud on it. This last time I spent a lot of money and time with a shop I knew had the capability but they had gotten some Youtubers car at the same time and I became a side project. I had tangent the car 2 states away specifically for the metal work but again I got mud and this was the most yet. You can see the cracks forming and they started less than a year on from the job. The Musk kit was about $6k delivered which was what I paid for paint and body so I was able to justify that I could install and paint the widebody myself and not have to depend on another shop that was just going to waste my time again.
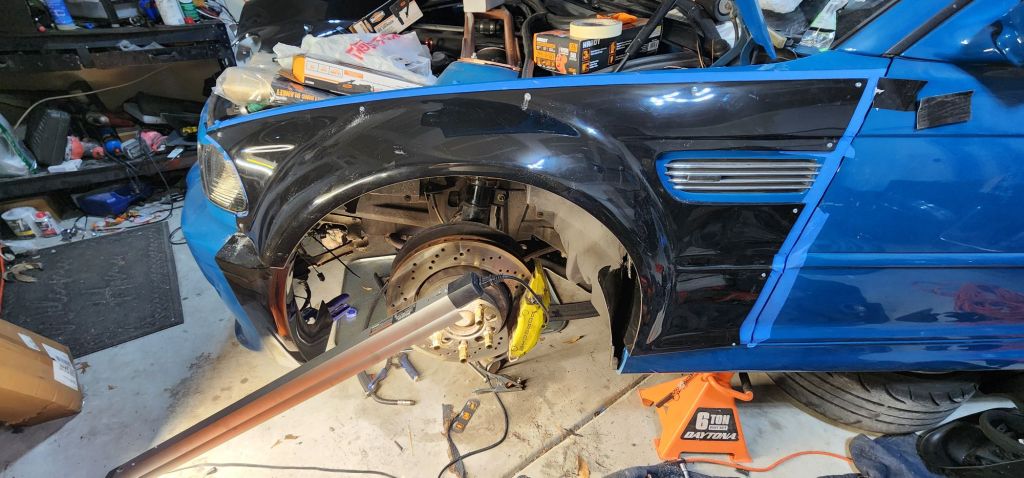
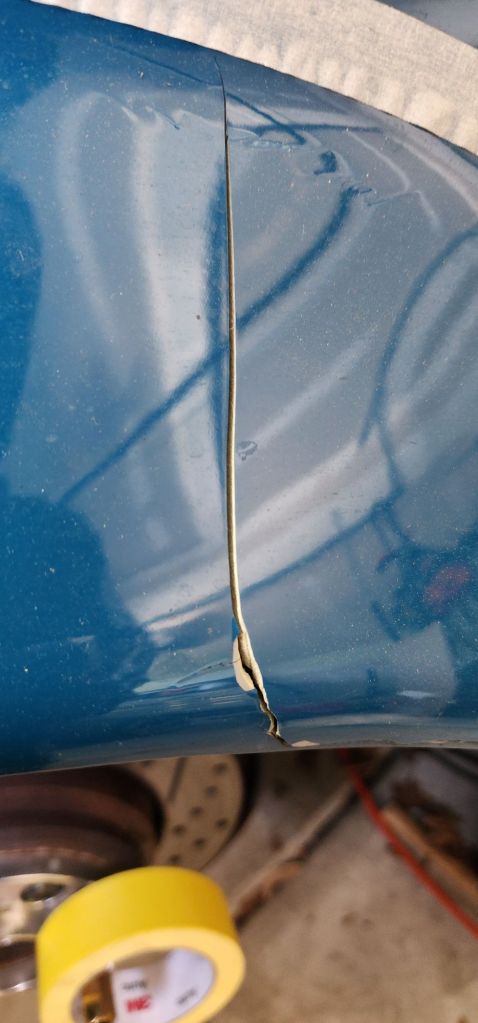
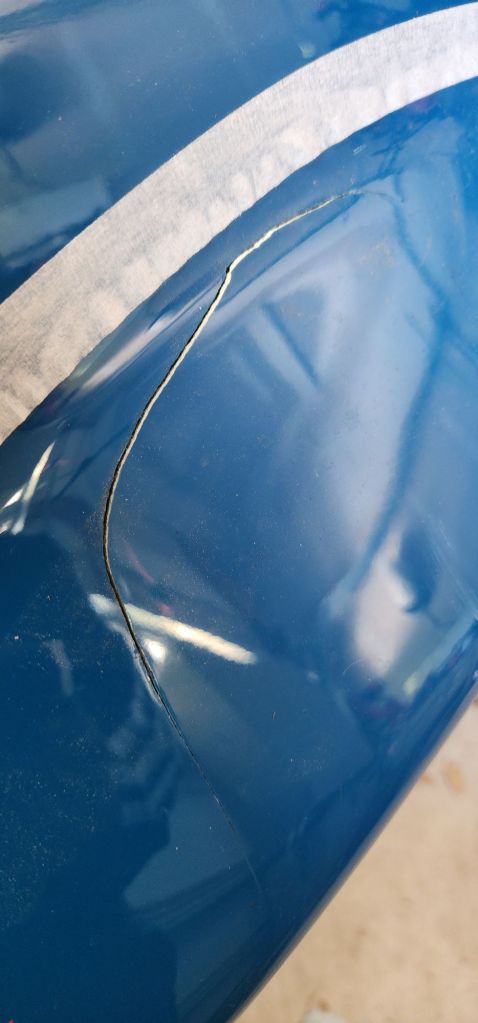
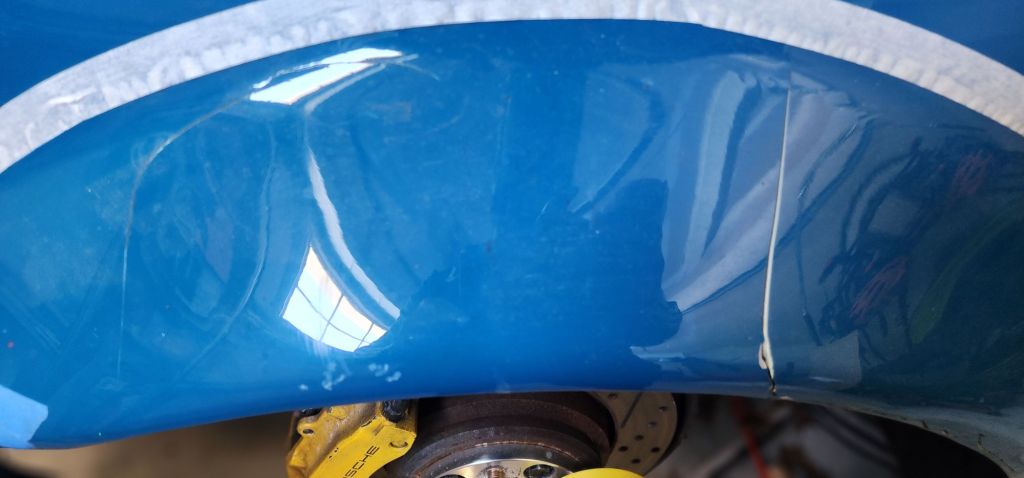
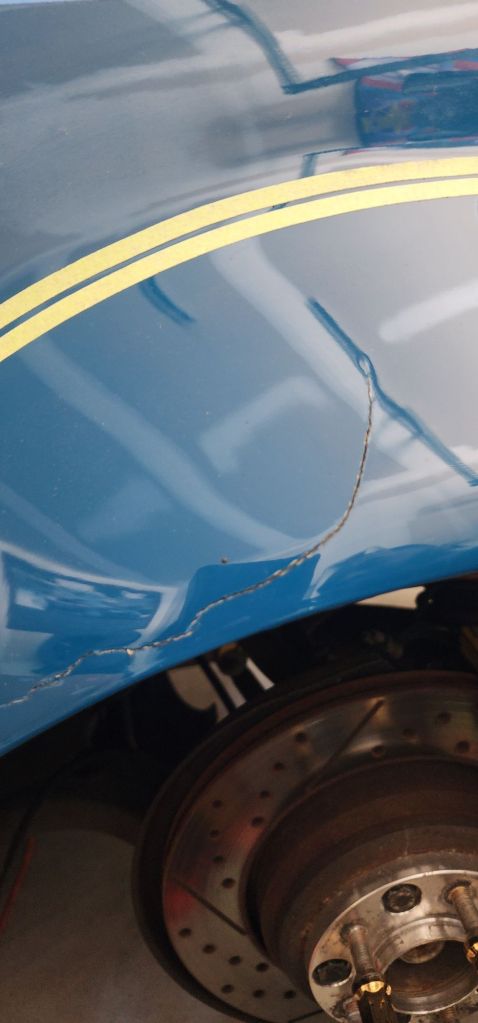
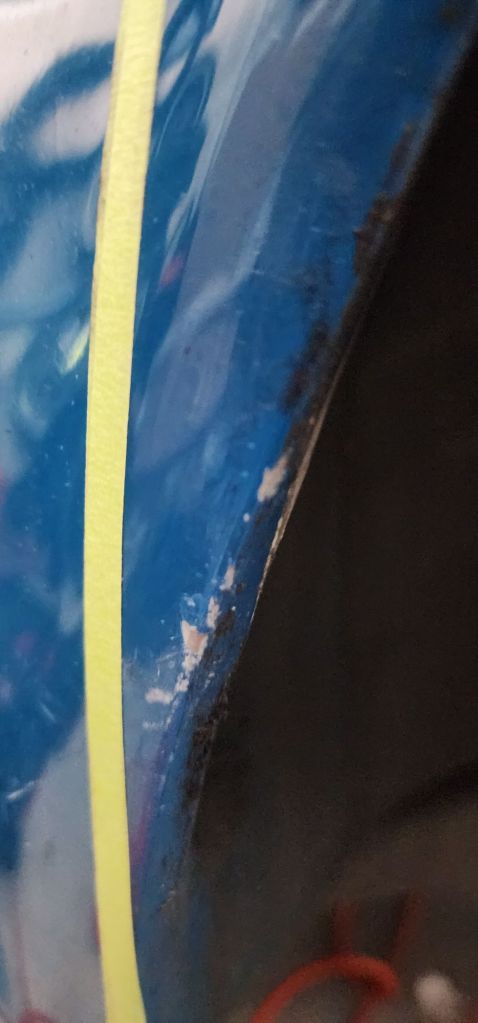
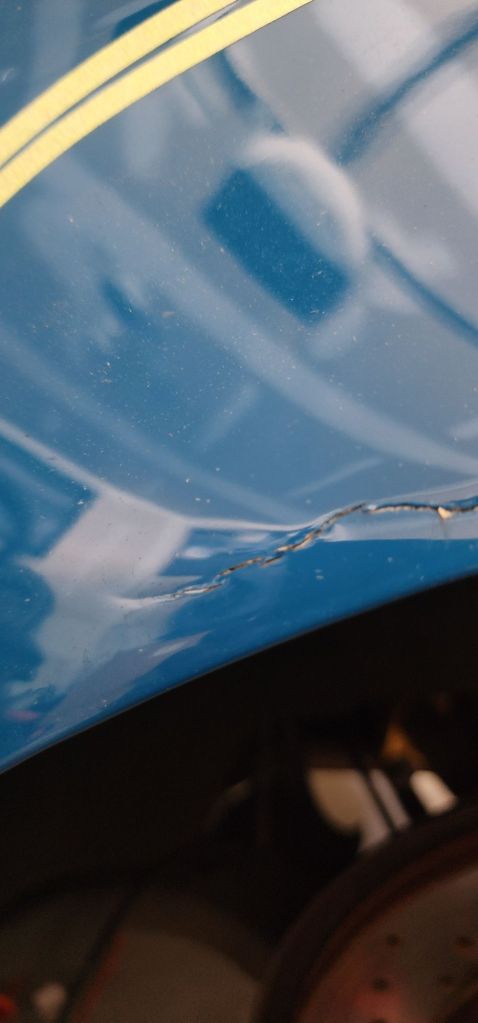
After marking off the cut area I got stuck in. And I was shocked at how thick the body filter was.
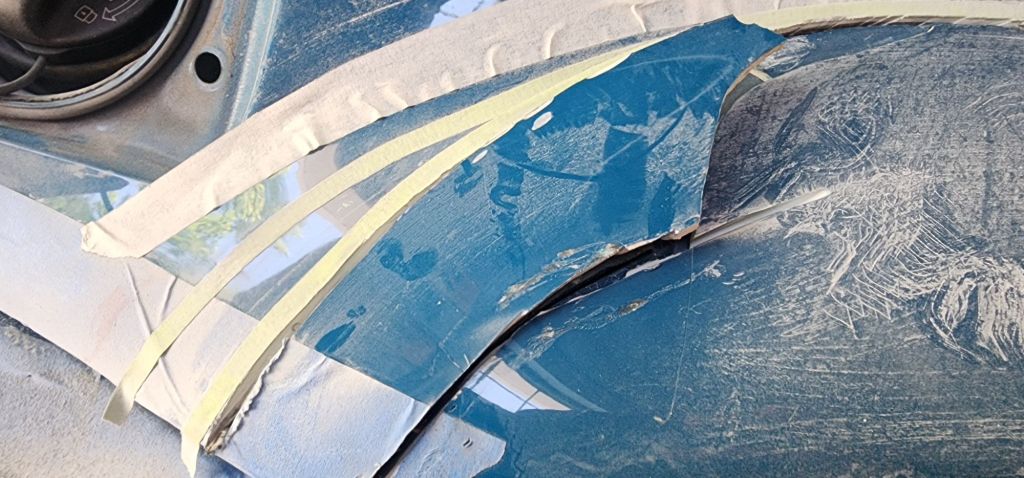
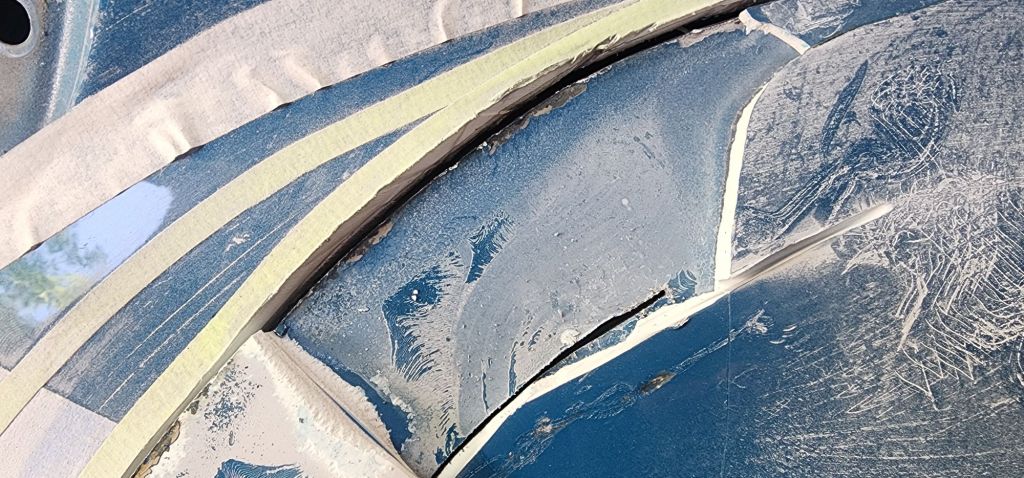
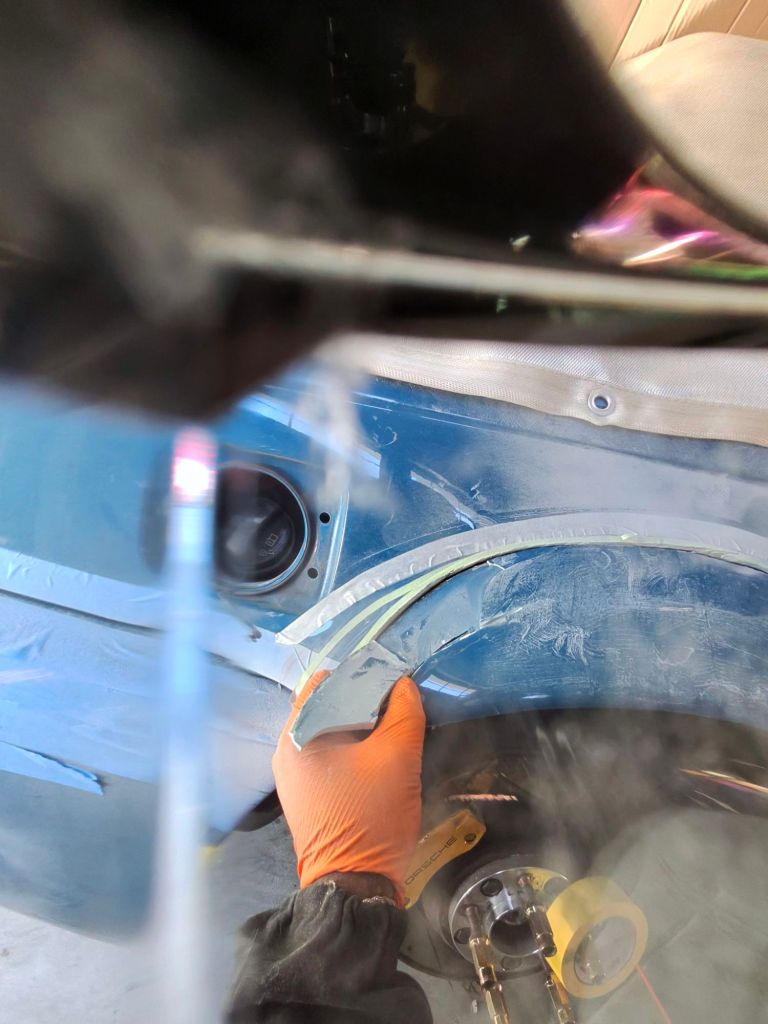
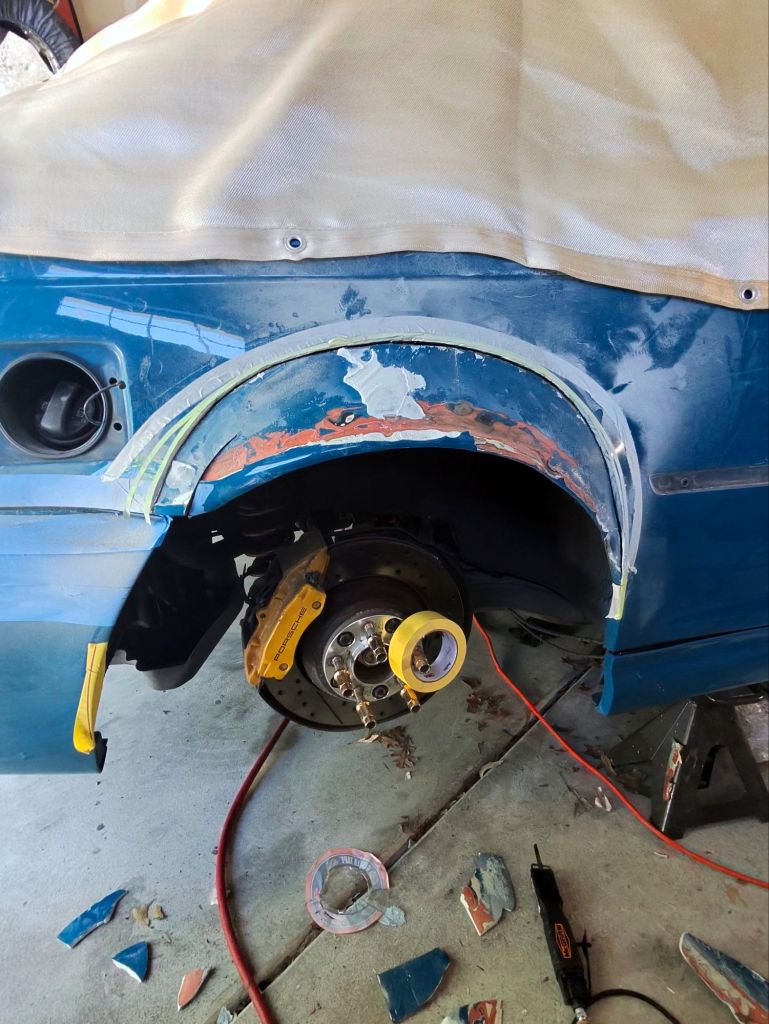
I still can’t believe dude didn’t even sand down the paint. He just slung filler. Then called me to come get it.
I thought I took video of me welding but I can’t find it.
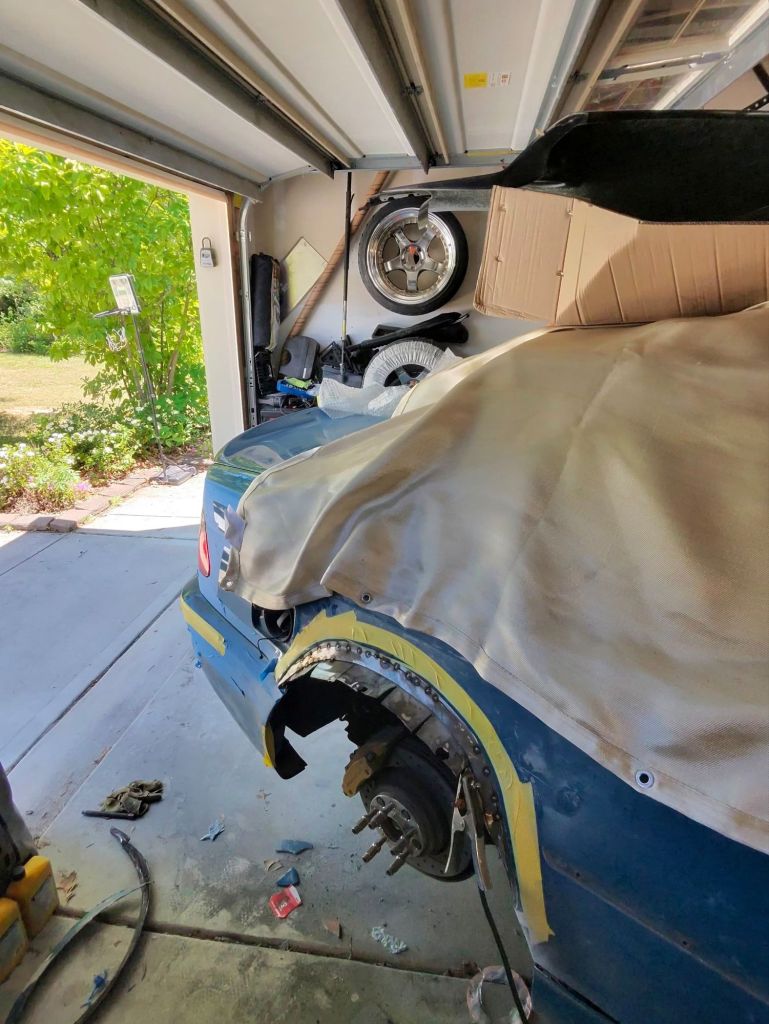
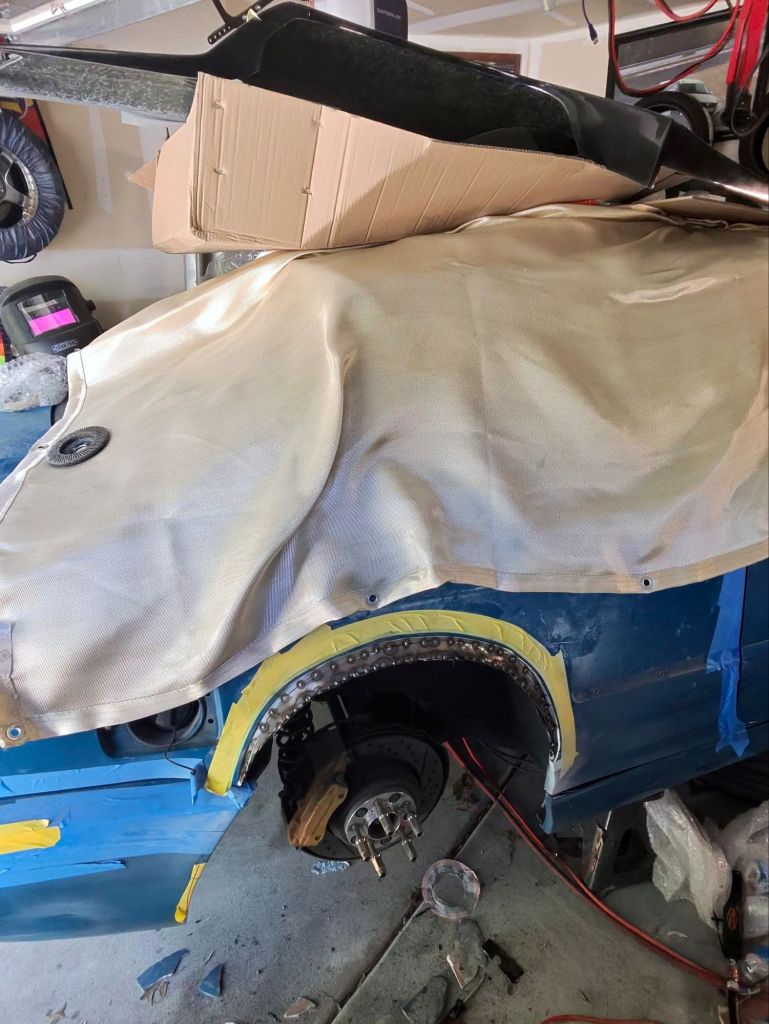
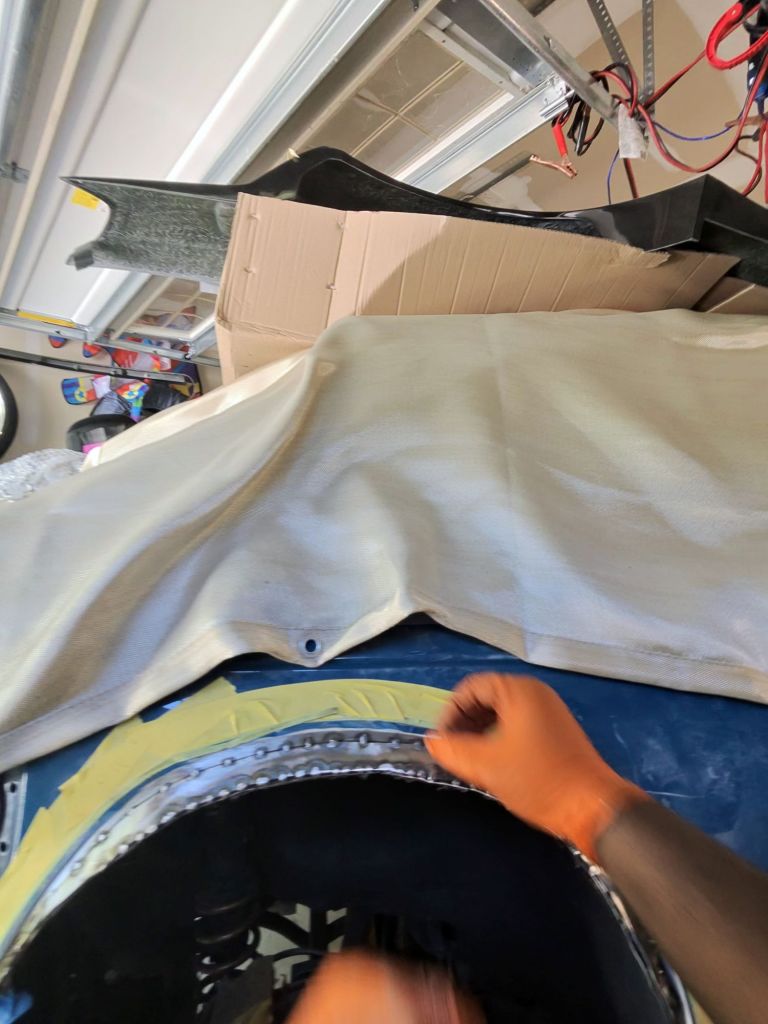
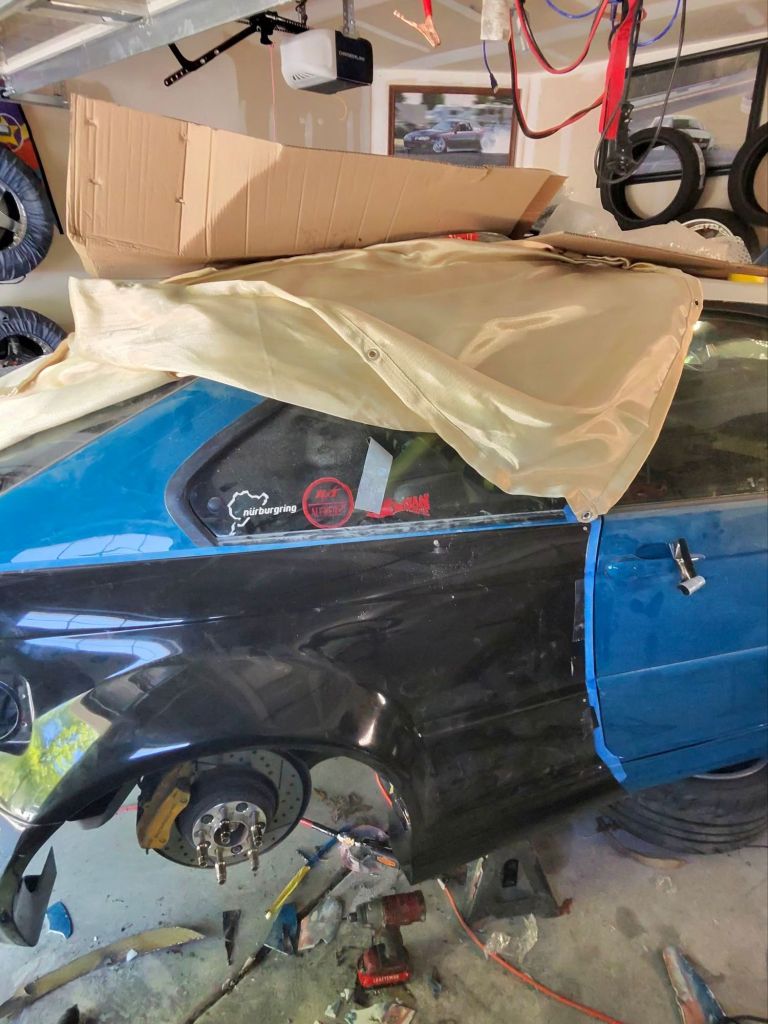
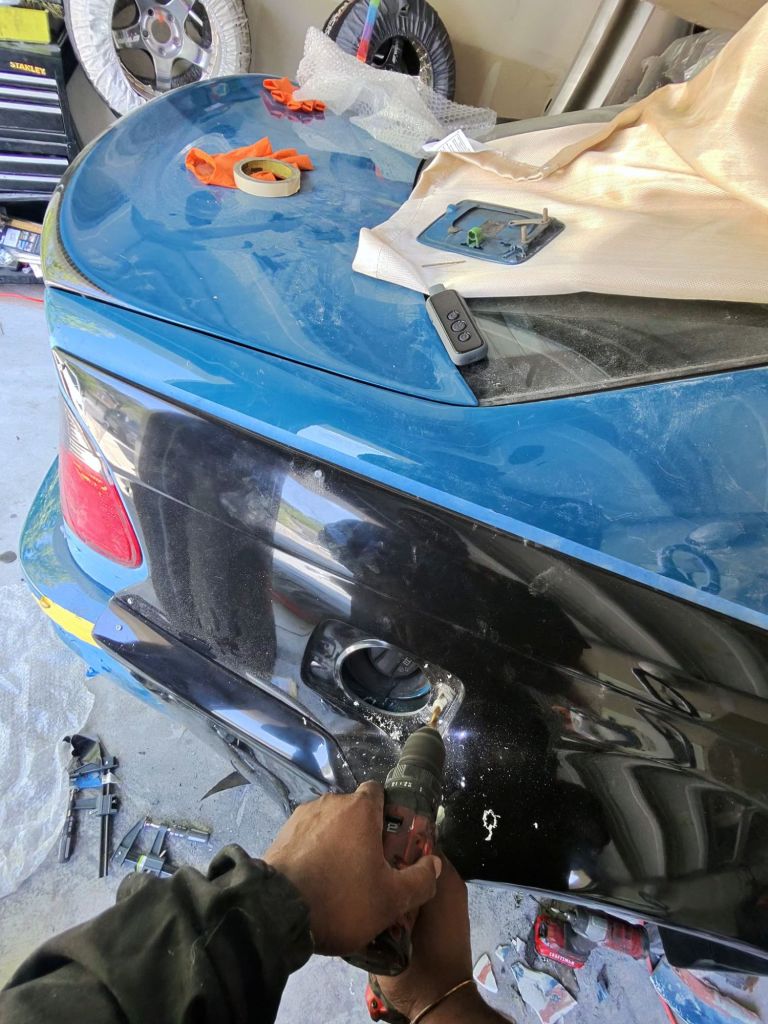
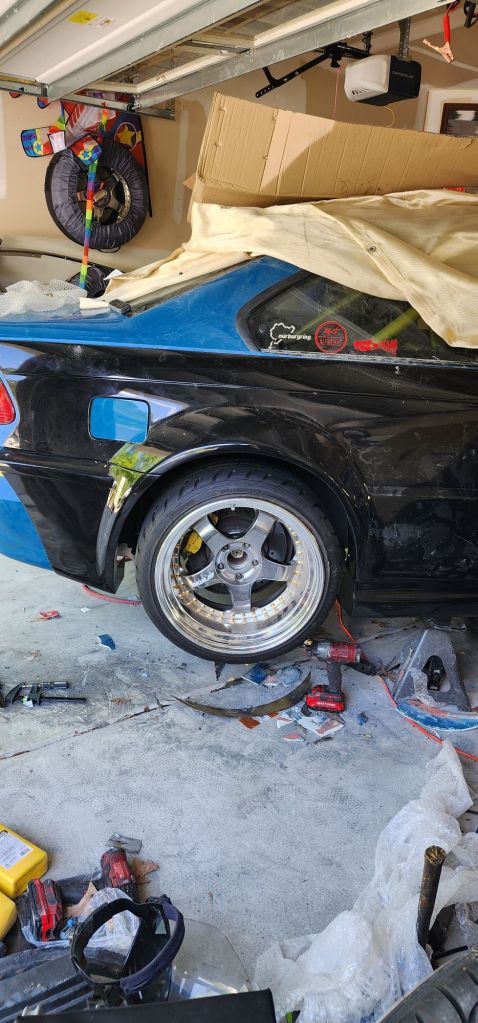
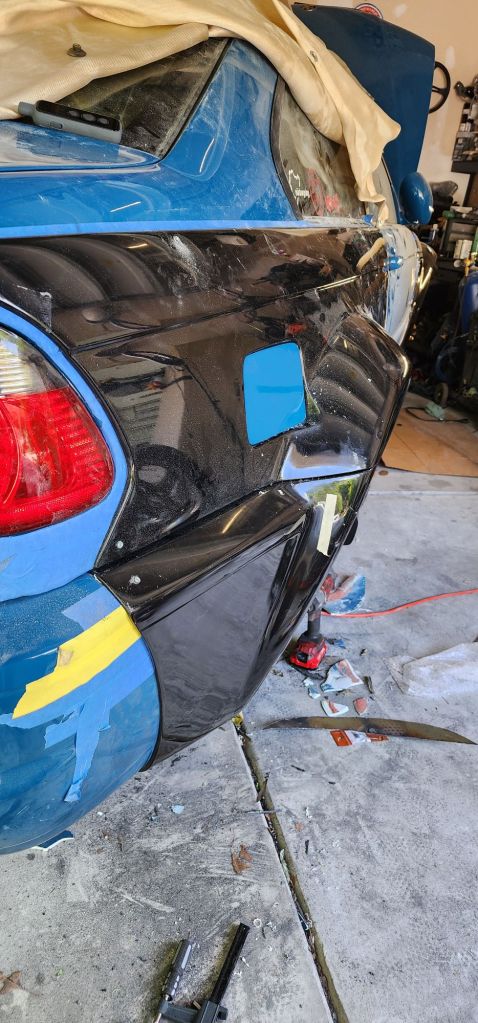
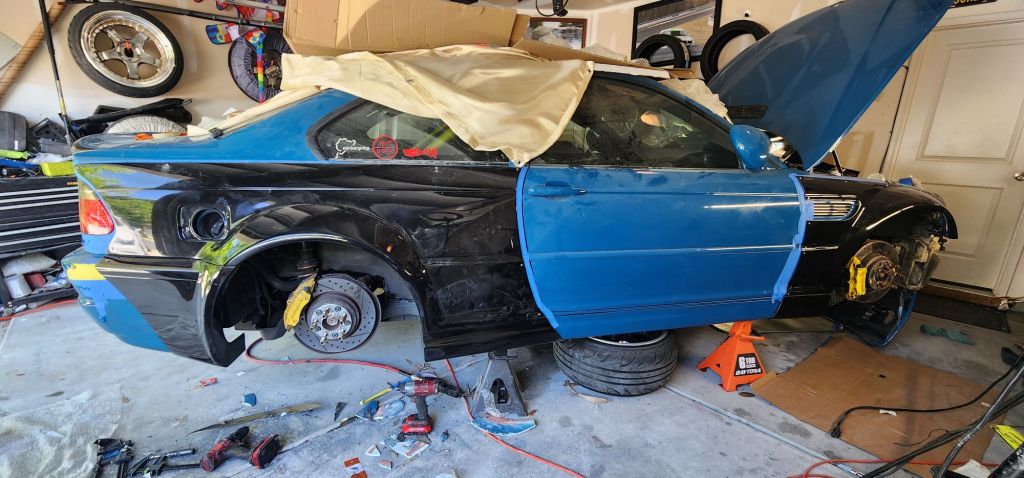
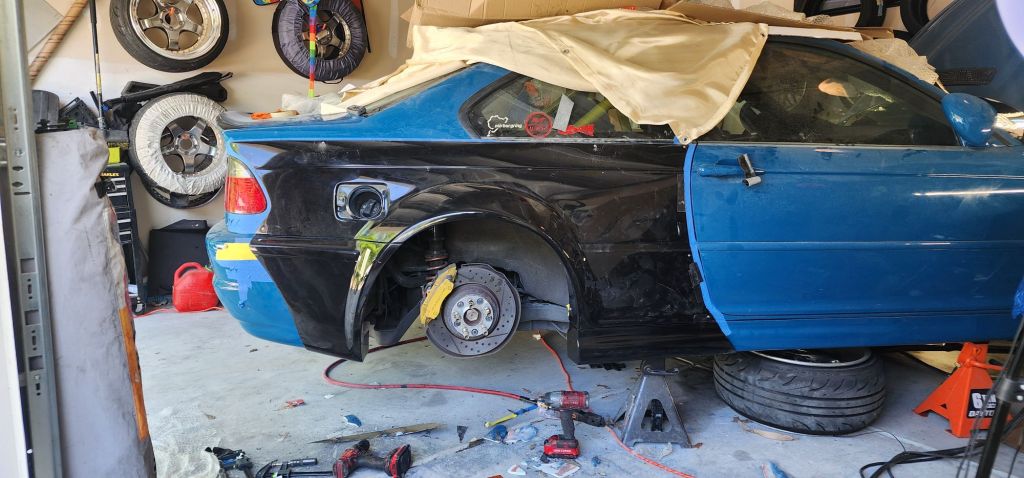
Drivers quarter left to do them the front bumper caps and I’ll start sealing up the quarters and installing the well nuts. Rivnuts rarely seat properly and tend to spin in body work.
Musk ///M Pt. 3
I’ve been beating around the bush with cutting into the car. I keep reminding myself it’s just a car and my mileage and mods exempted this one from being worth the crazy prices they are going for.
I Welded the tabs for the front fenders that broke and got them back into position. Test fitted the front overs for the 60th time then finally cut and drilled.
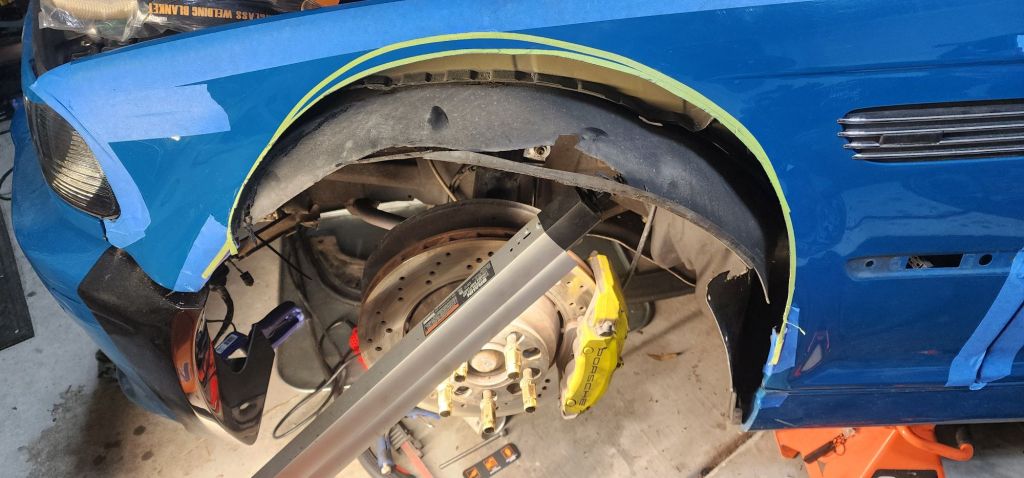
Once all the screws were in place I was surprised with how firm the centers were.
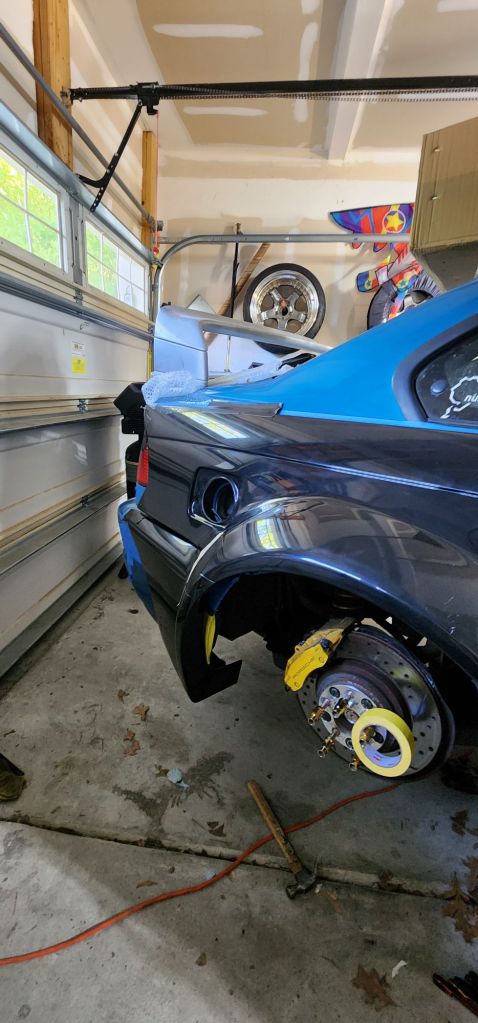
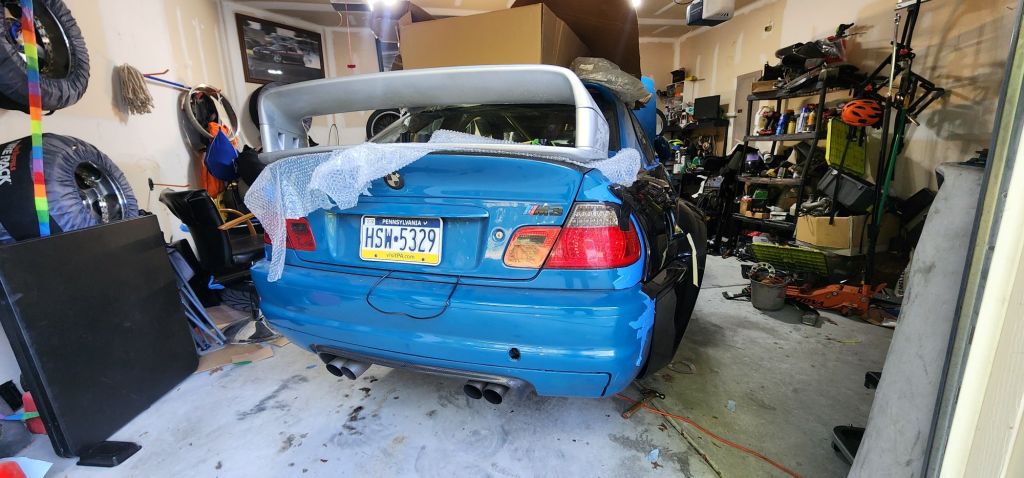
I also mocked up my old LTW wing from my E36. It will be going on my stock metal trunk and I’ll swap between it and the Vorsteiner.
Musk ///M Pt. 2
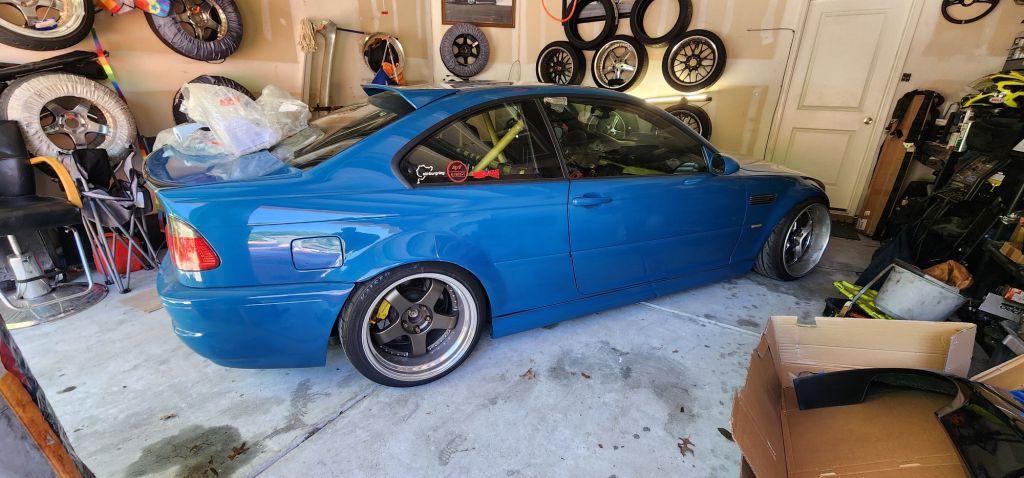
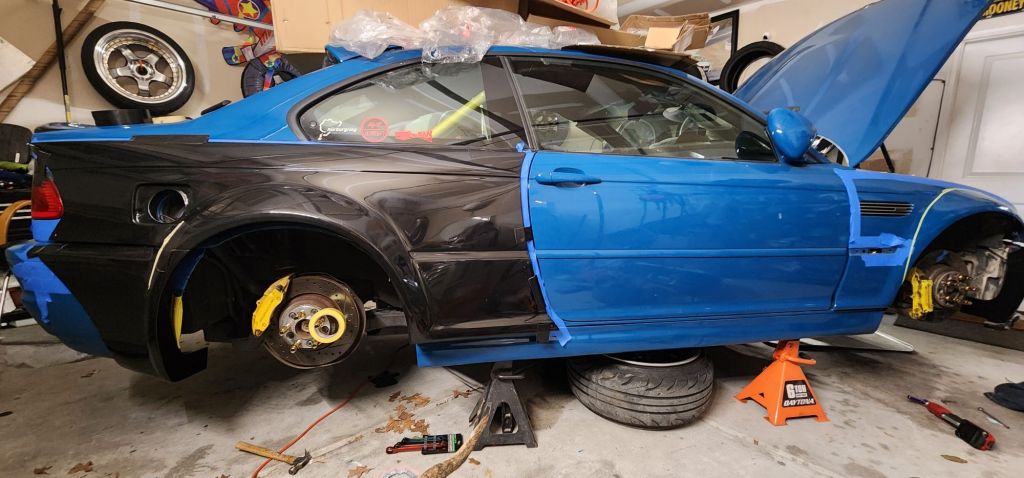
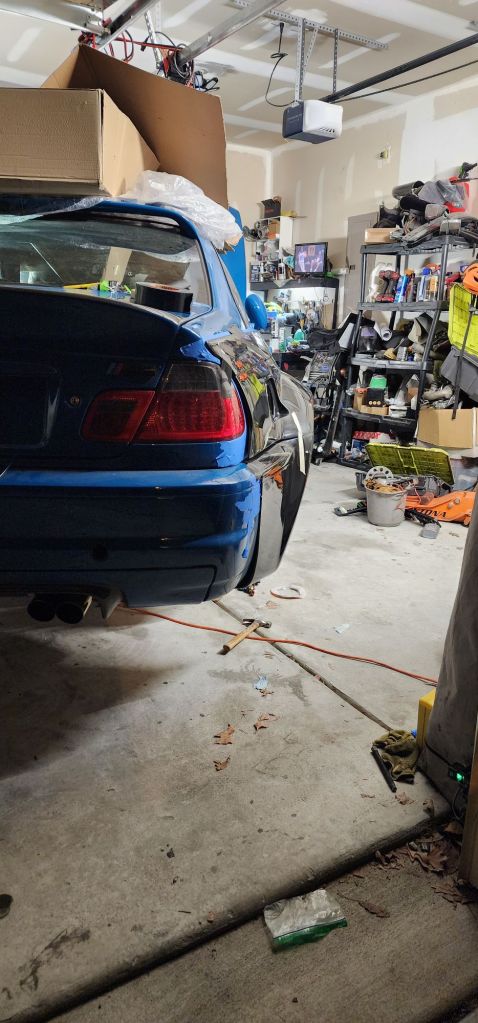
Got the car in the air. Found some broken tabs on the front fenders that will need Welded. Mapped out the cut lines and test fit the passenger side quarter around the gas cap.
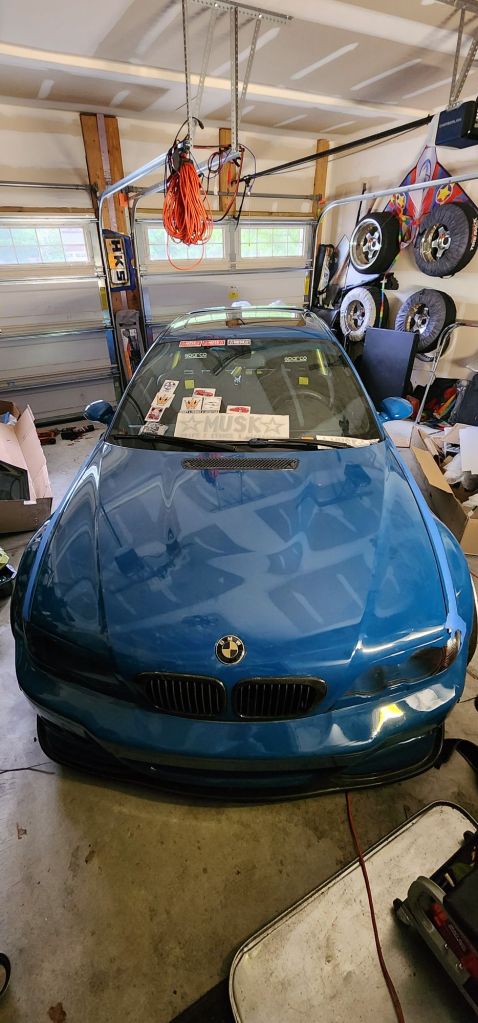
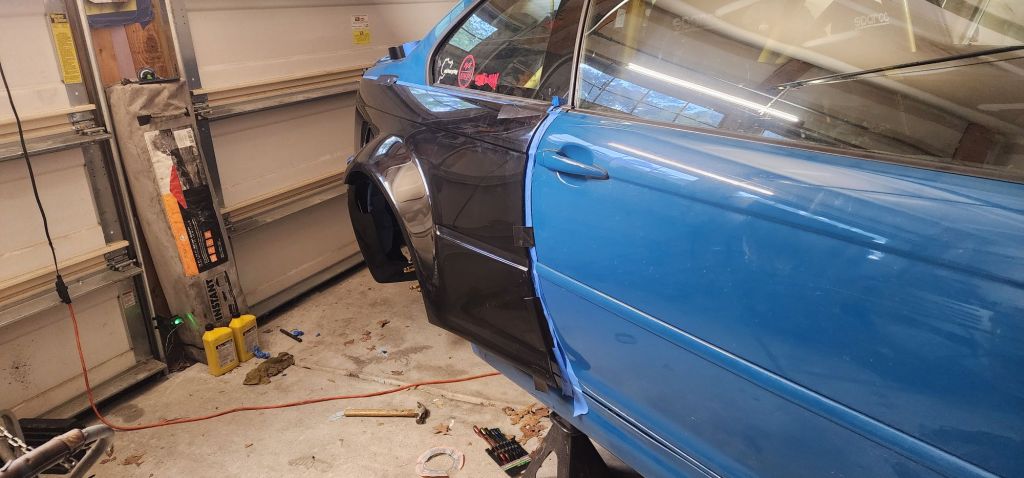
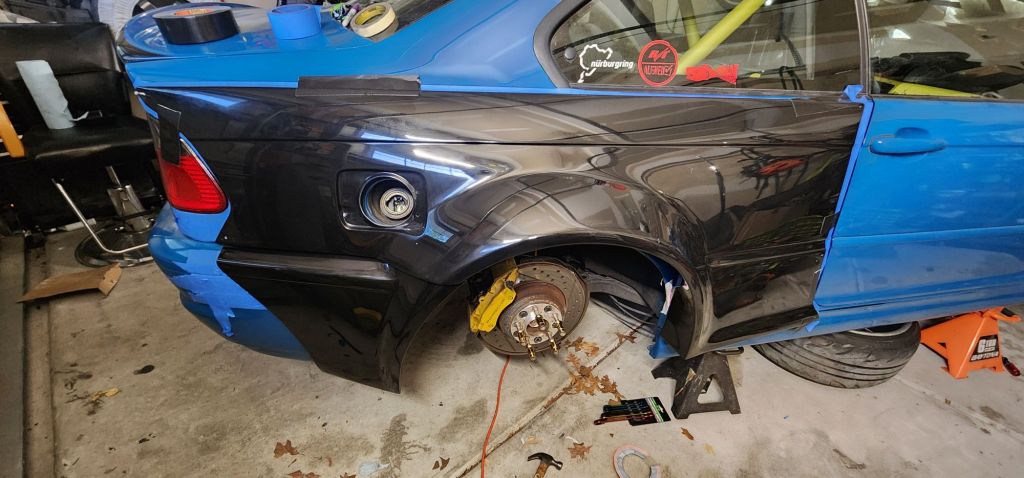
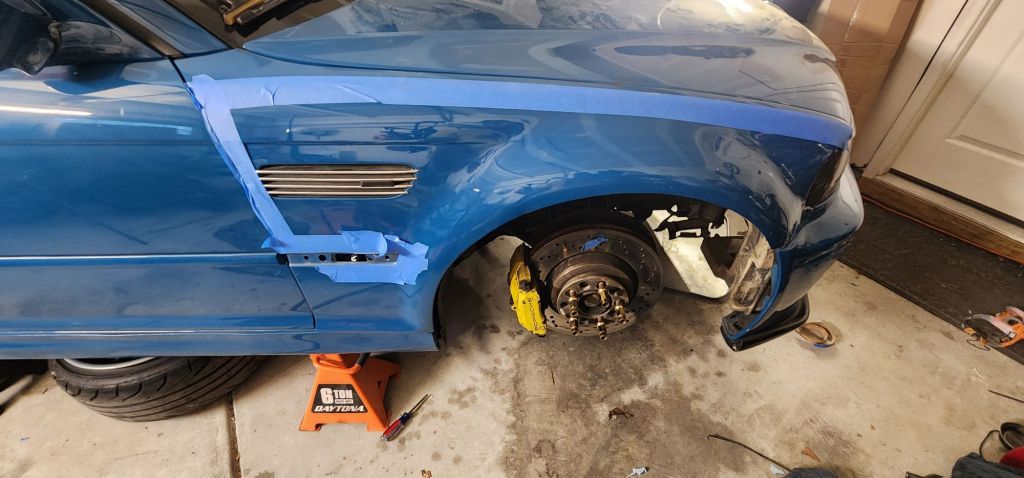
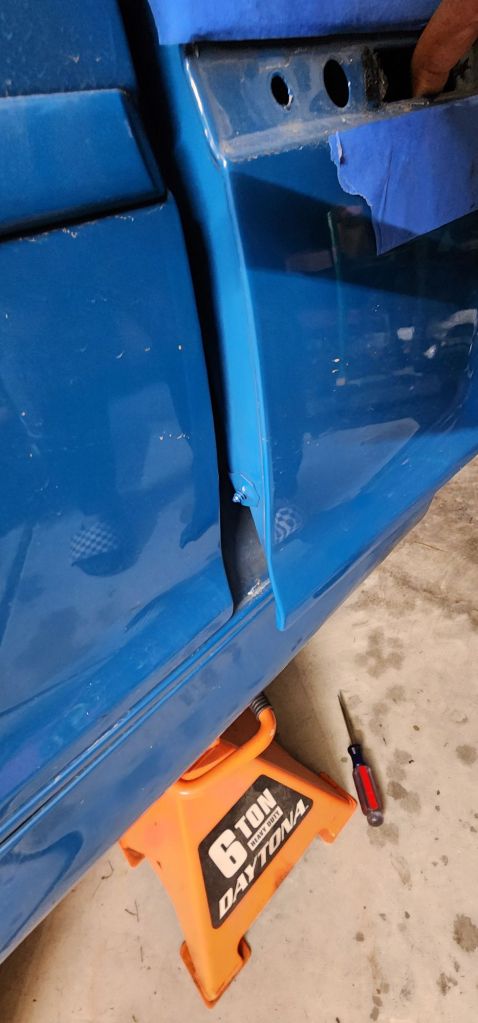
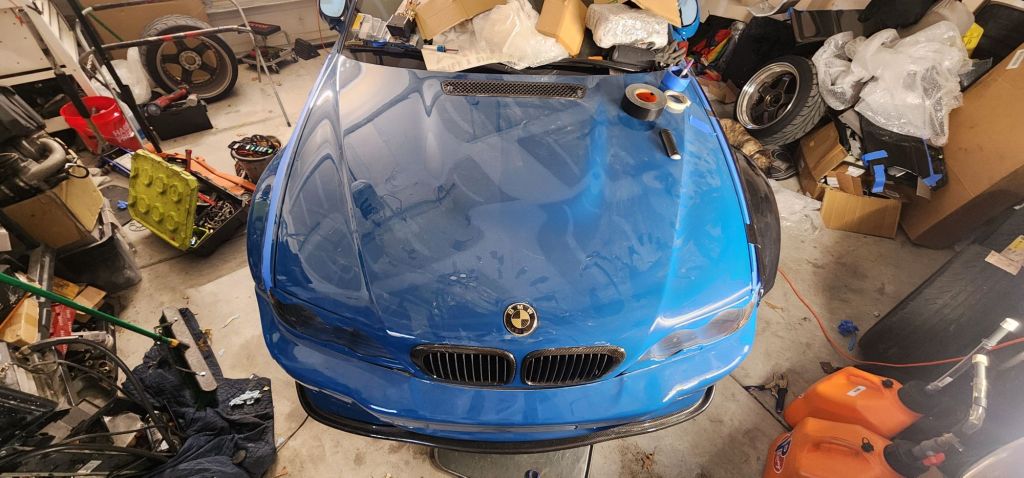
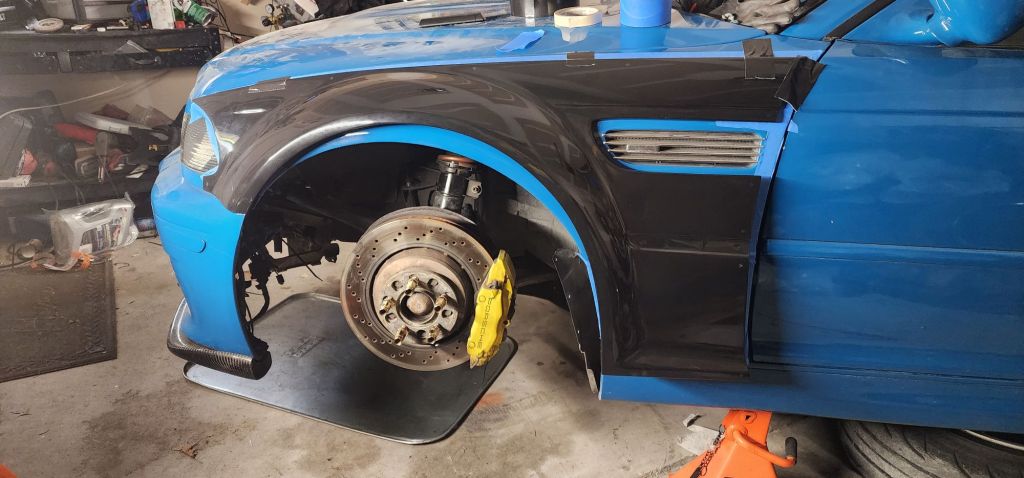
Musk ///M Pt.1
After taking my car all the way to Baltimore twice for paint and body work and getting quarters full of bondo, I finally made the plunge and bought a Musk kit despite it being 2x the cost it was when I first inquired 10 years ago. I plan on installing and painting the aero myself so I don’t need to use a body shop again.
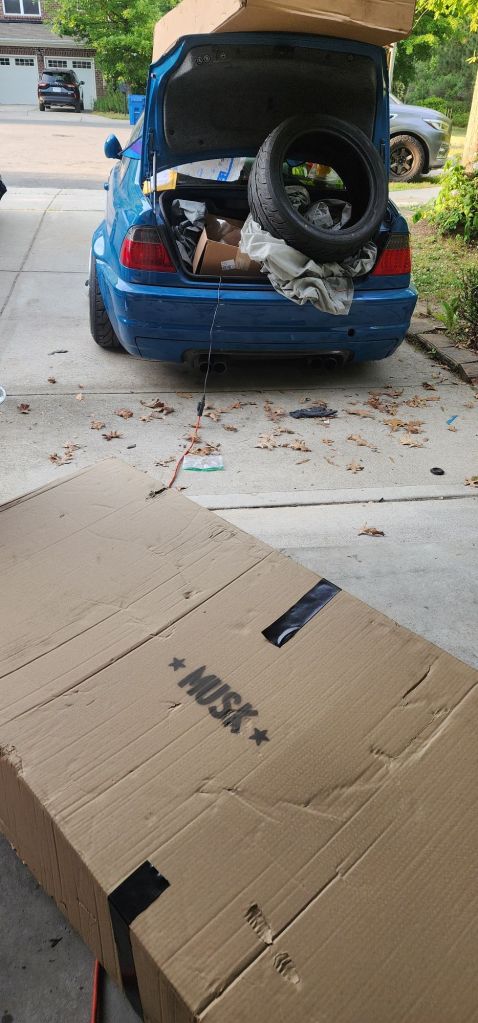
After a weeks vacation I found some motivation to get cracking. I’ve had the kit for about 6 months but too much has been going on and when it wasn’t I lacked motivation for the first time in my life.
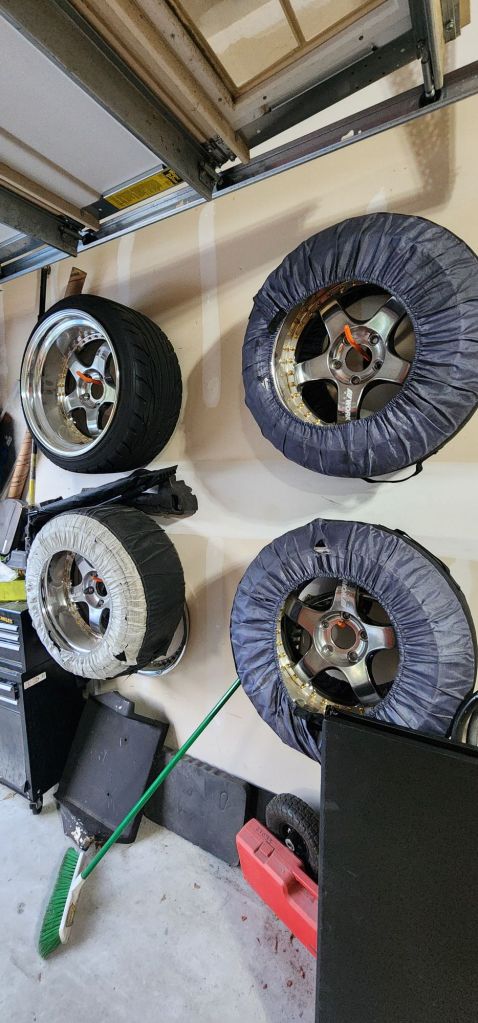
The unused Meisters have been teasing me. Too big to fit even the pulled guards I have not been able to run my dream wheels on the car and I refuse to use them as drift spares.
But today I pulled the left side pieces out to formulate a plan.
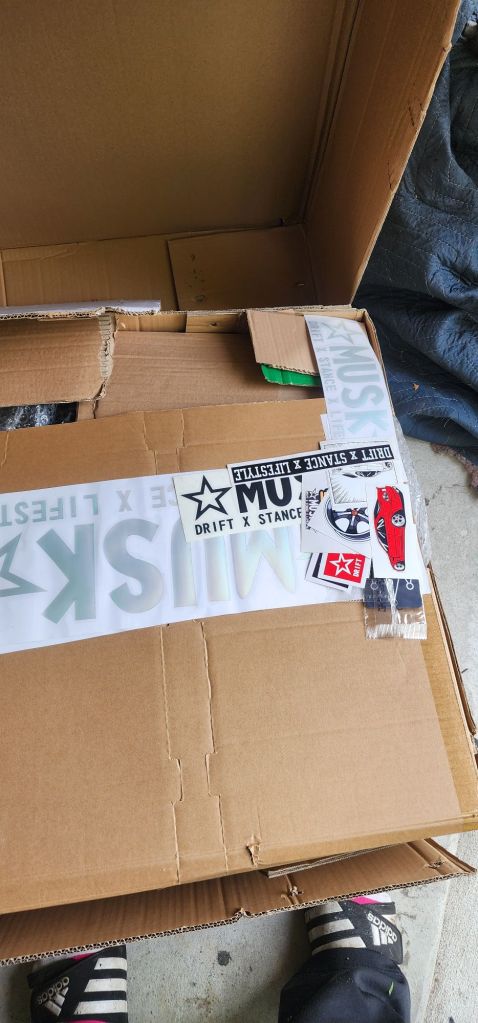
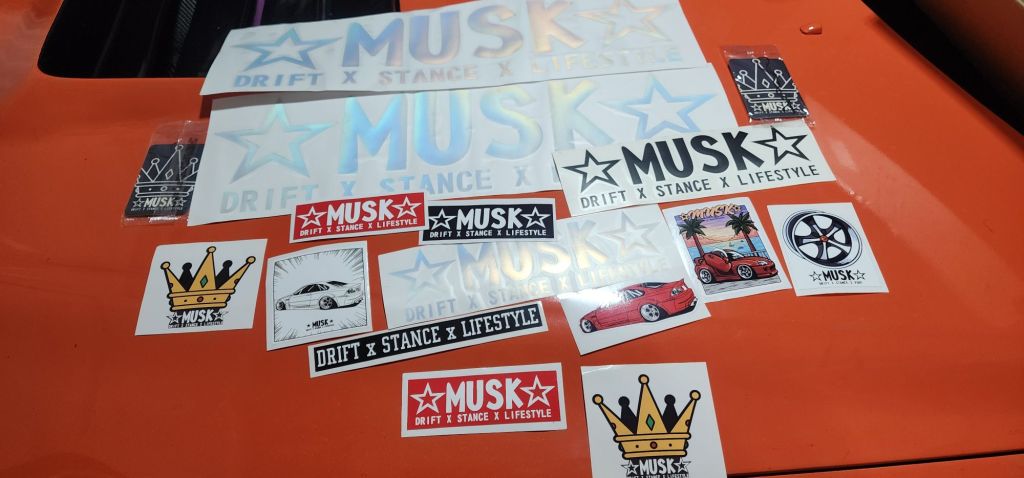
Musk included a bunch of heat stickers. I’m not sure if I’m going to run them as this car I’ve kept pretty plain. But obviously it’s taking a very different turn so we will see. Might have to let my freak flag fly on this one.
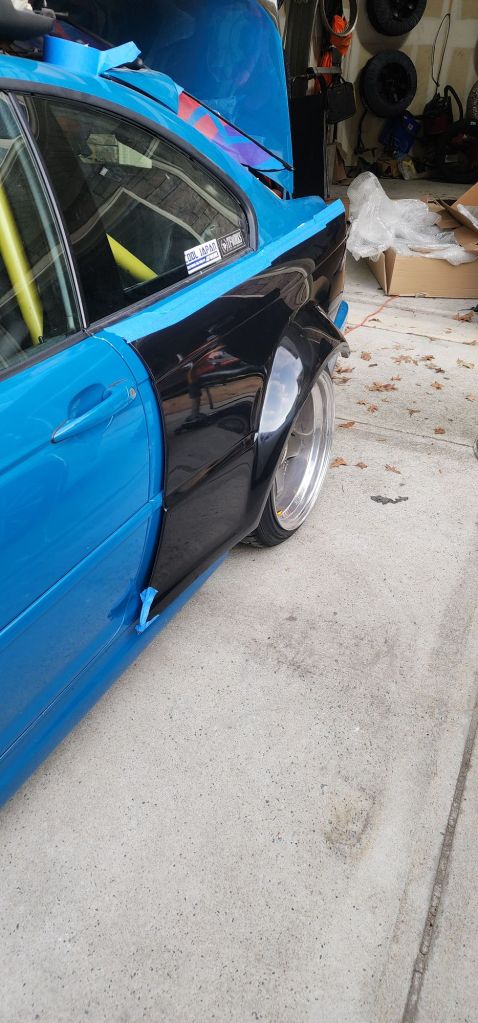
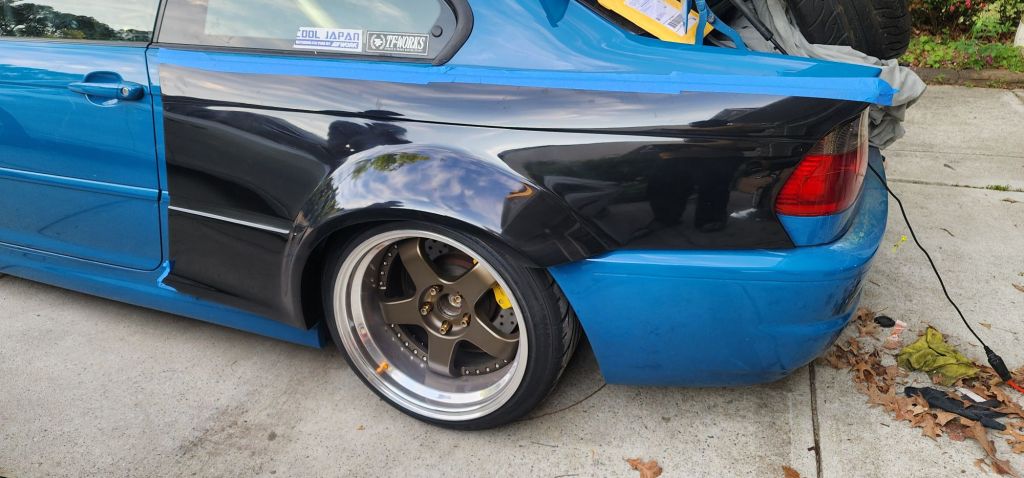
I tried the rear quarter first. Its a bit difficult to locate it exactly but the quality on these parts is great. I will need to pull the trim off then re-install over the overs. The fuel door has to come off on the other side then be installed on top of the over as well. The bumper extention part is pretty simple.
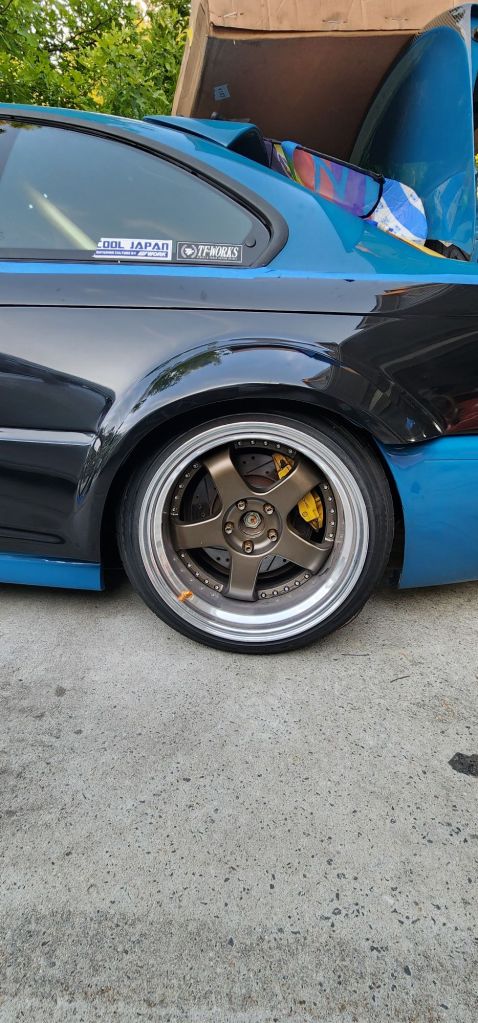
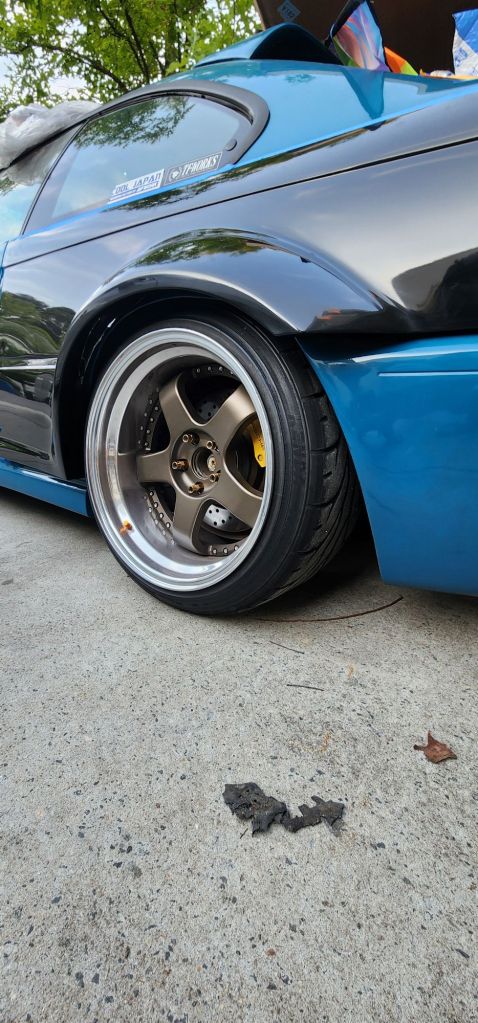
The rear is crazy wide but I’m surprised the front isn’t much wider than stock. I may even have trouble fitting the wheels. The arch is much higher than stock so I’m going to have to be a lot lower. The flare is pretty much level with the hood.
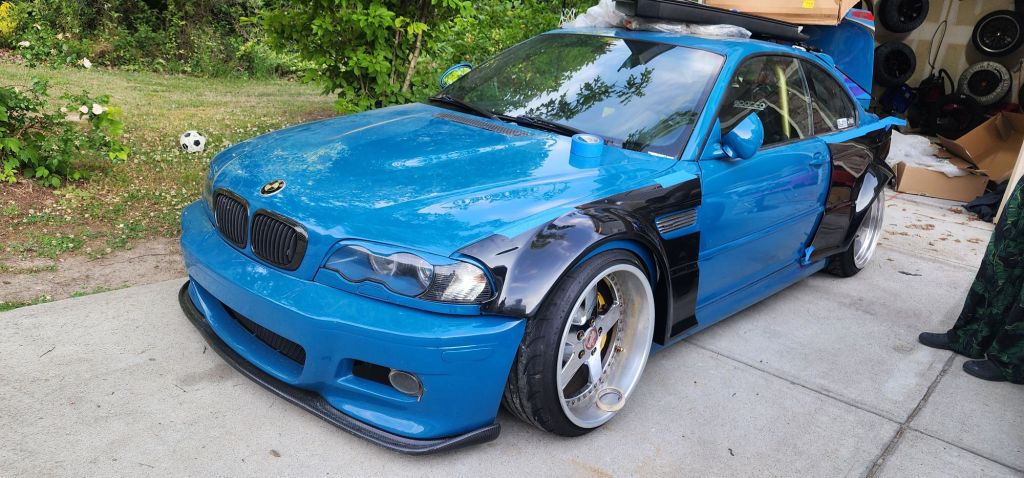
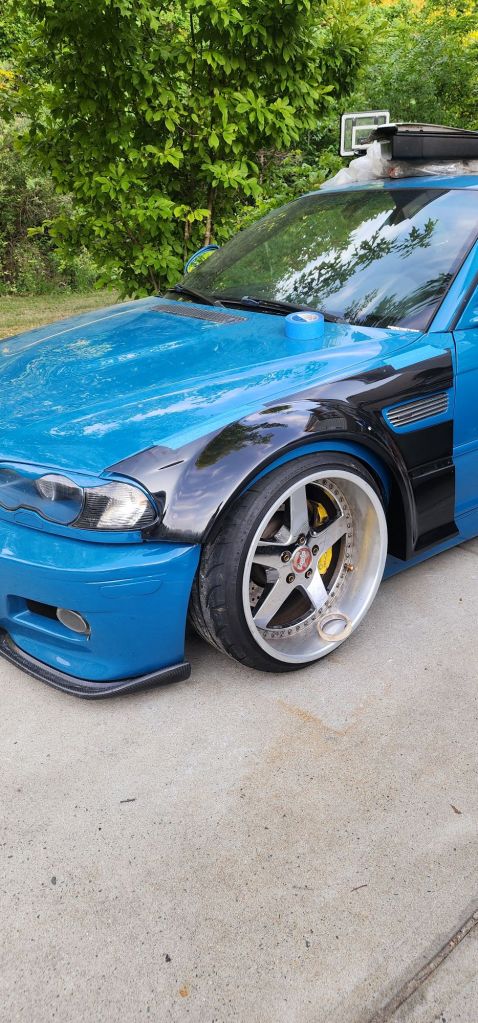
I will need to pull the bumper so I can take the lip off to fit the front bumper extentions. The moldings will need to come off as well. The reflector deletes were glued in unfortunately so I expect paint to come off if I pull them, but I don’t really want to mold deletes, but I also don’t want to cut the bumper pieces to fit around them.
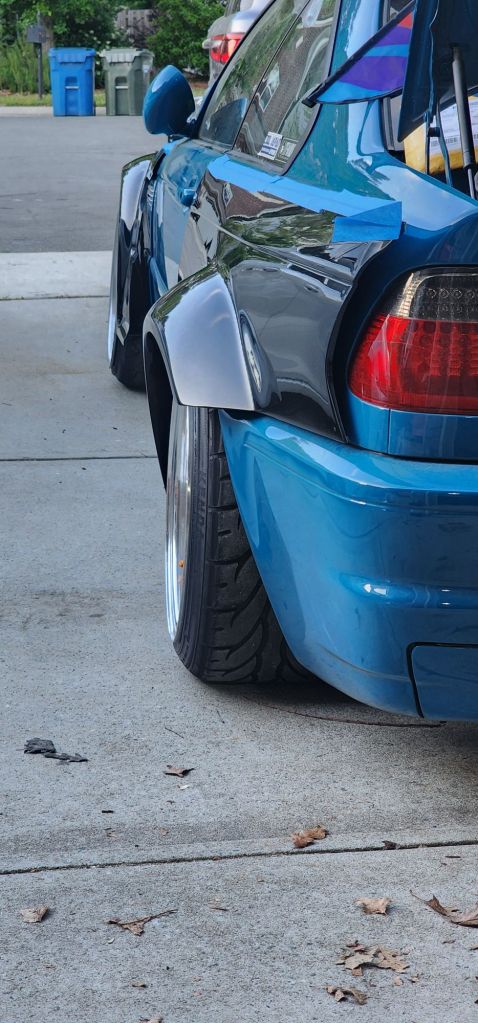
Next move is pulling the molding and locating exactly where the fenders will sit so I can mark the areas to cut.
Re-blackout…
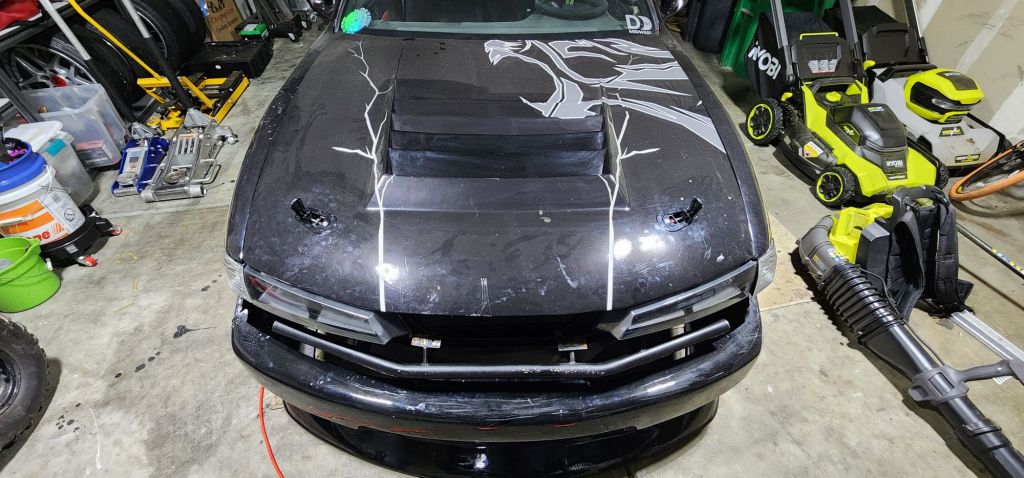
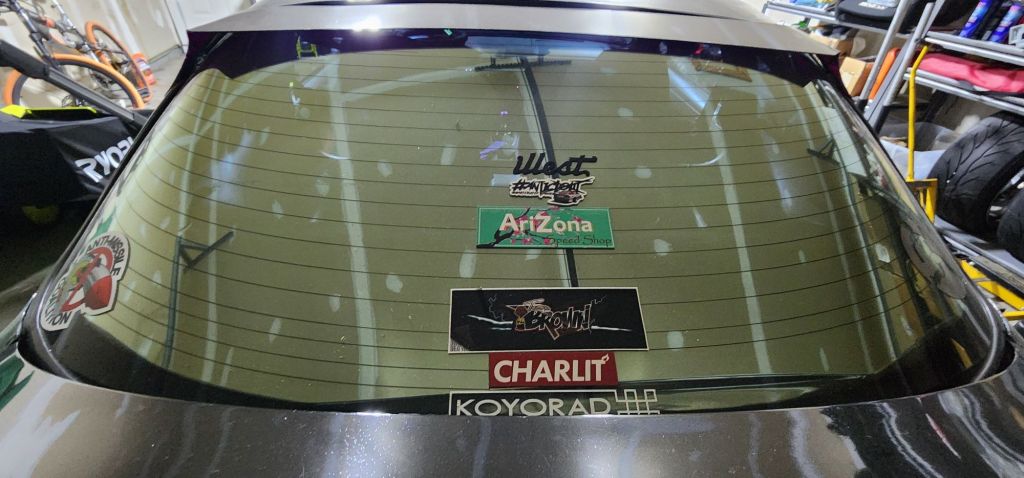
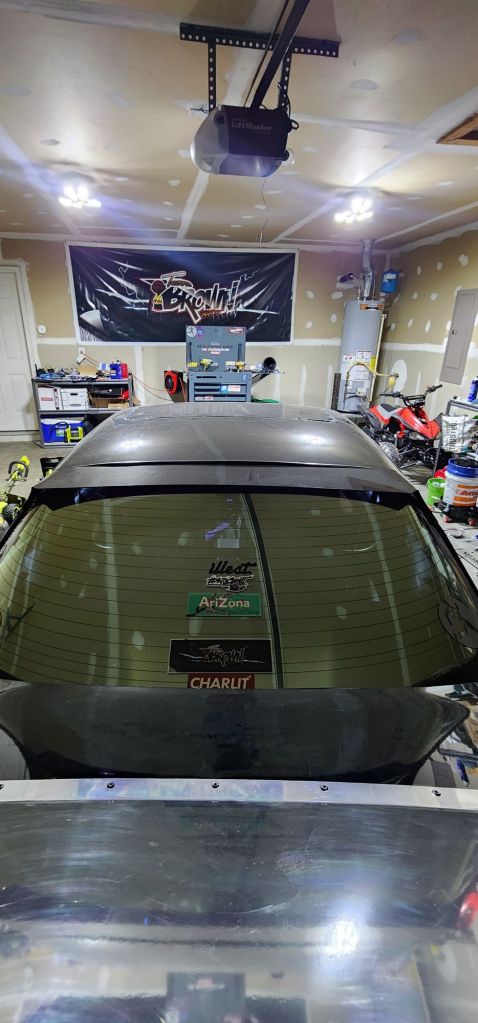
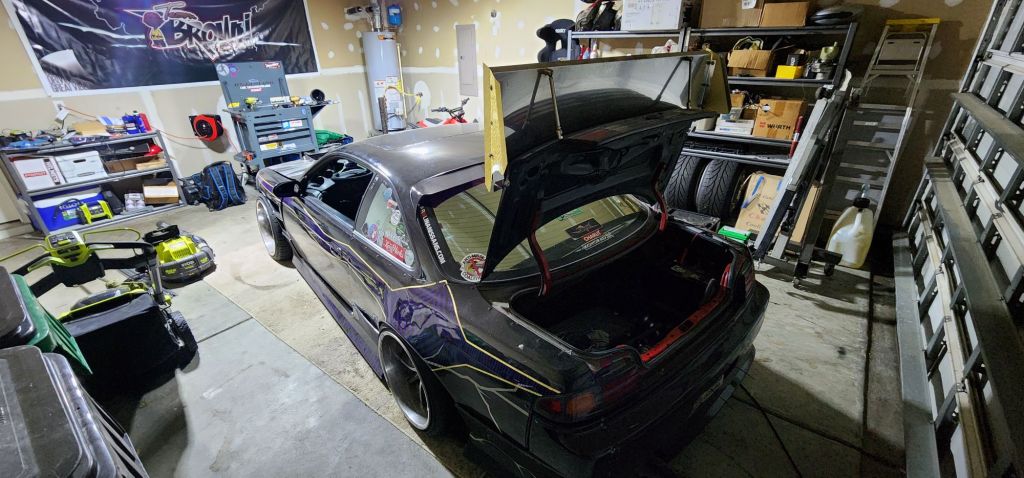
The vinyl on the truck started lifting after I went through a car wash. So I bought an aluminum kit that I think they use for factory options.
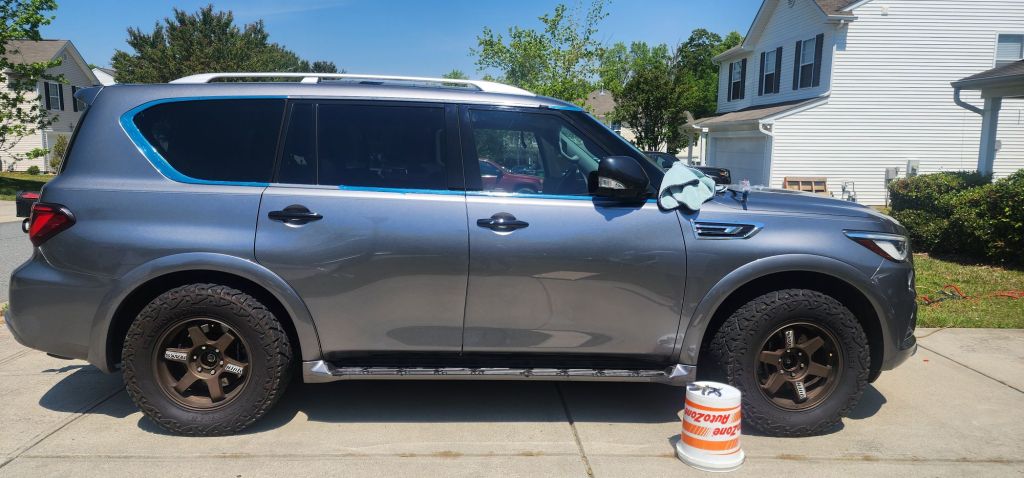
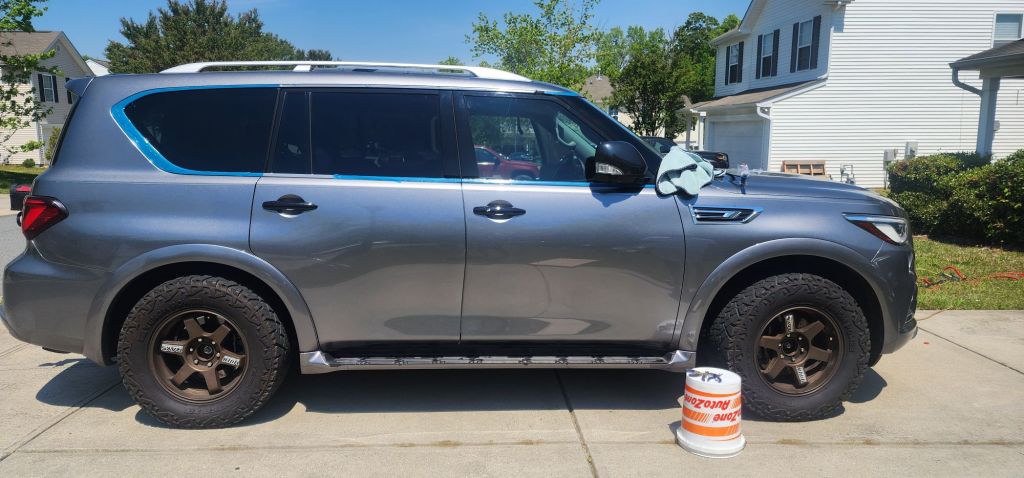
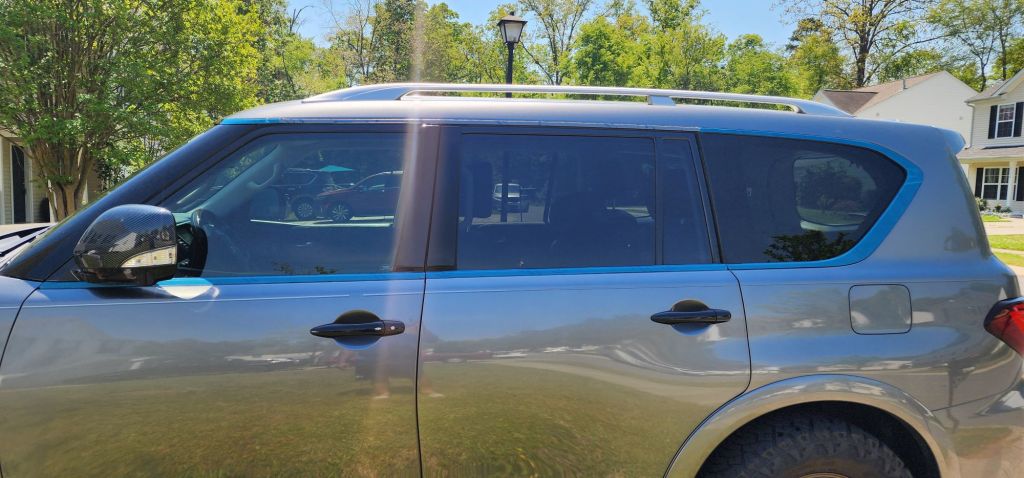
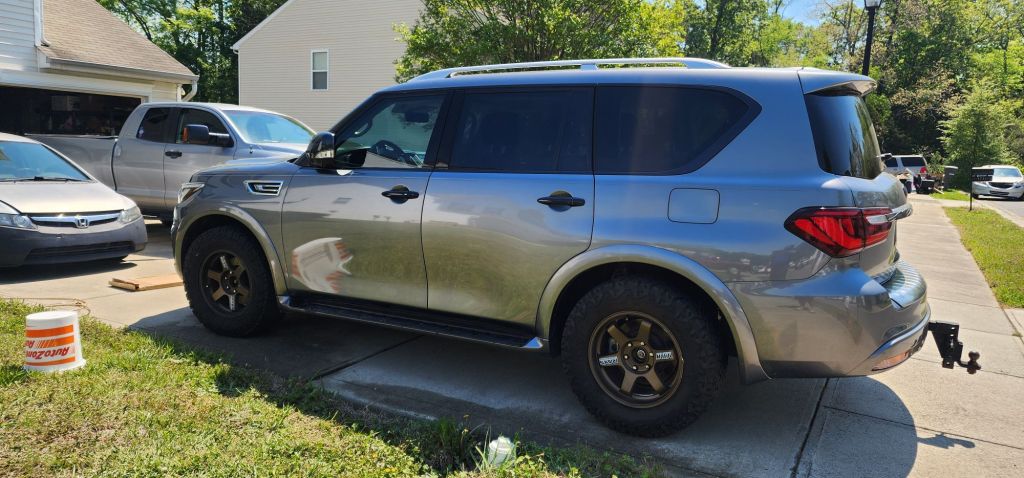
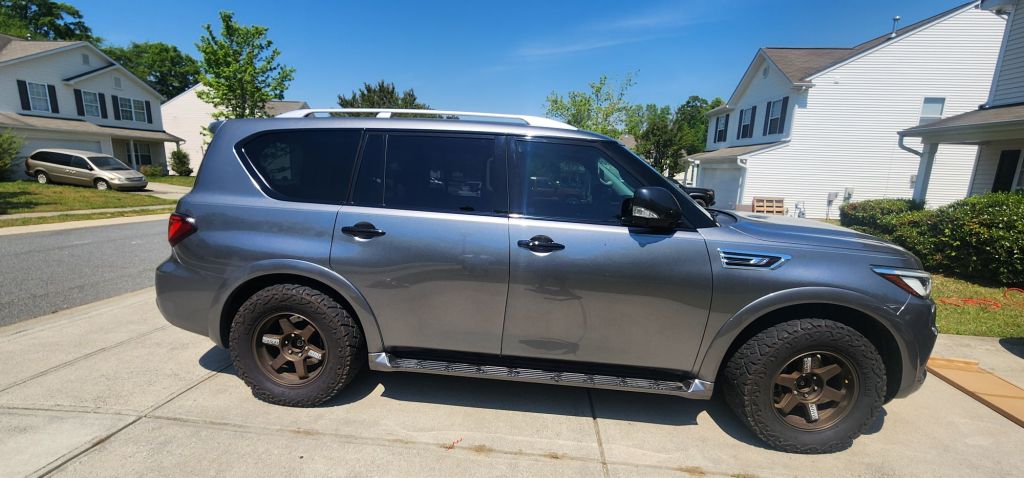
I did this while visiting the homie Ryan for the weekend.
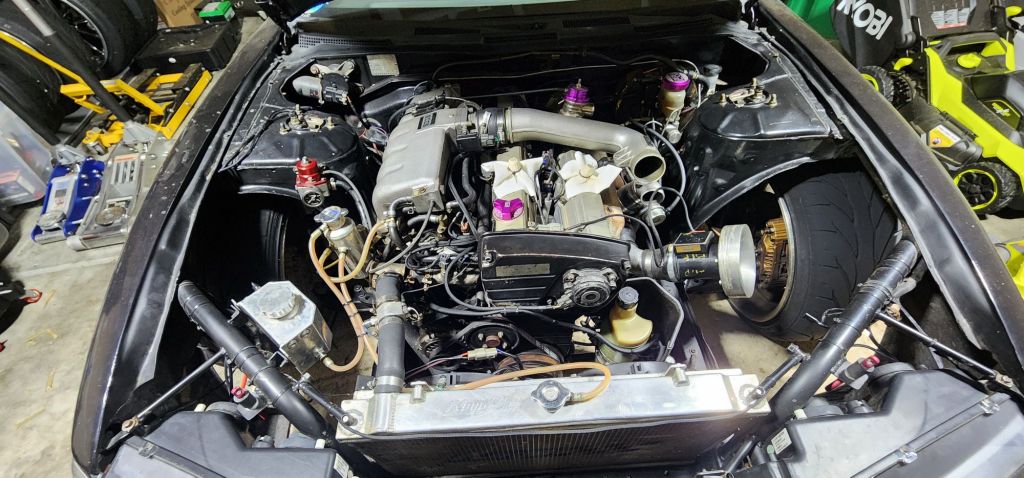
Taking a break…
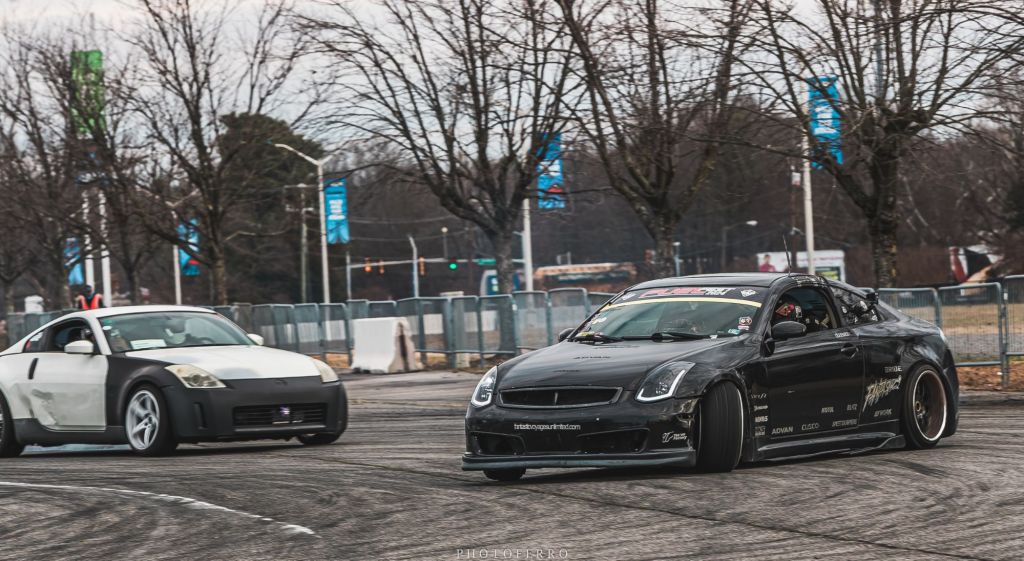
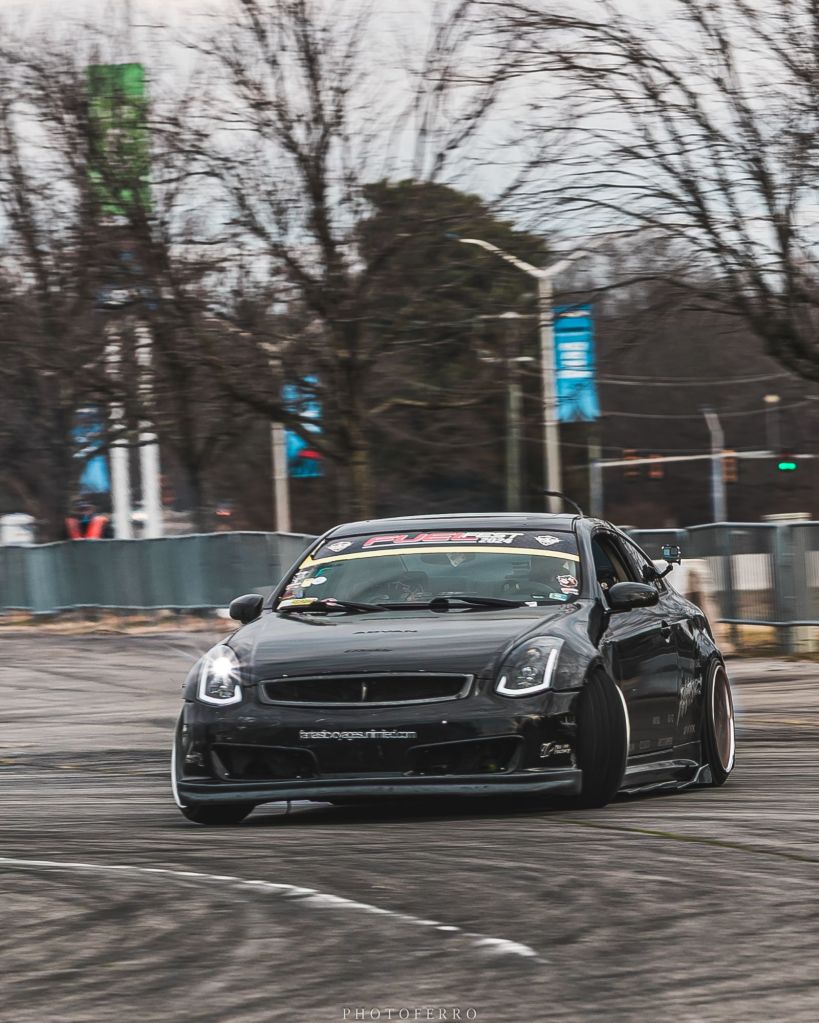
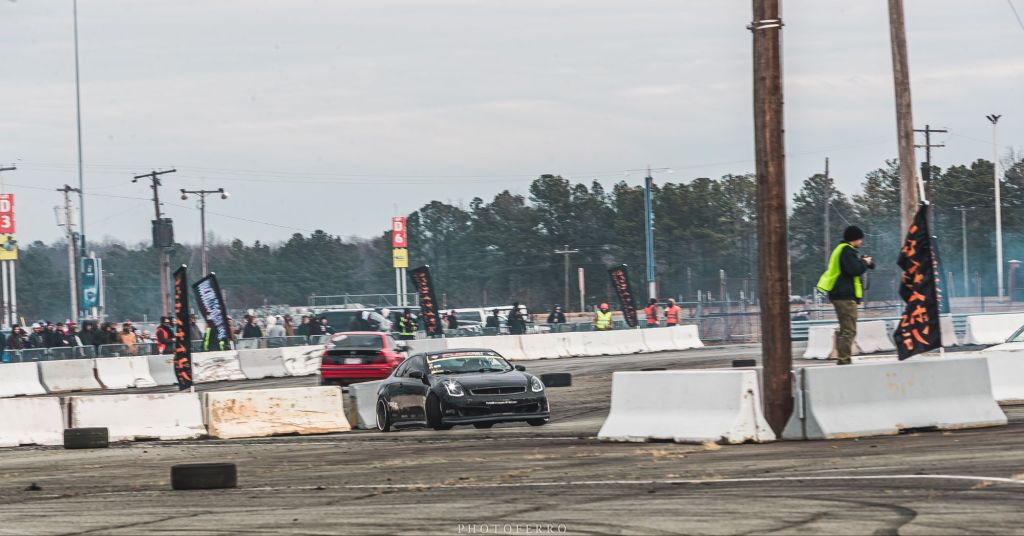
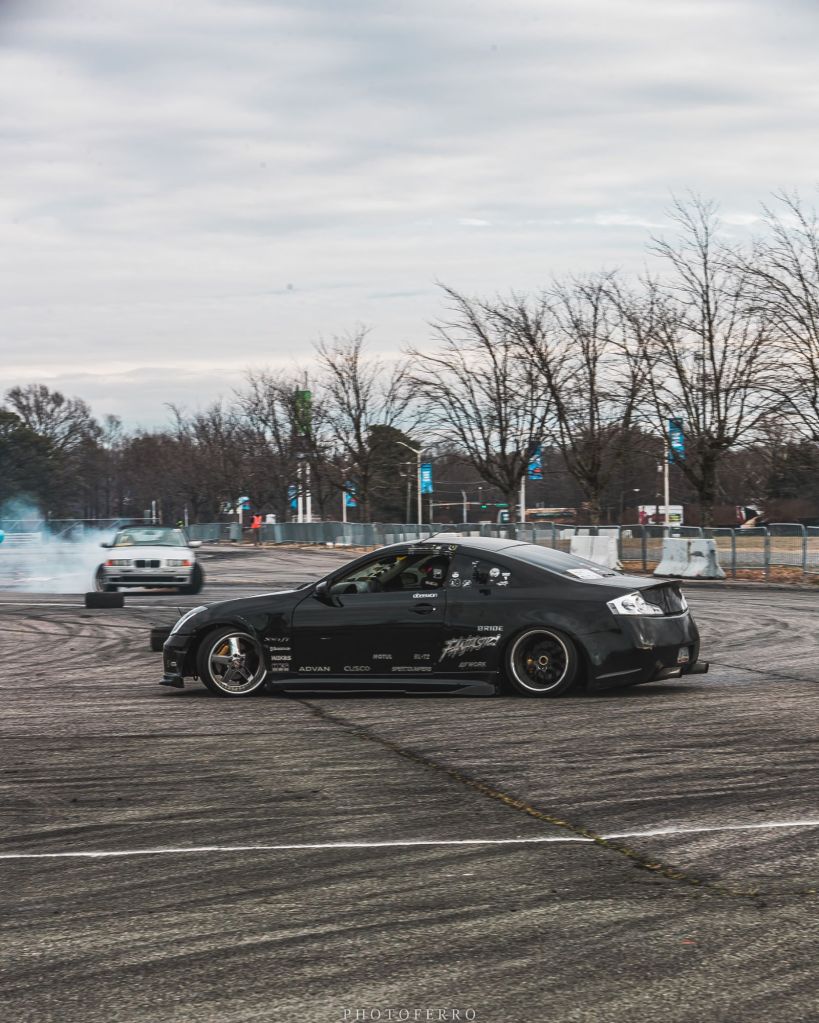
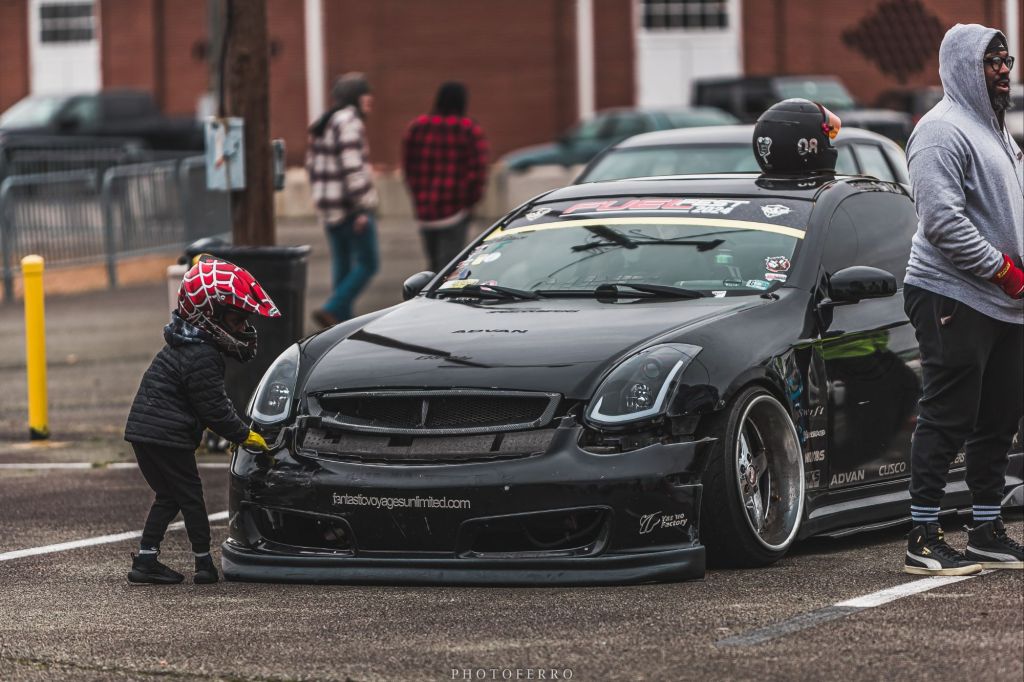
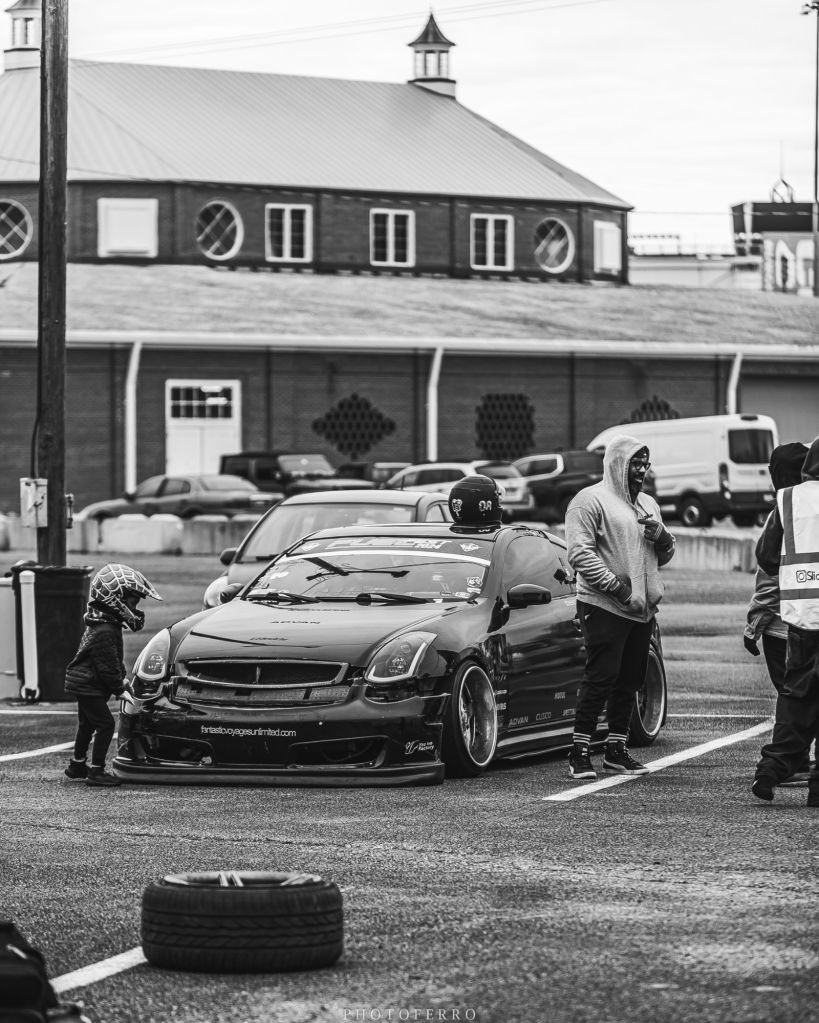
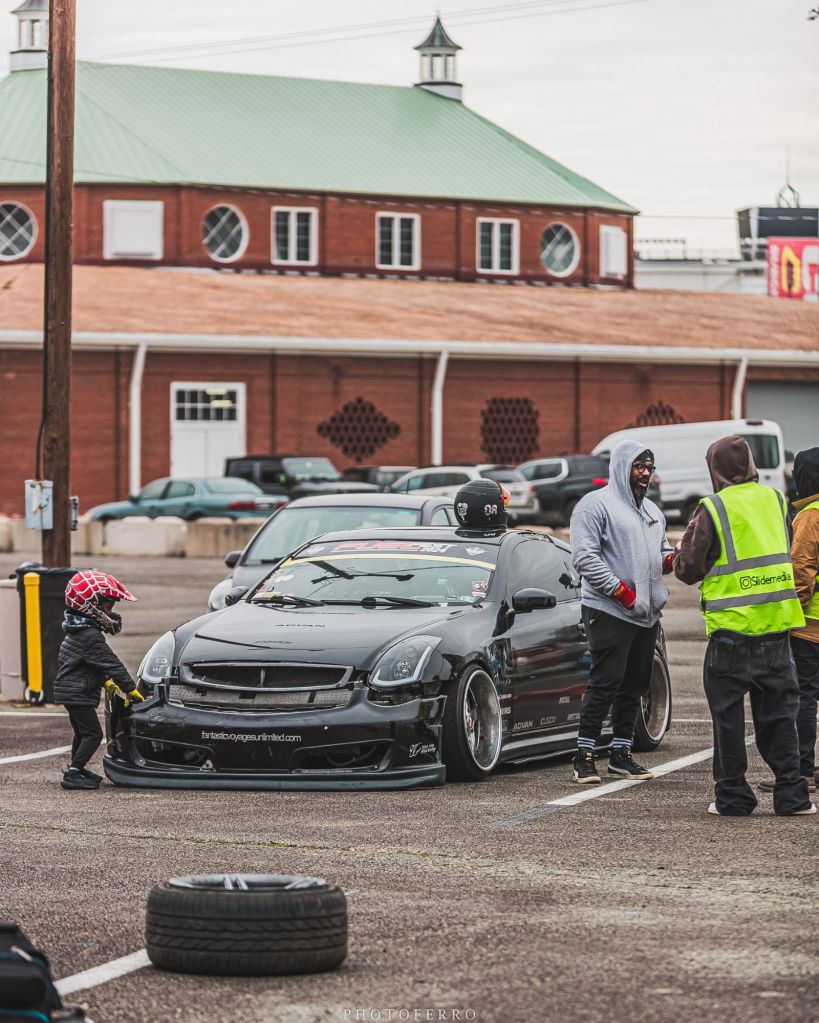
I’m supposed to be taking a break but Darnell asked me to join him at a Piedmont event. So I did and it was fun.
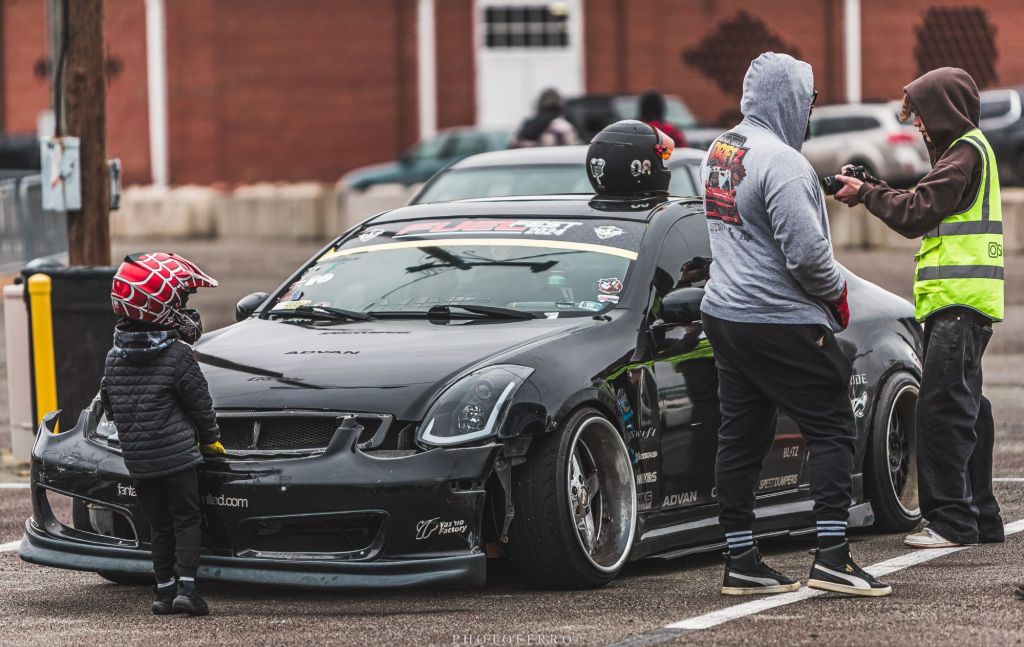
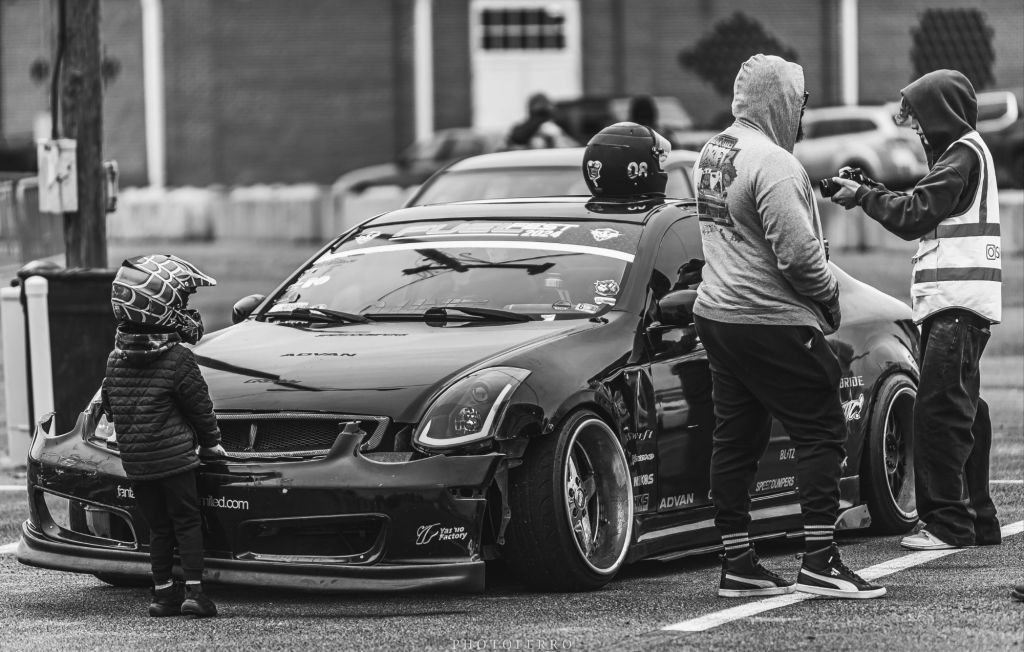
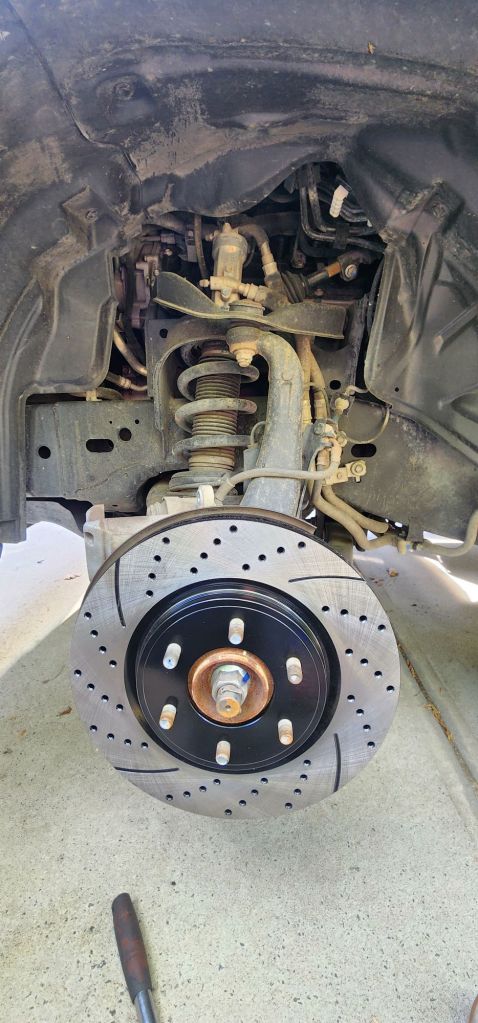
I had to do brakes on the truck and fix a few broken front suspension parts on the G from the last event.
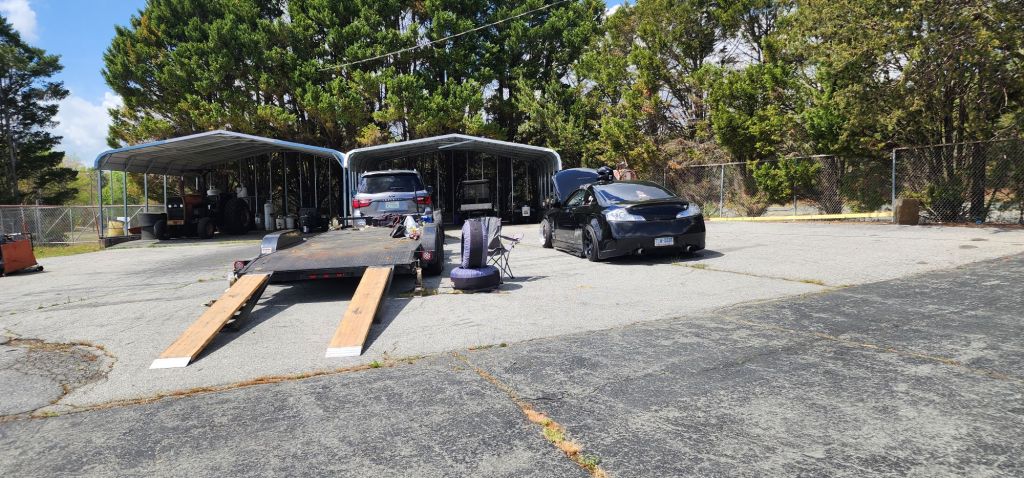
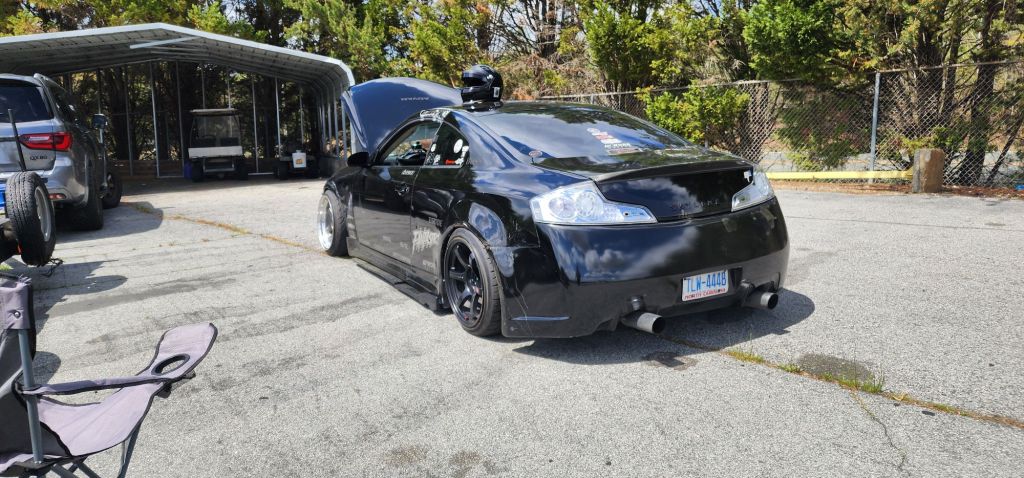
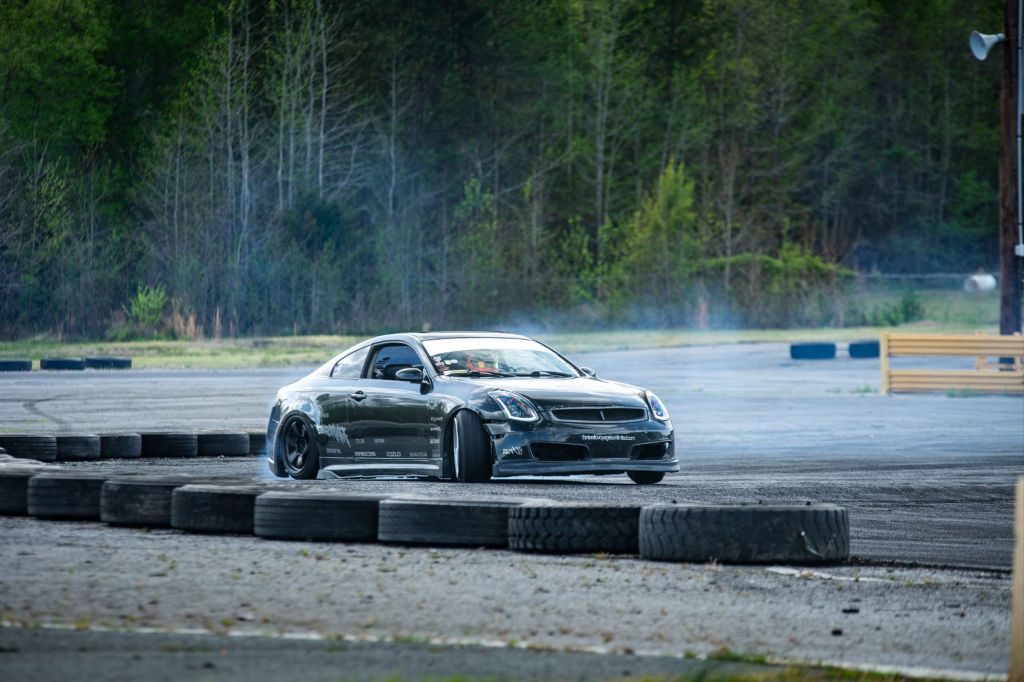
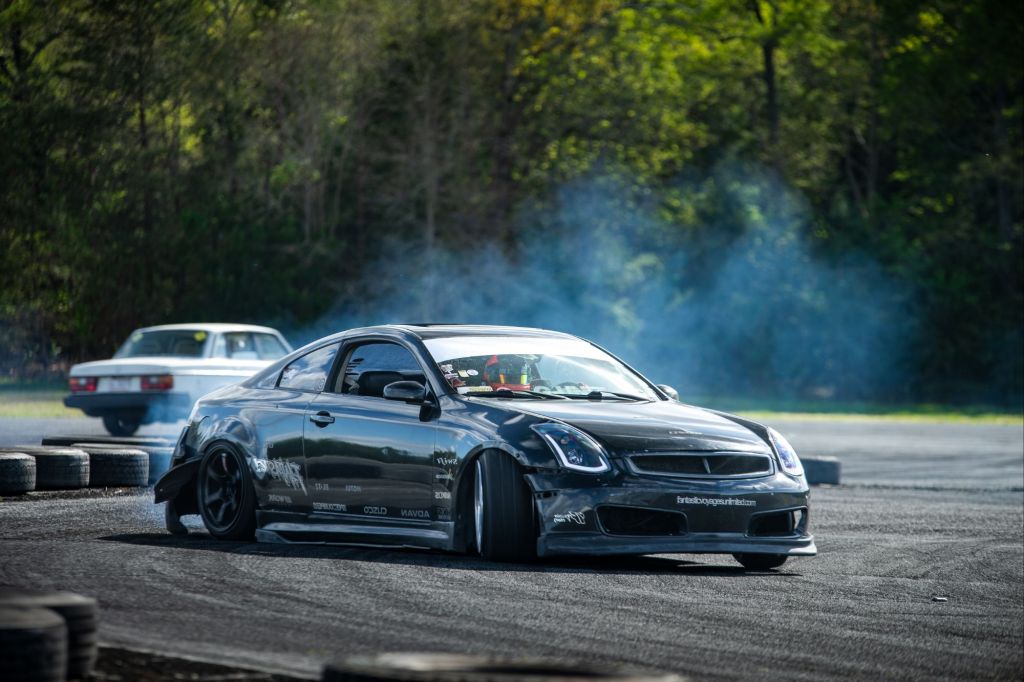
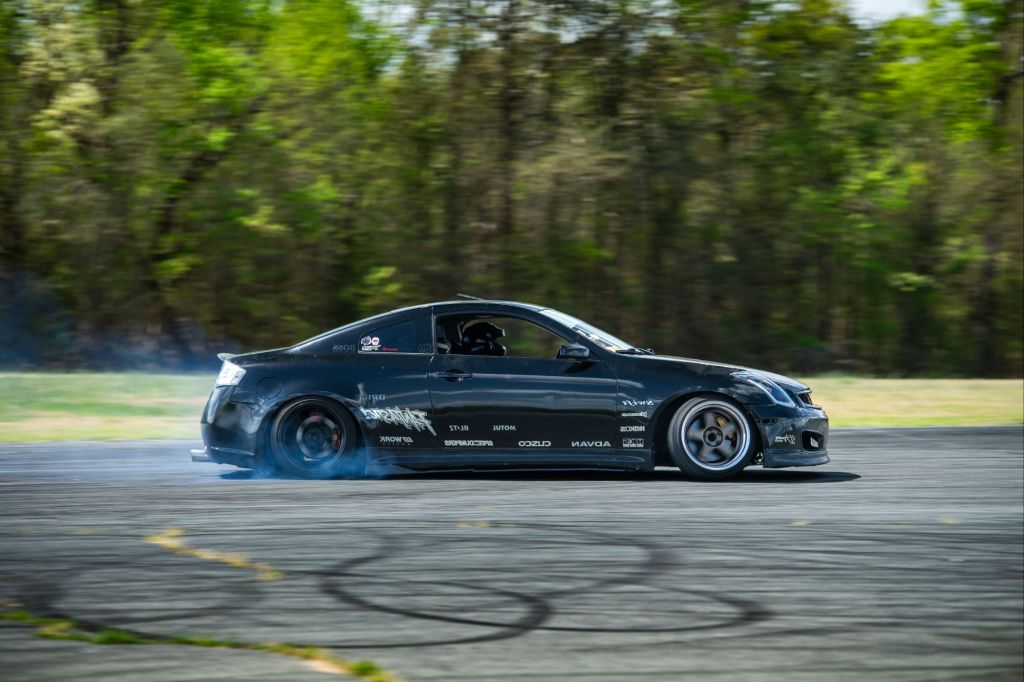
G Akshun…
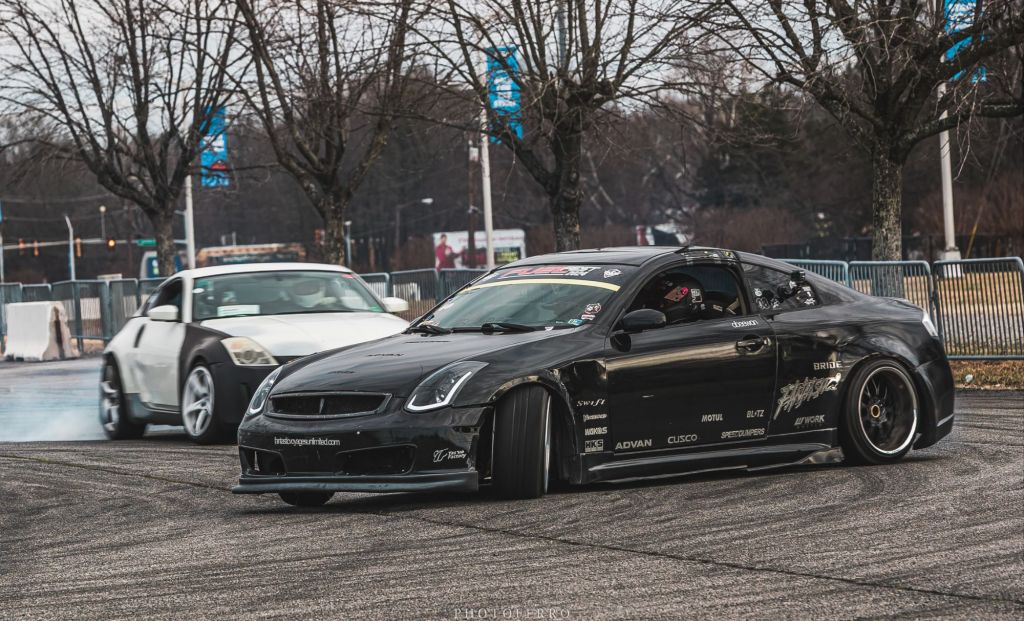
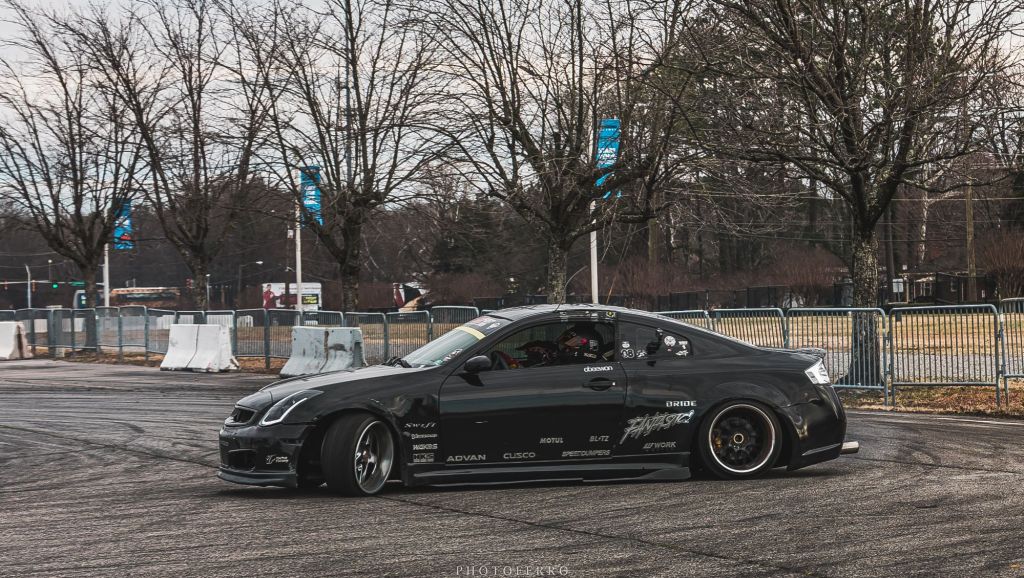
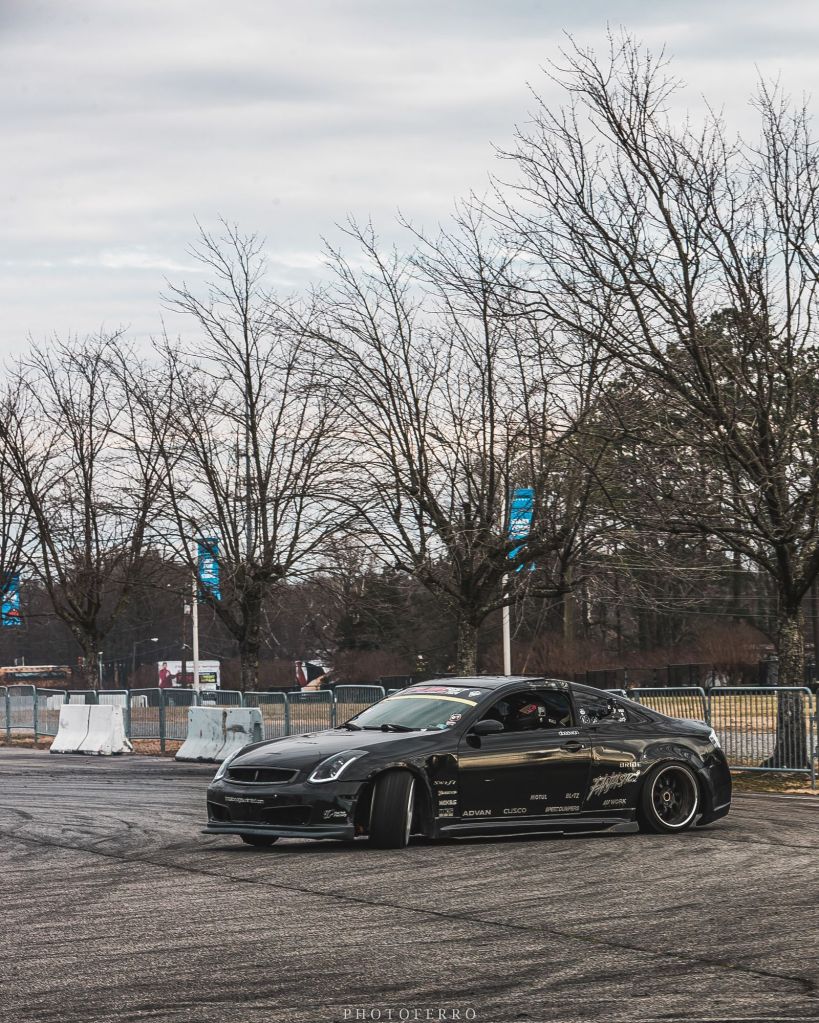
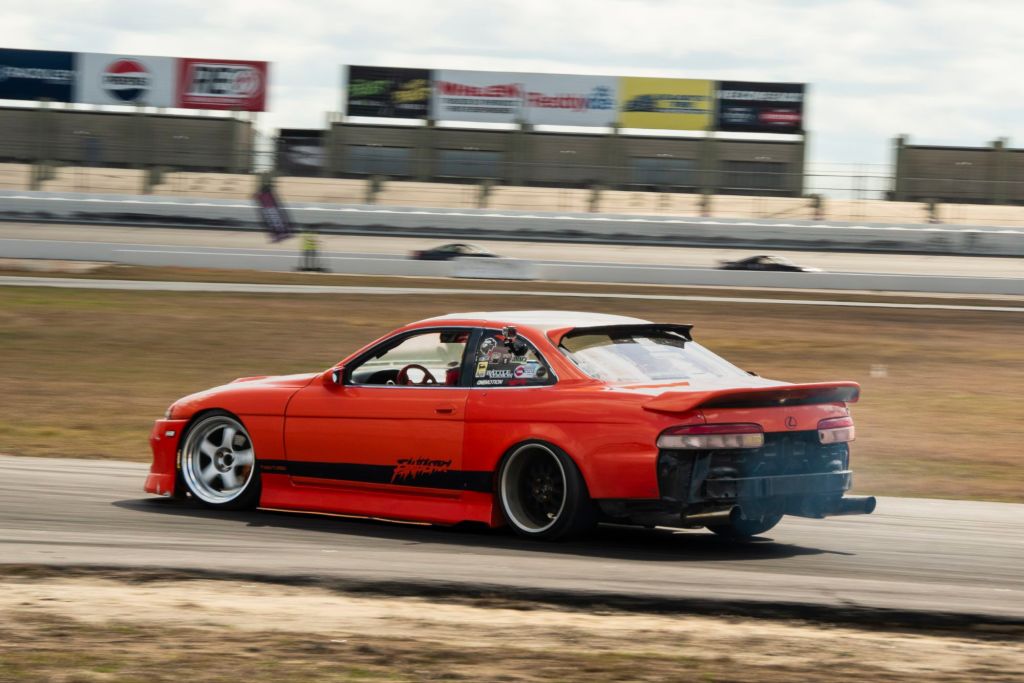
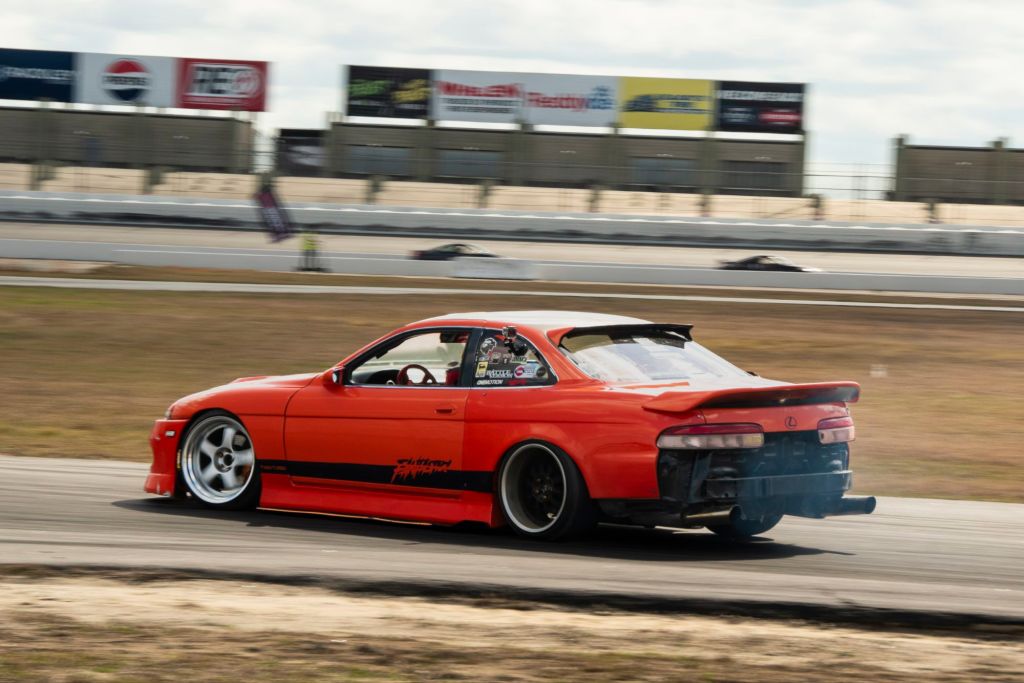
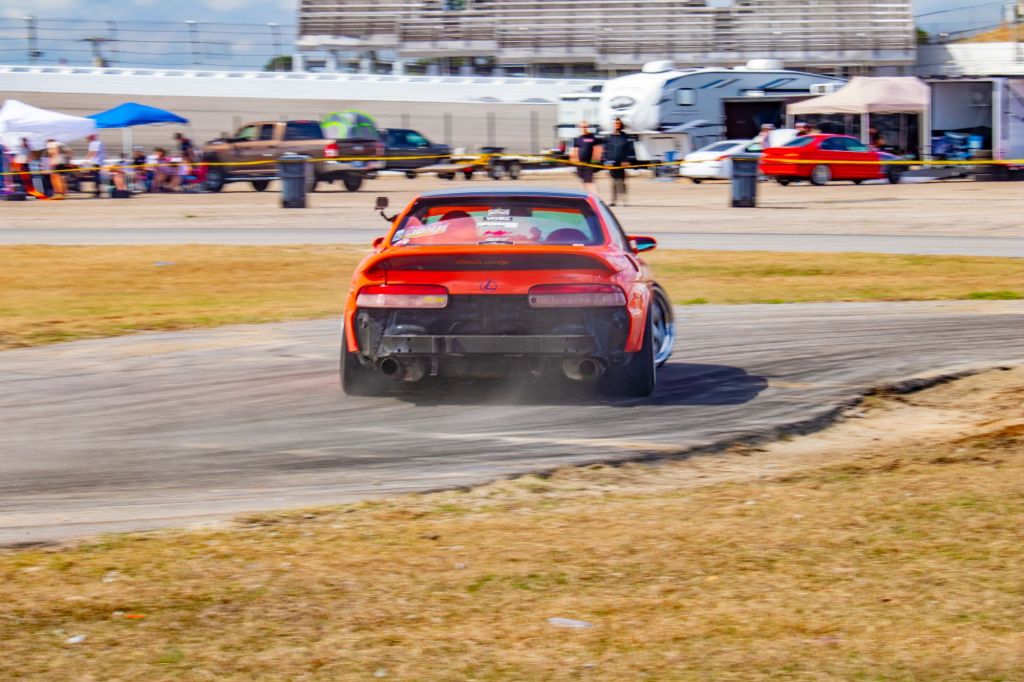
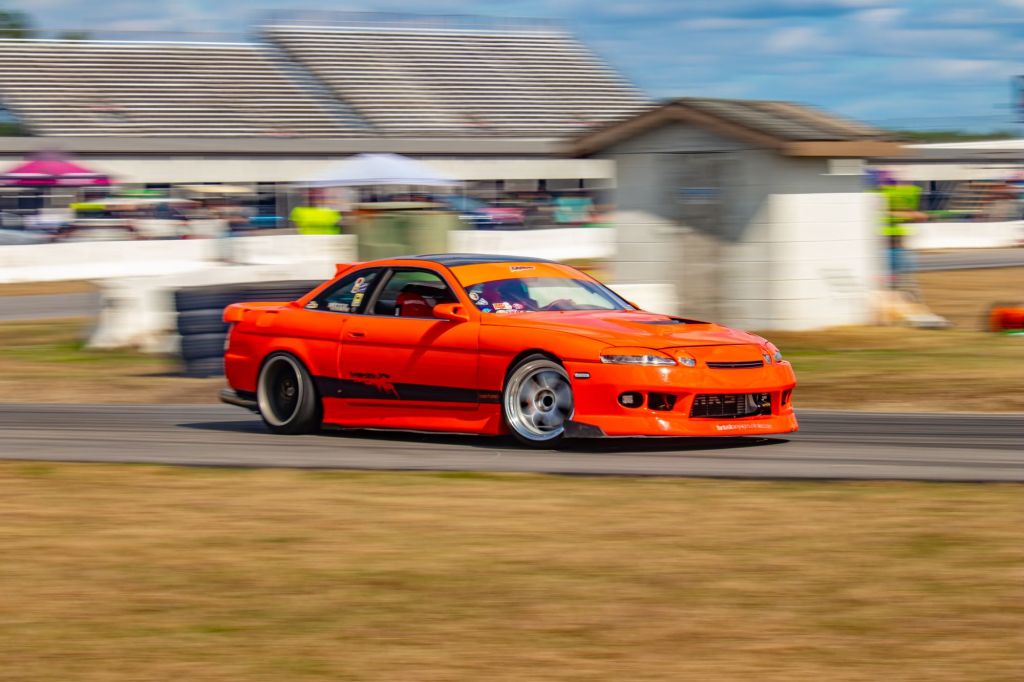
Some photos from the last Yokai event.
The first set is by the homie Juan of Relax Amigo!
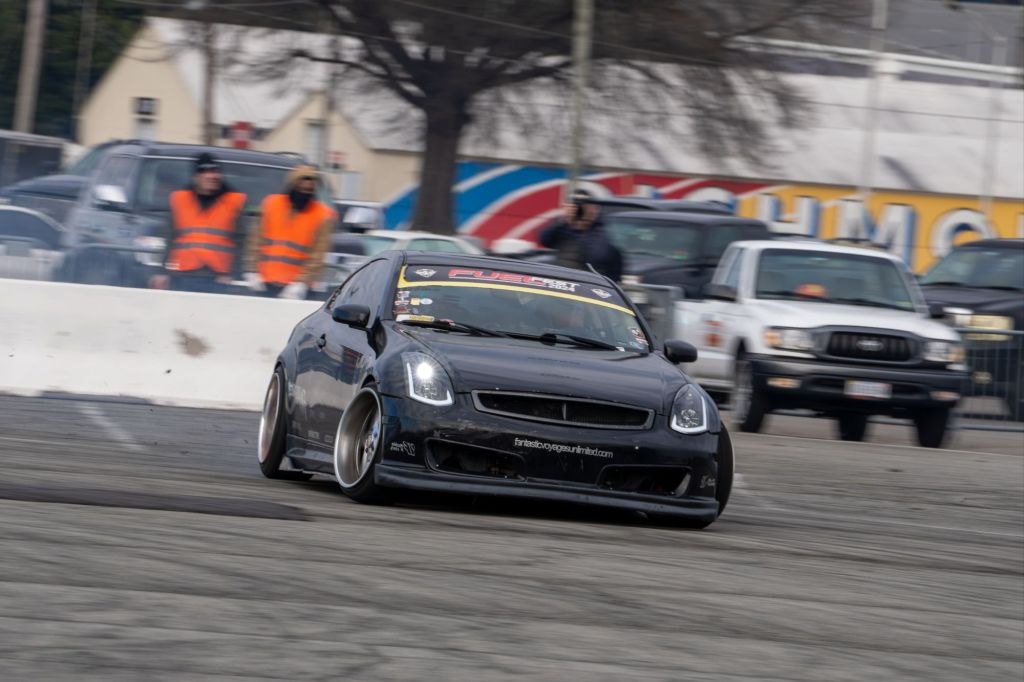
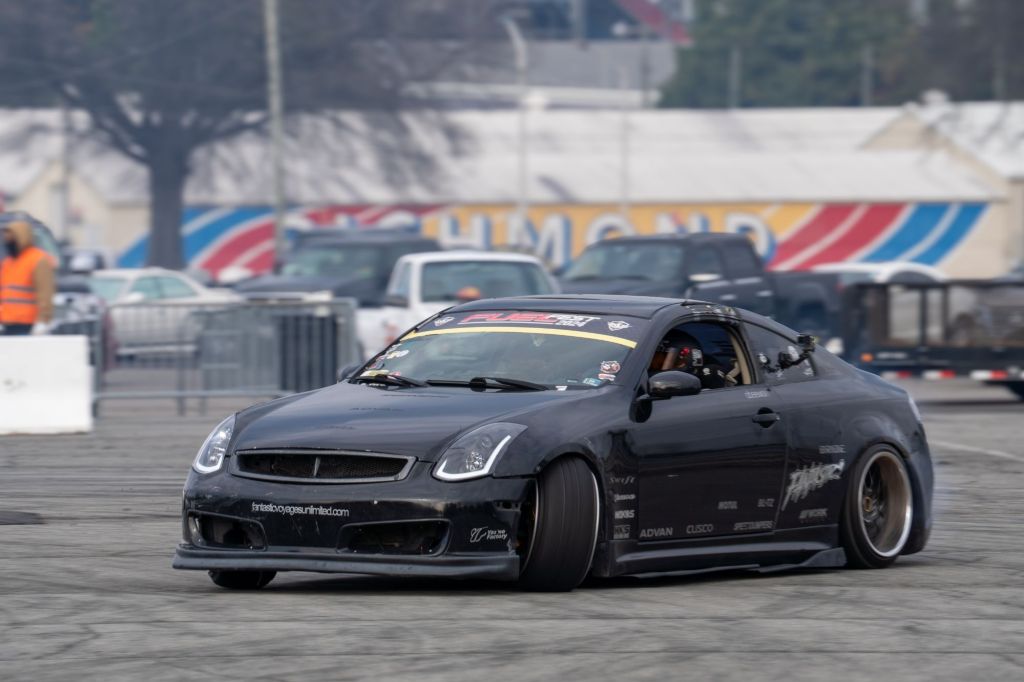
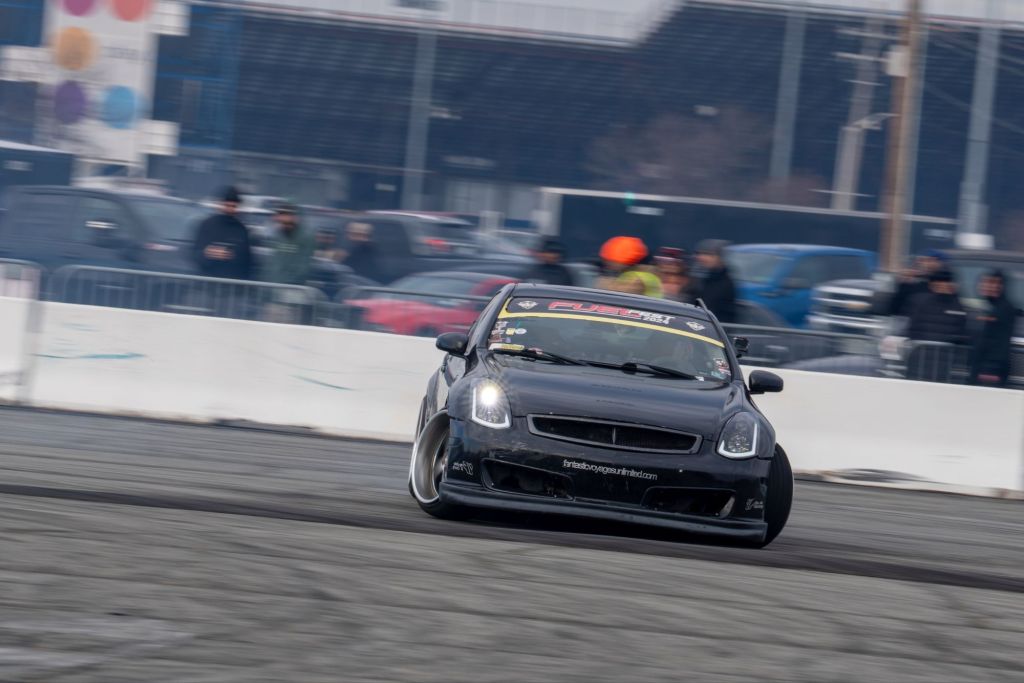
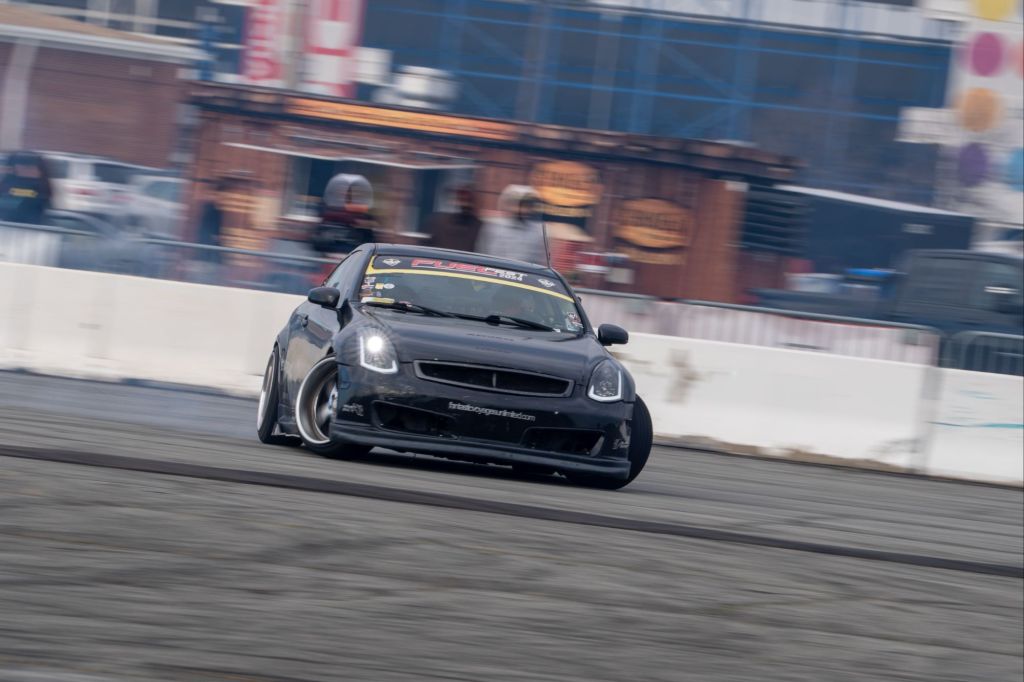
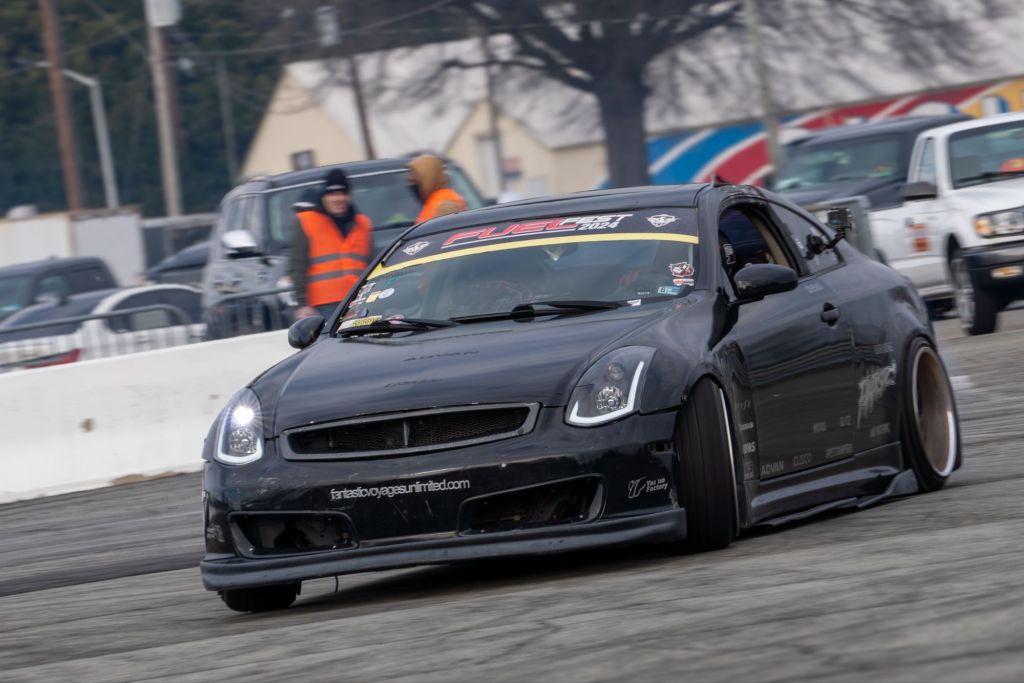
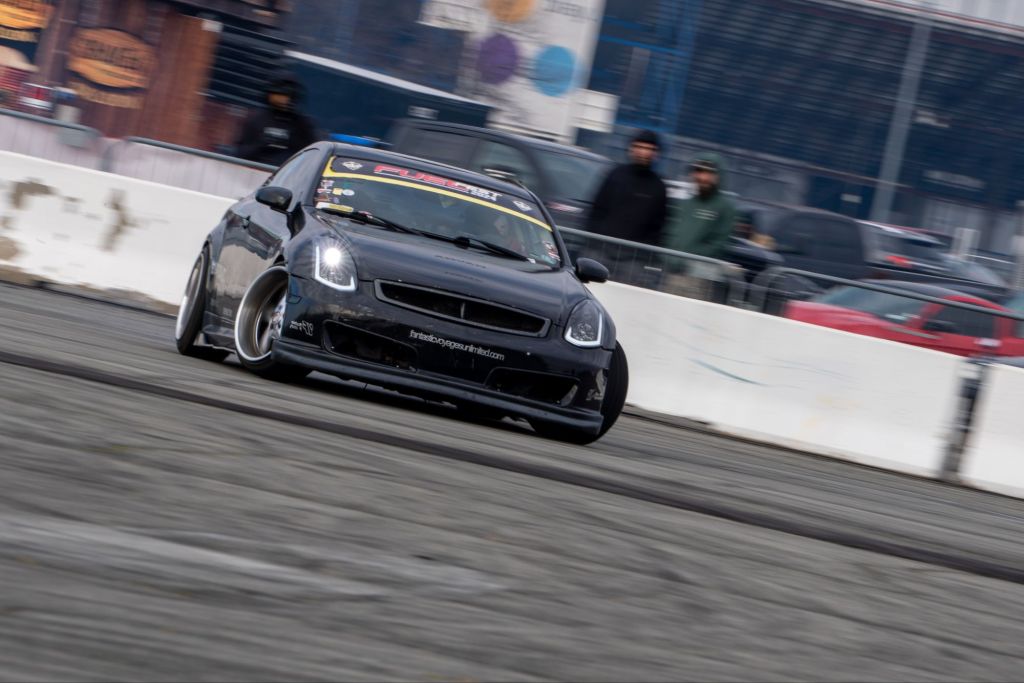
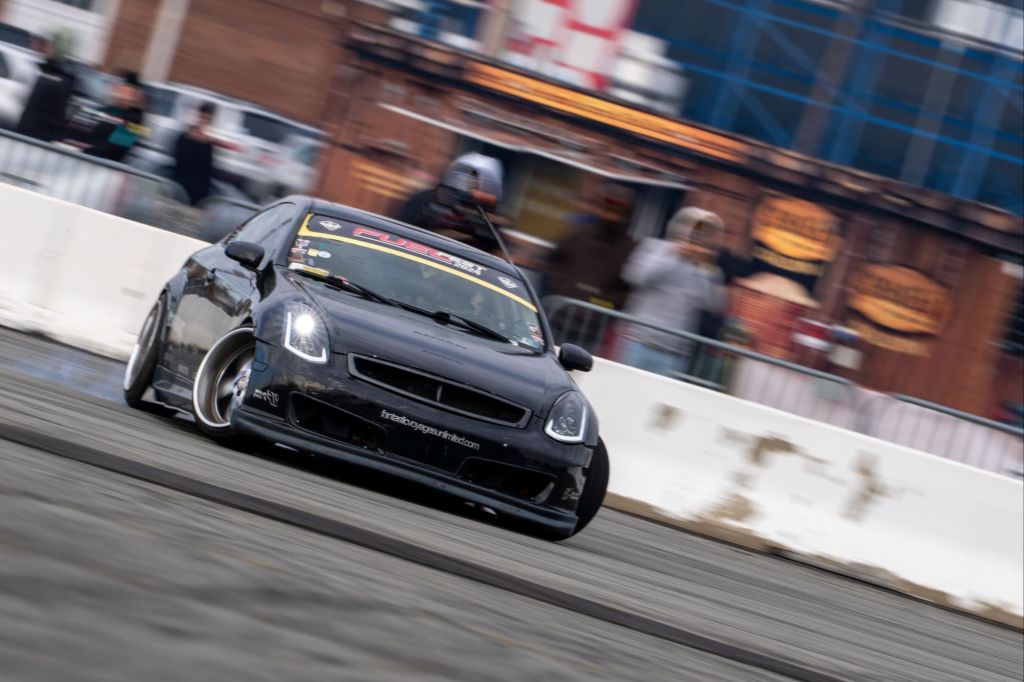
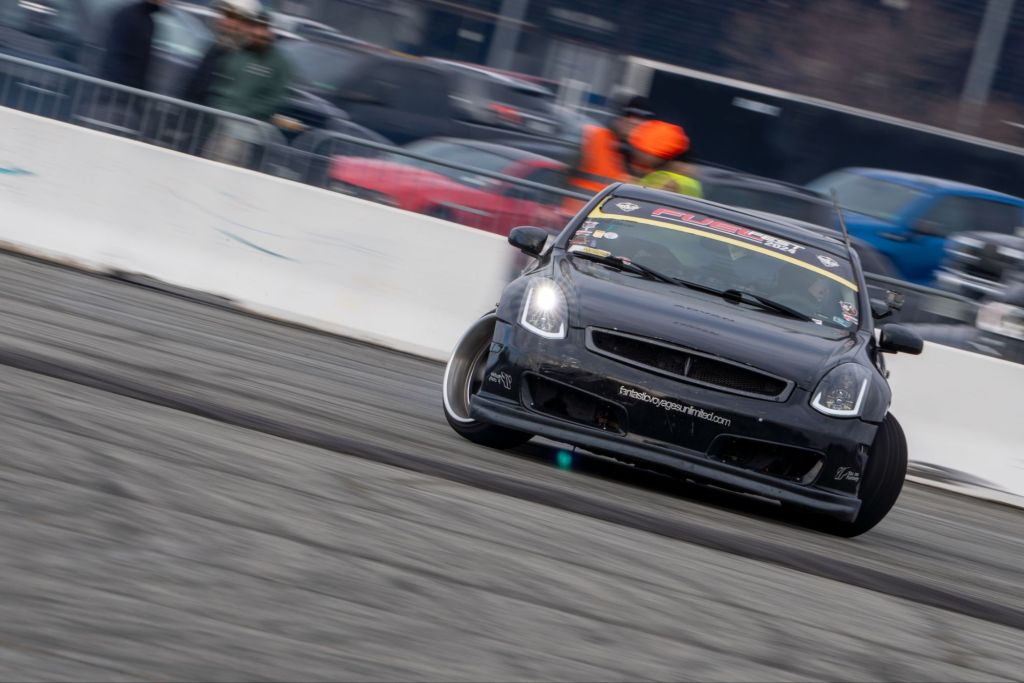
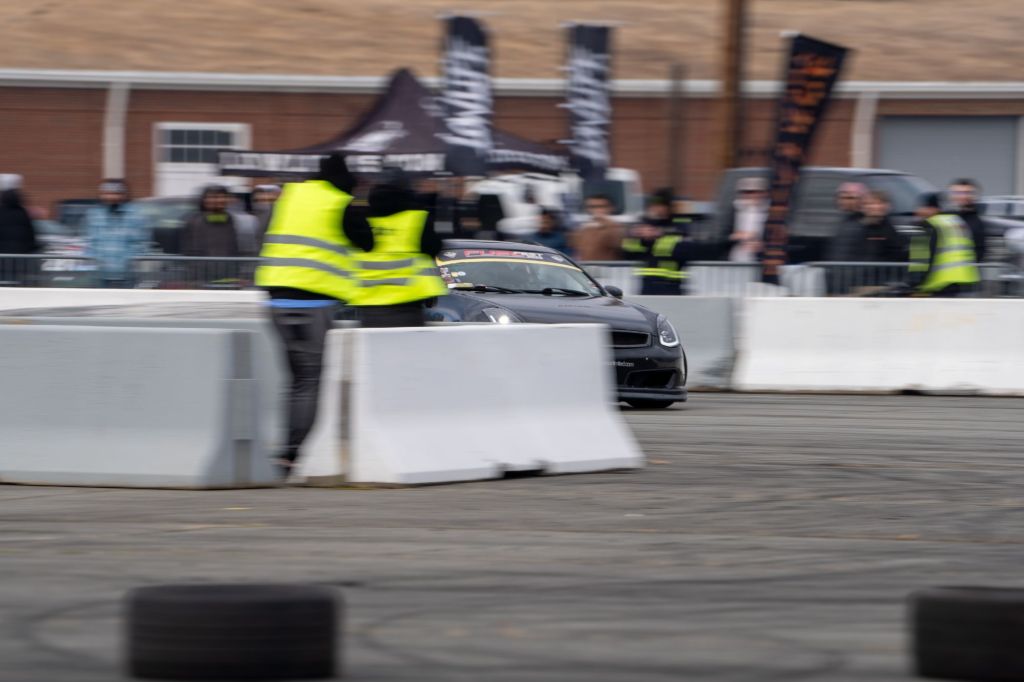
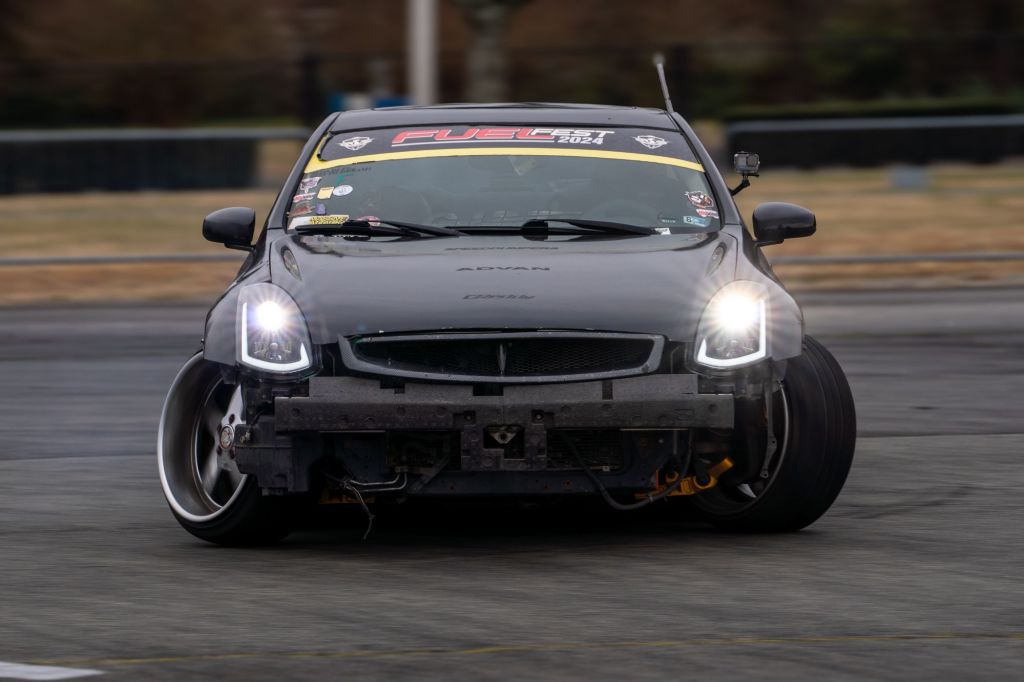
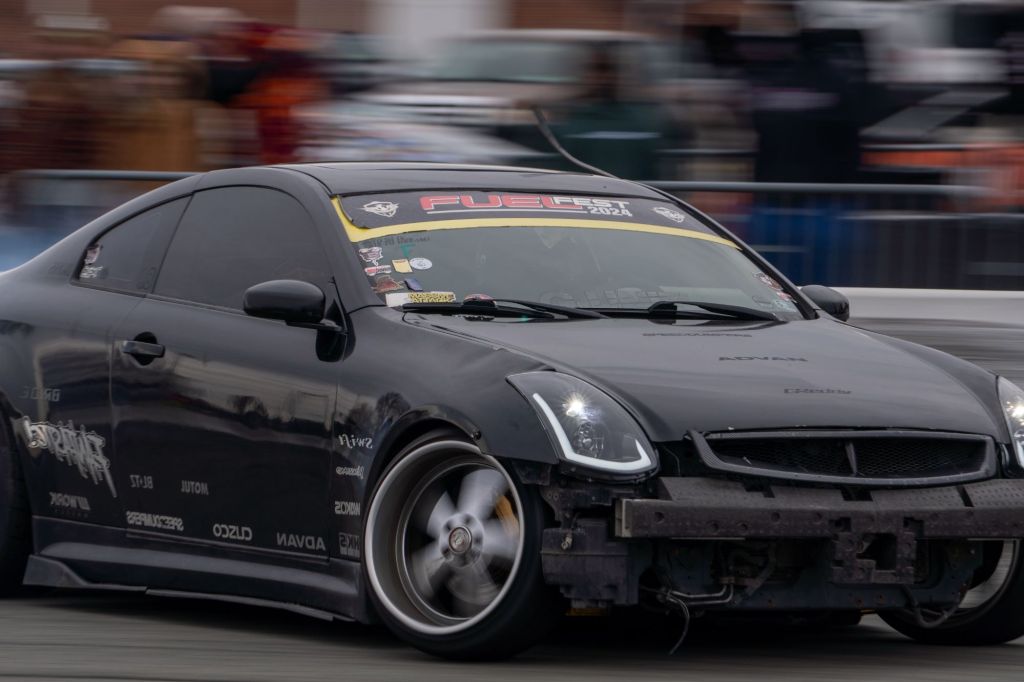
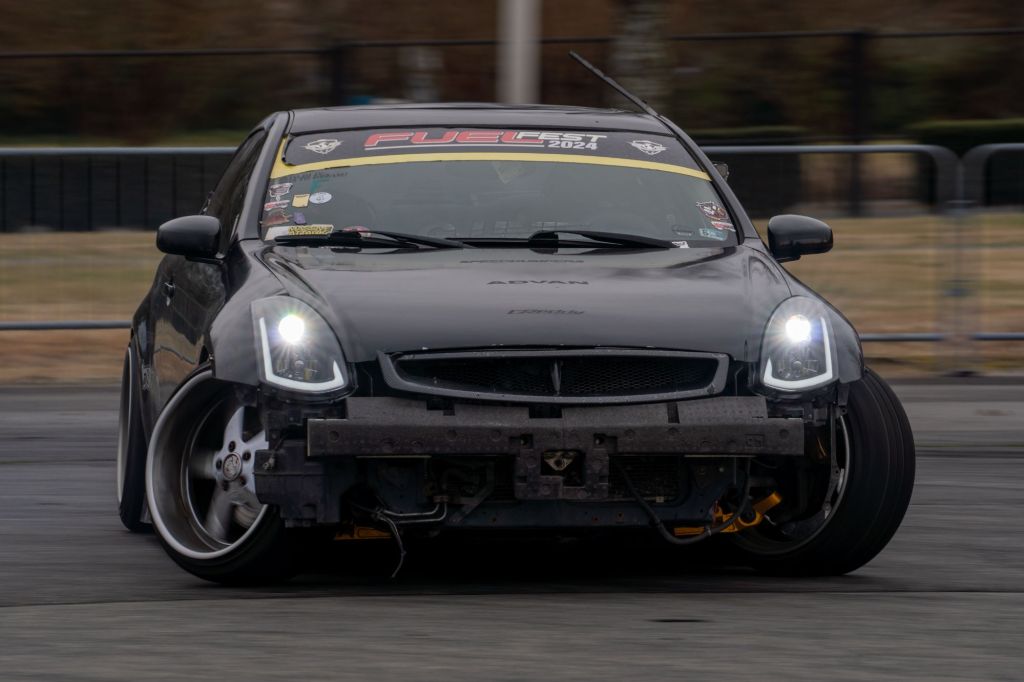
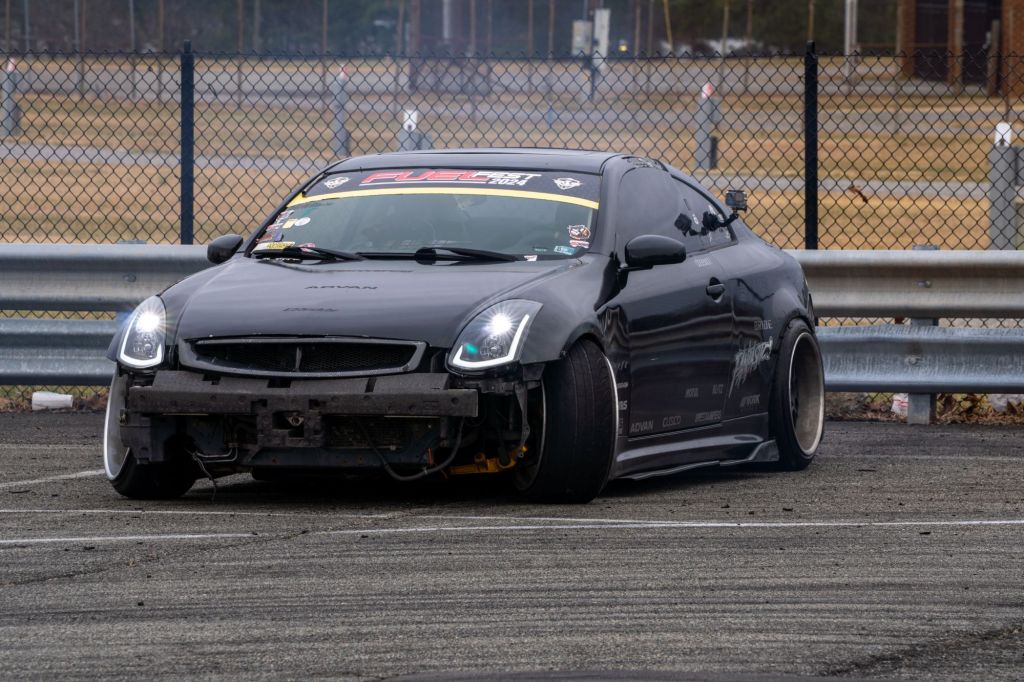
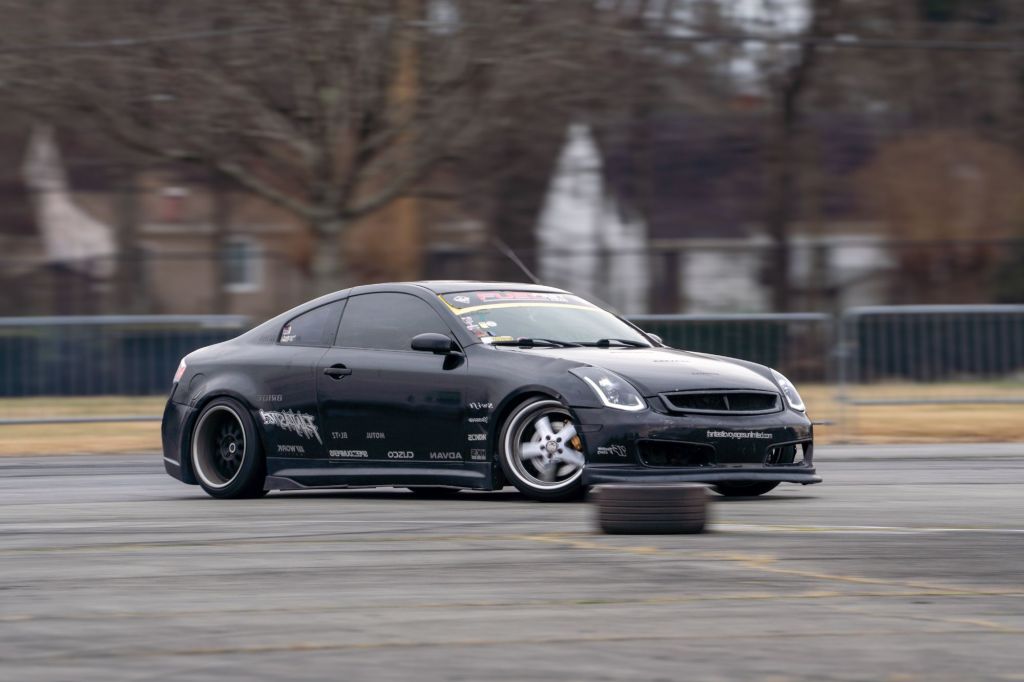
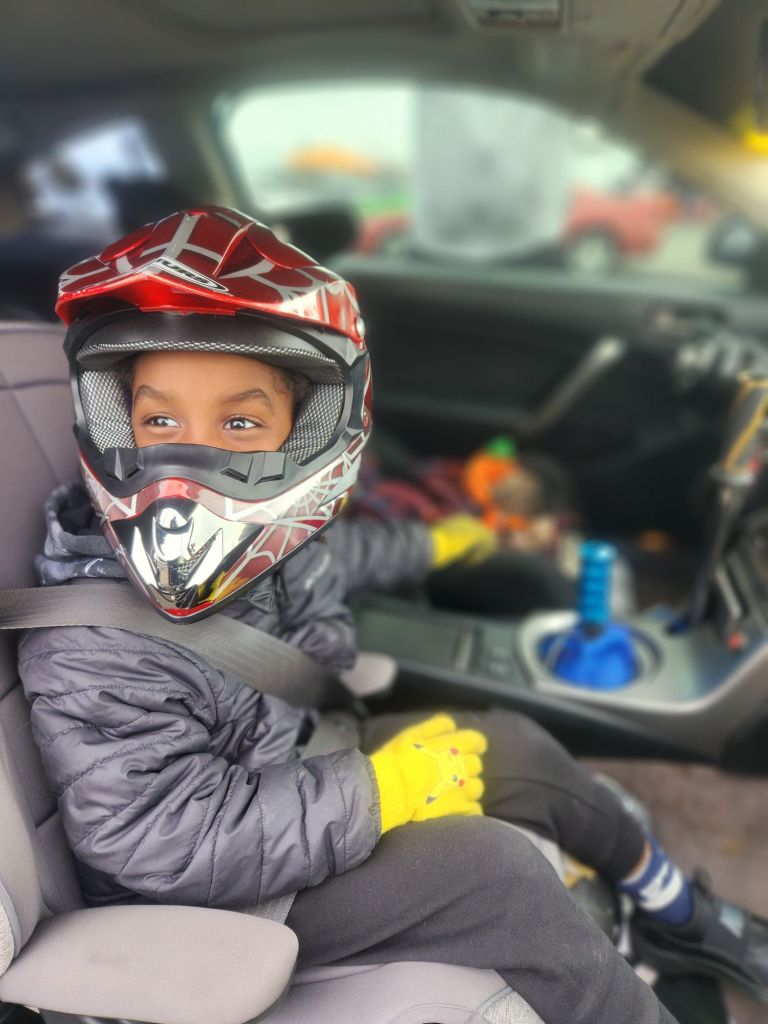
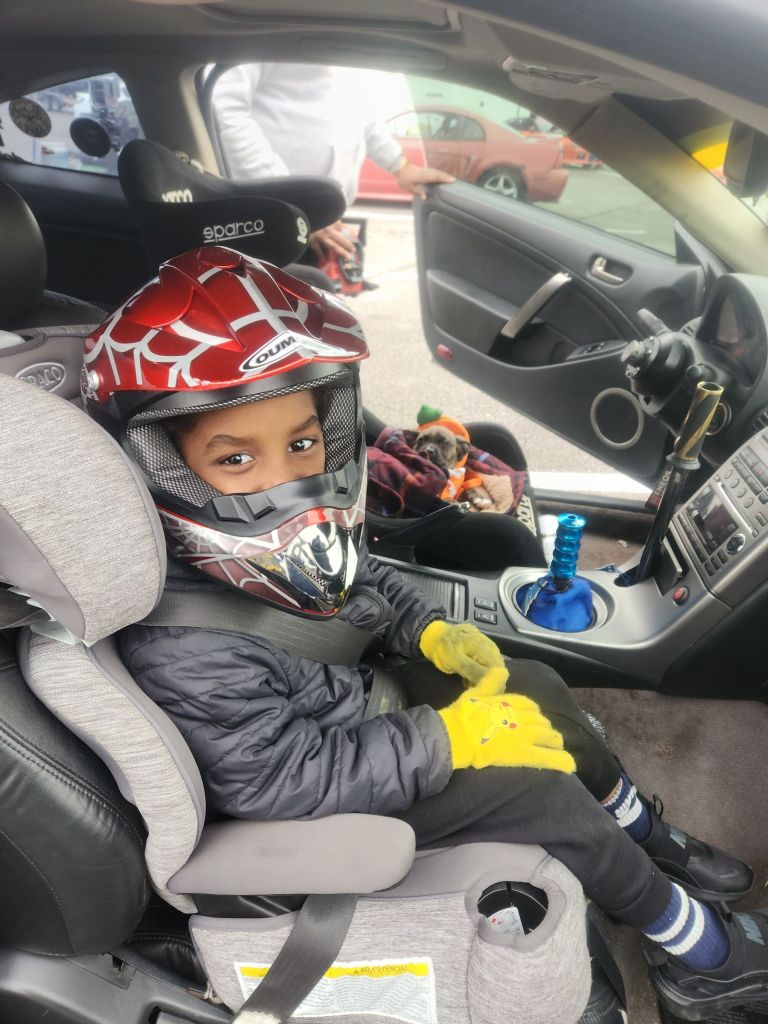
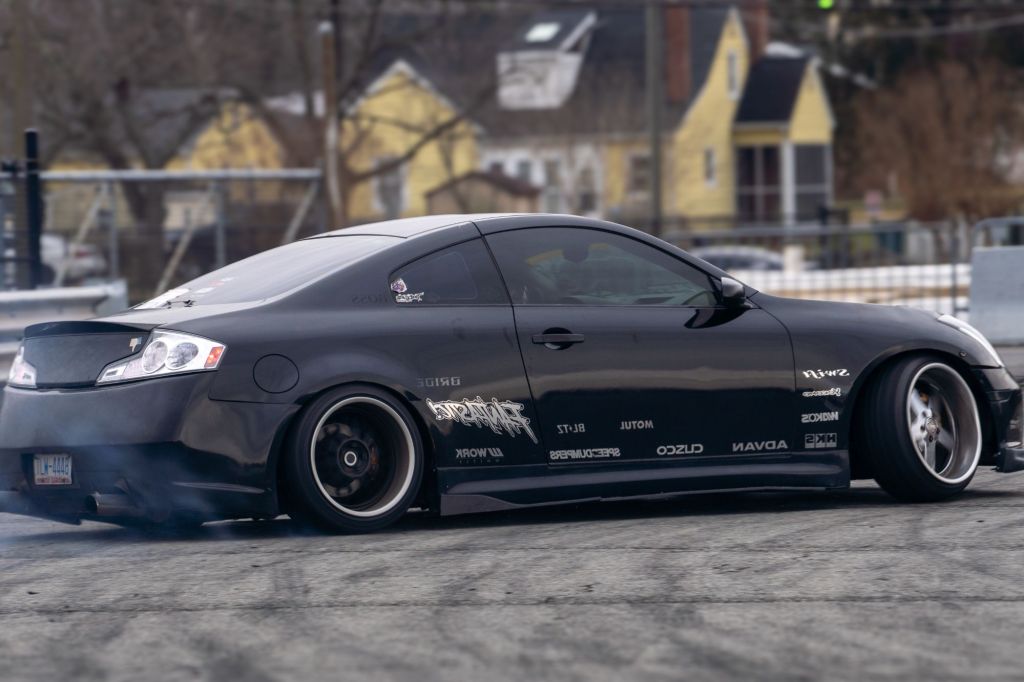
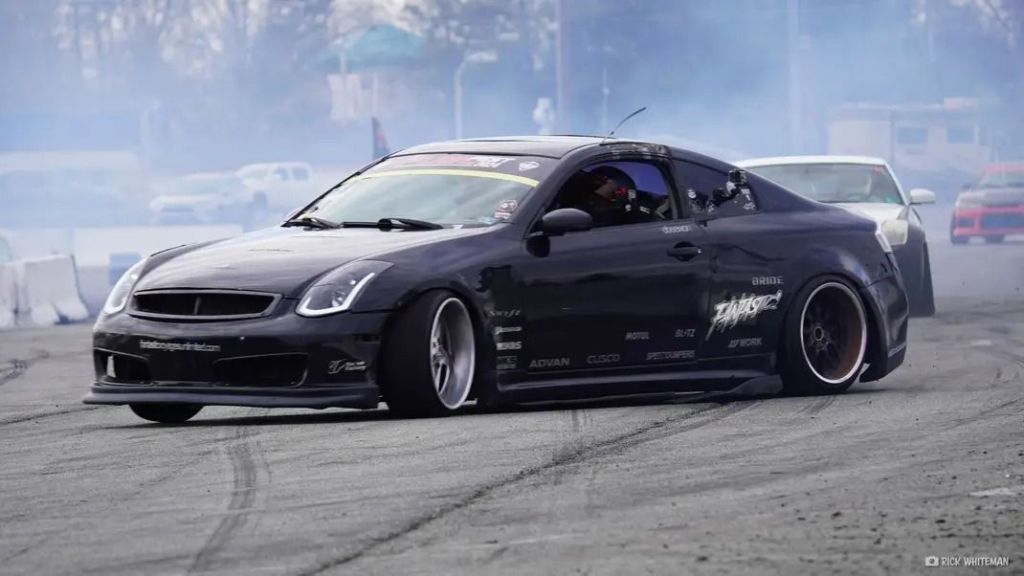
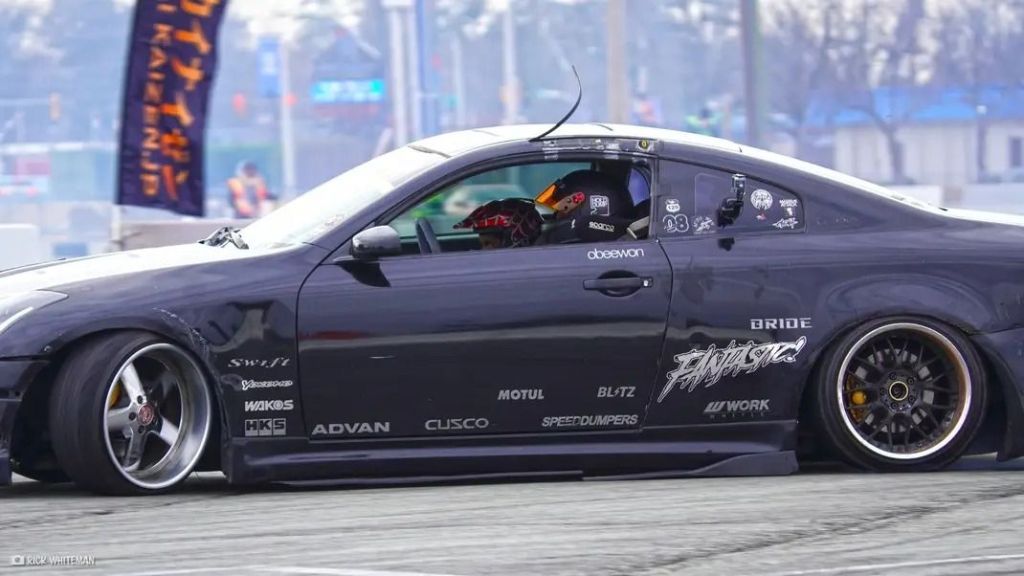
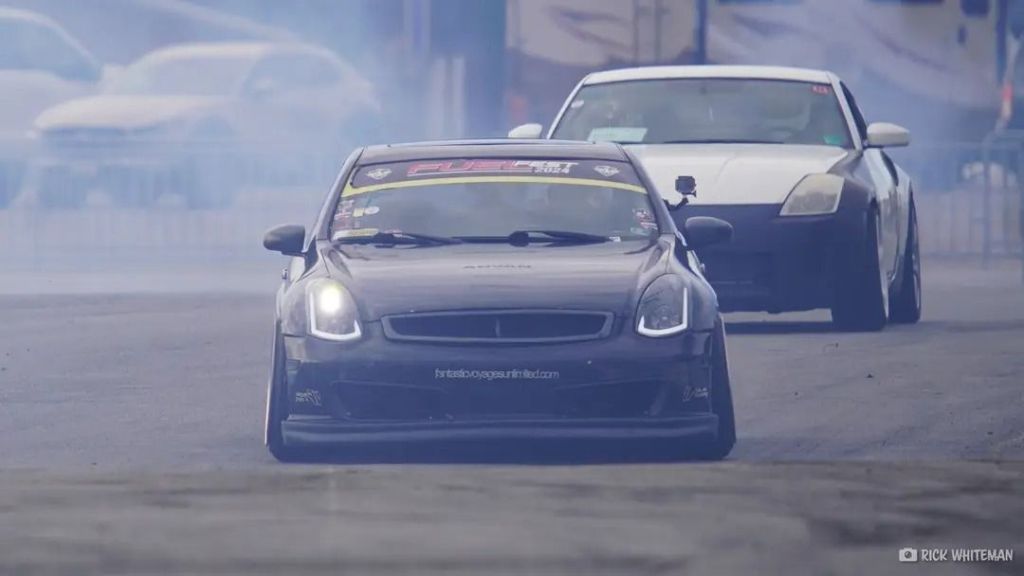
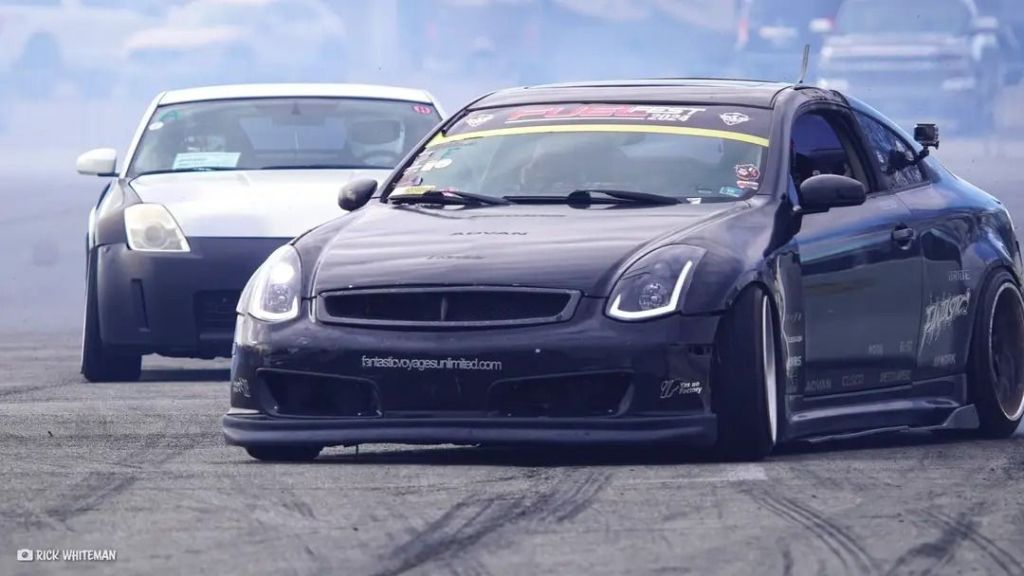
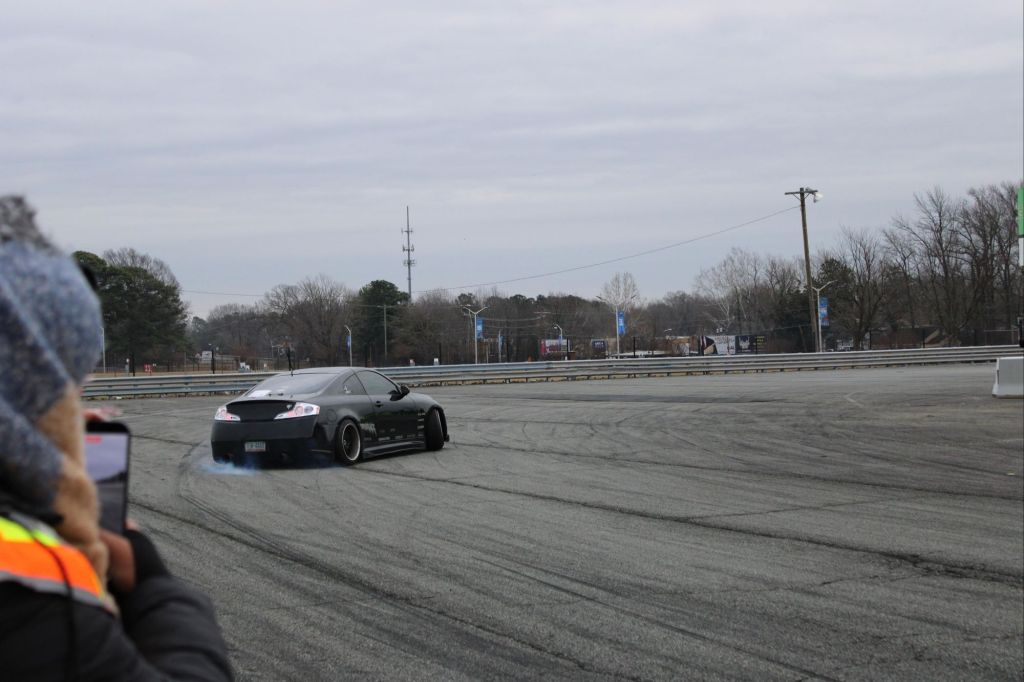
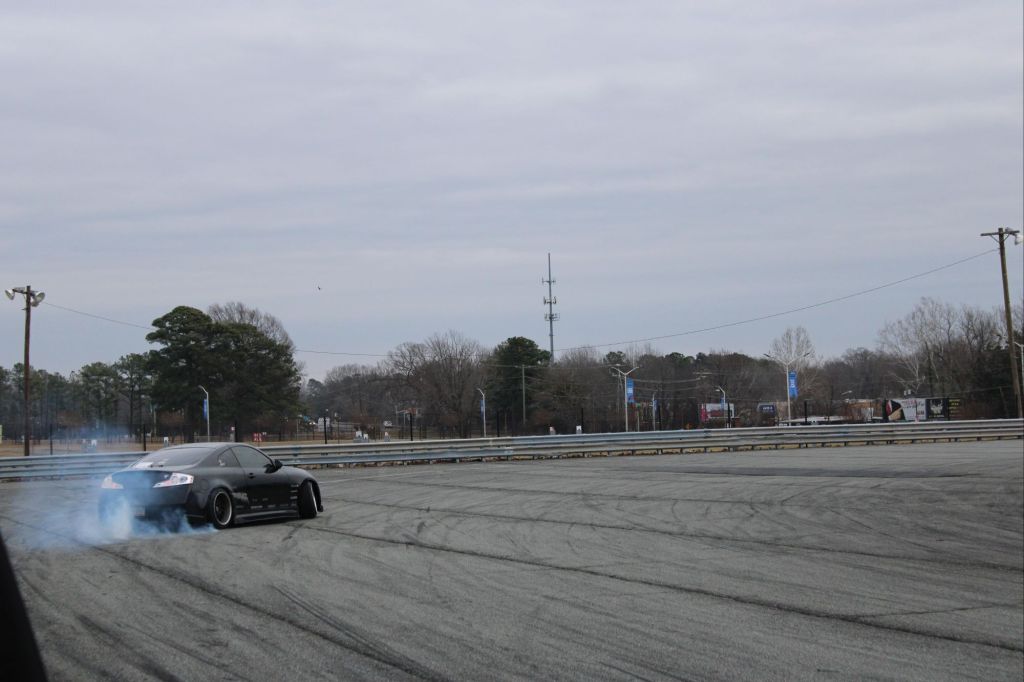
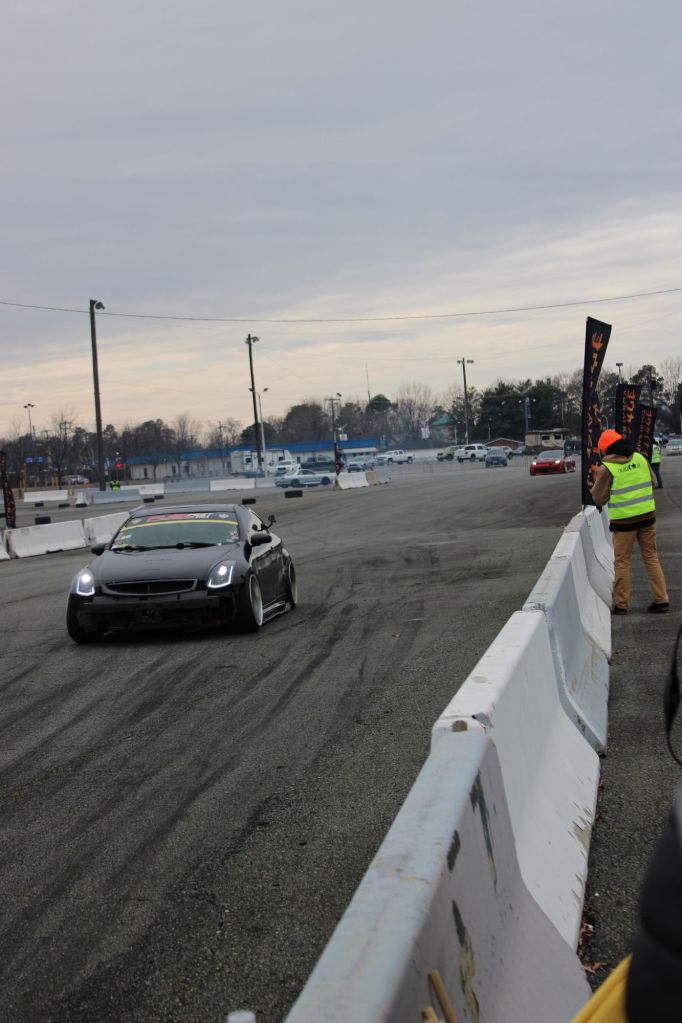
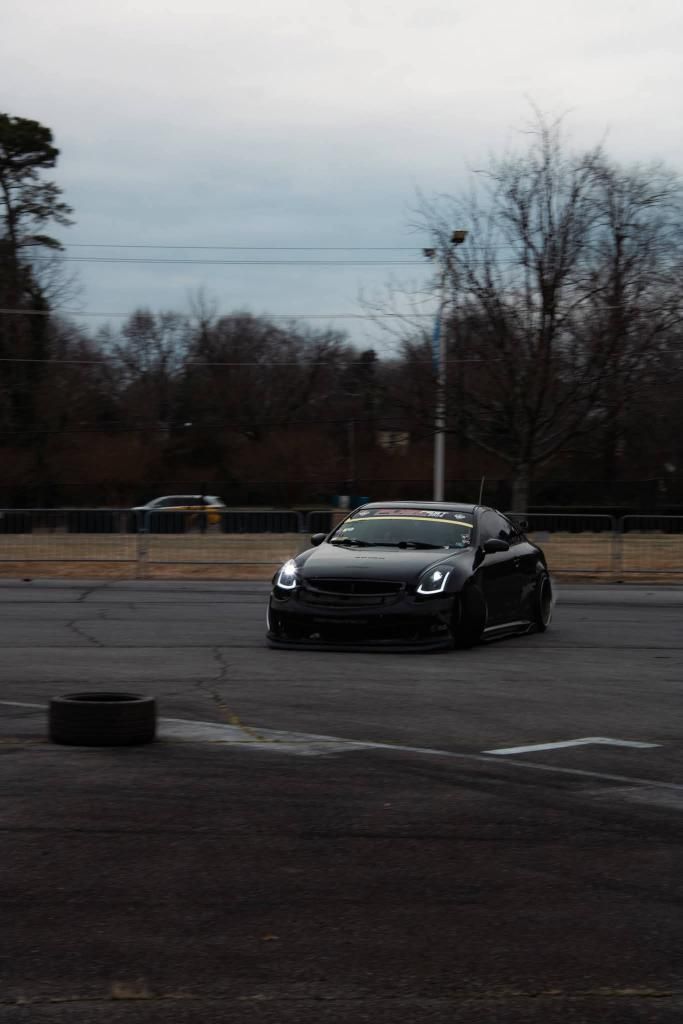
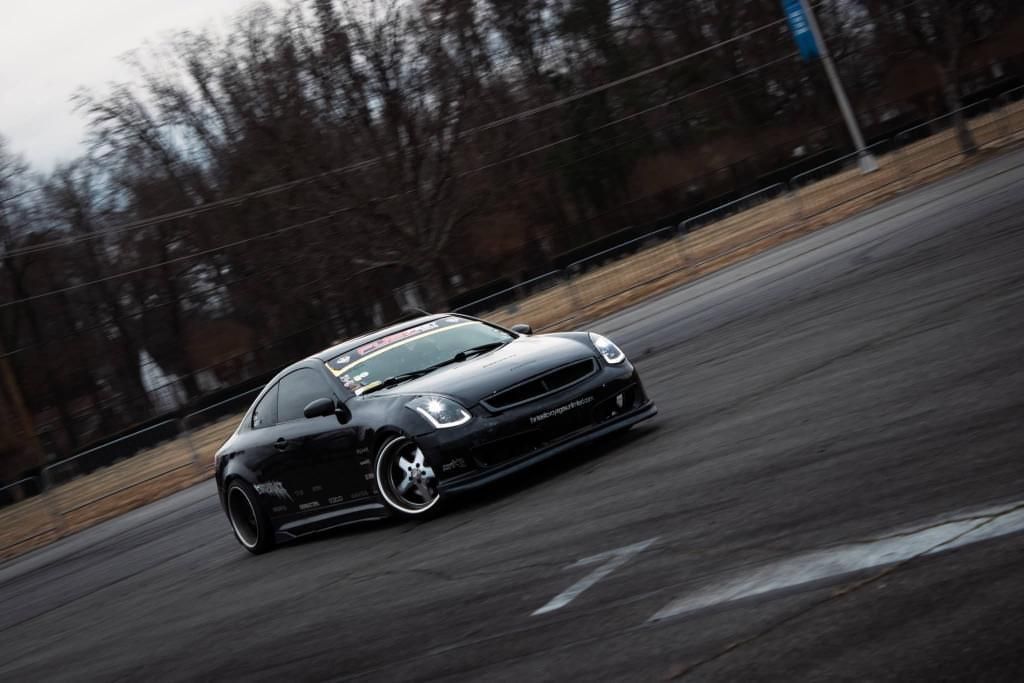
And this shot is my favorite drift related photo.
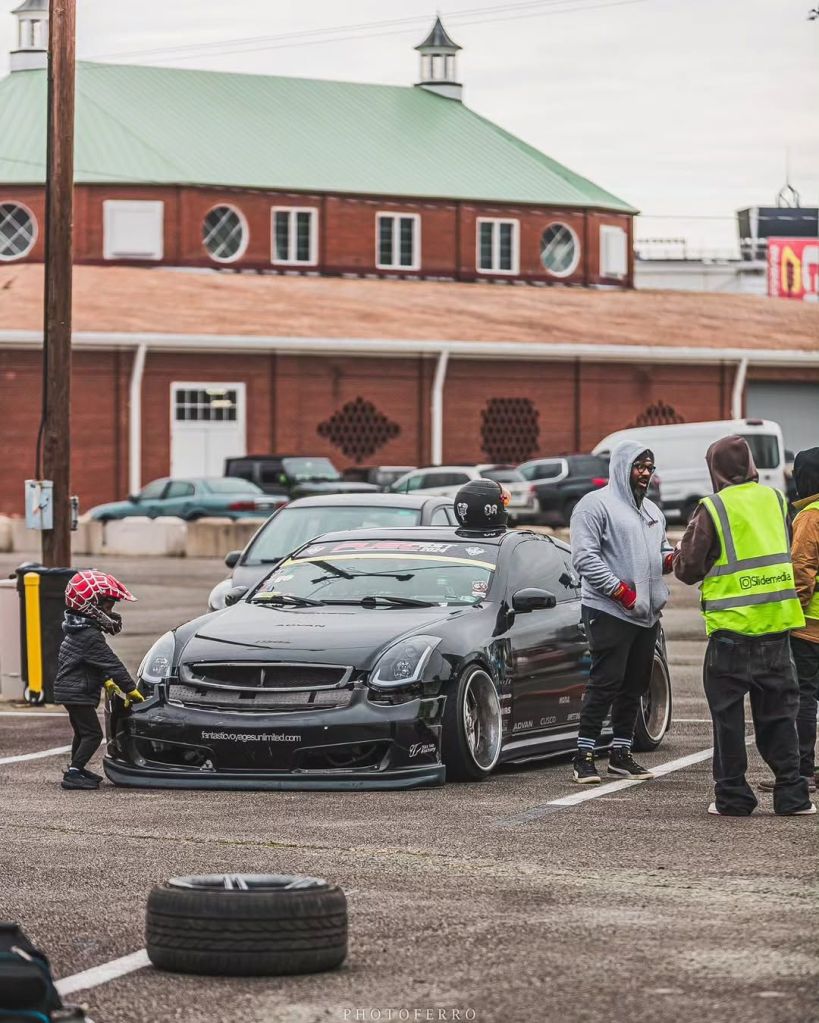
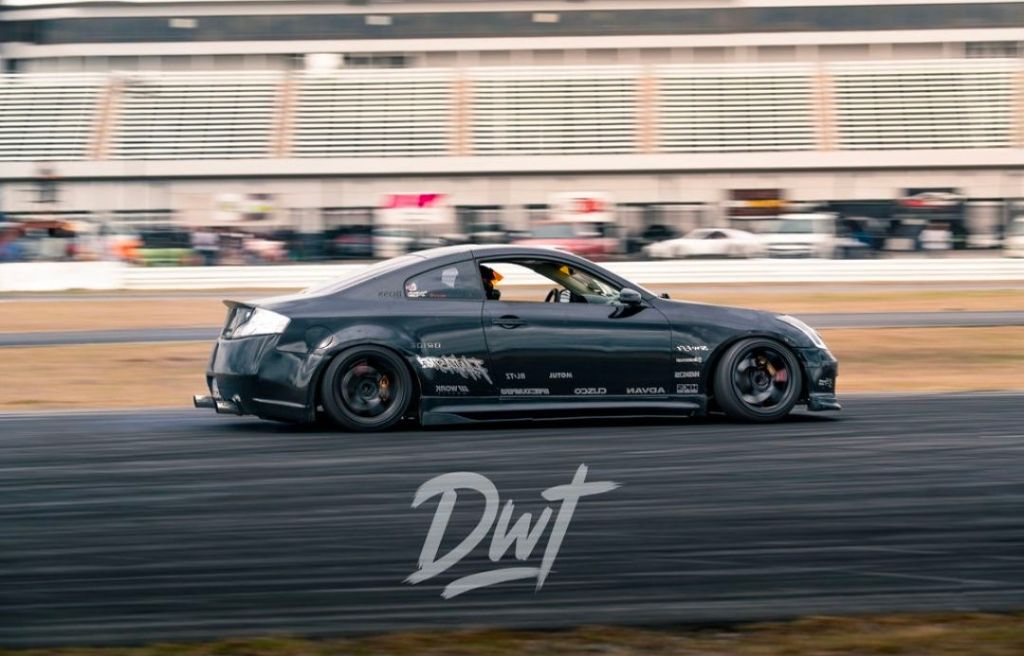
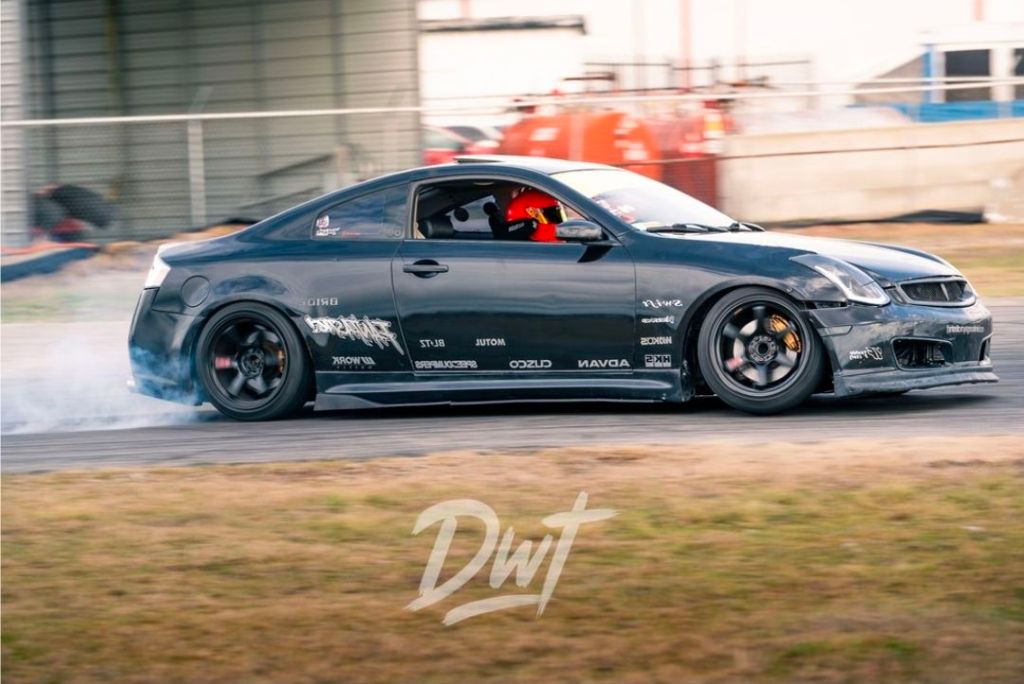
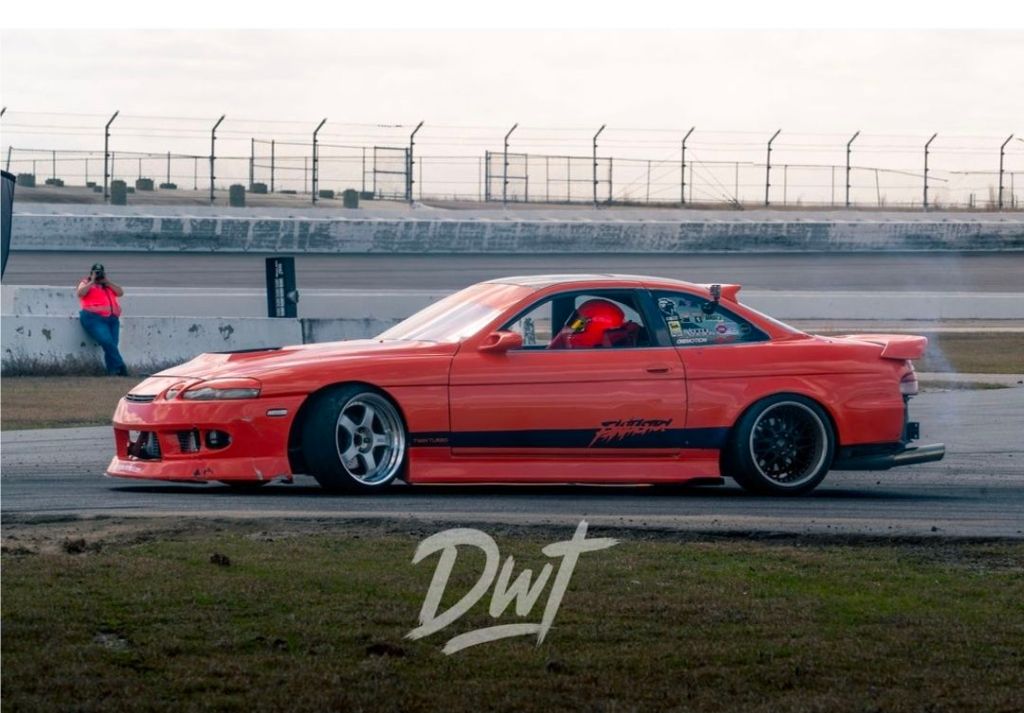
And some from the MB Drift event.


Recent Comments