
:(
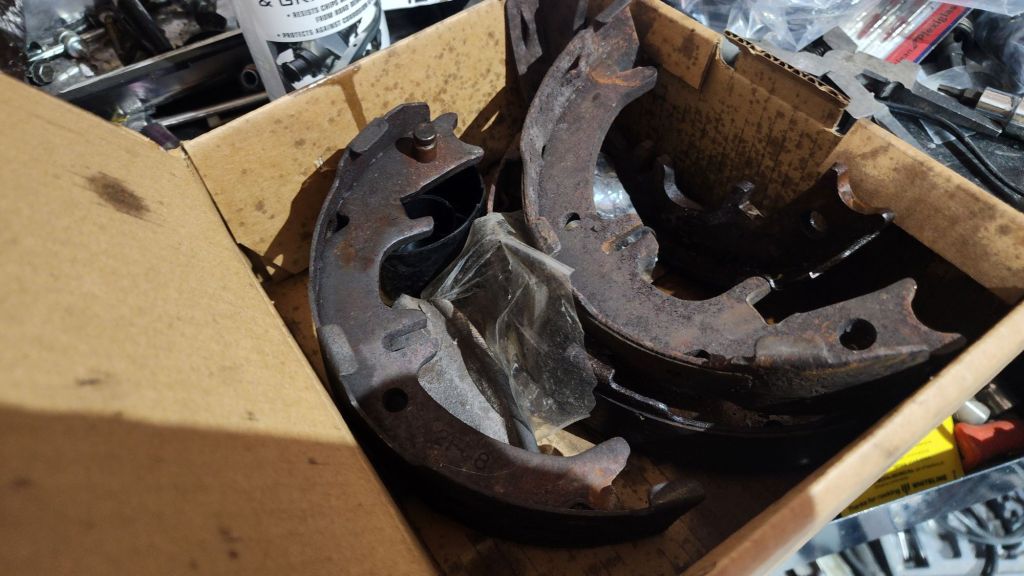
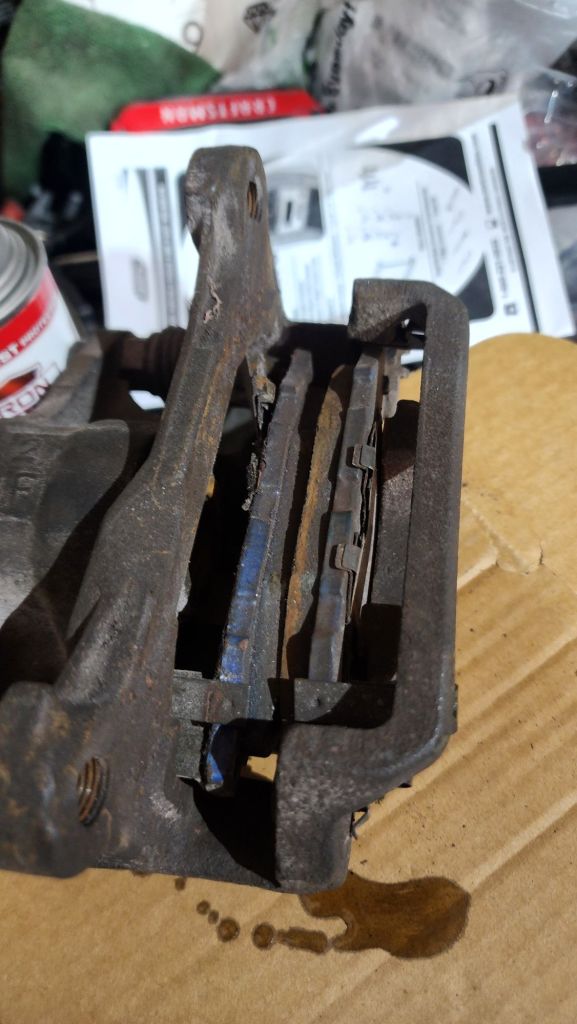
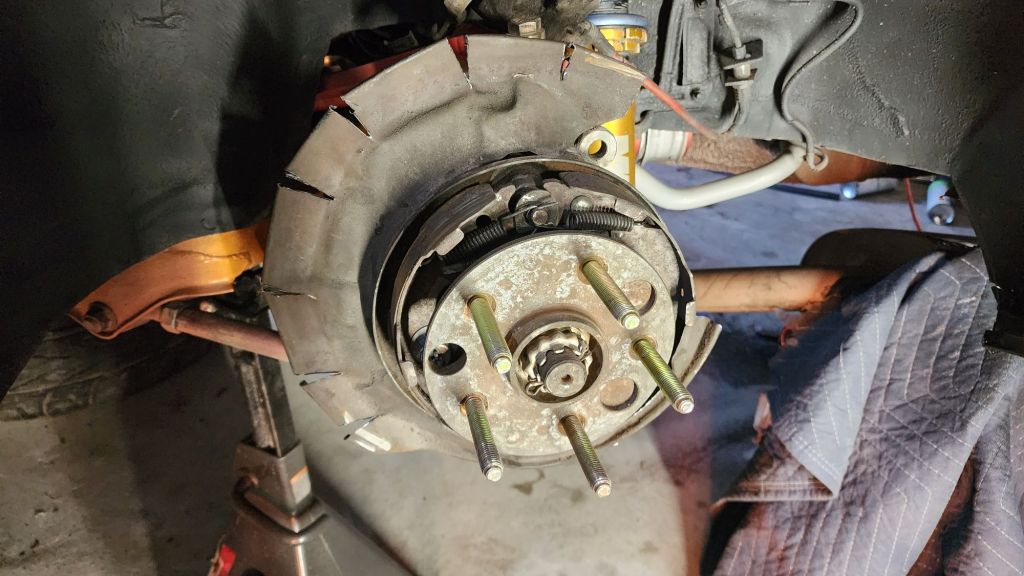
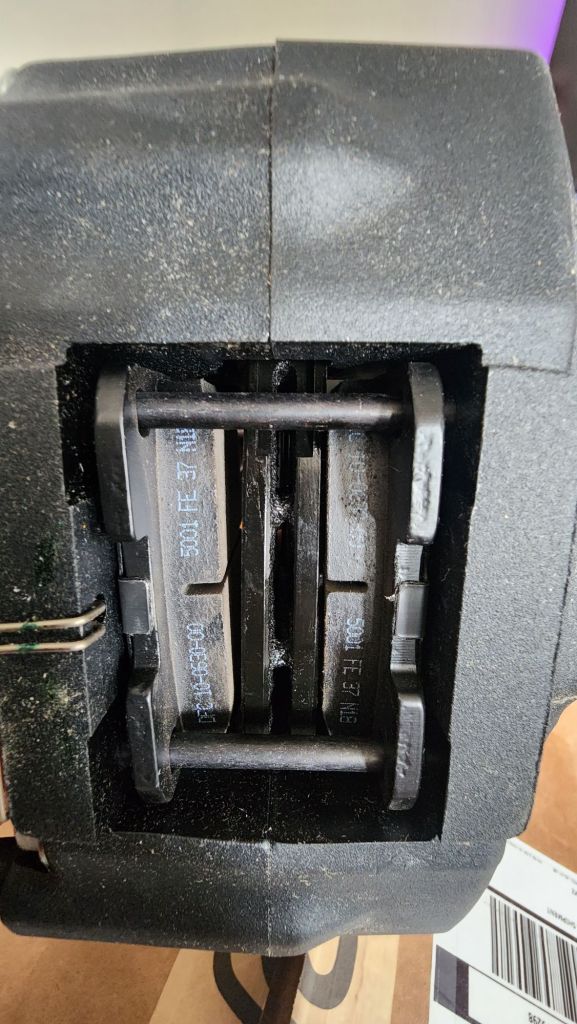
Brake shoes are literally the dumbest invention ever. Putting them together is ridiculously hard and fiddly. Zero pictures of the progress but after 1.5 hours the car has new brakes shoes. These were definitely original to the car. Getting them separated from the car took WD40 and a hammer. The old caliper pins look like the were in the ocean. Even the ebc pads I installed are looking rough. Braking and the hydro gotta improve.

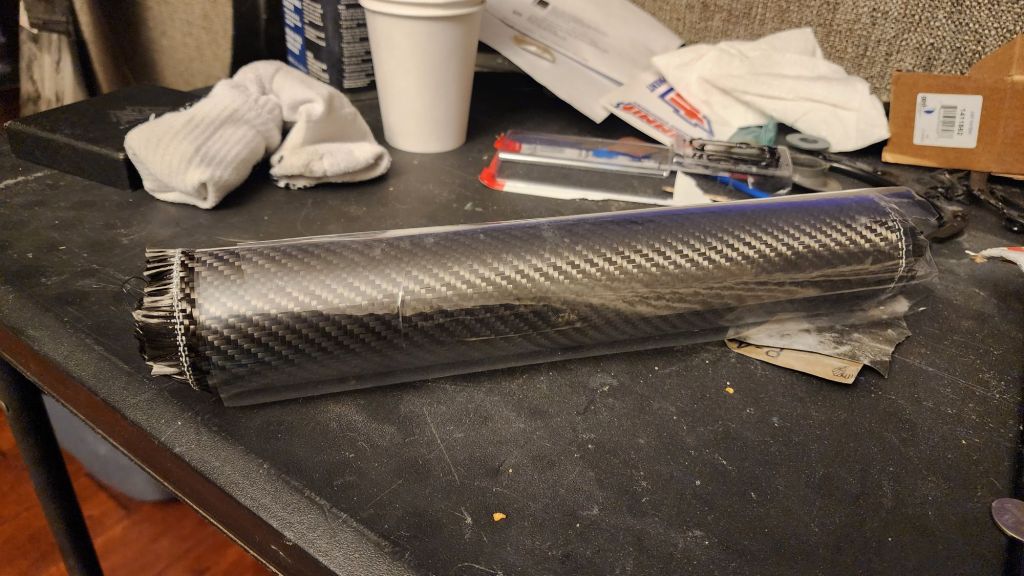
I tried to do some carbon overlay of a few parts. I’m not confident it’s going to come out great but we will see in the morning.


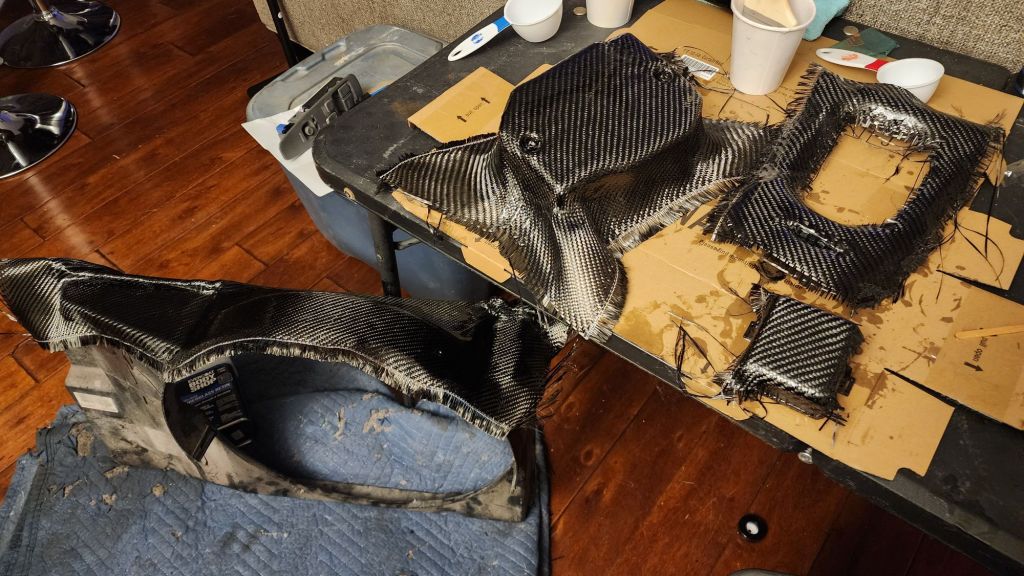
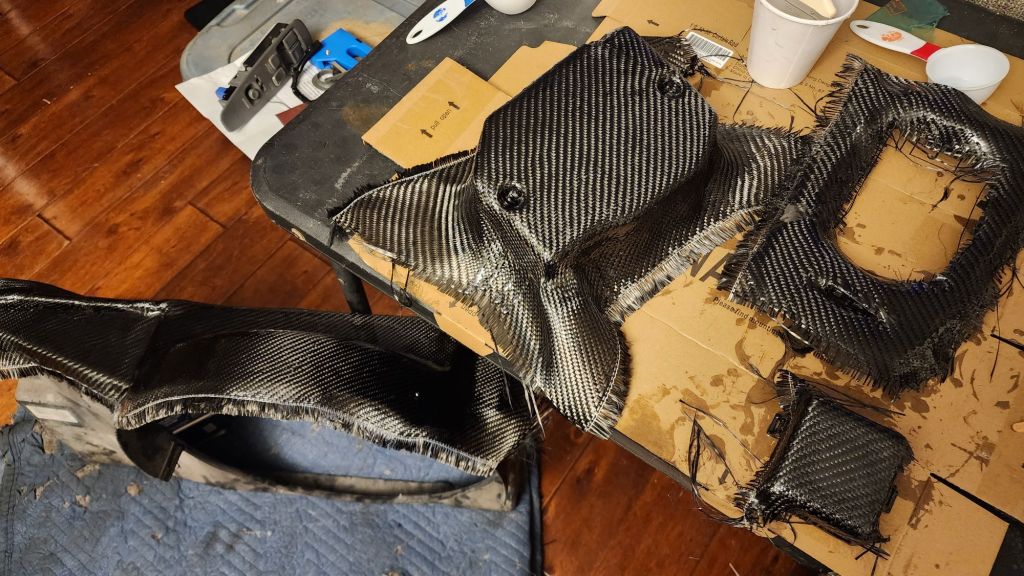

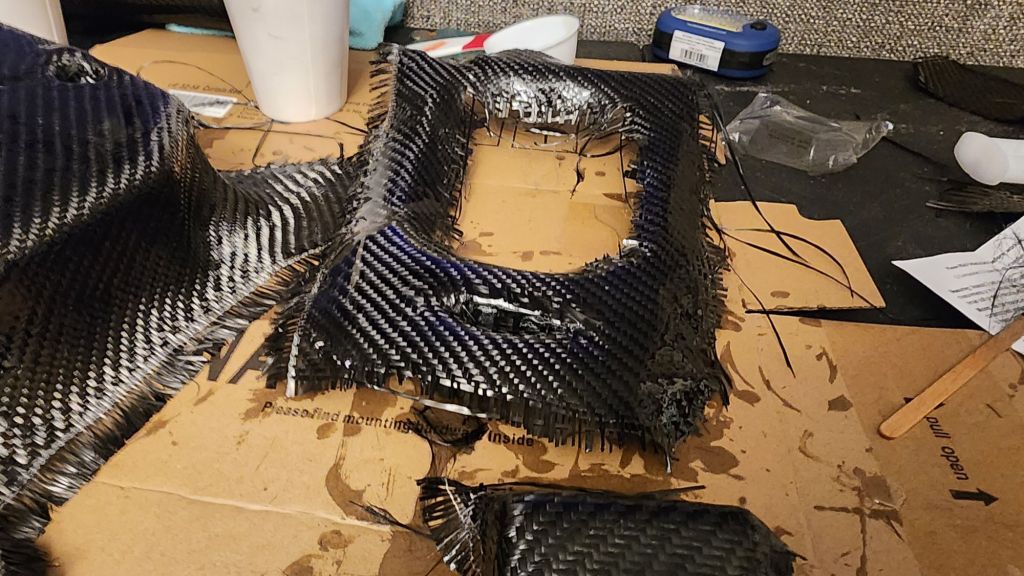

Hopefully they clean up when dry and trimmed.
I dunno…


I did stuff.
Trunk trim, hung the ps lines, welded the broken seatbelt nut, seam sealed the qp, installed the radio, seperated the mounts from the sun visors and installed them in the roof to fix the corners of the headliner sagging, painted the bottom of the qp’s, and fixed the broken ps plug.
Up next is cleaning and welding the new diff, tint if the weather warms up, brake shoes, change and bleed brake fluid, interior back in minus seats, and refiberglassing the door cards.
The intakes should be delivered in 2 more weeks. I’m very hype about this upgrade. There is dyno info showing the increase in tq and power but more importantly, the sound is amazing. Not crazy about the color but…


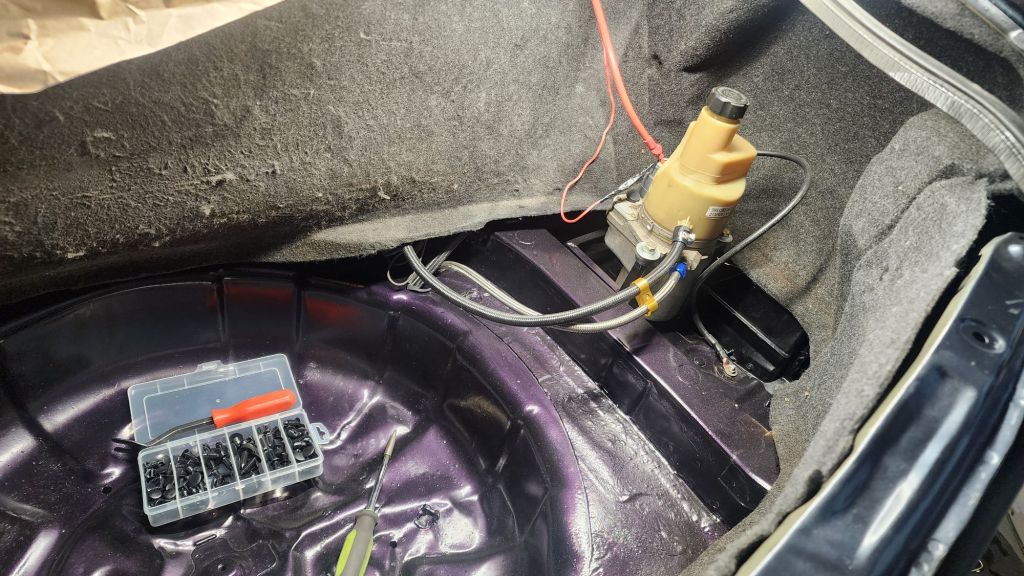
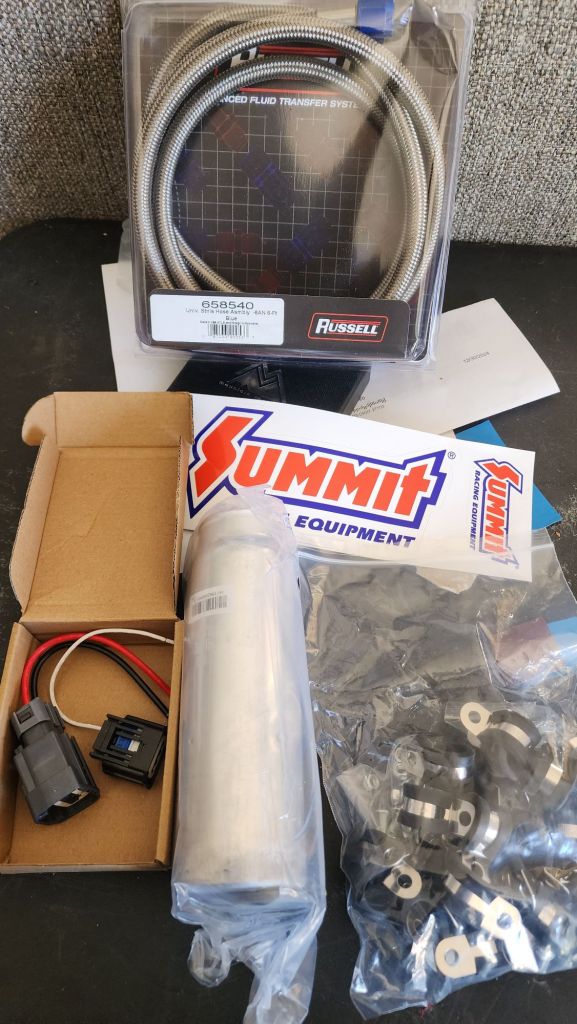
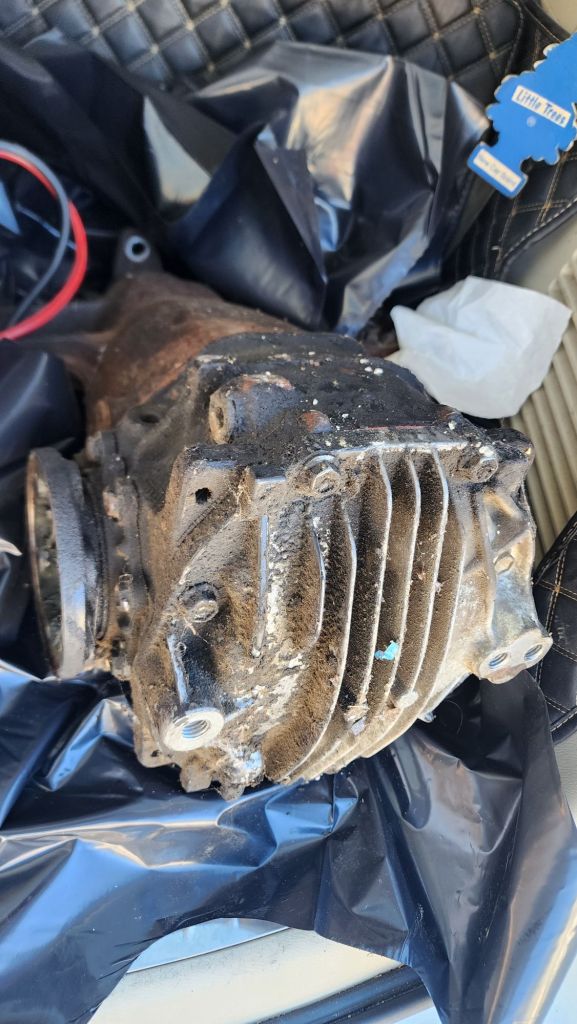
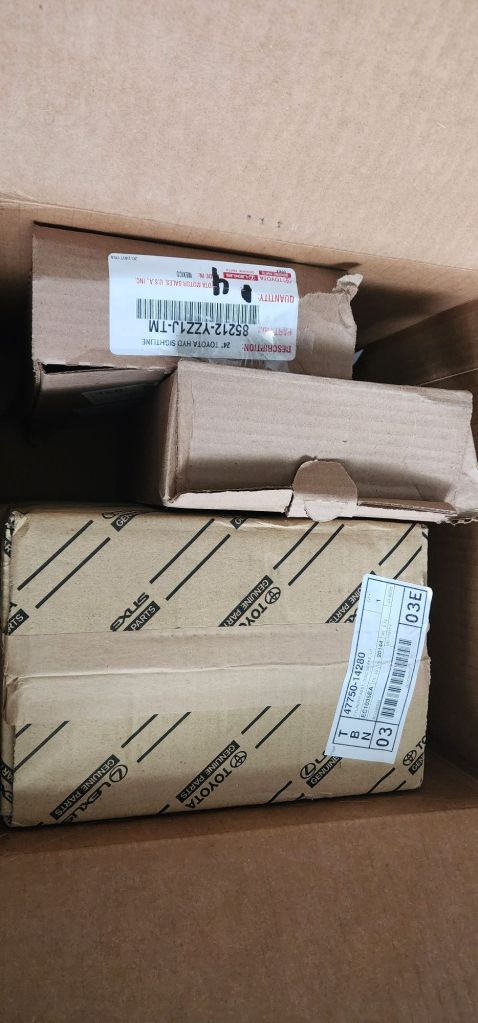
Some of the last few items to finish the car. Picked up a 4.27 diff to swap in place of the 4.08 in order to make the car more tandem friendly. The rest of the line and some holders. Also a new drier for the AC system.
I lied…
Couldn’t help but put the brakes on. Which is dumb because they have to come back off to fit the shoes when they come. But wouldja look at thayat?? Just look at it…


The Brakes…
All the parts came in except the new shoes. I’m headed out for the weekend so I won’t be able to assemble everything for a few. Rounding the last few corners.


Plastic repair…
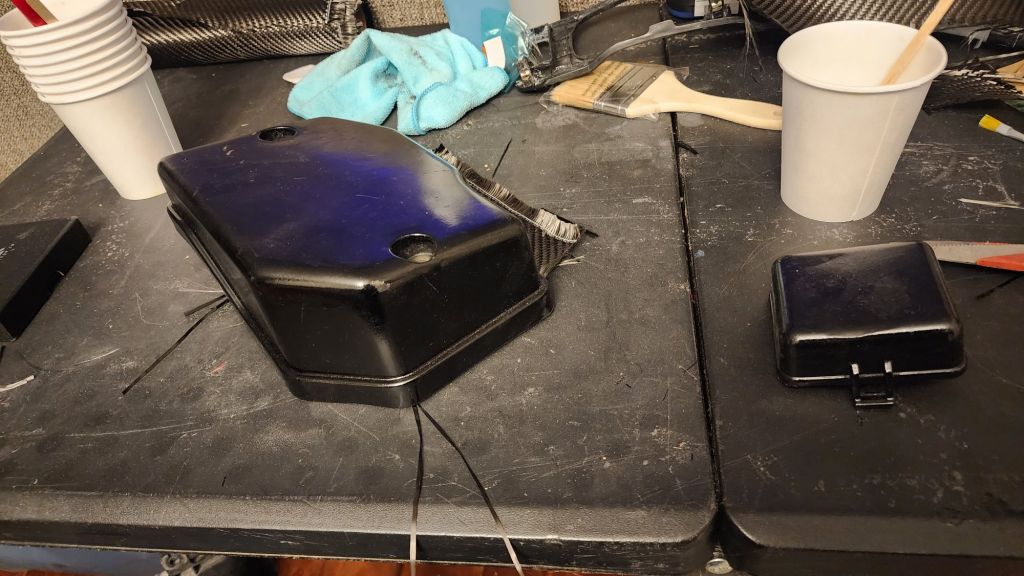
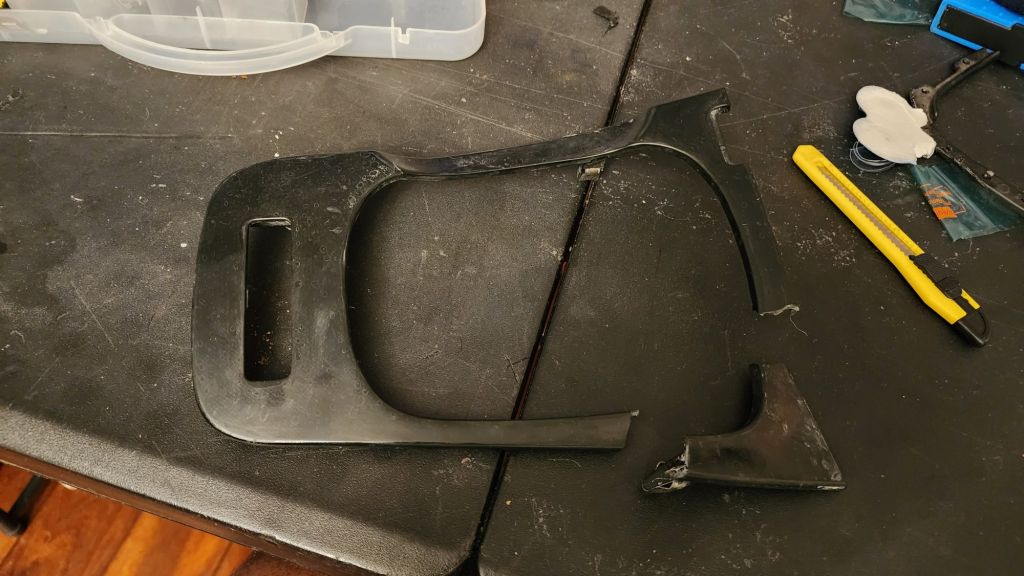
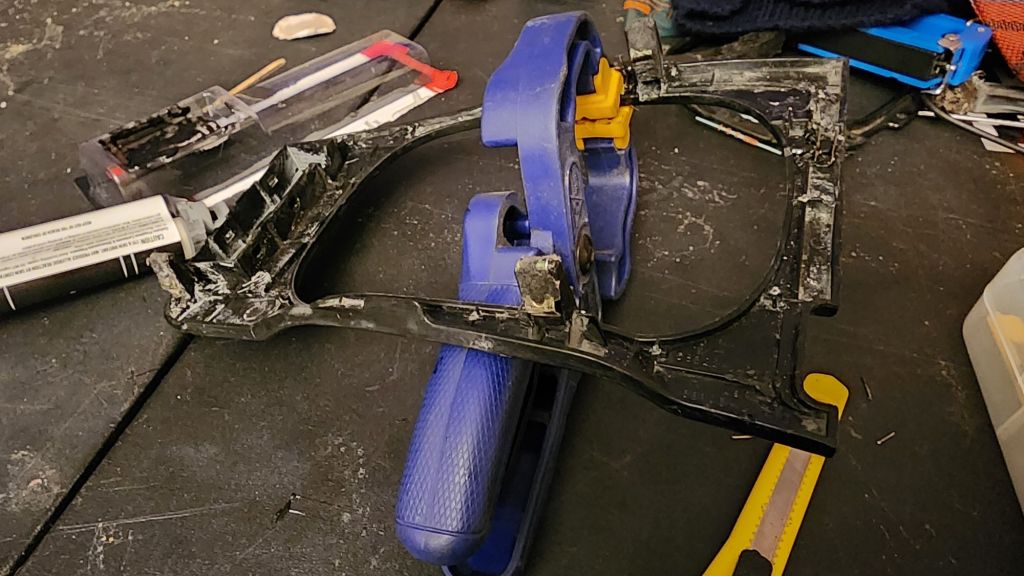
I broke my shifter bezel trying to polish it. I also broke my fan shroud. These parts have gotten stupid expensive. So instead of replacing them I’m going to do a carbon overlay.
Started with the shroud.


These staples work amazing. Its just hard to know when you’re at the right depth. This plus the epoxy hopefully makes a strong bond.

Shift bezel was a bit easier.

Carbon overlay tonight.
More..
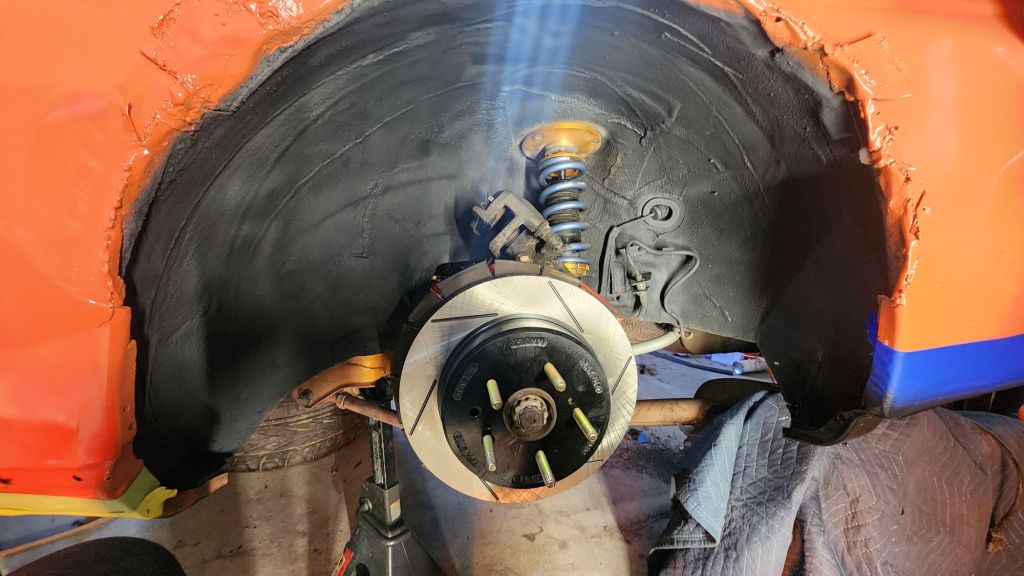
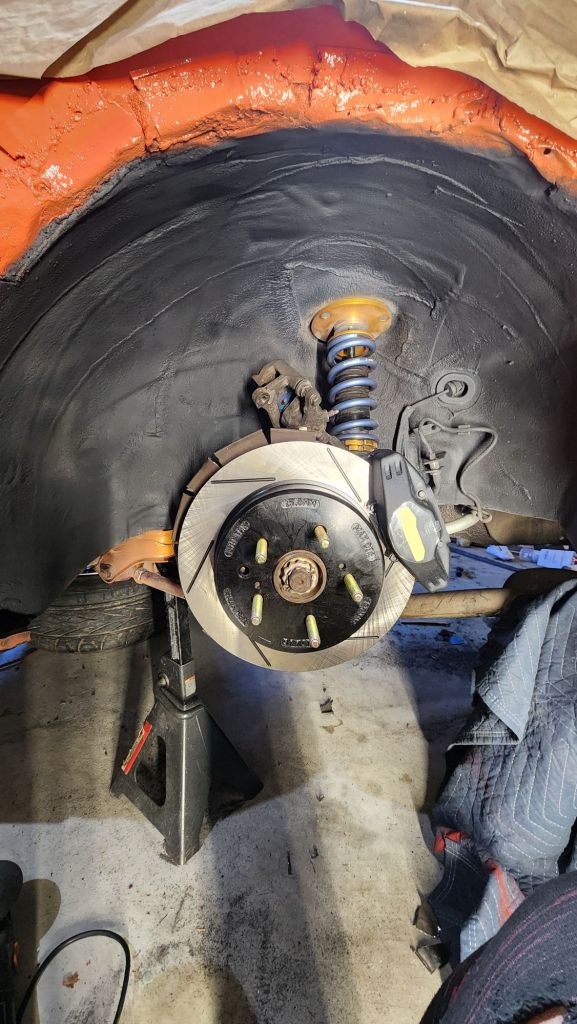
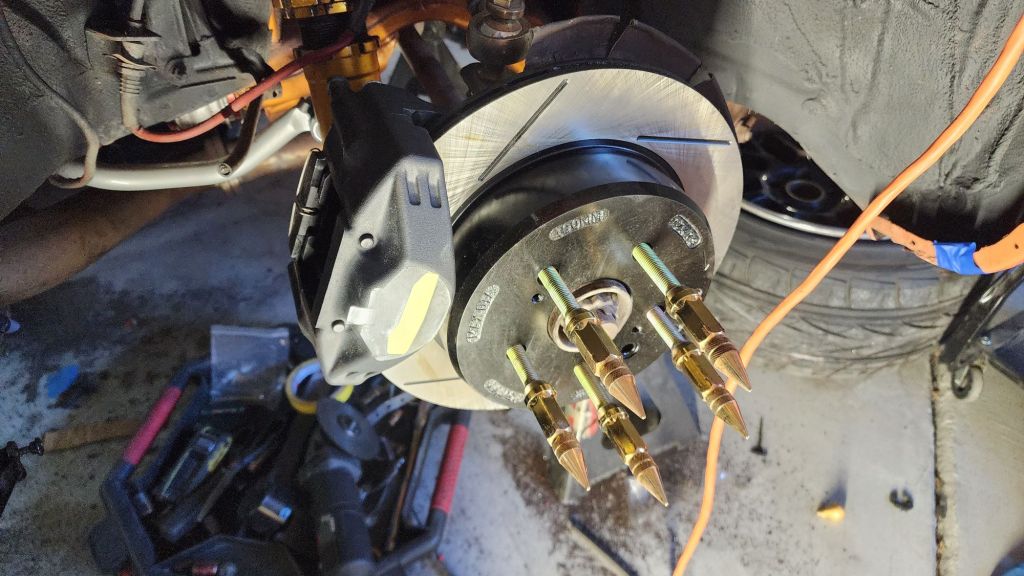
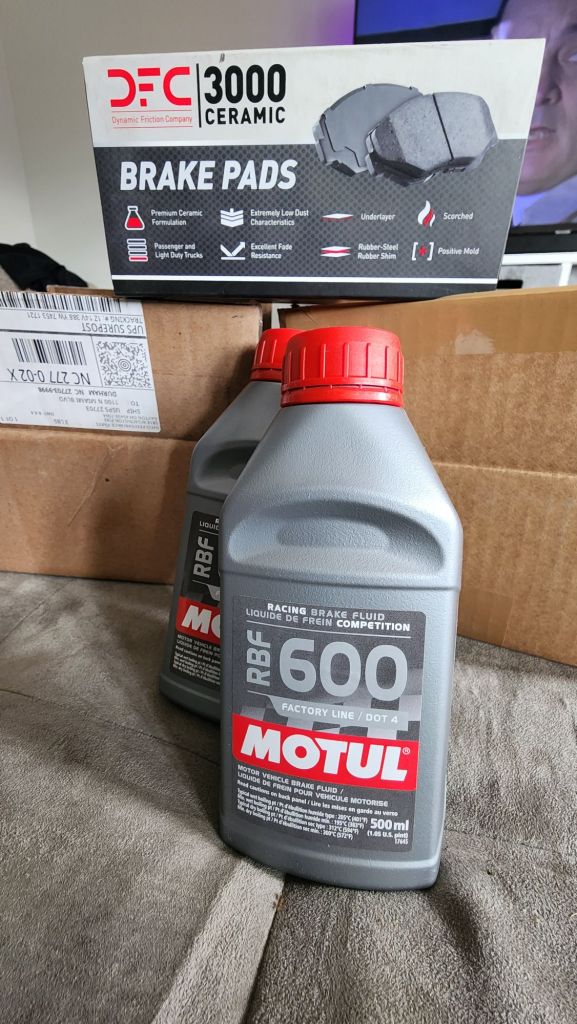
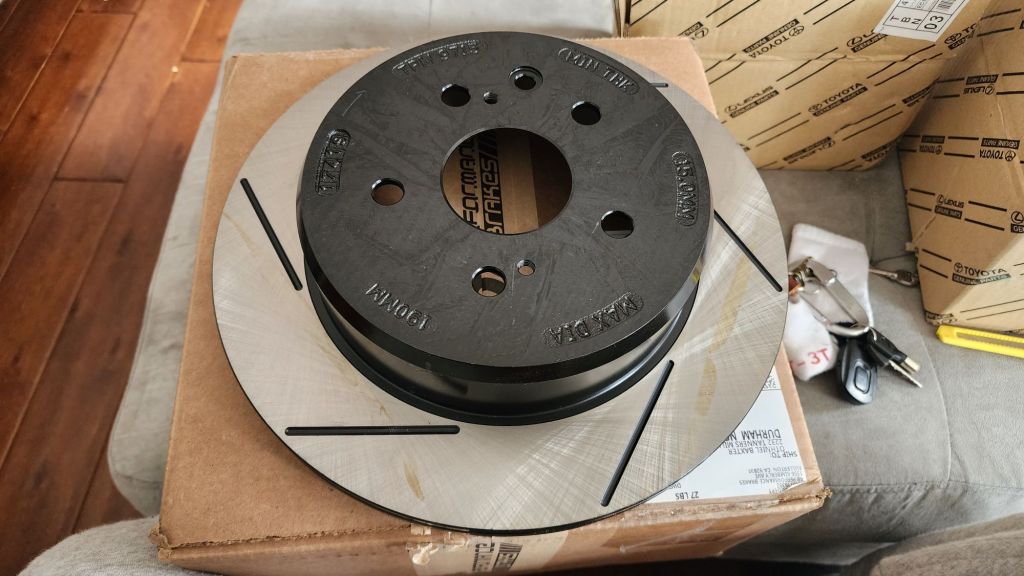
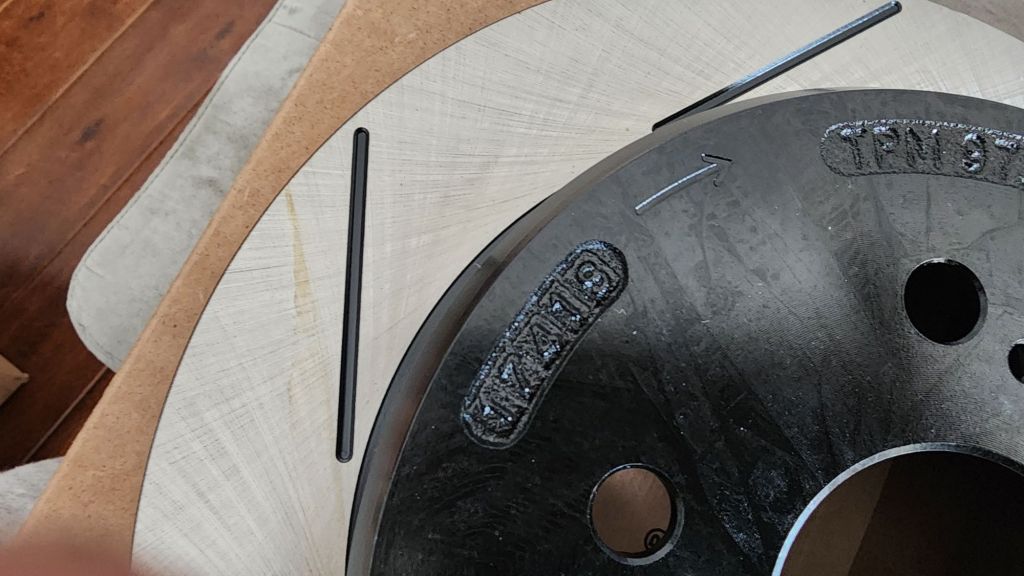
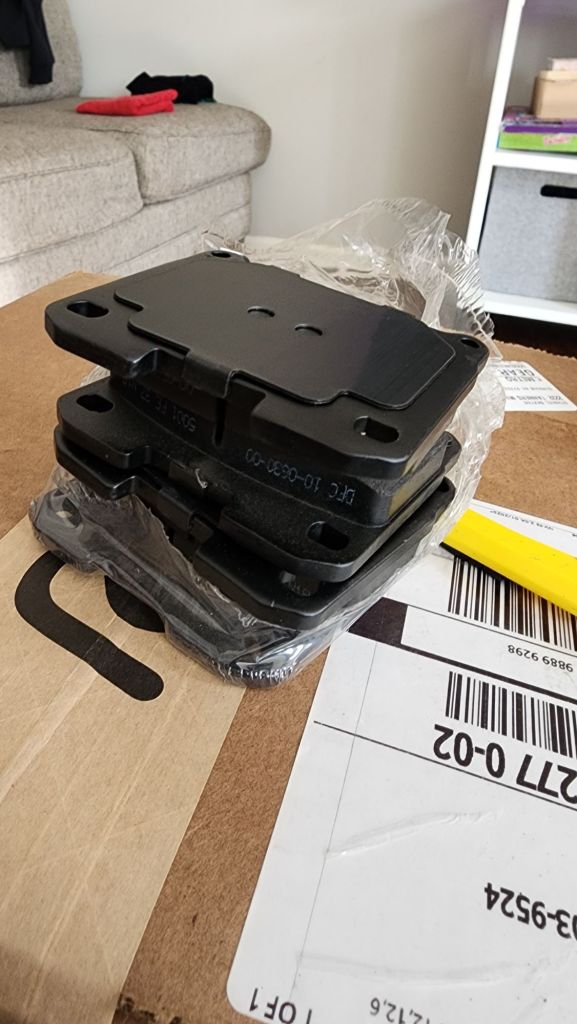
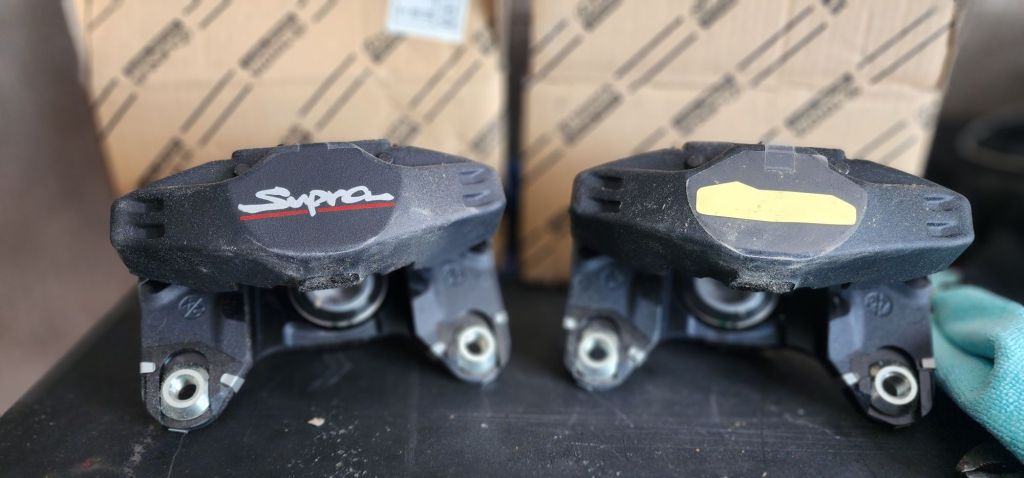
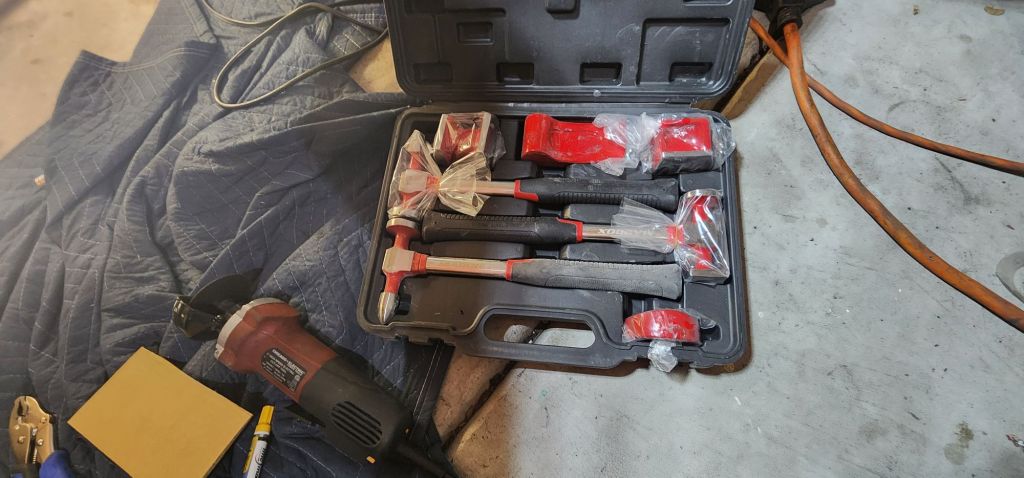
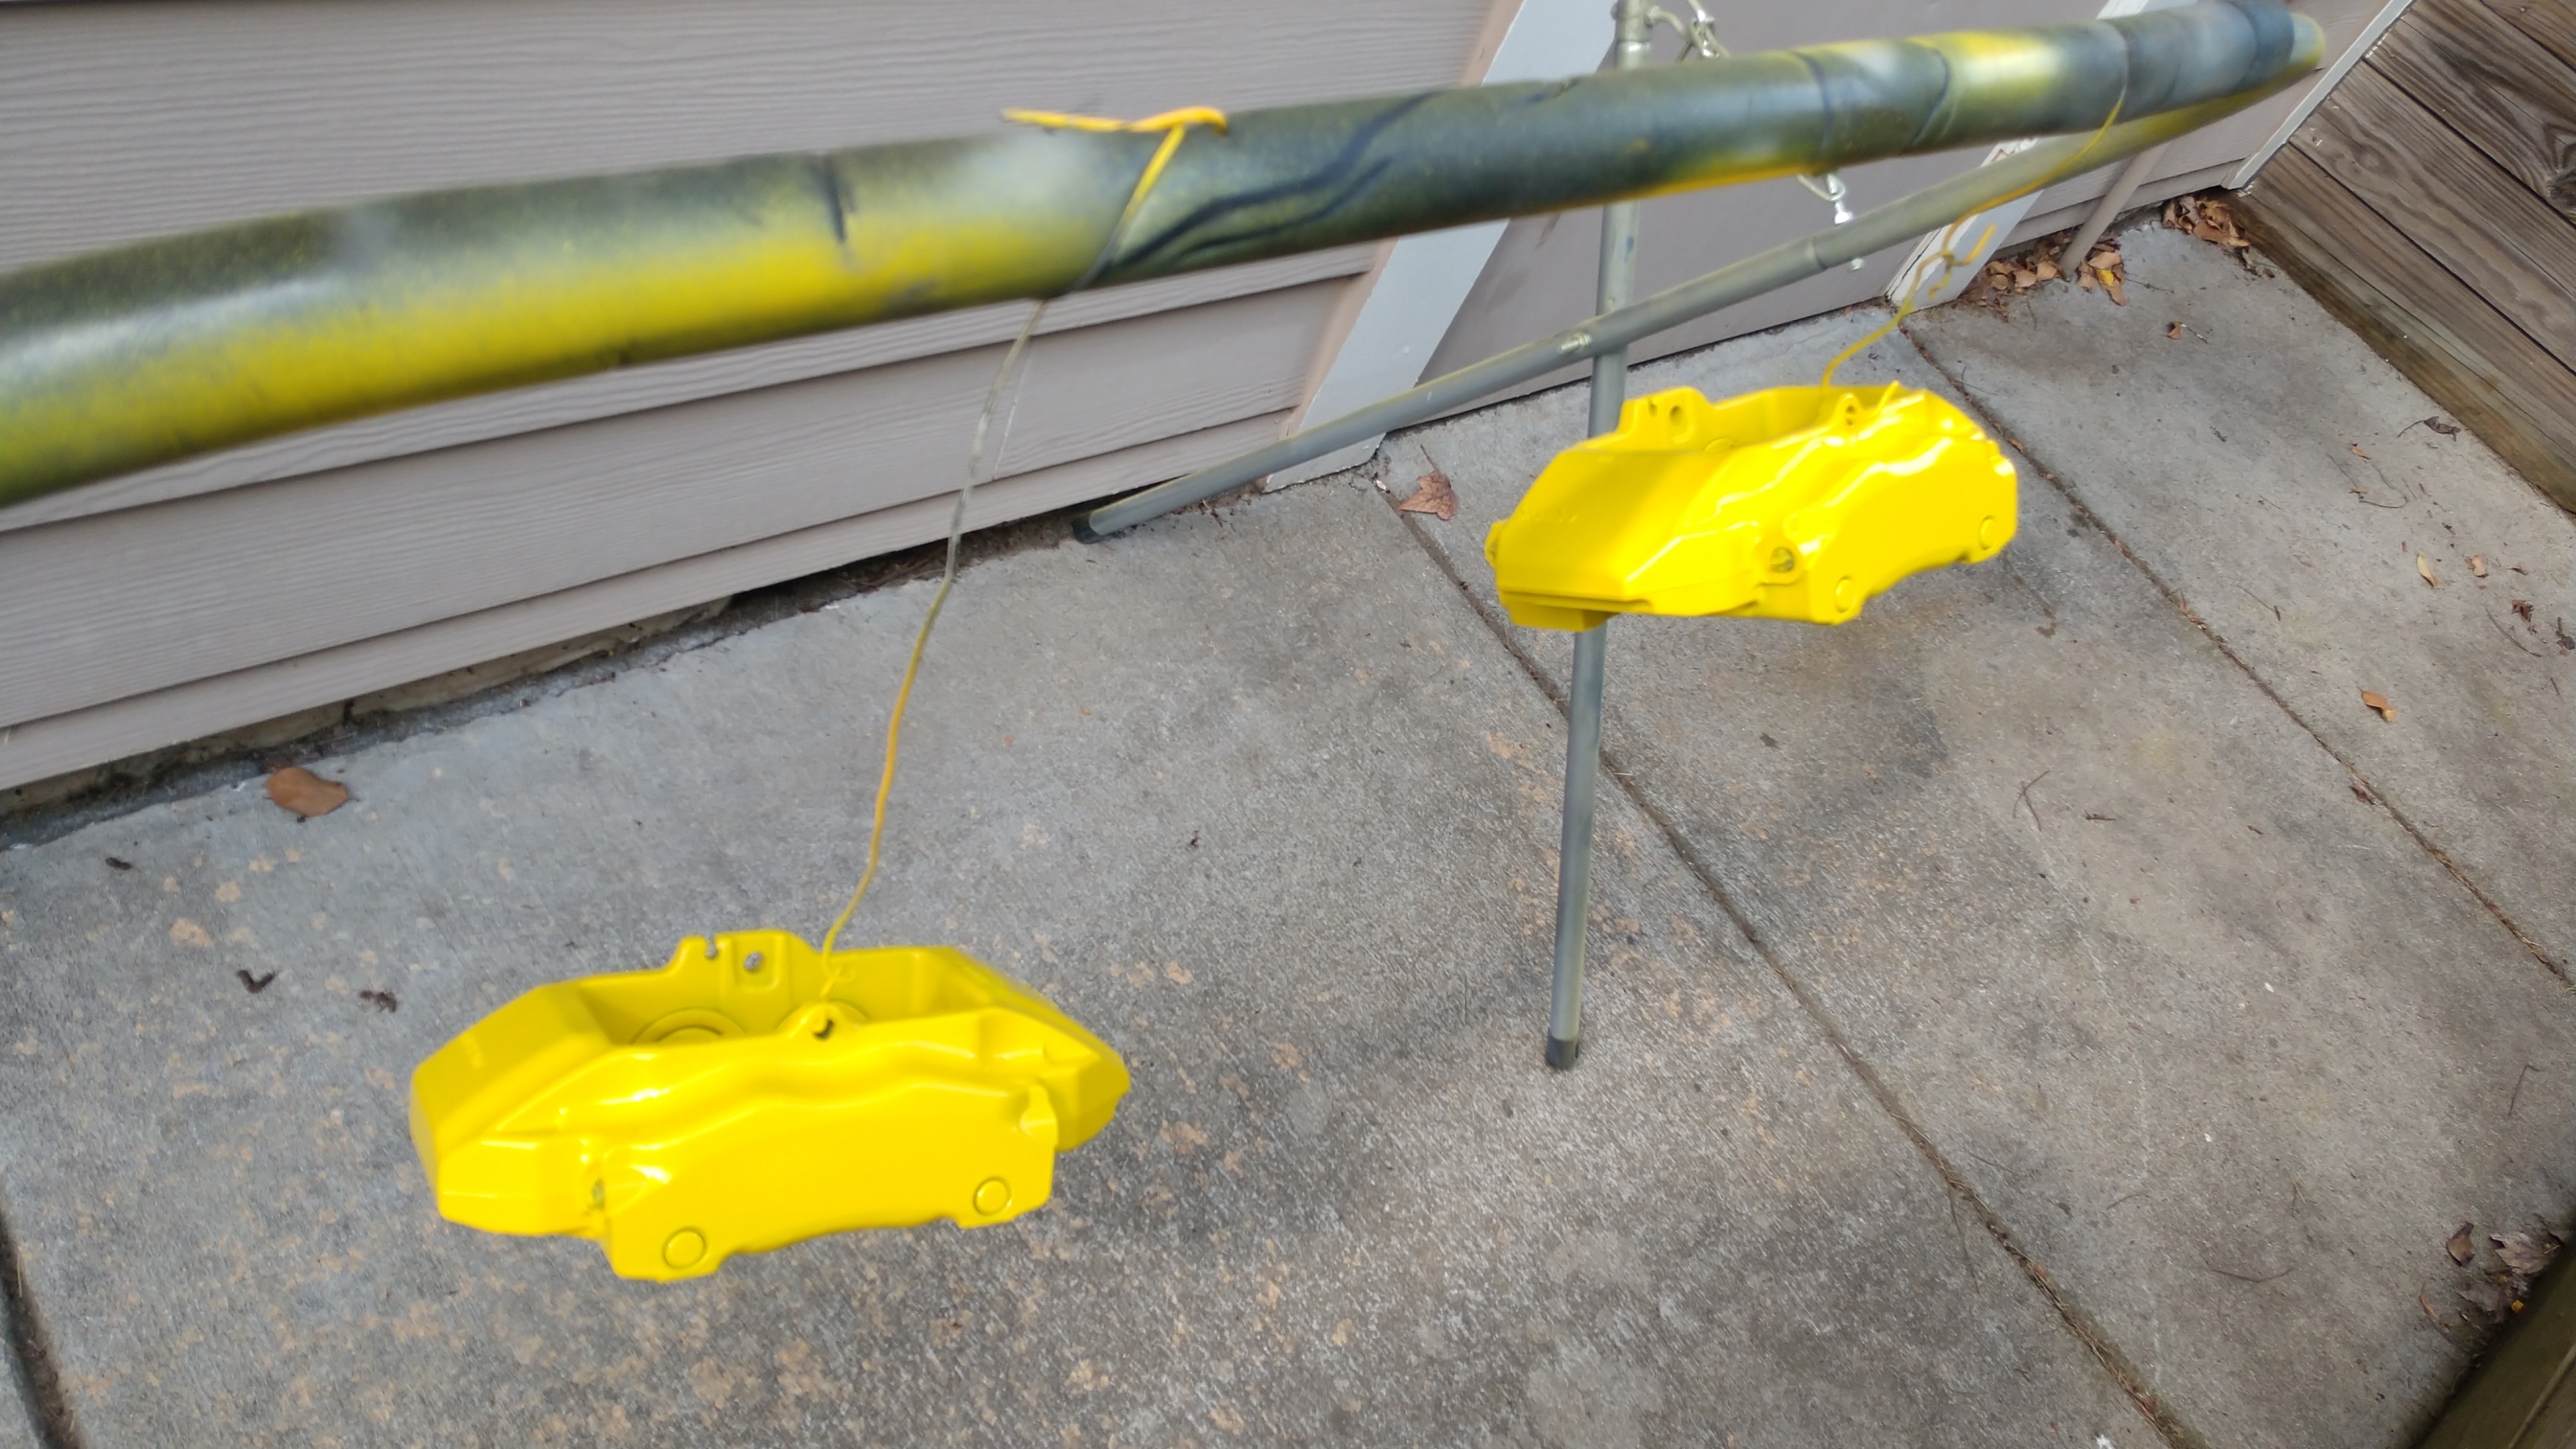
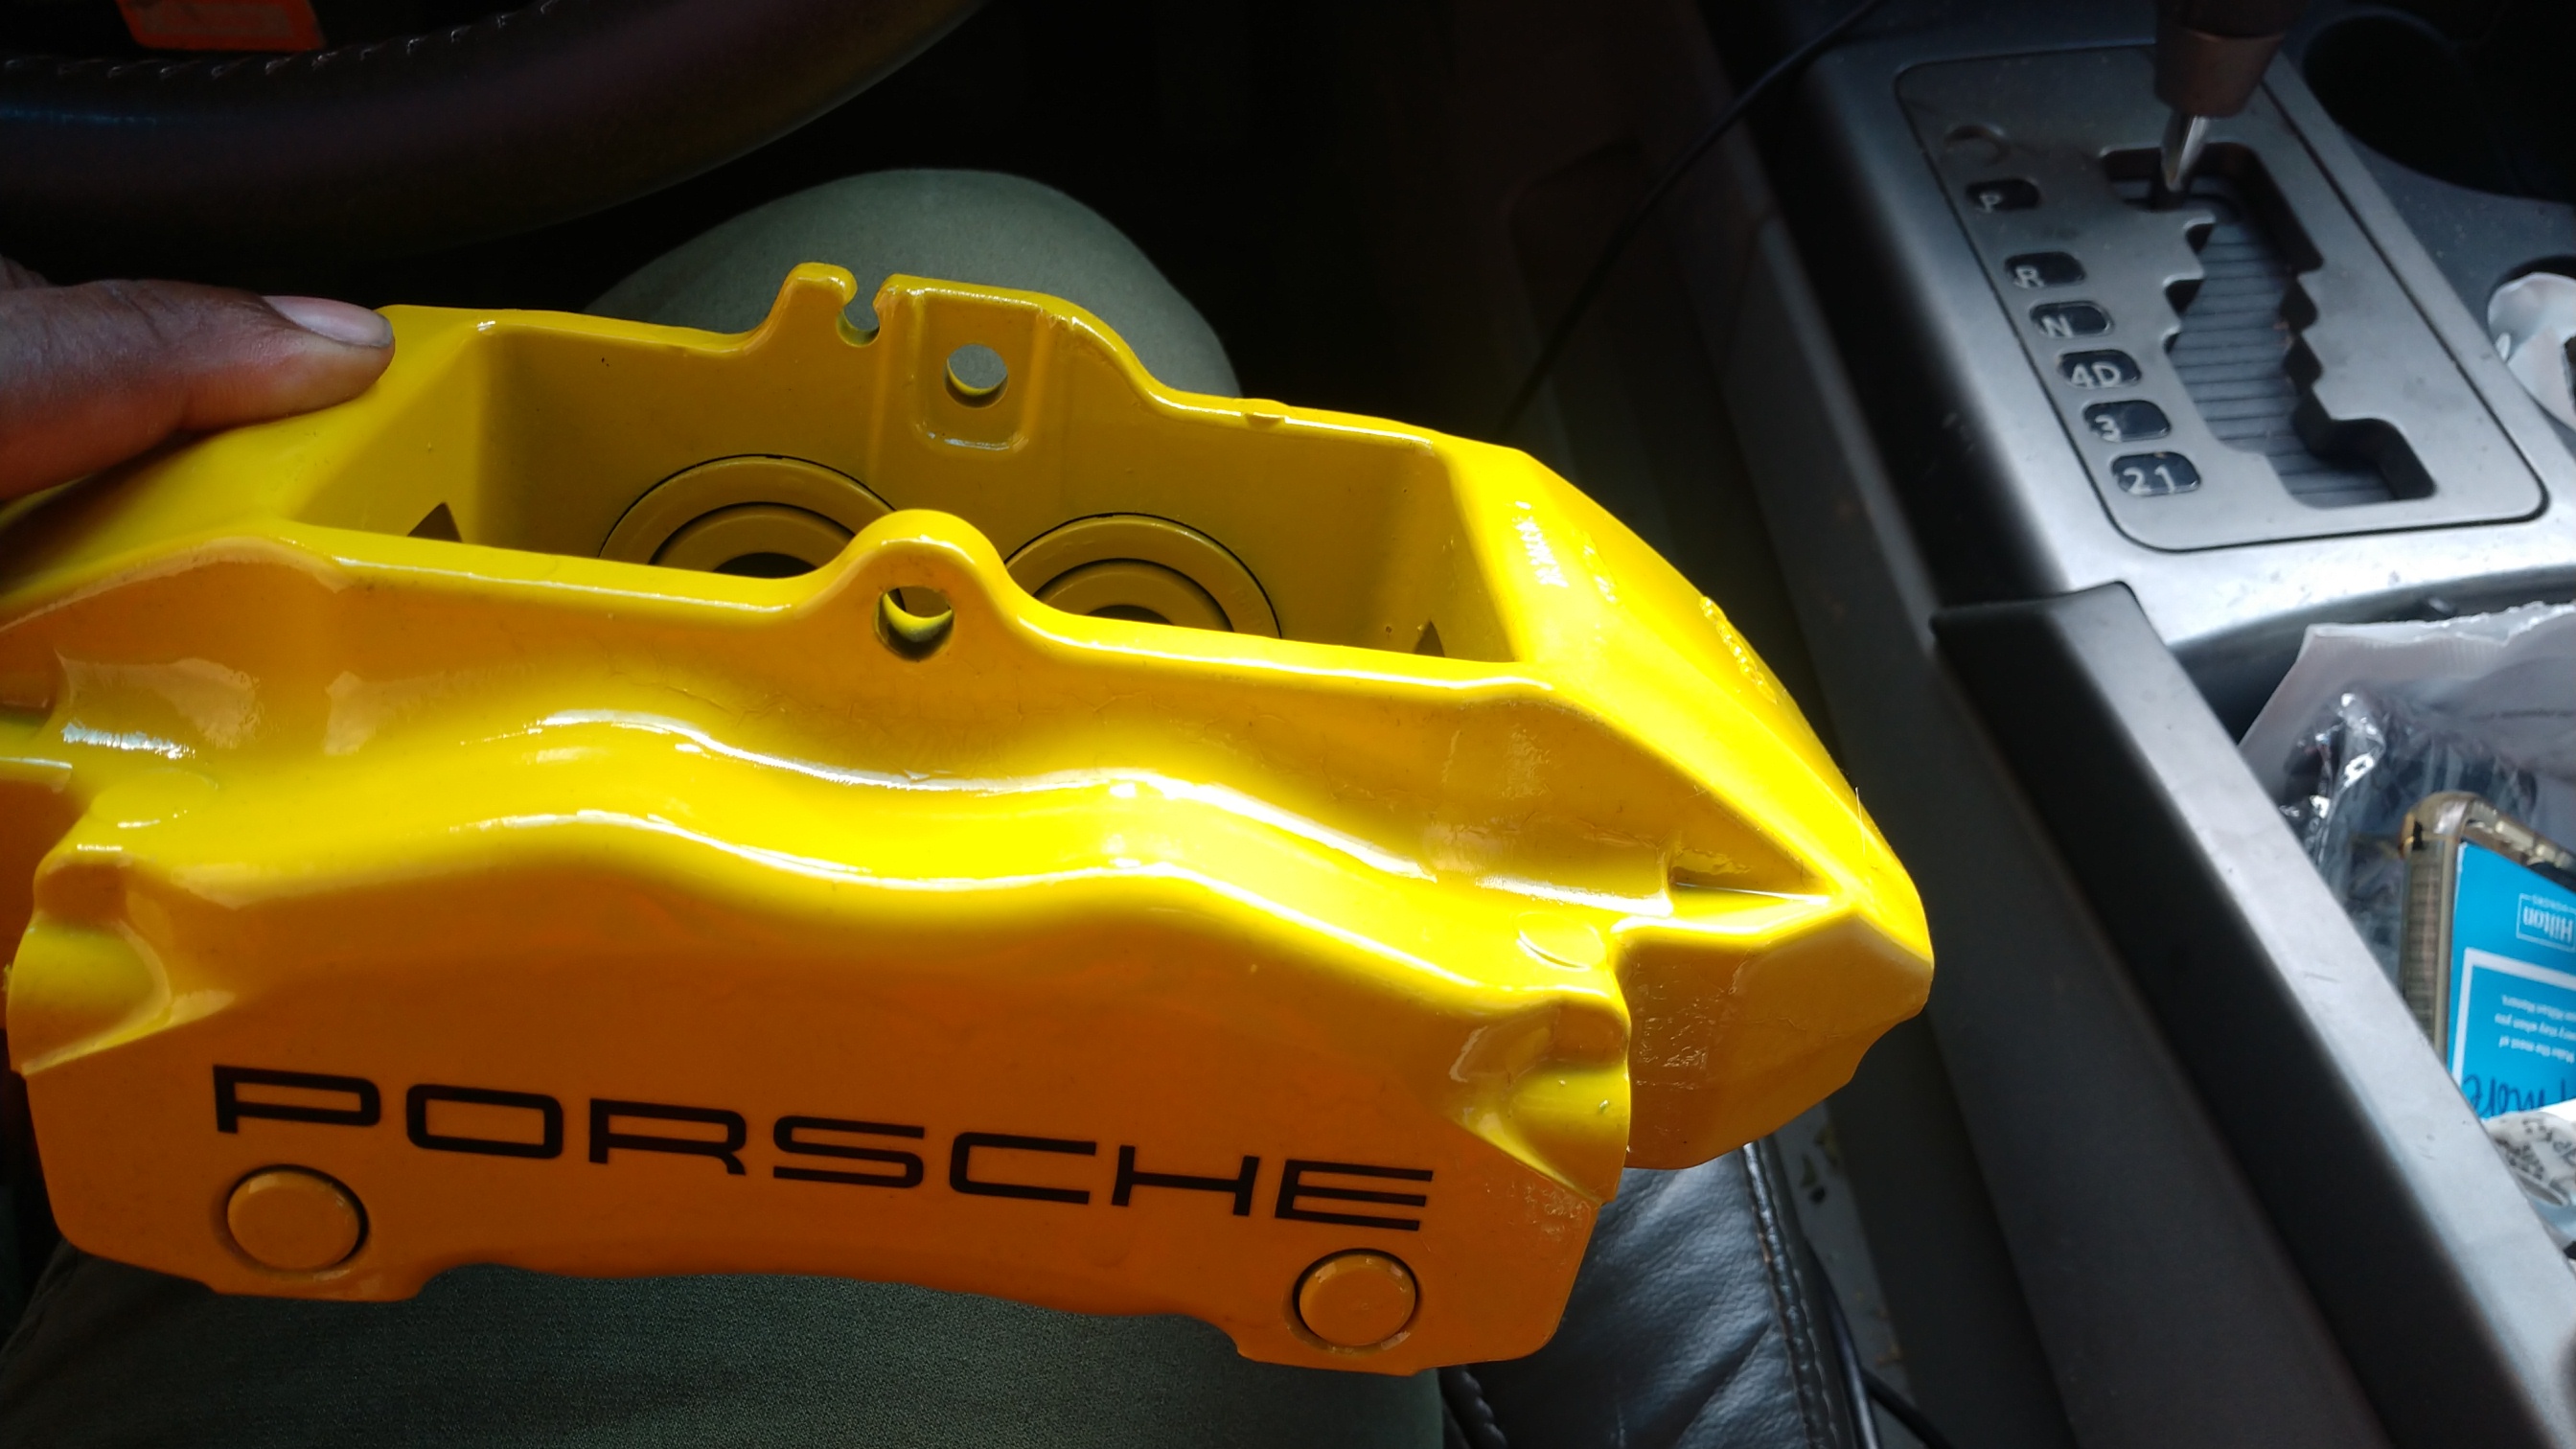
The Supra calipers came. These were on a national backorder and I didn’t expect them for a good while. The dealership was actually going to cancel my order but the price was so good I asked them to just hold the money till they could fill the order. So when I got a tracking number I was pleasantly surprises and they made it to me in 2 days. I ordered new shoes, rotors, Motul fluid, and pads that will be here mid week. I’ll trim the dust shields and install then.
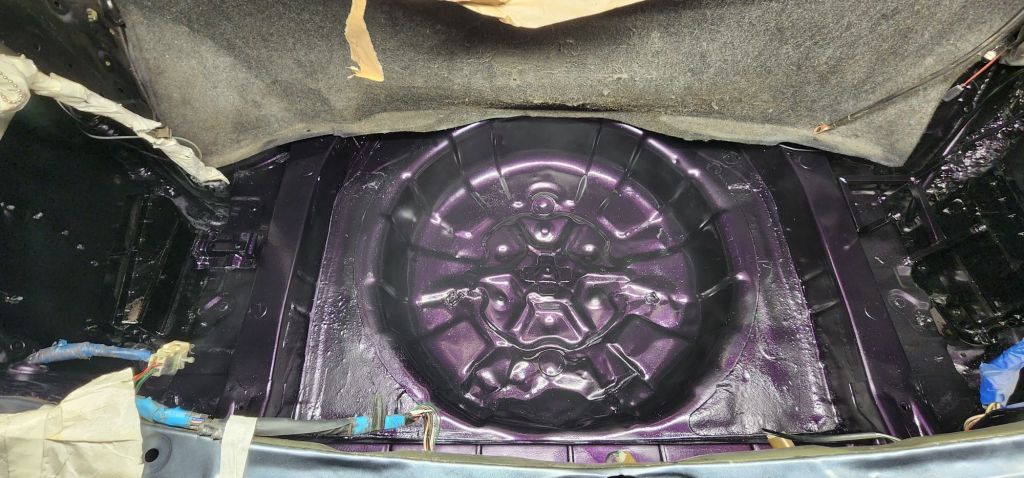
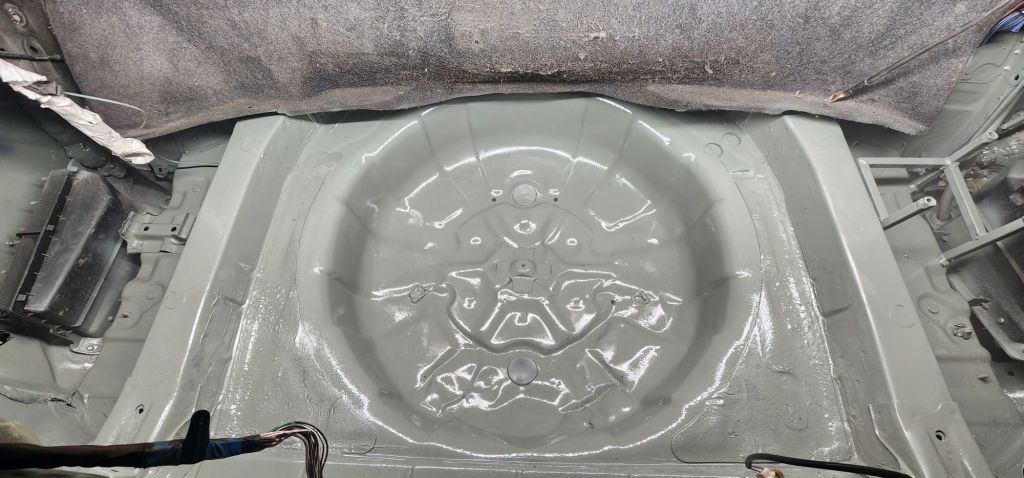
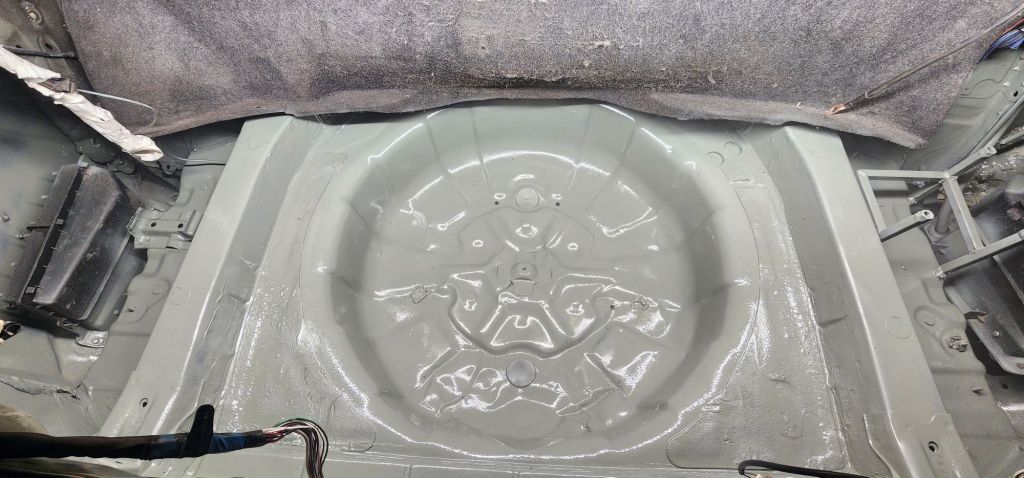
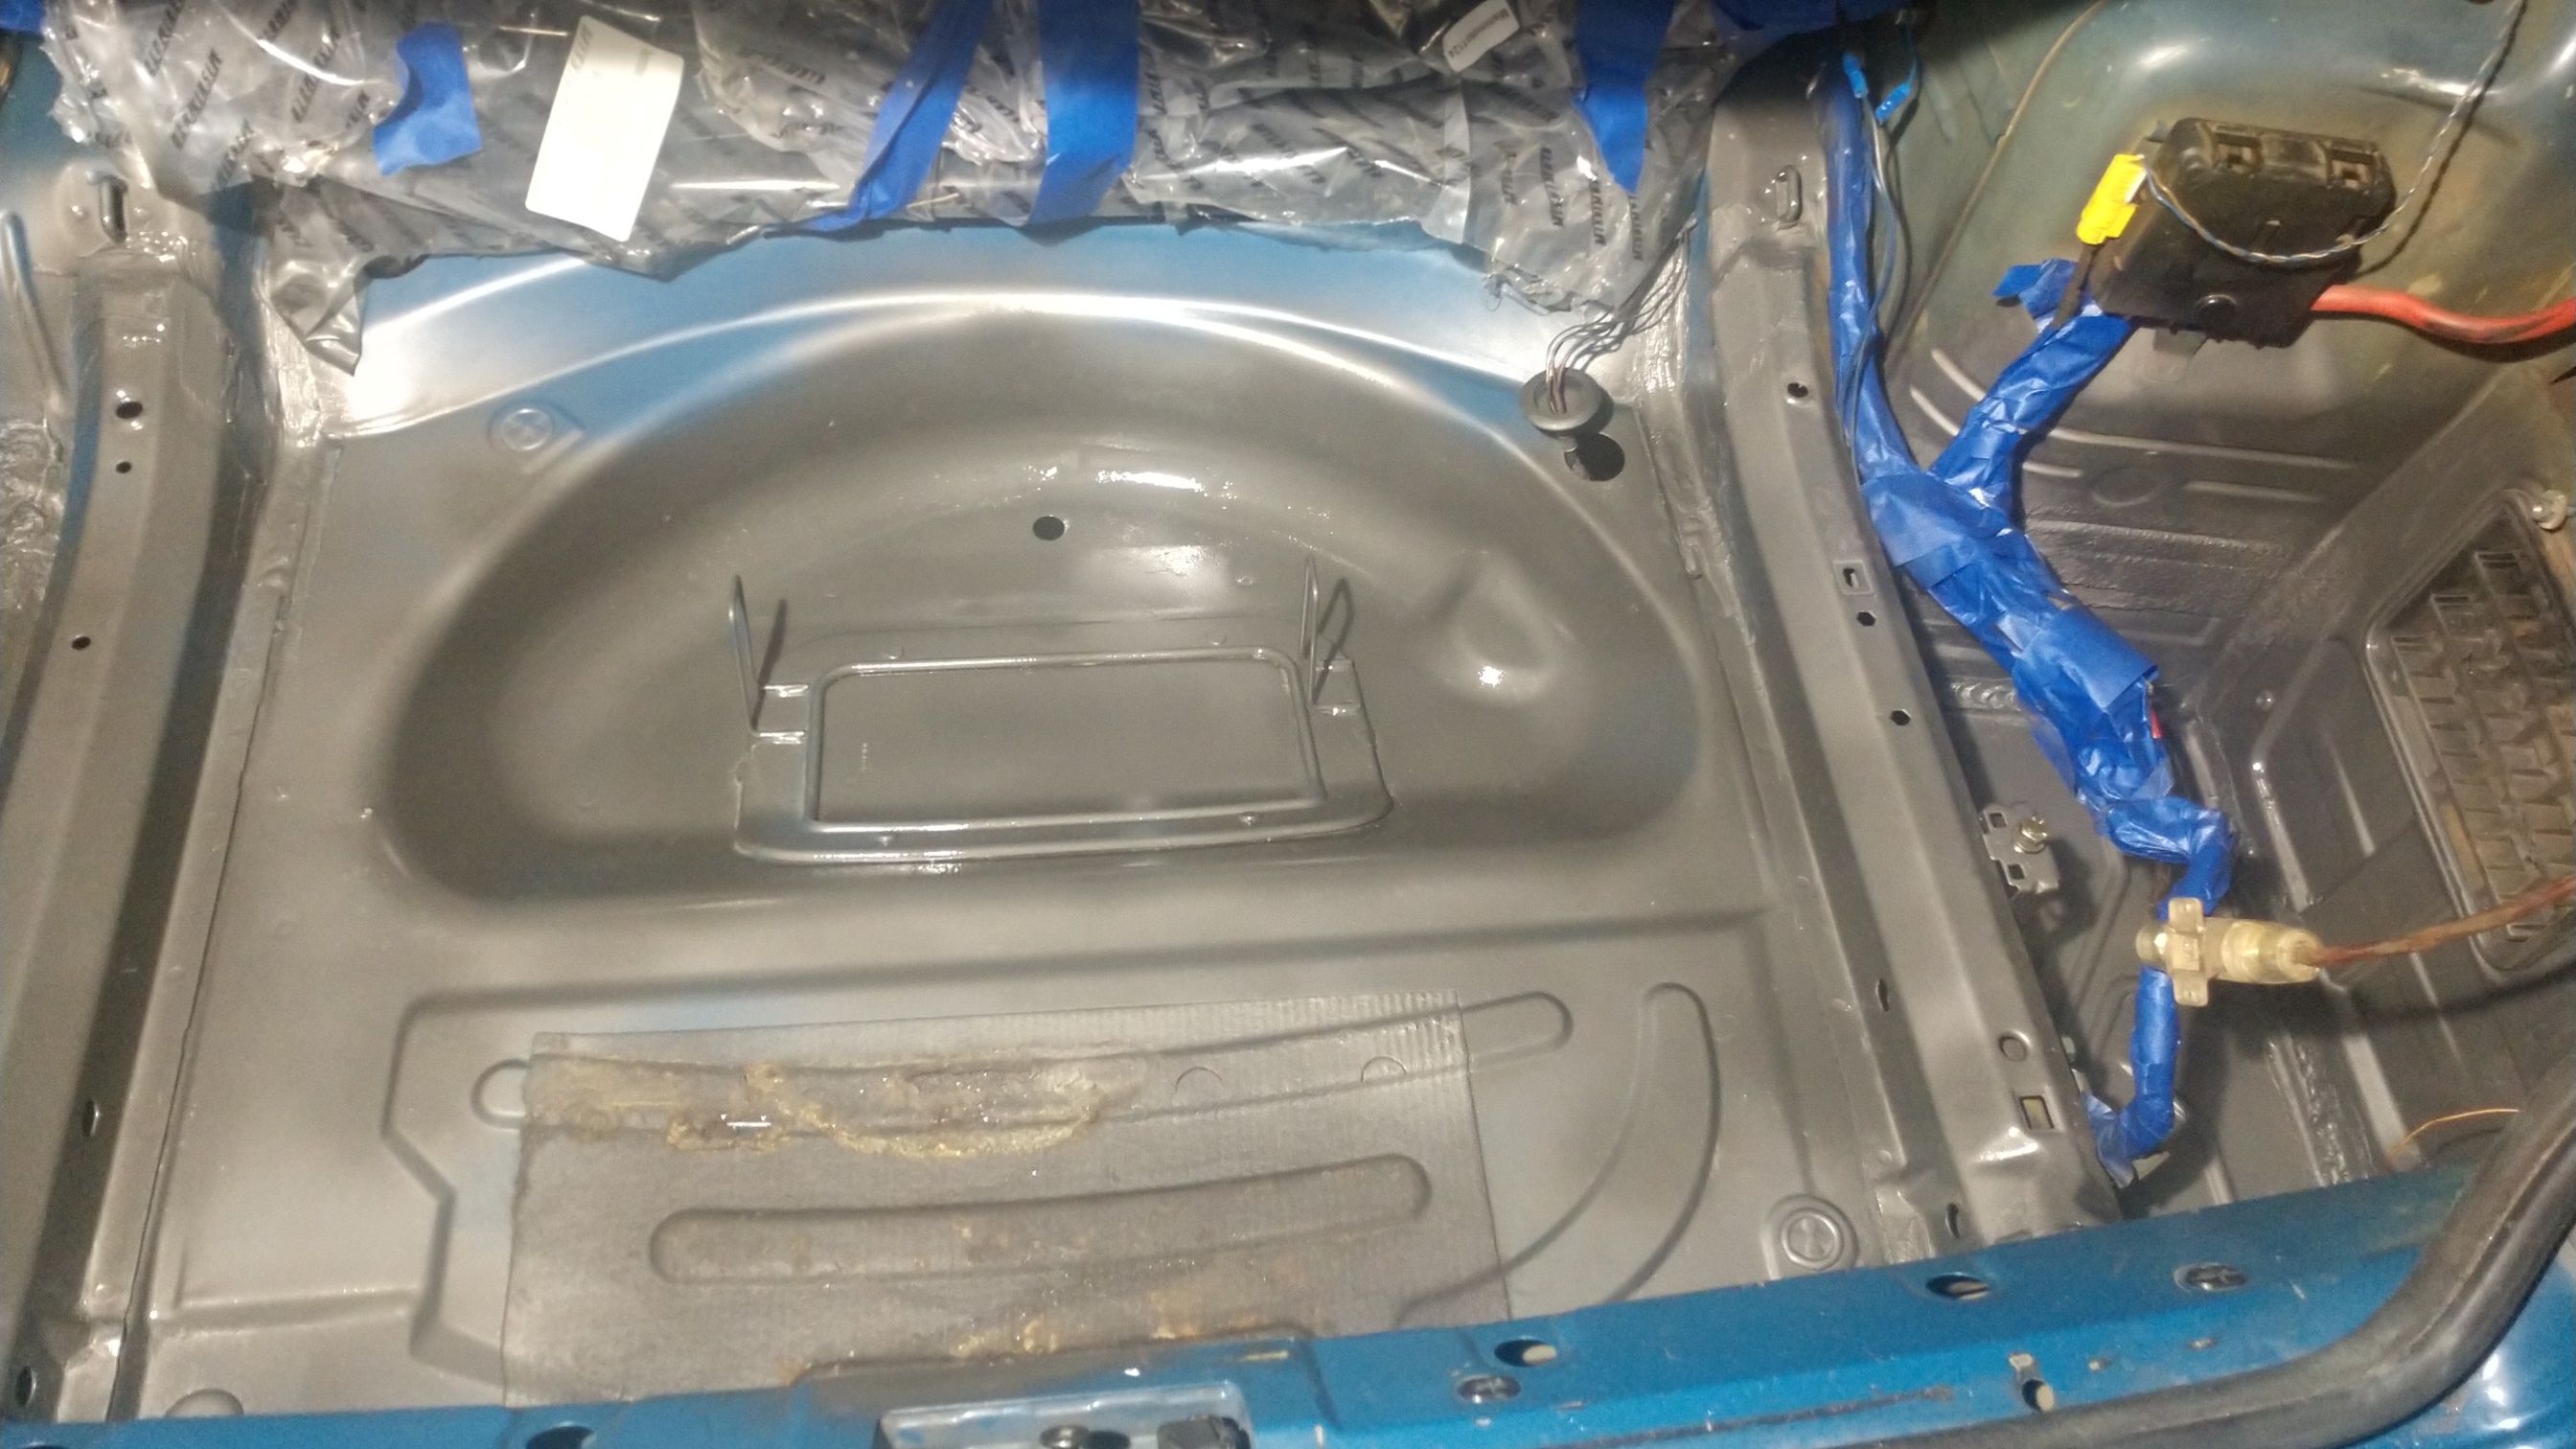
I finished spraying the trunk. It didn’t come out as great as I would have liked but I wasn’t going to spend as much time on it as I did the engine bay.

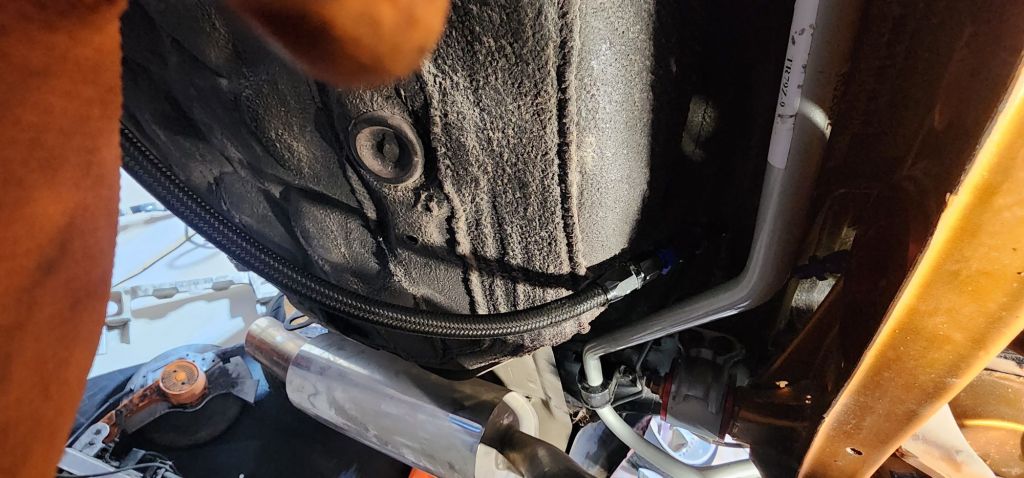
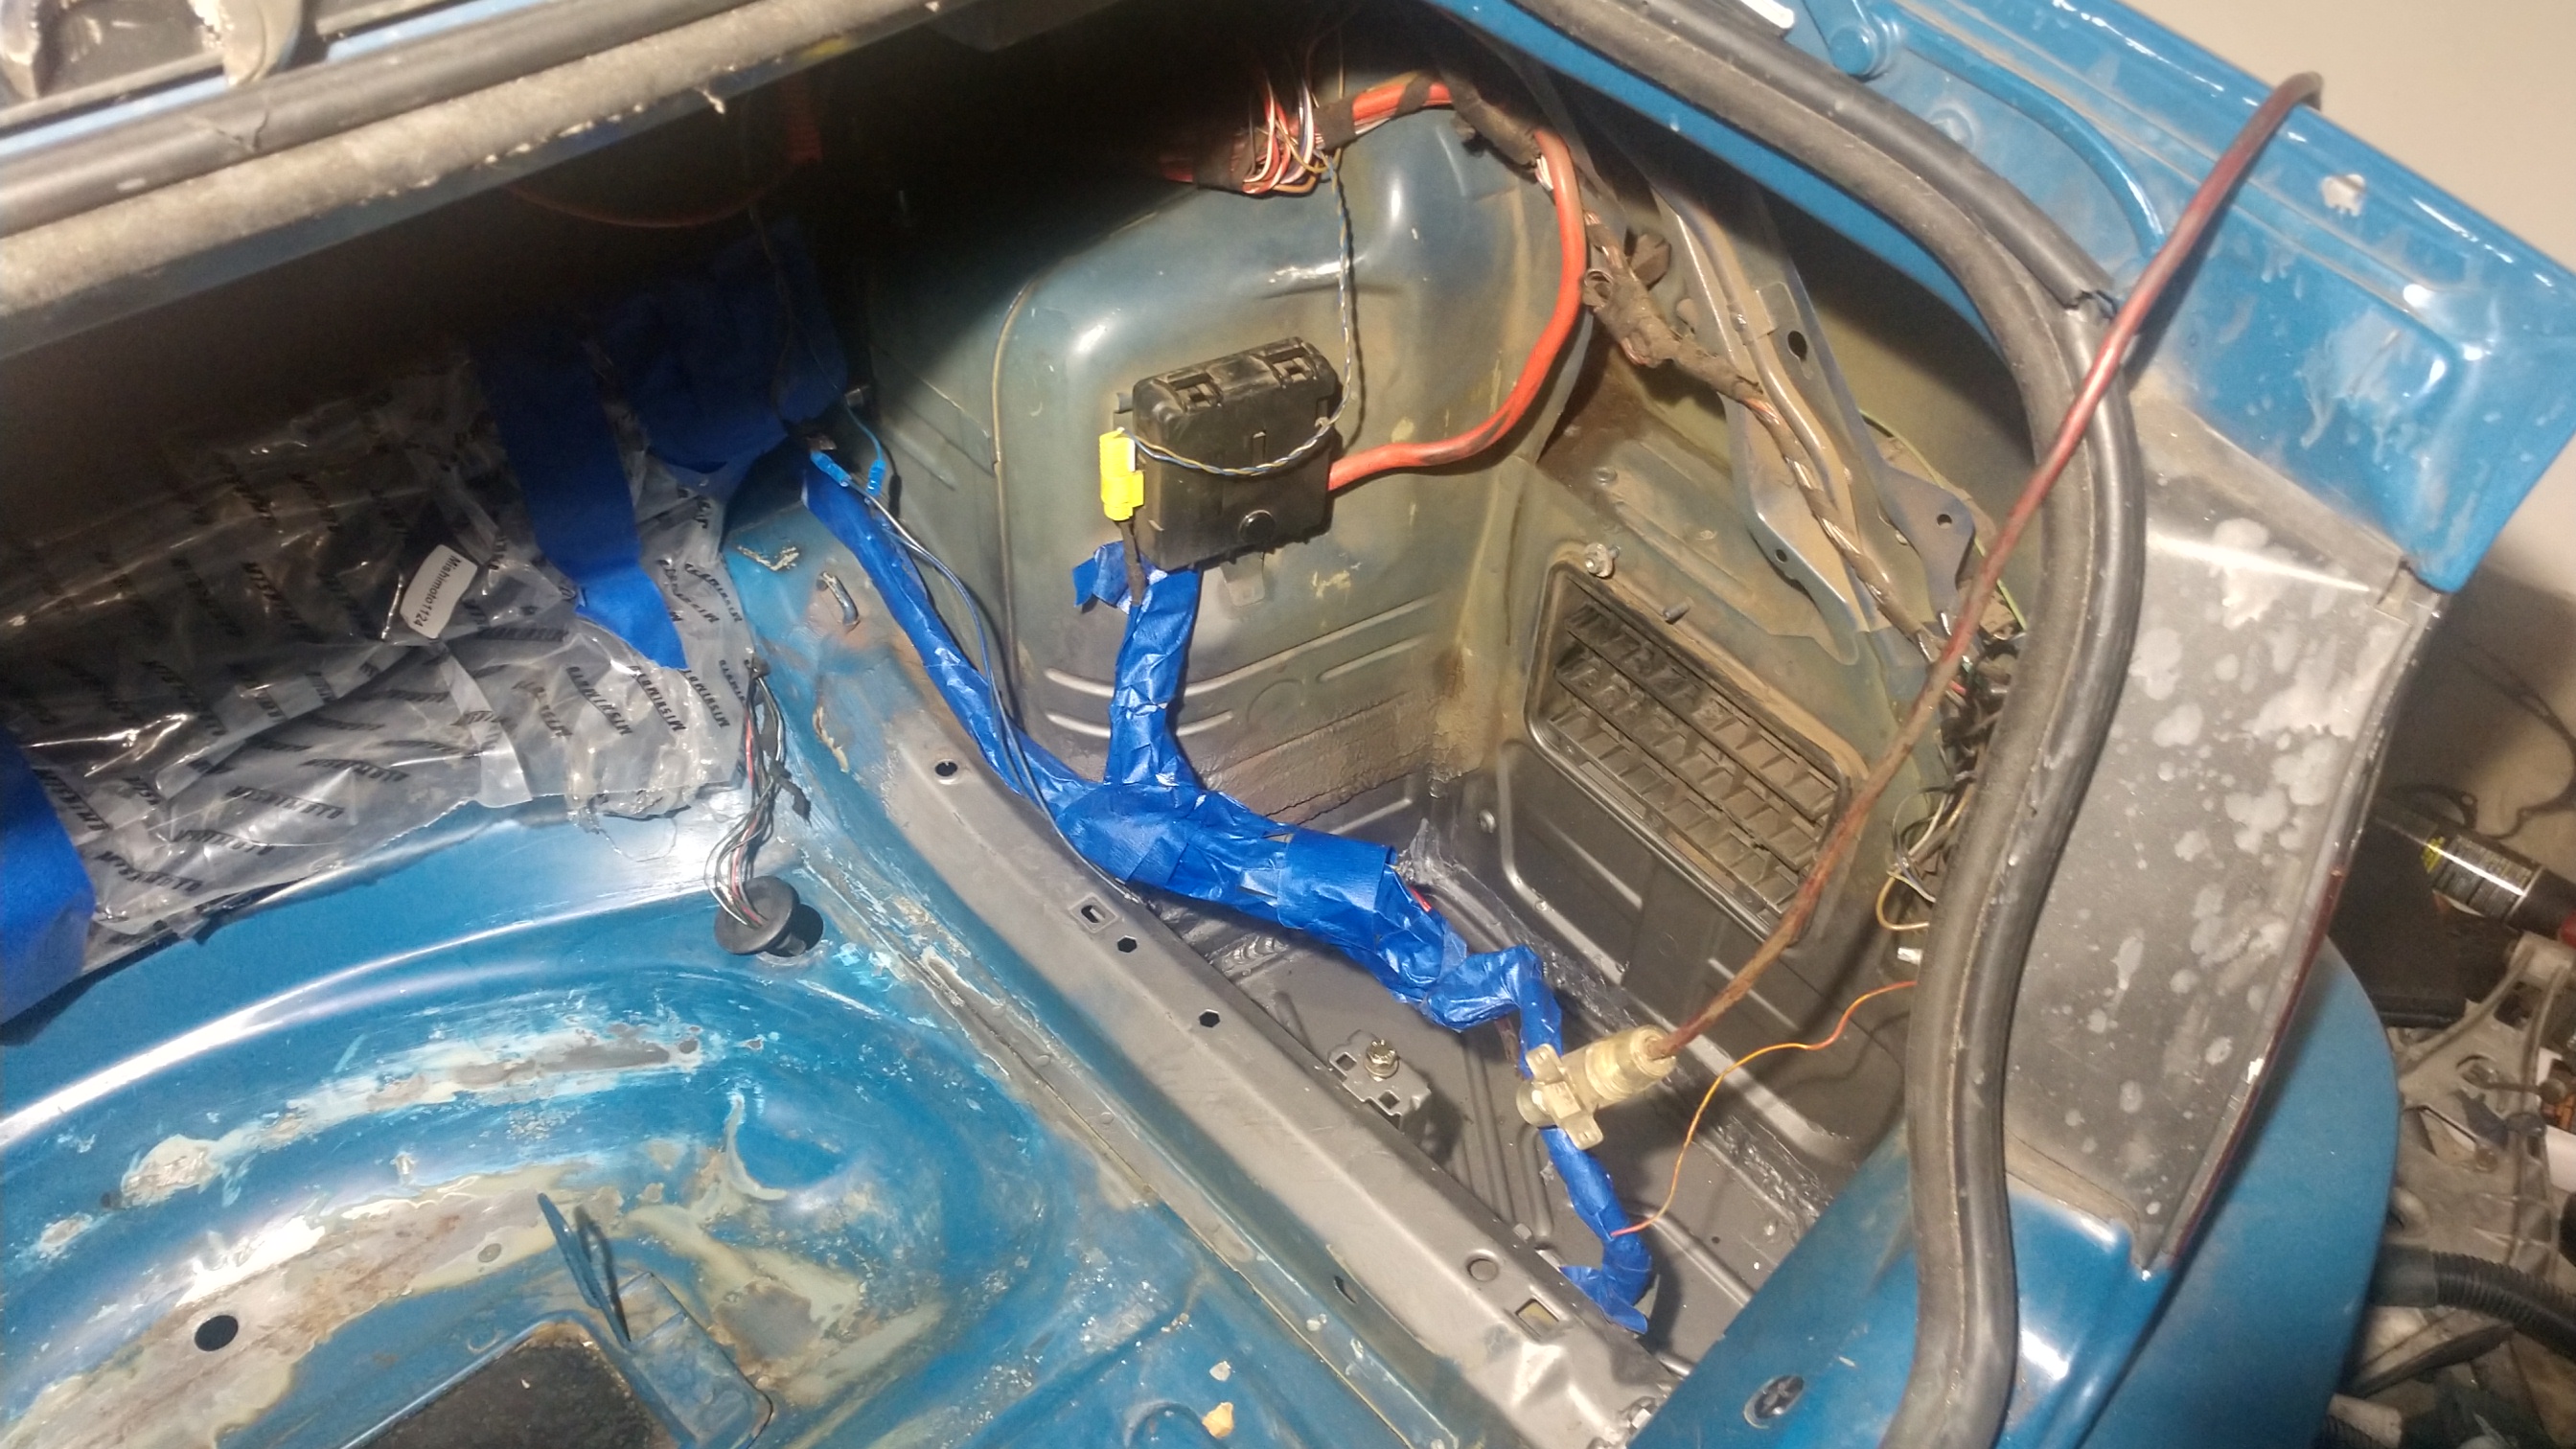
I split some hose to protect the lines entering the trunk. I want to find a way to seal off the extra gap I had to make to fit the AN fittings through but in a way I can still remove them if I need to.


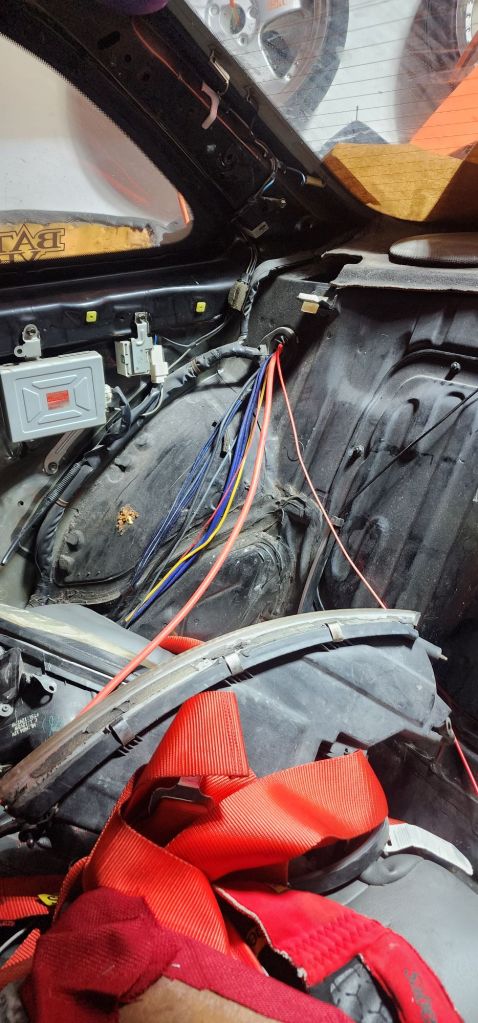
I ran the power line through the firewall with the under dash harness and tucked it under the carpet.

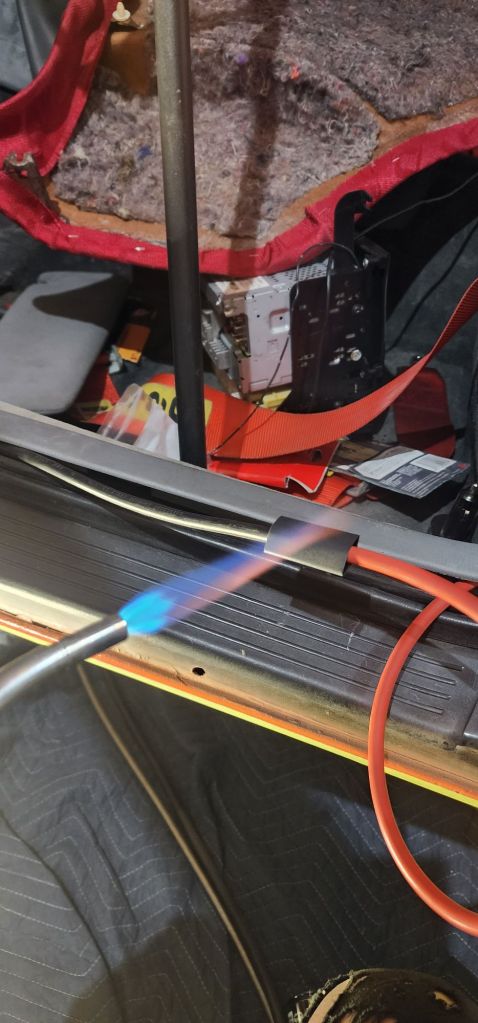
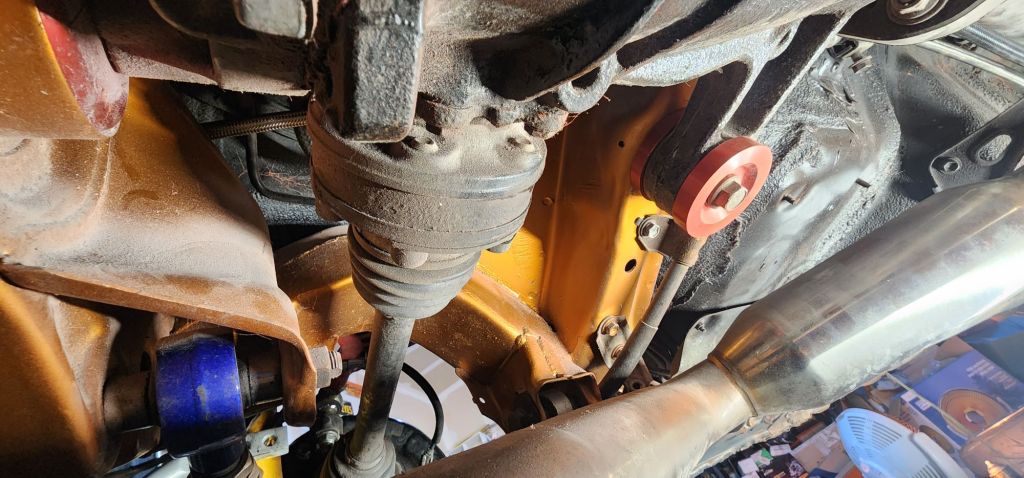
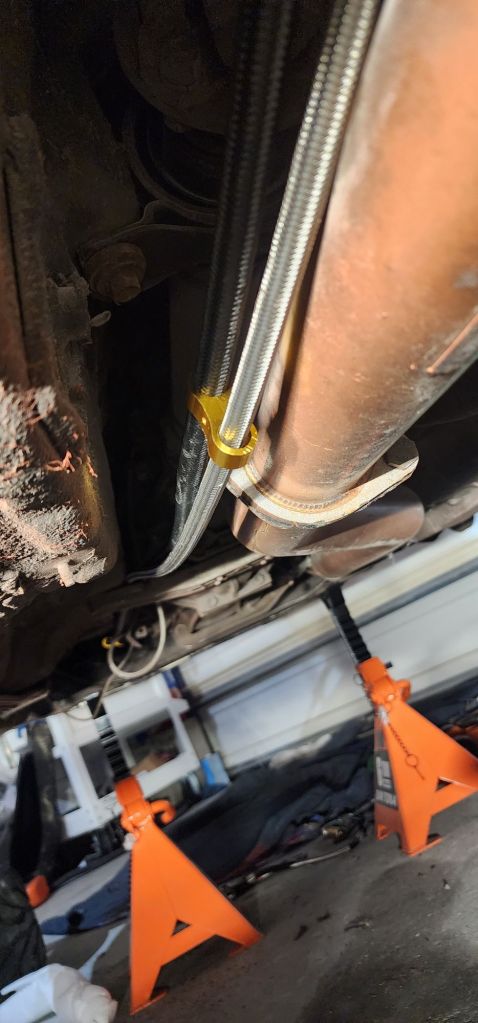
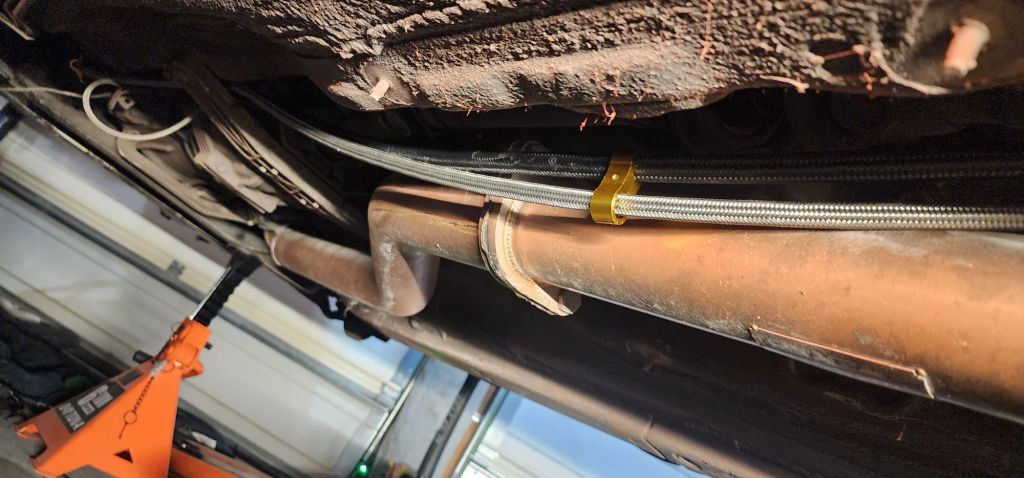
Then routed the ps lines above the subframe.


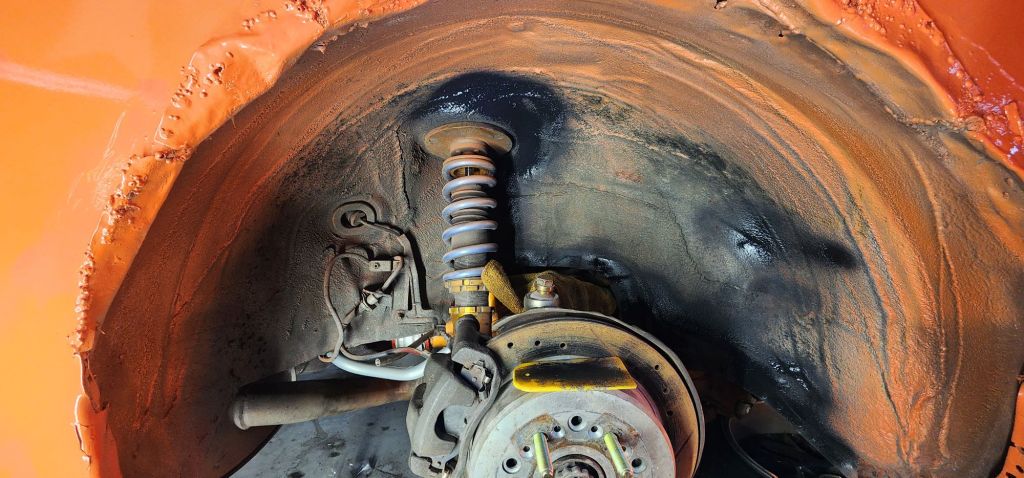
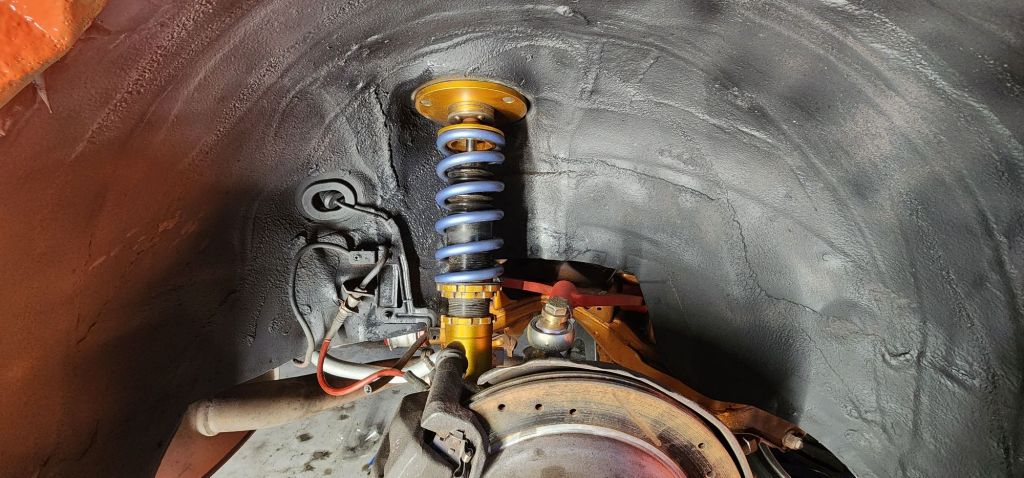
I also cleaned and undercoat the wheel wells. There was overspray EVERYWHERE.

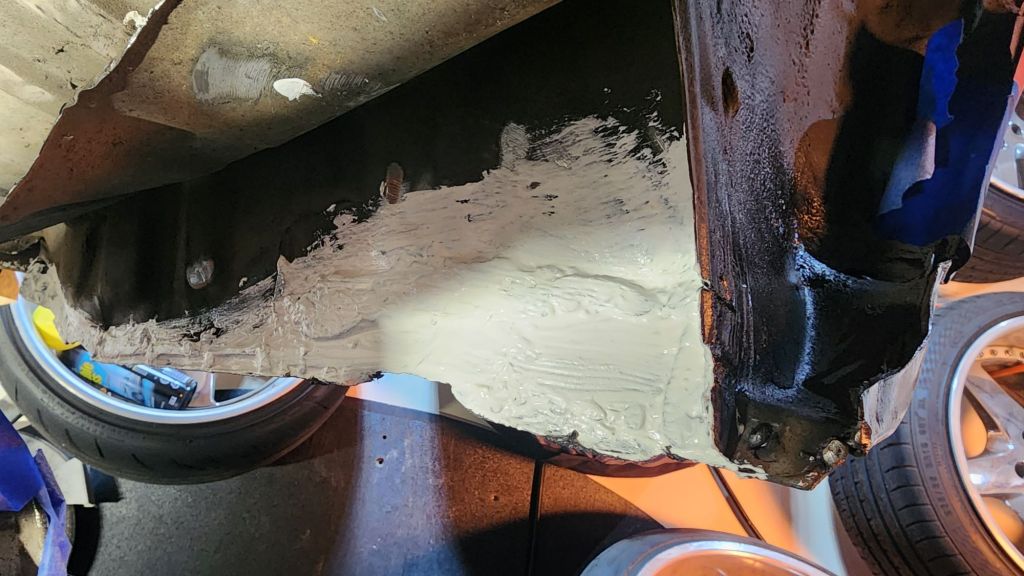
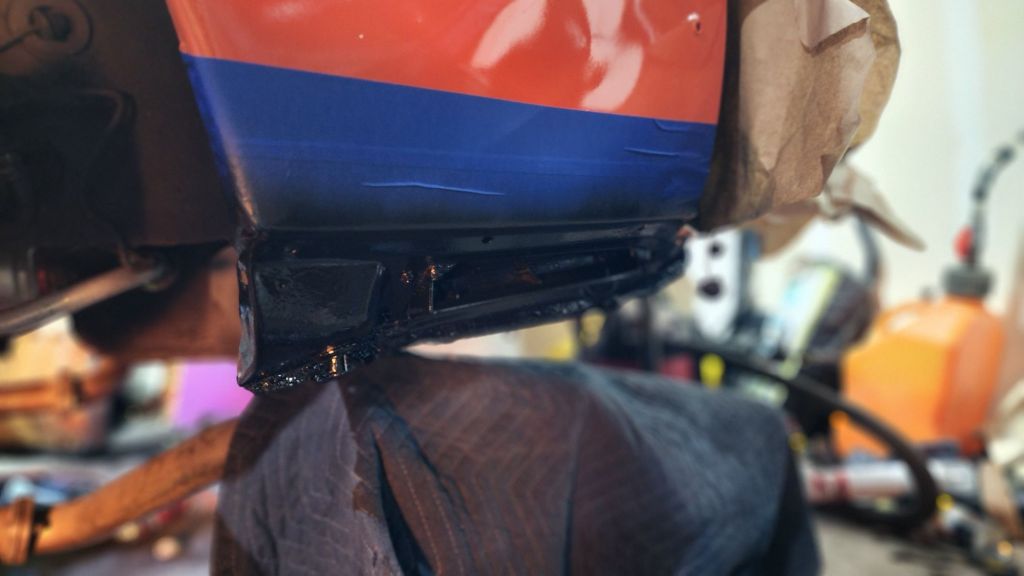
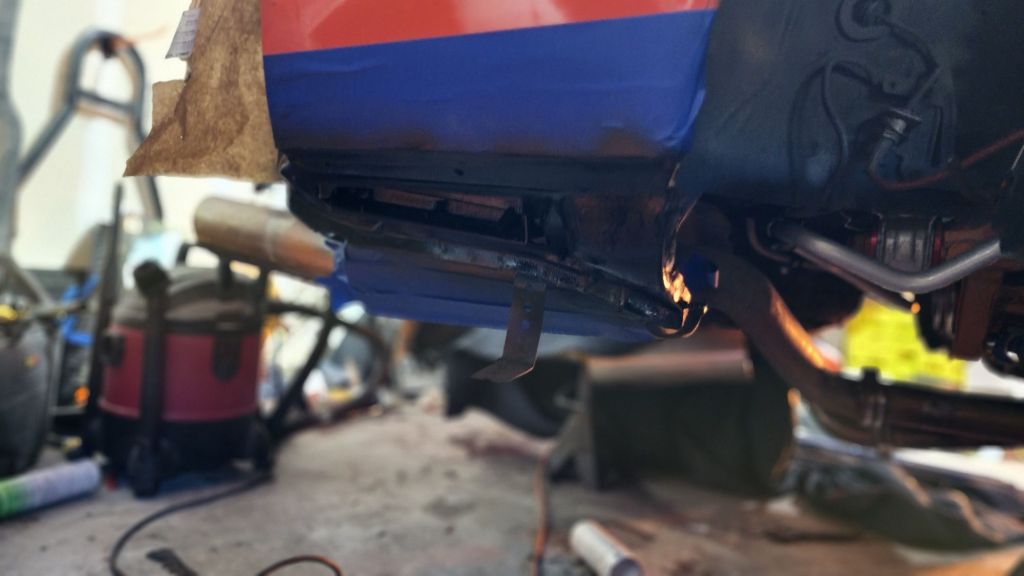
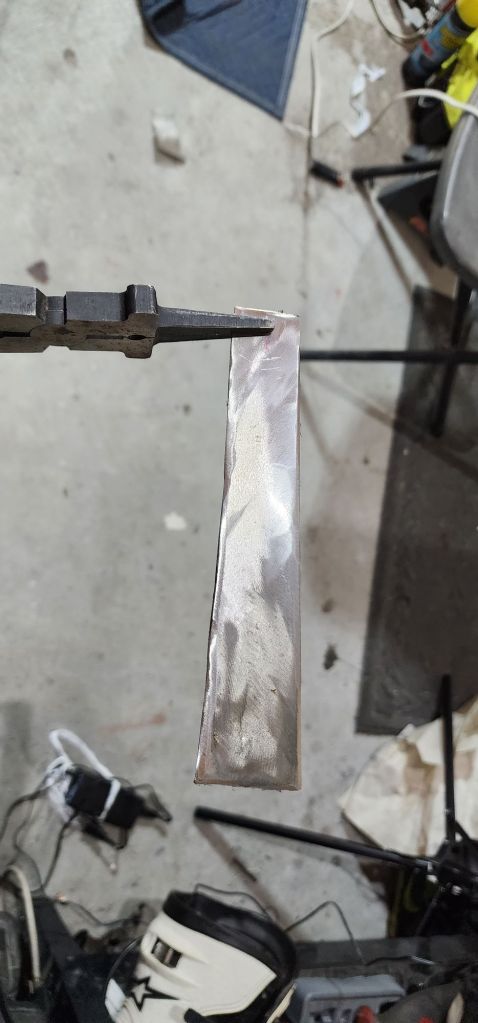
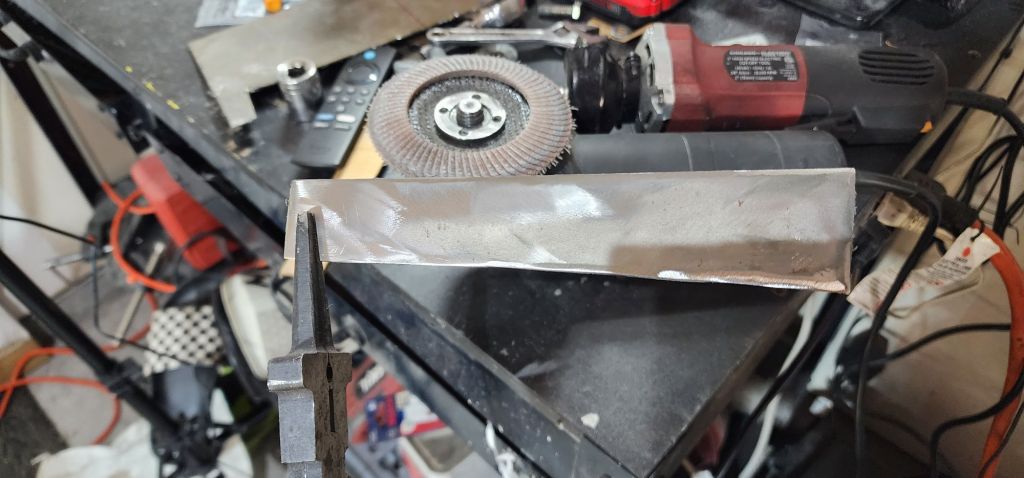
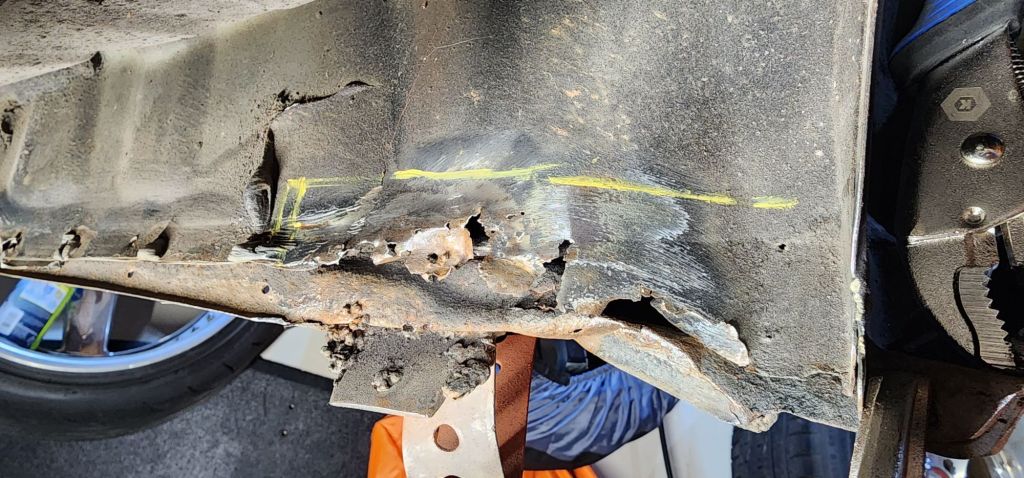
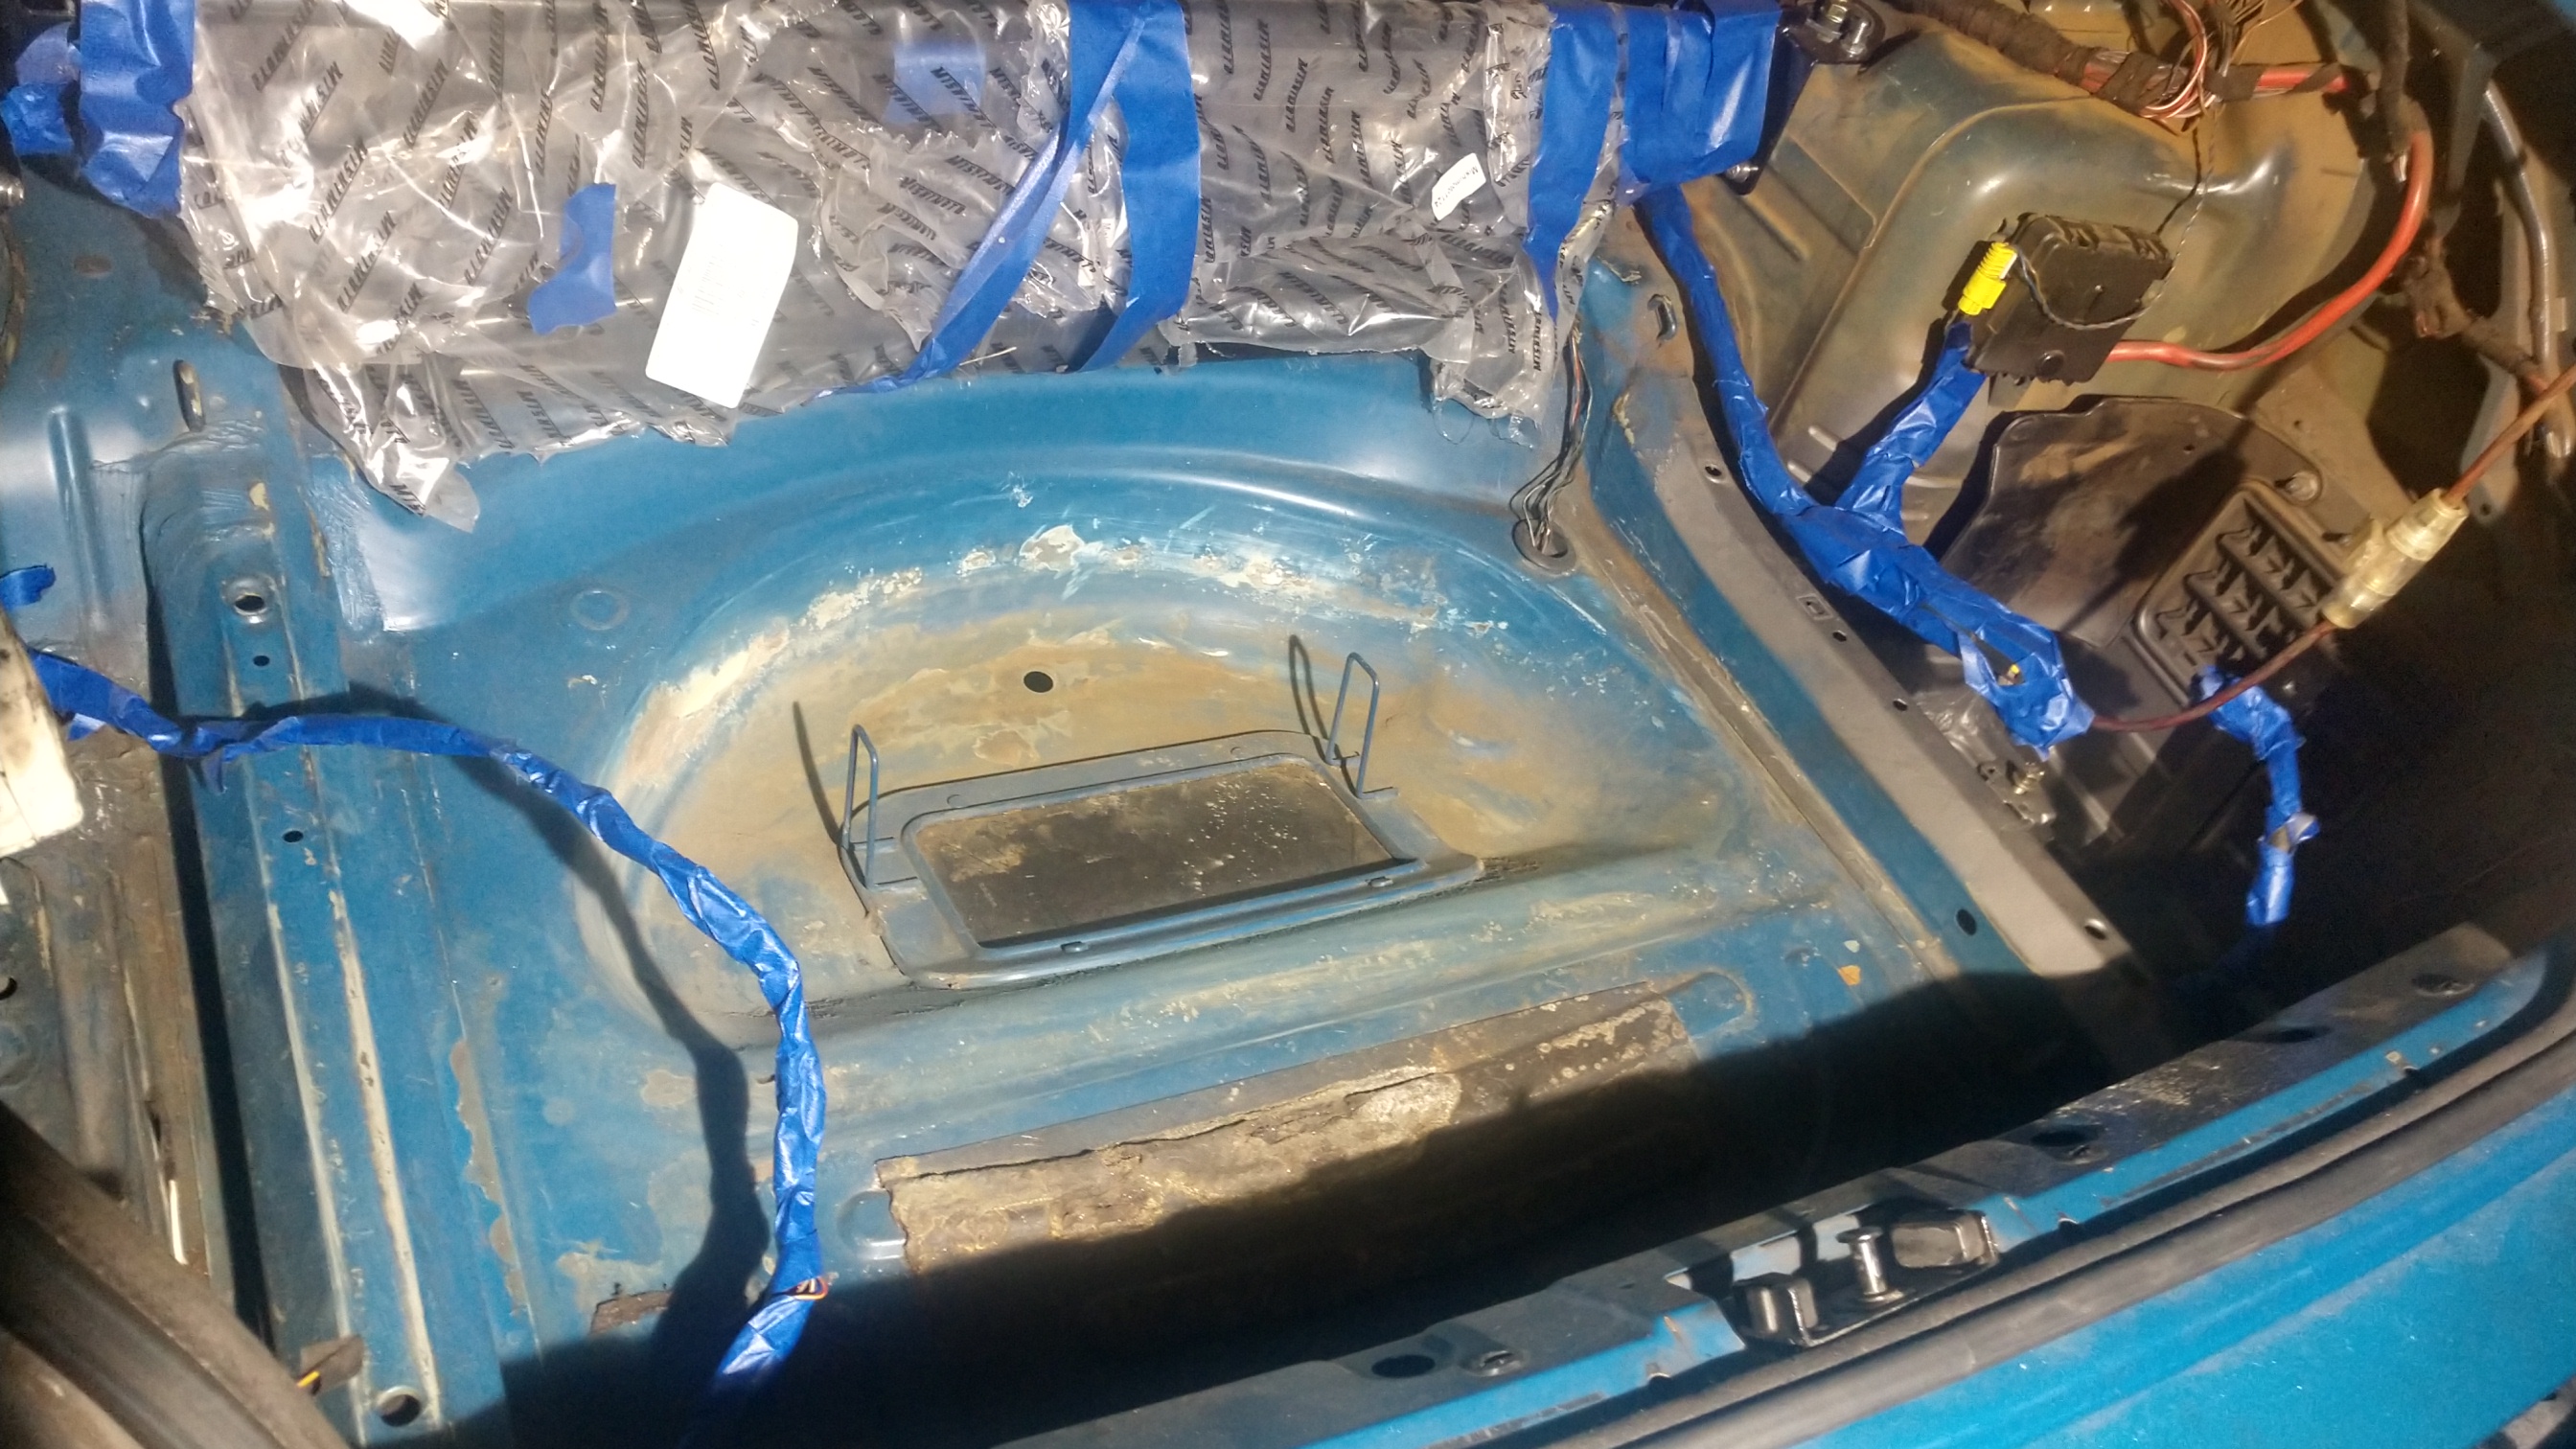
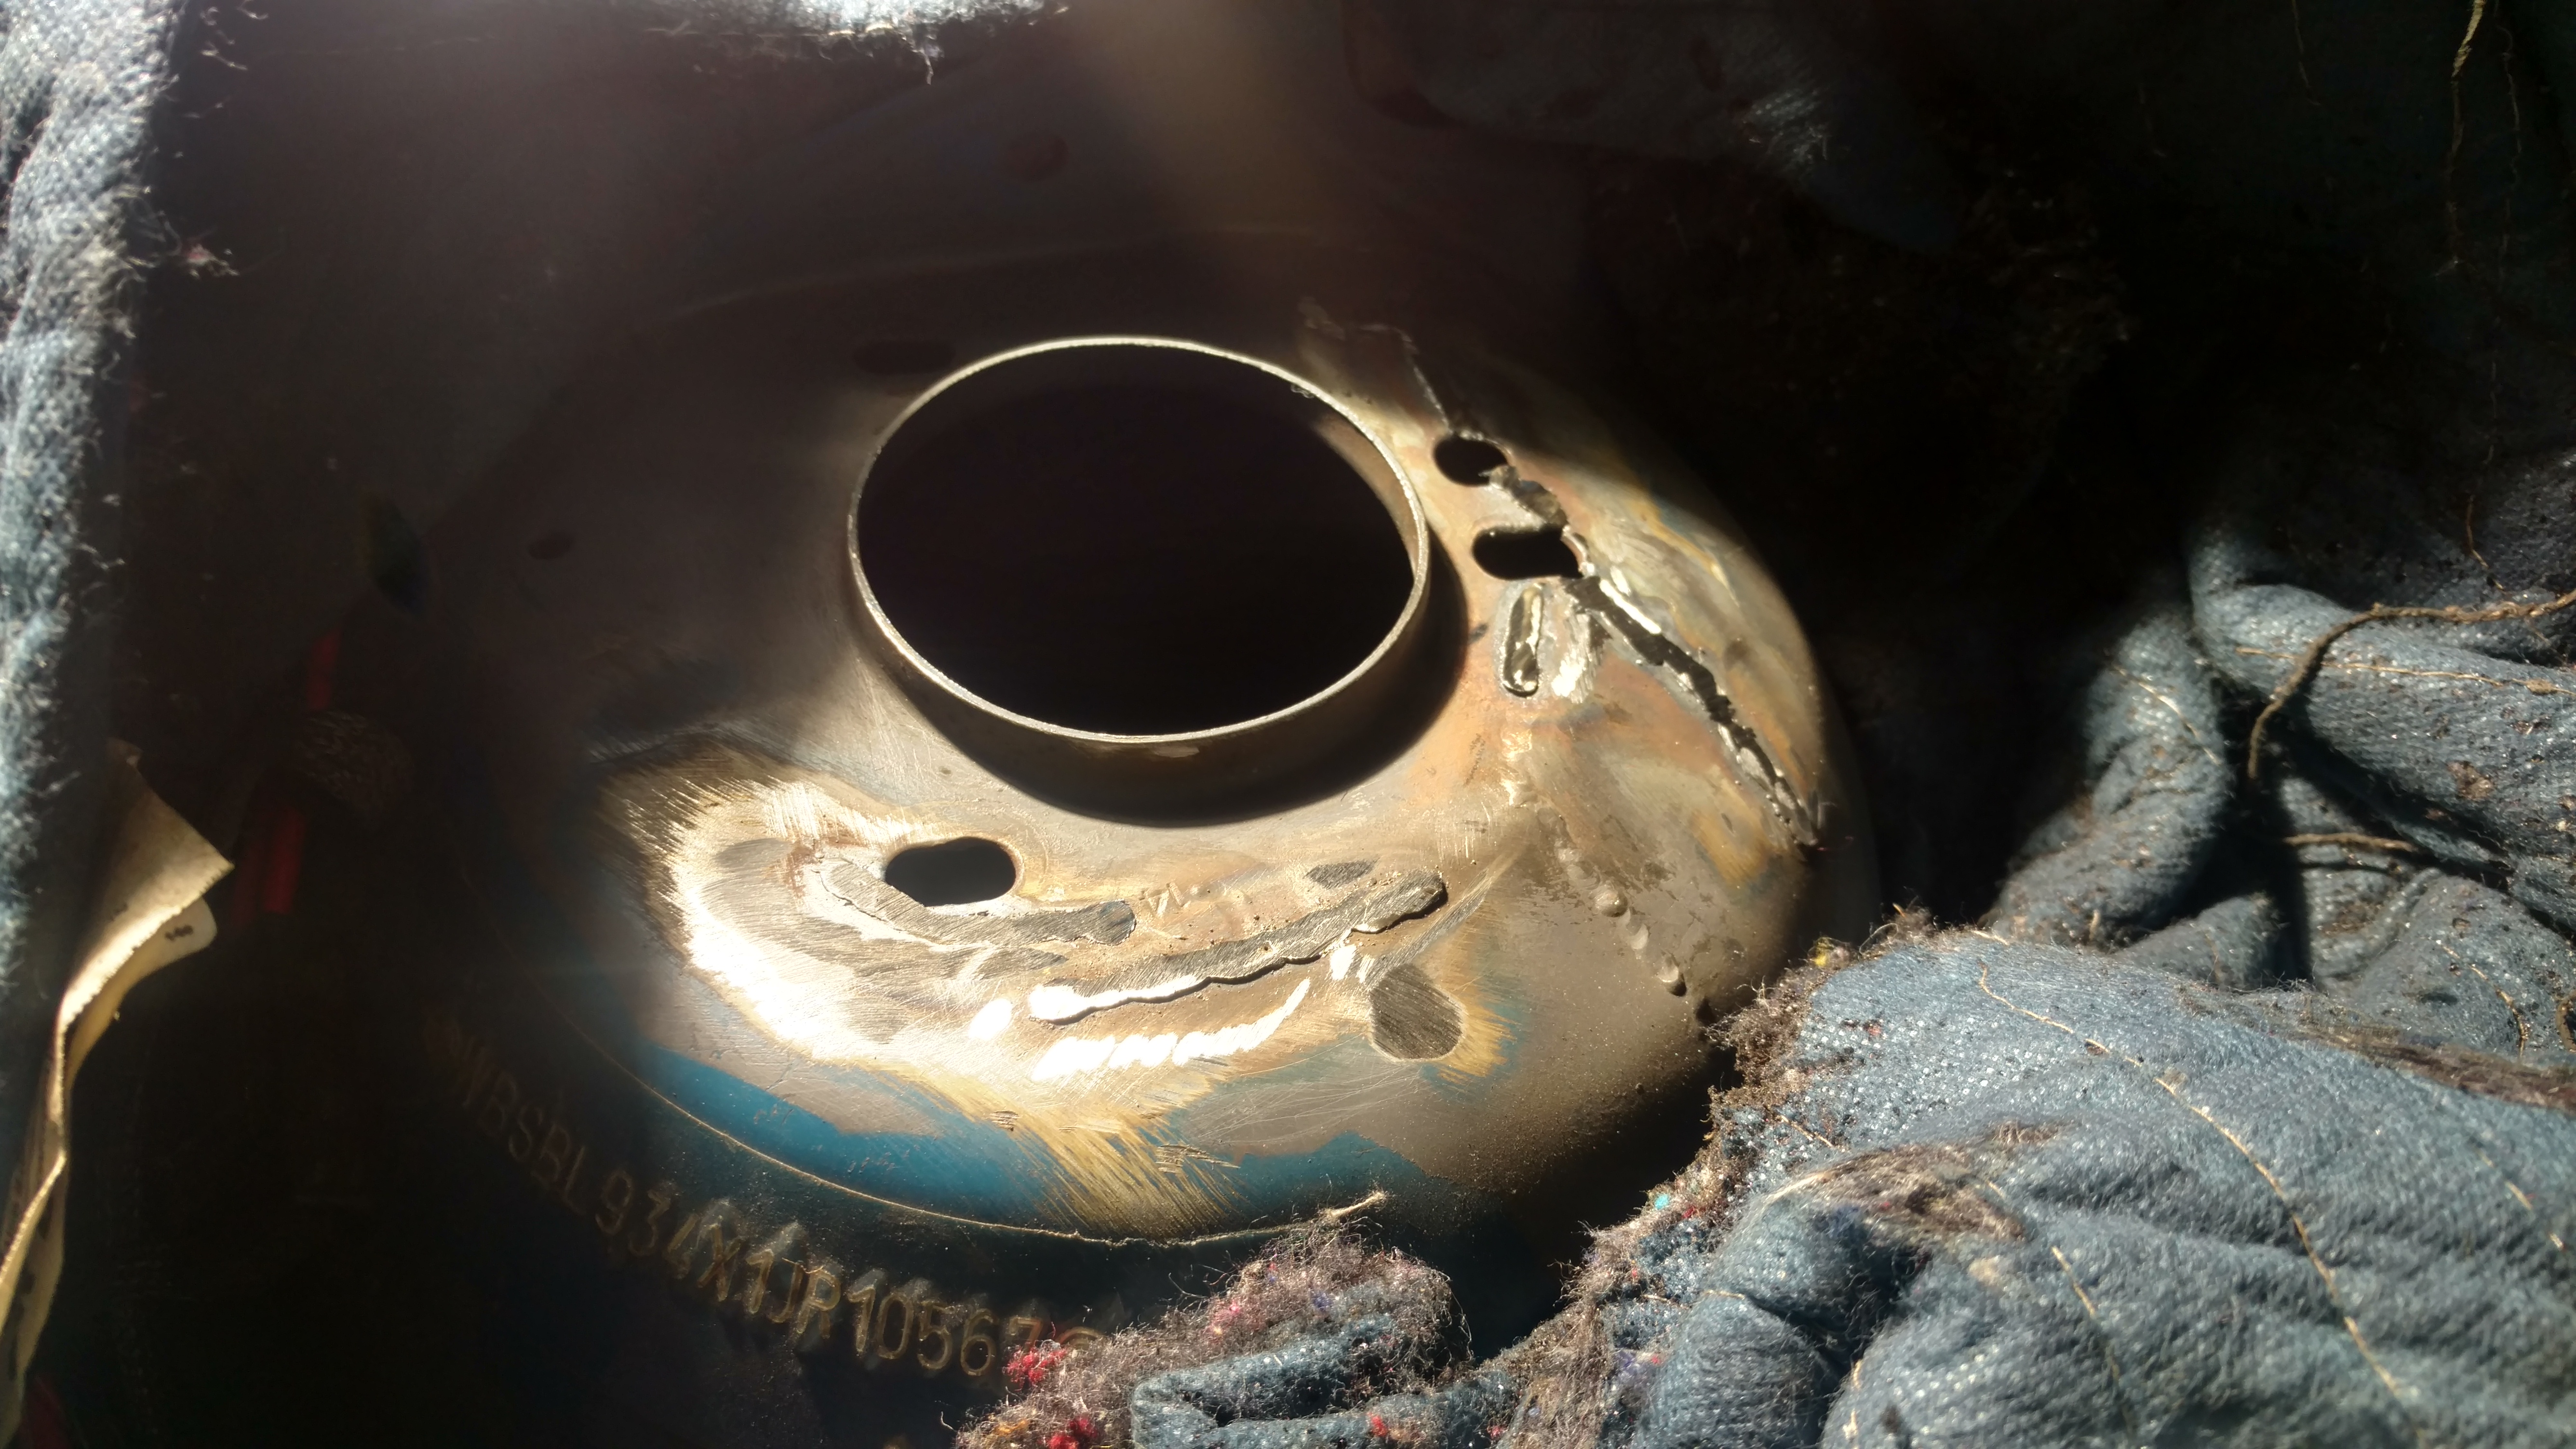
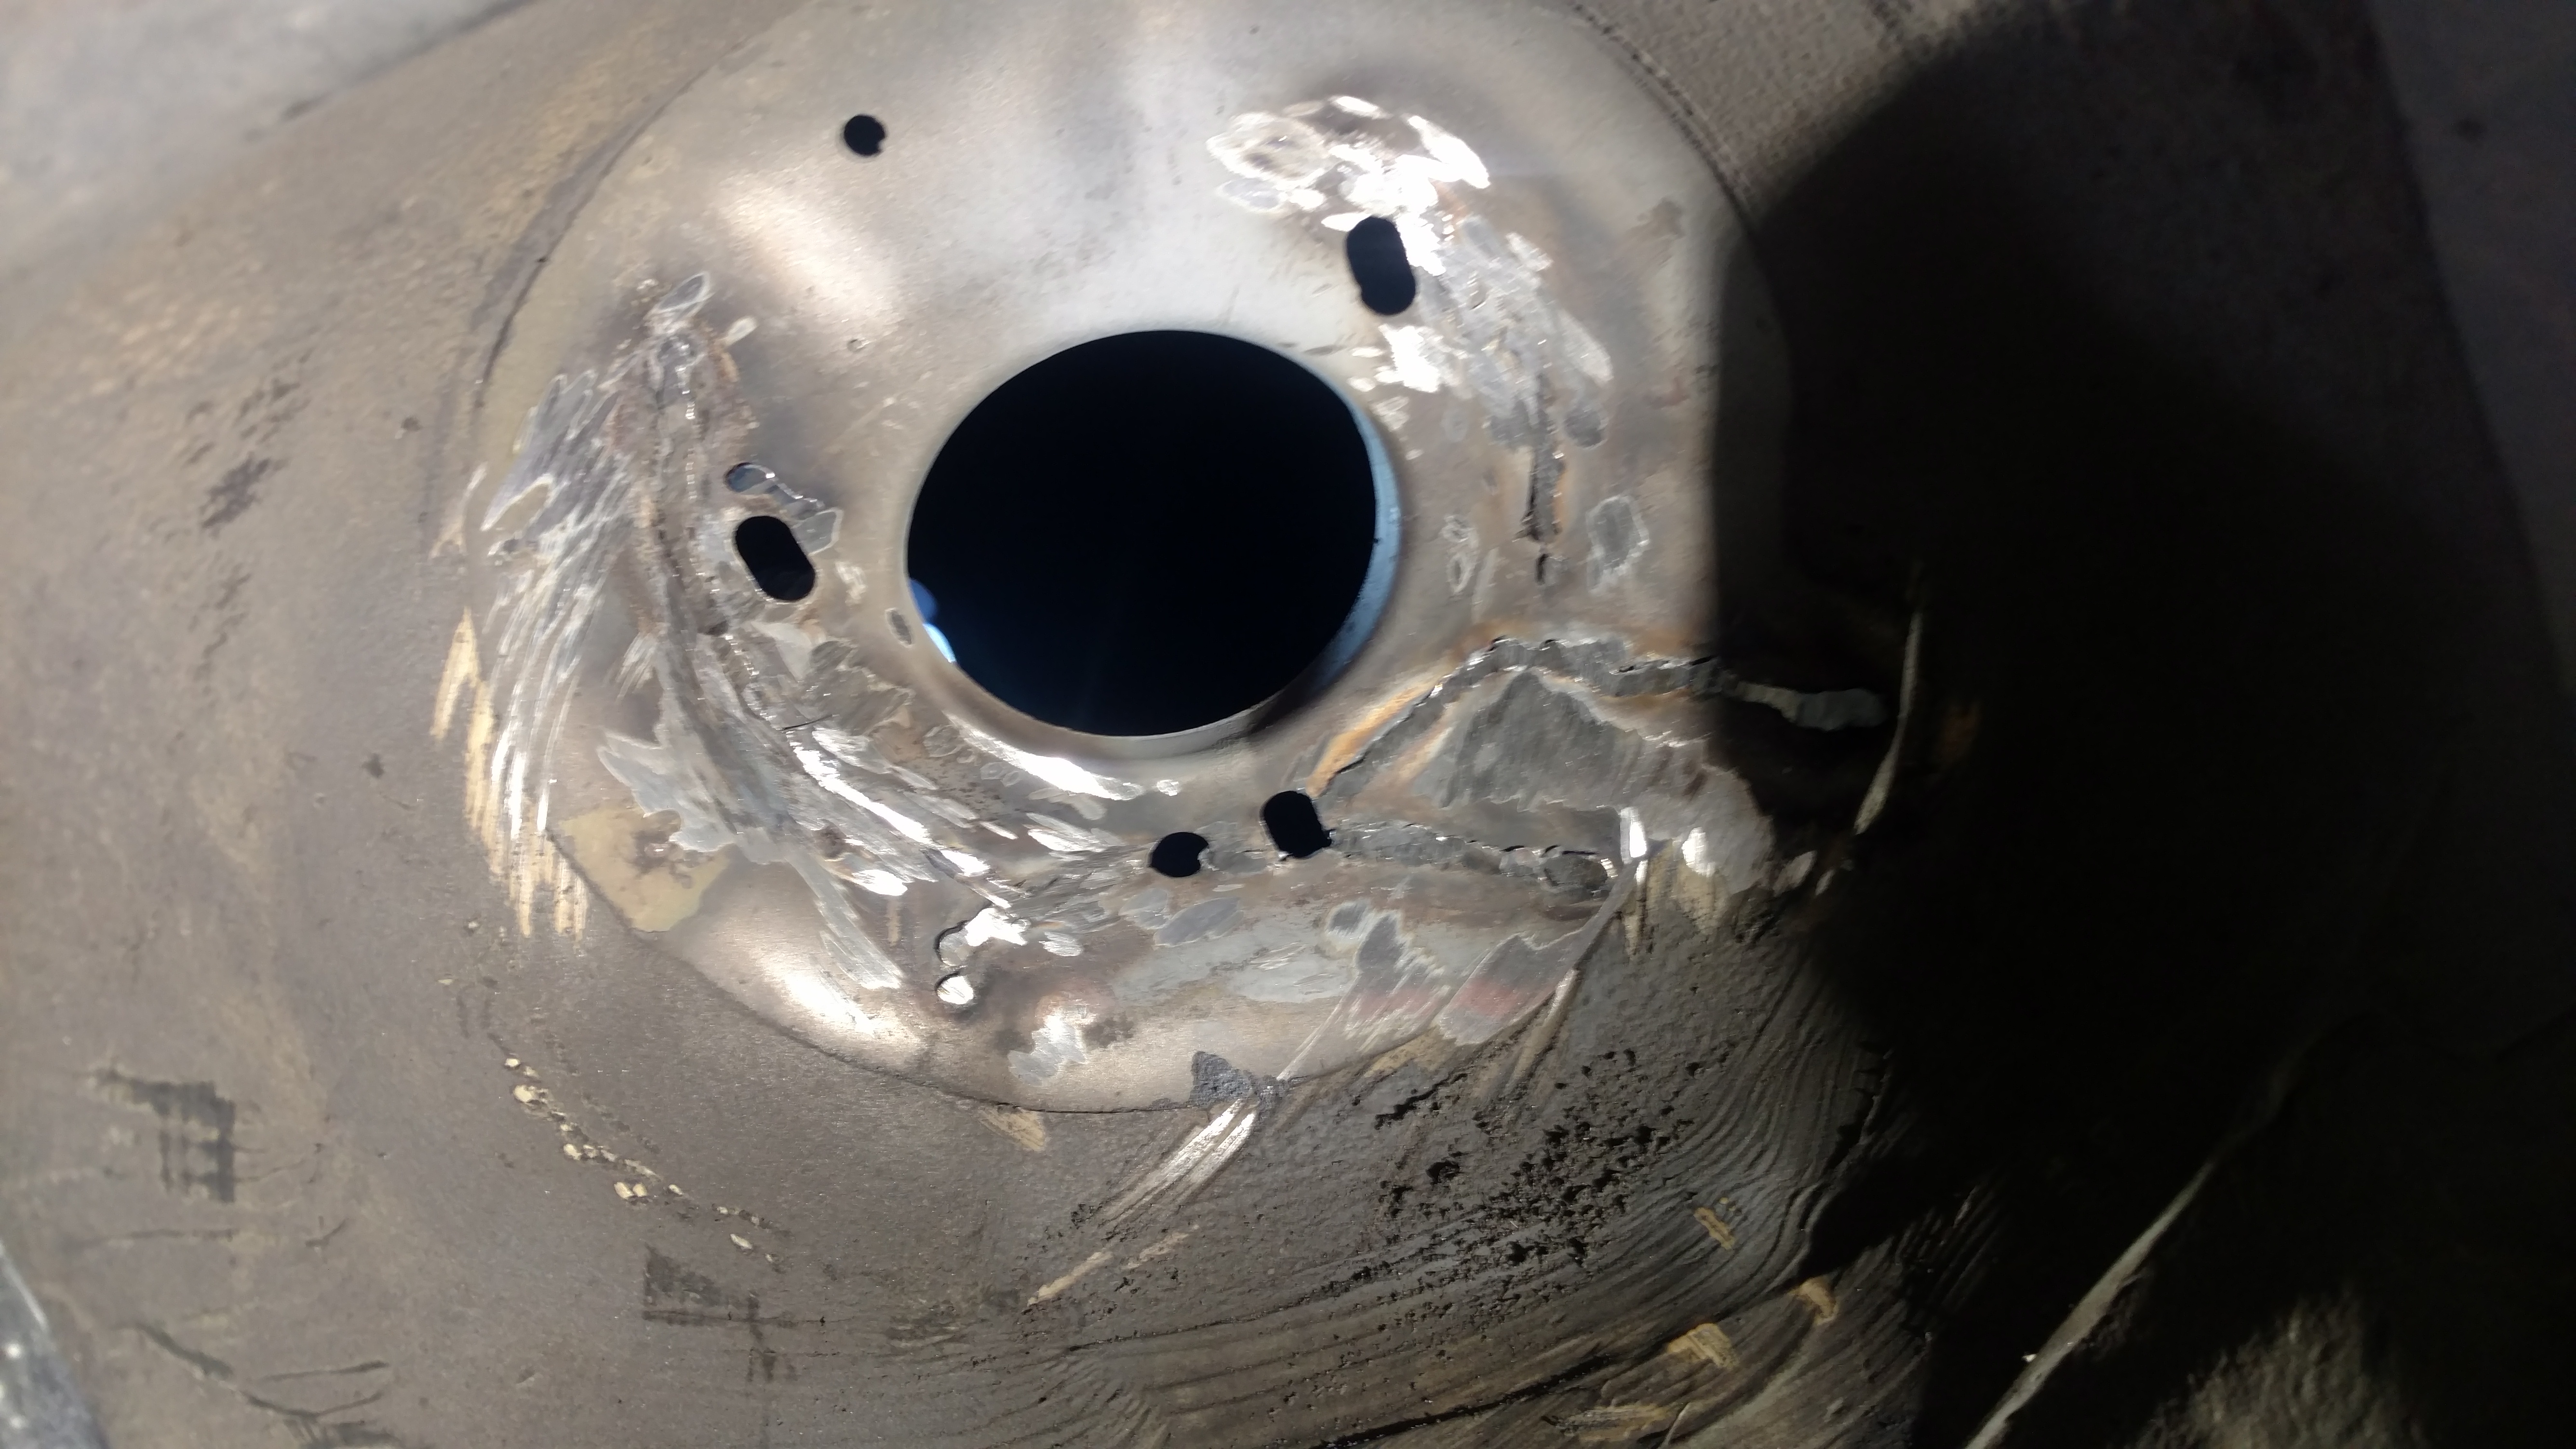
Drivers side rear quartet was replaced badly. Some of the spot welds broke or were missing all together. The trunk filled with rubber dirt and started to rust. So I sanded, cut out the rust, and started a patch job.


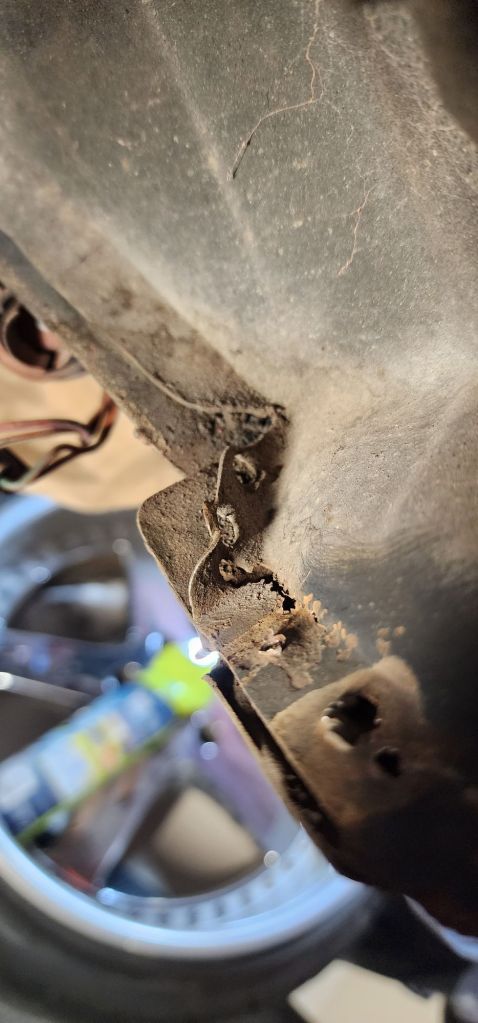

The metal I had on hand was too thick so controlling the heat was a pain. It was either too cold to penetrate the patch panel or blew through the factory sheet metal. Needles to say I’ll be skipping a few photos.


This is where I stopped. I got news my sister was in the hospital at this point so concentration was lacking. Praying she turns around.
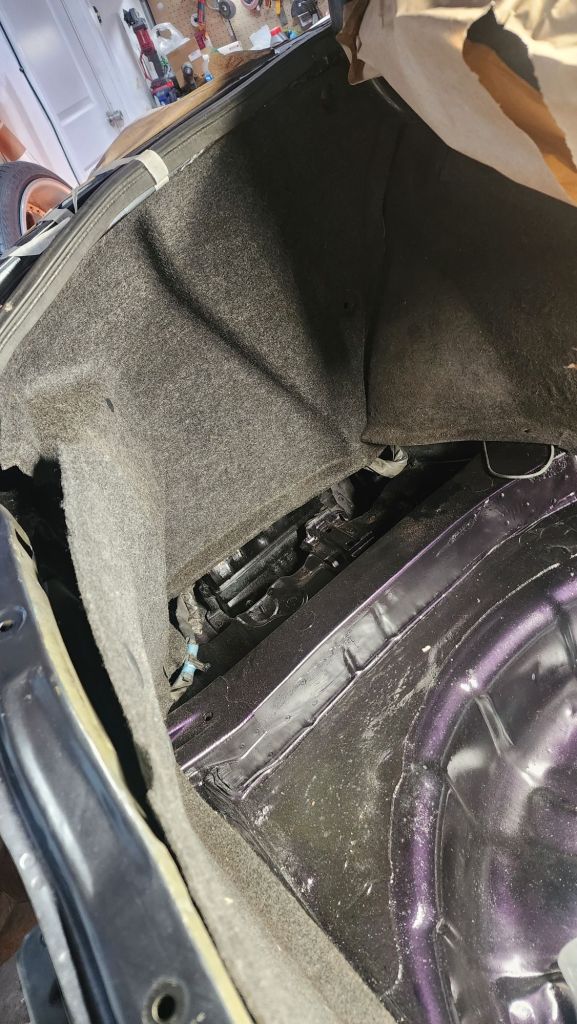
Trunk Junk…
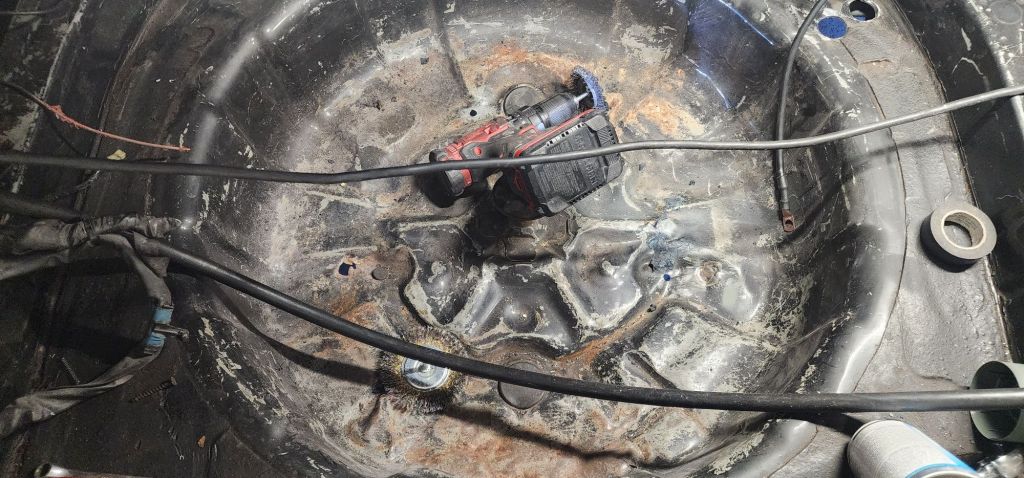
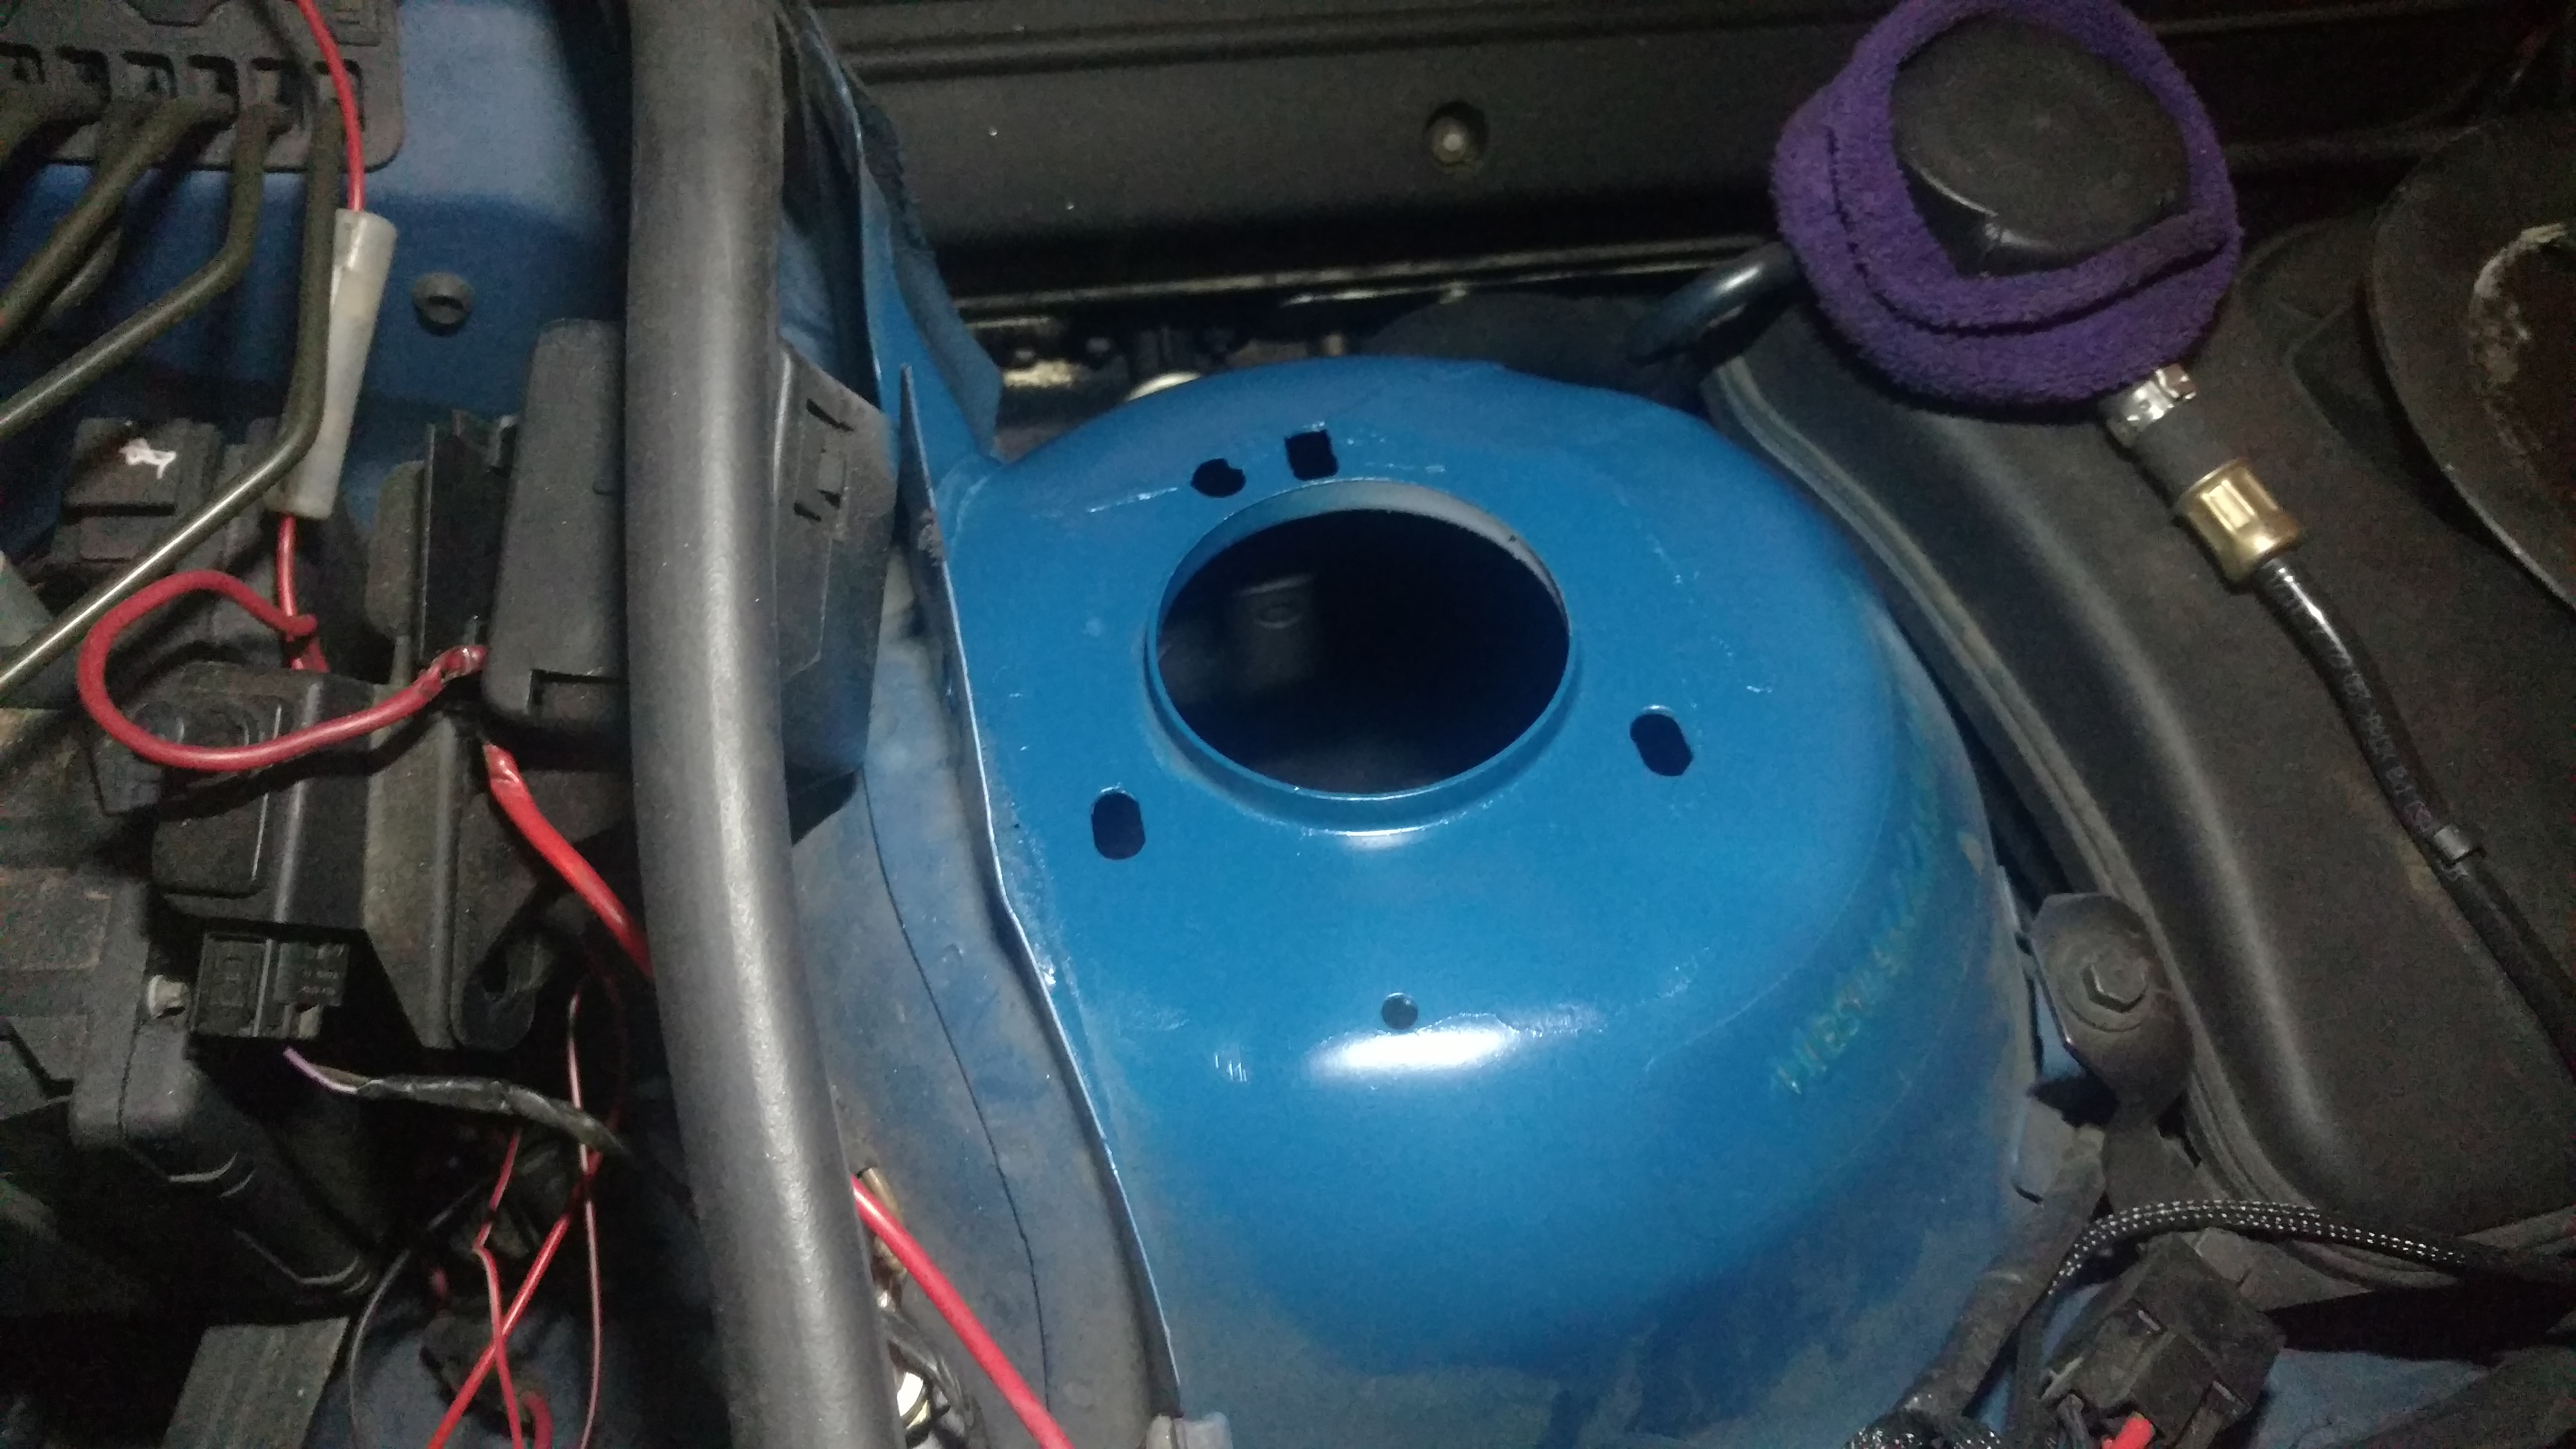
This trunk was so junky. Rusty and the spare wheel well was all beat and dented from me backing into a bank turn 1 E-town. So I prepped it as best I could and patchwelded some holes. I also cut two holes for the ps lines. I wanted to remove the vents but all the screws were stripped.


While that dried I moved on to the rear wheel well which was full of overspray. Even my coils. I used goof off to scrub them down and sprayed undercoating.

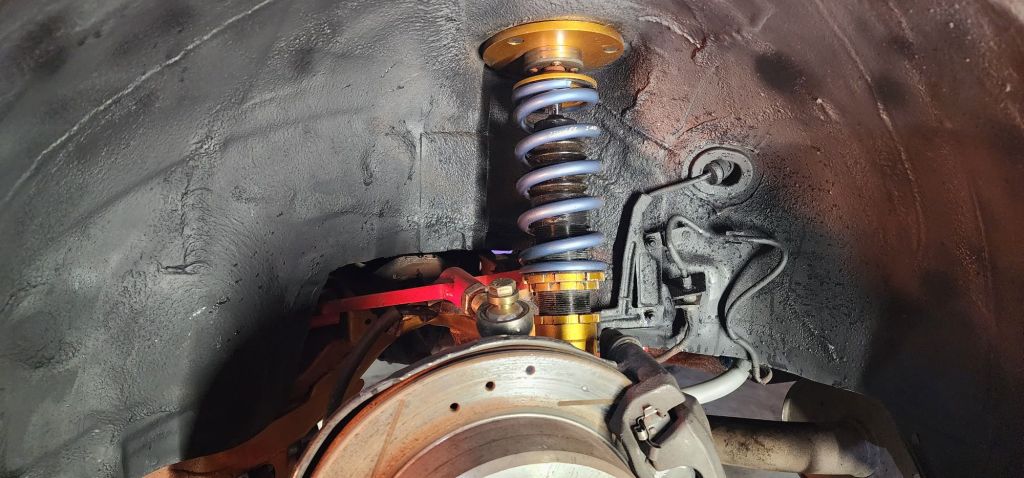

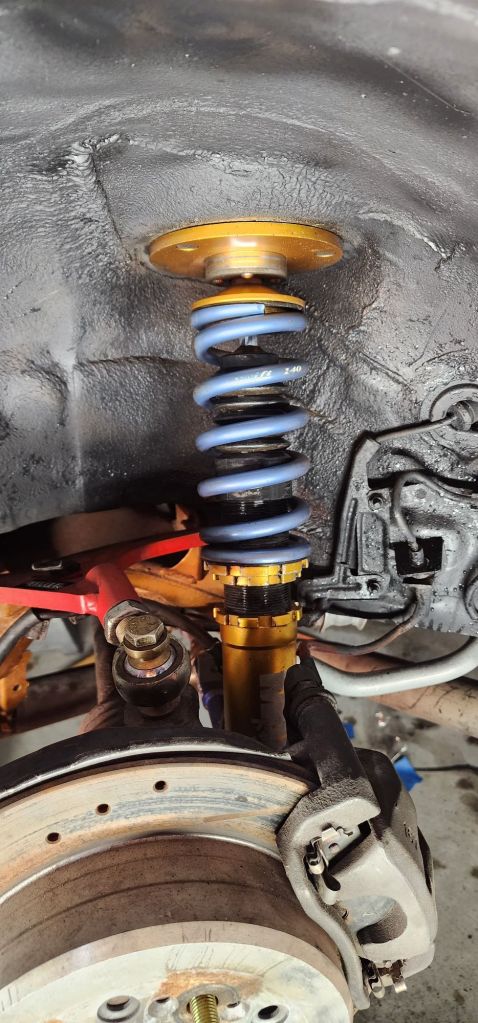
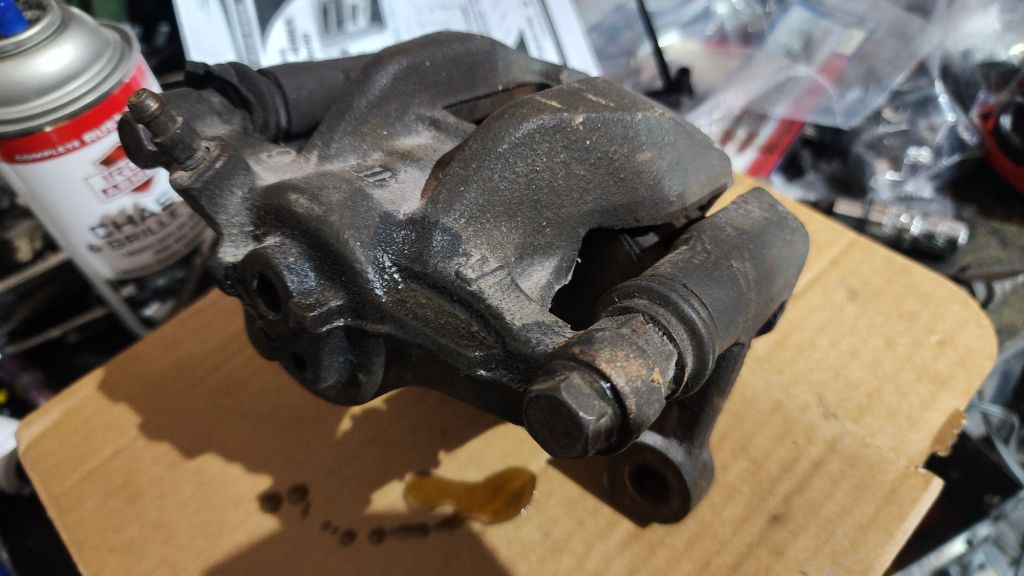
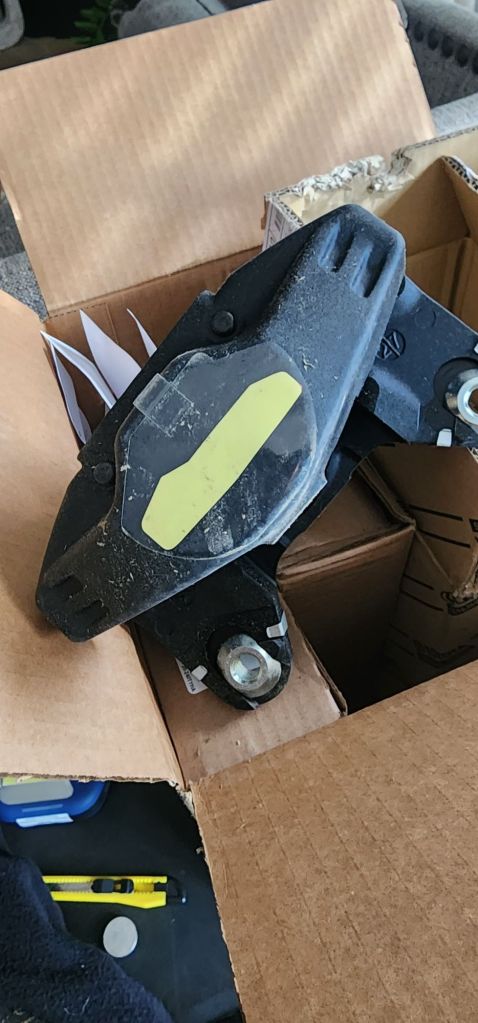
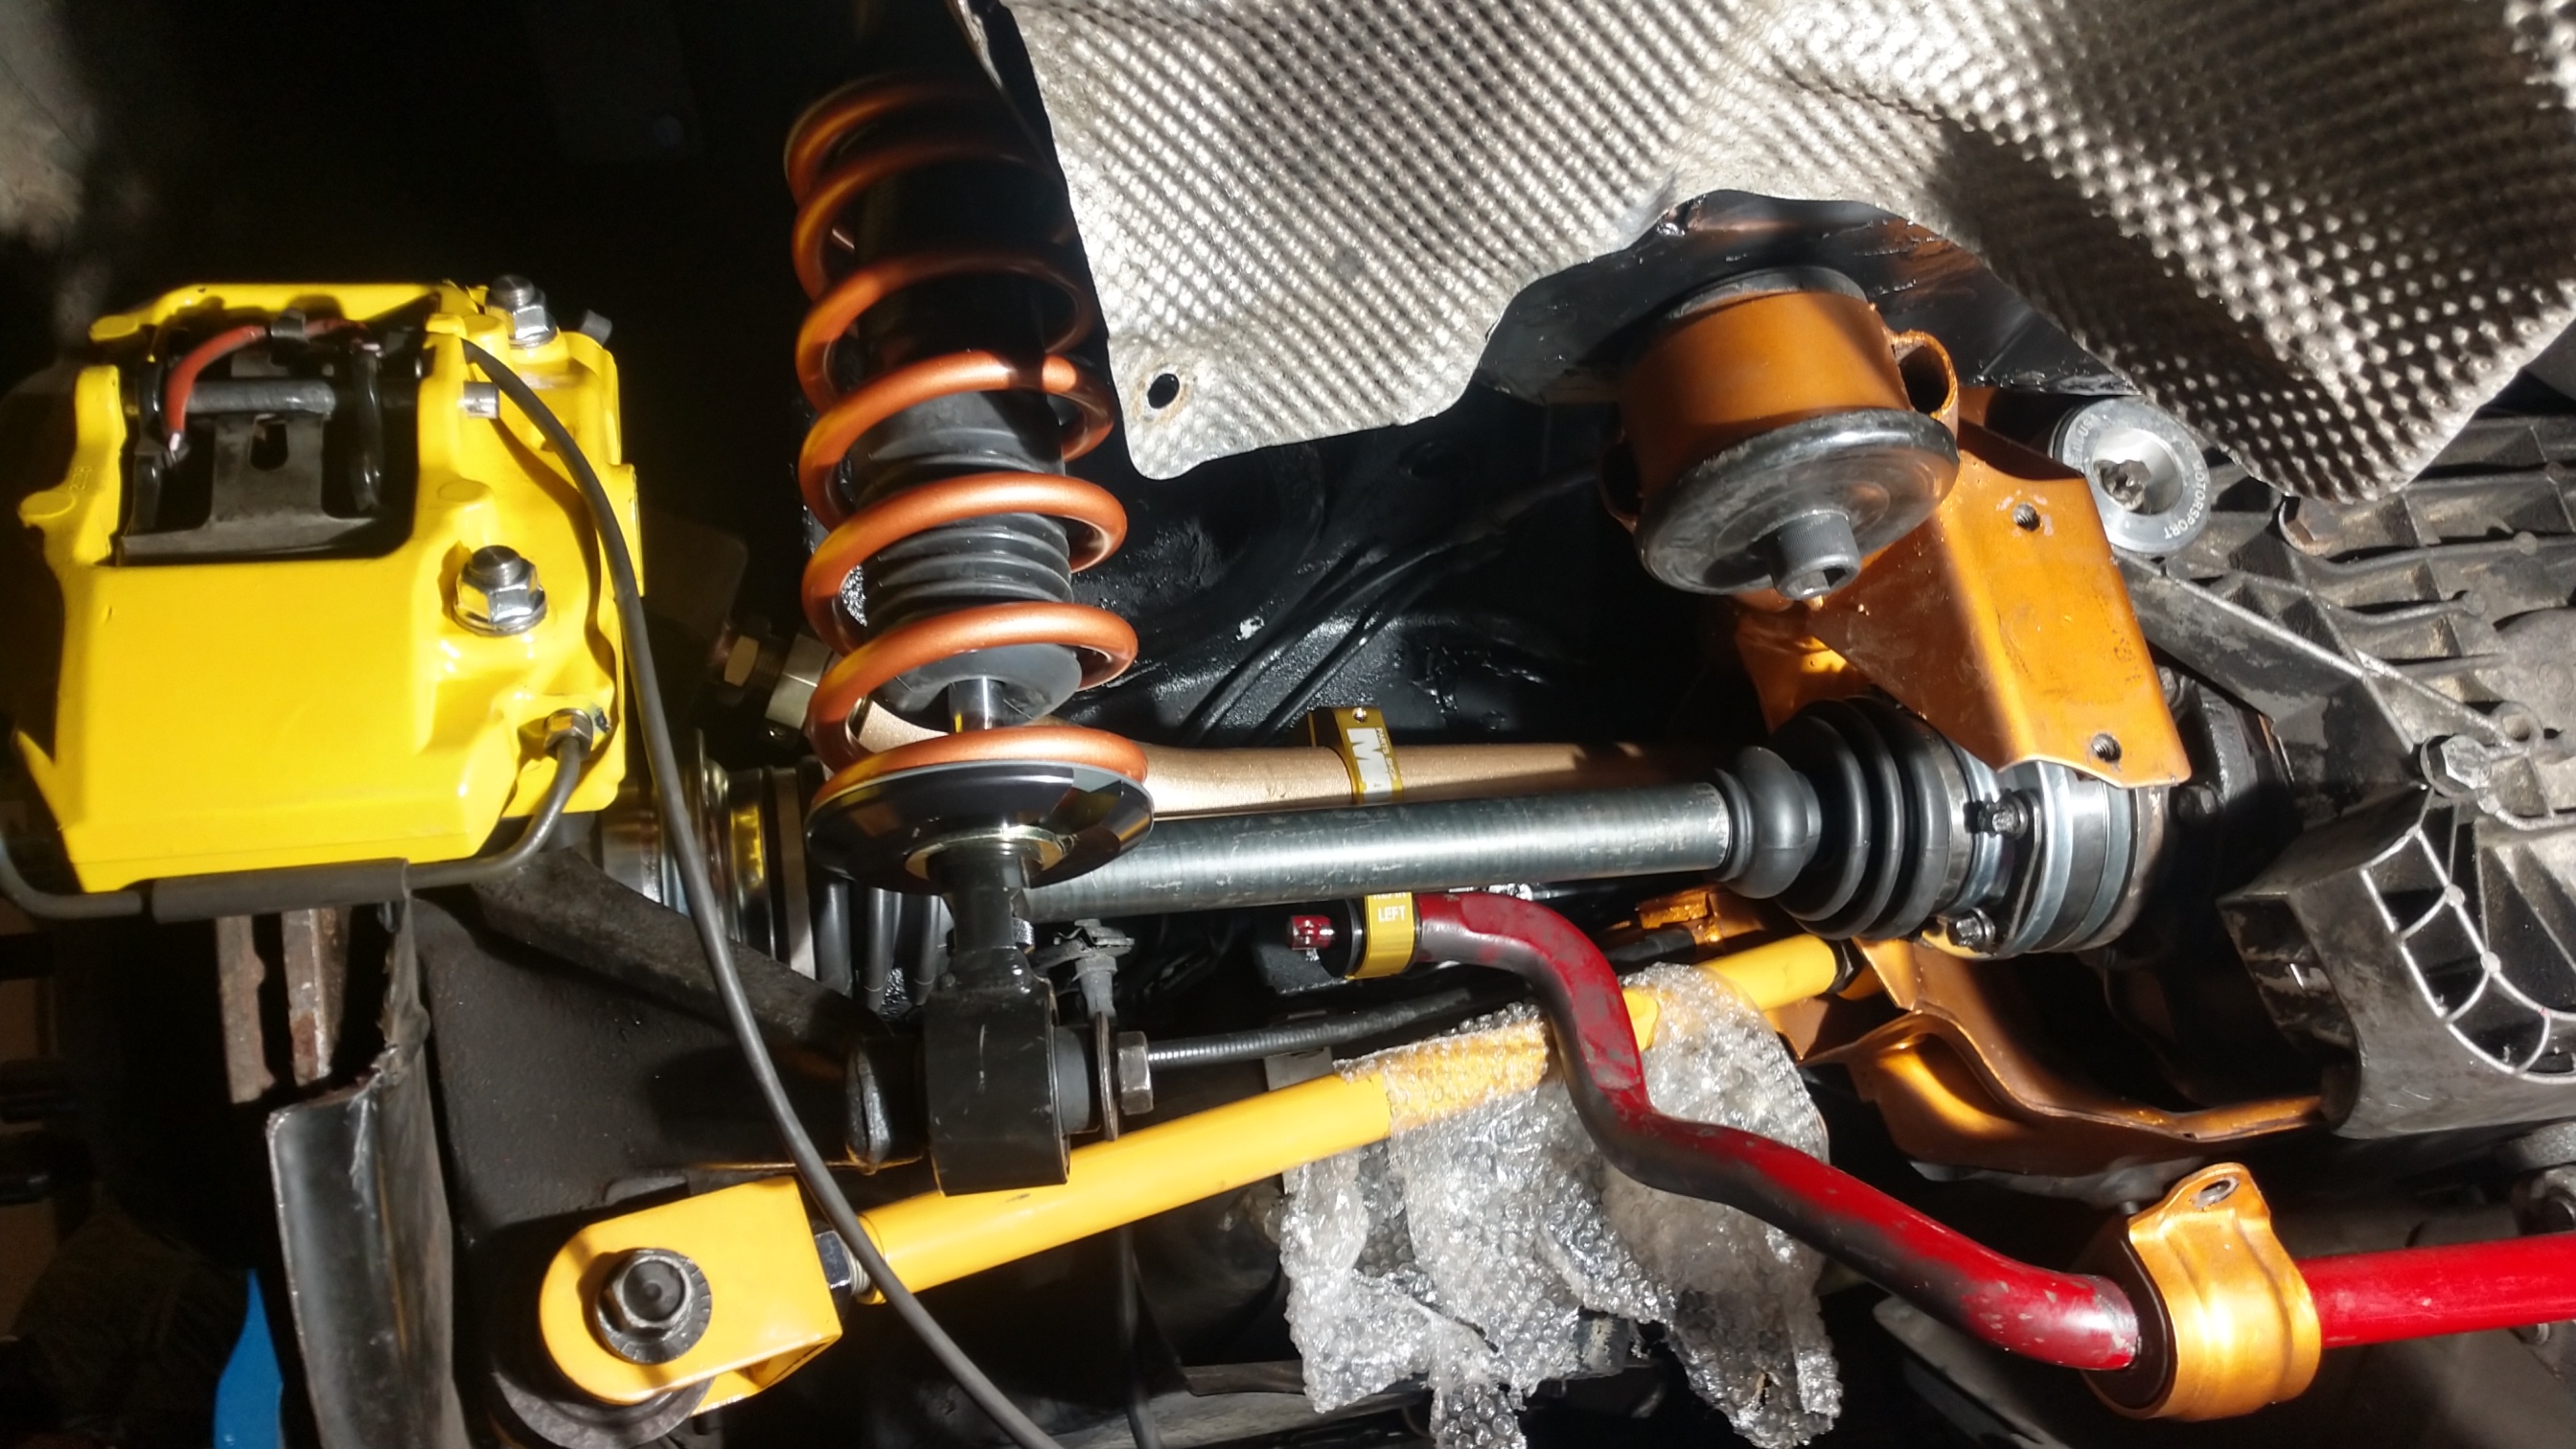
Midnight Purp up next. Supra rear calipers are on their way. My factory ones are done for. The pins are completely corroded and the hydro is sluggish as a result.
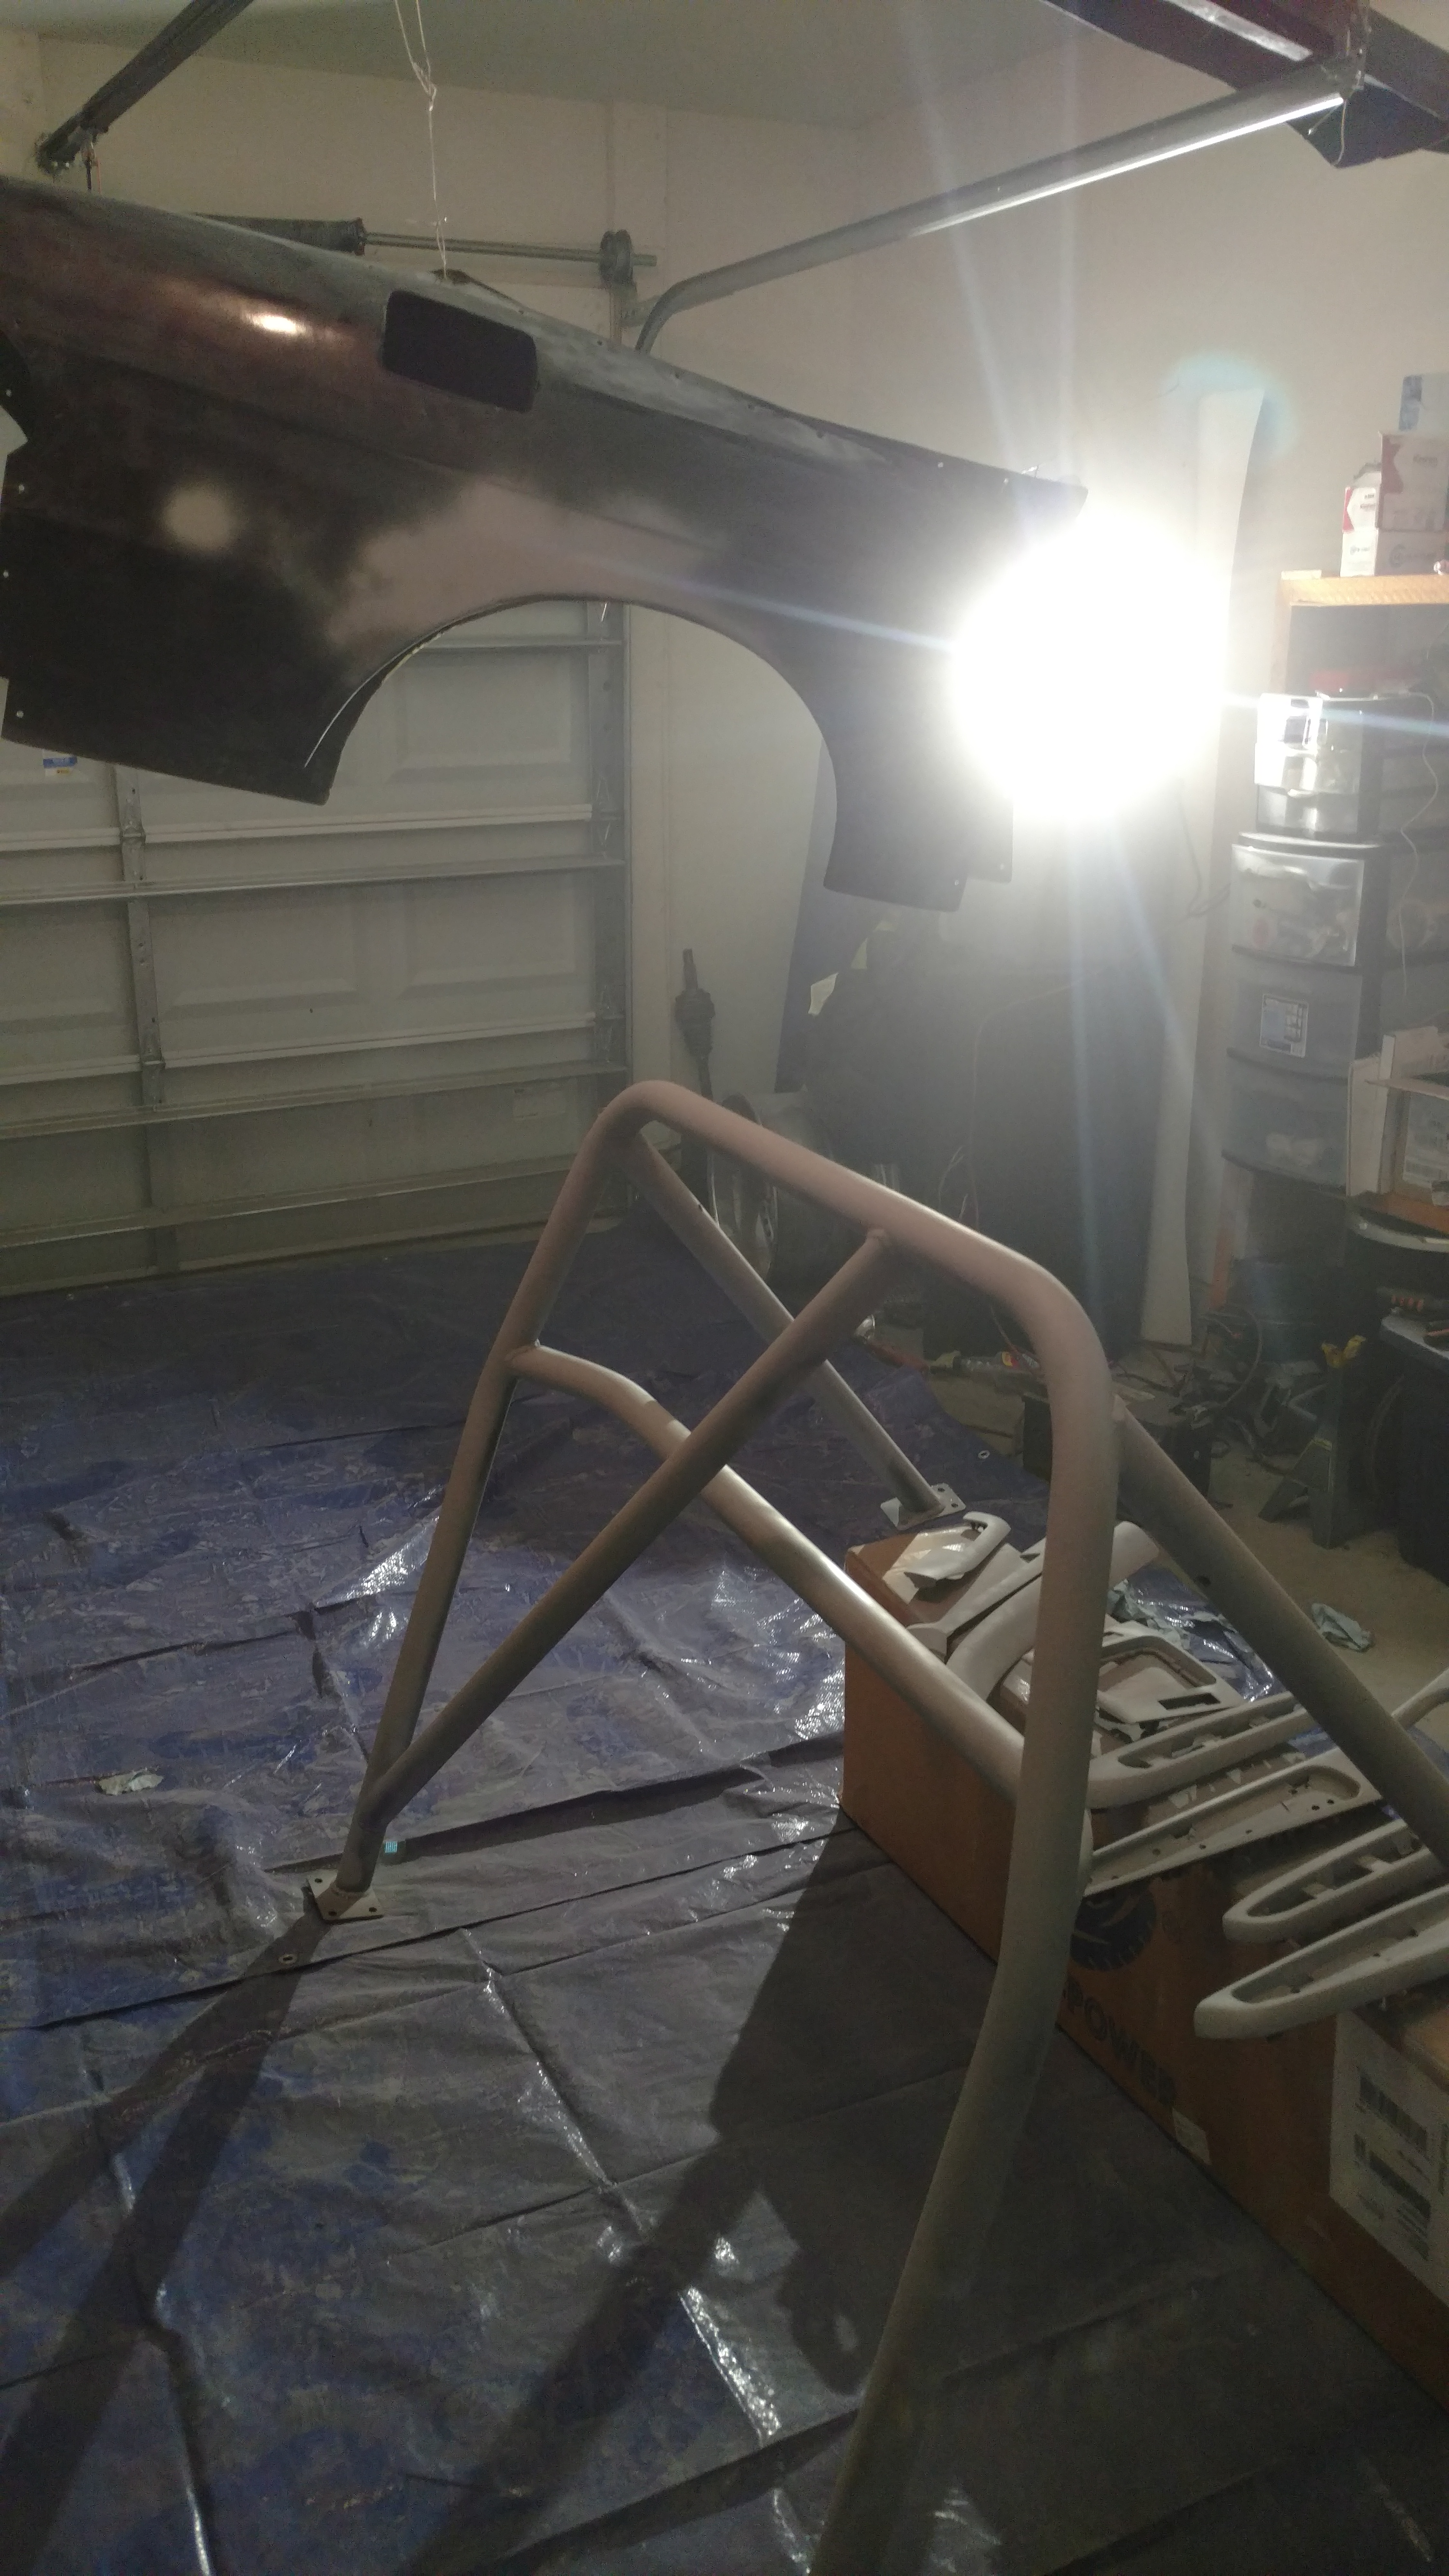
LSB M3 Restoration…
I need to do a whole post about this car. But I am doing the trunk on my SC and it reminded me of repairing the battery box and repainting the trunk of my M3. It came out so good it was a shame to cover it up with the carpet. I had to go to the junk yard and cut out a battery box, then weld it into the car. The battery was almost falling out of the trunk the box had melted so bad from acid. I had to drill through the floor to the subframe for the new rear strut tower bar and trim the carpet to fit around it. I ordered brand new carpet and mats so that was kind of daunting.


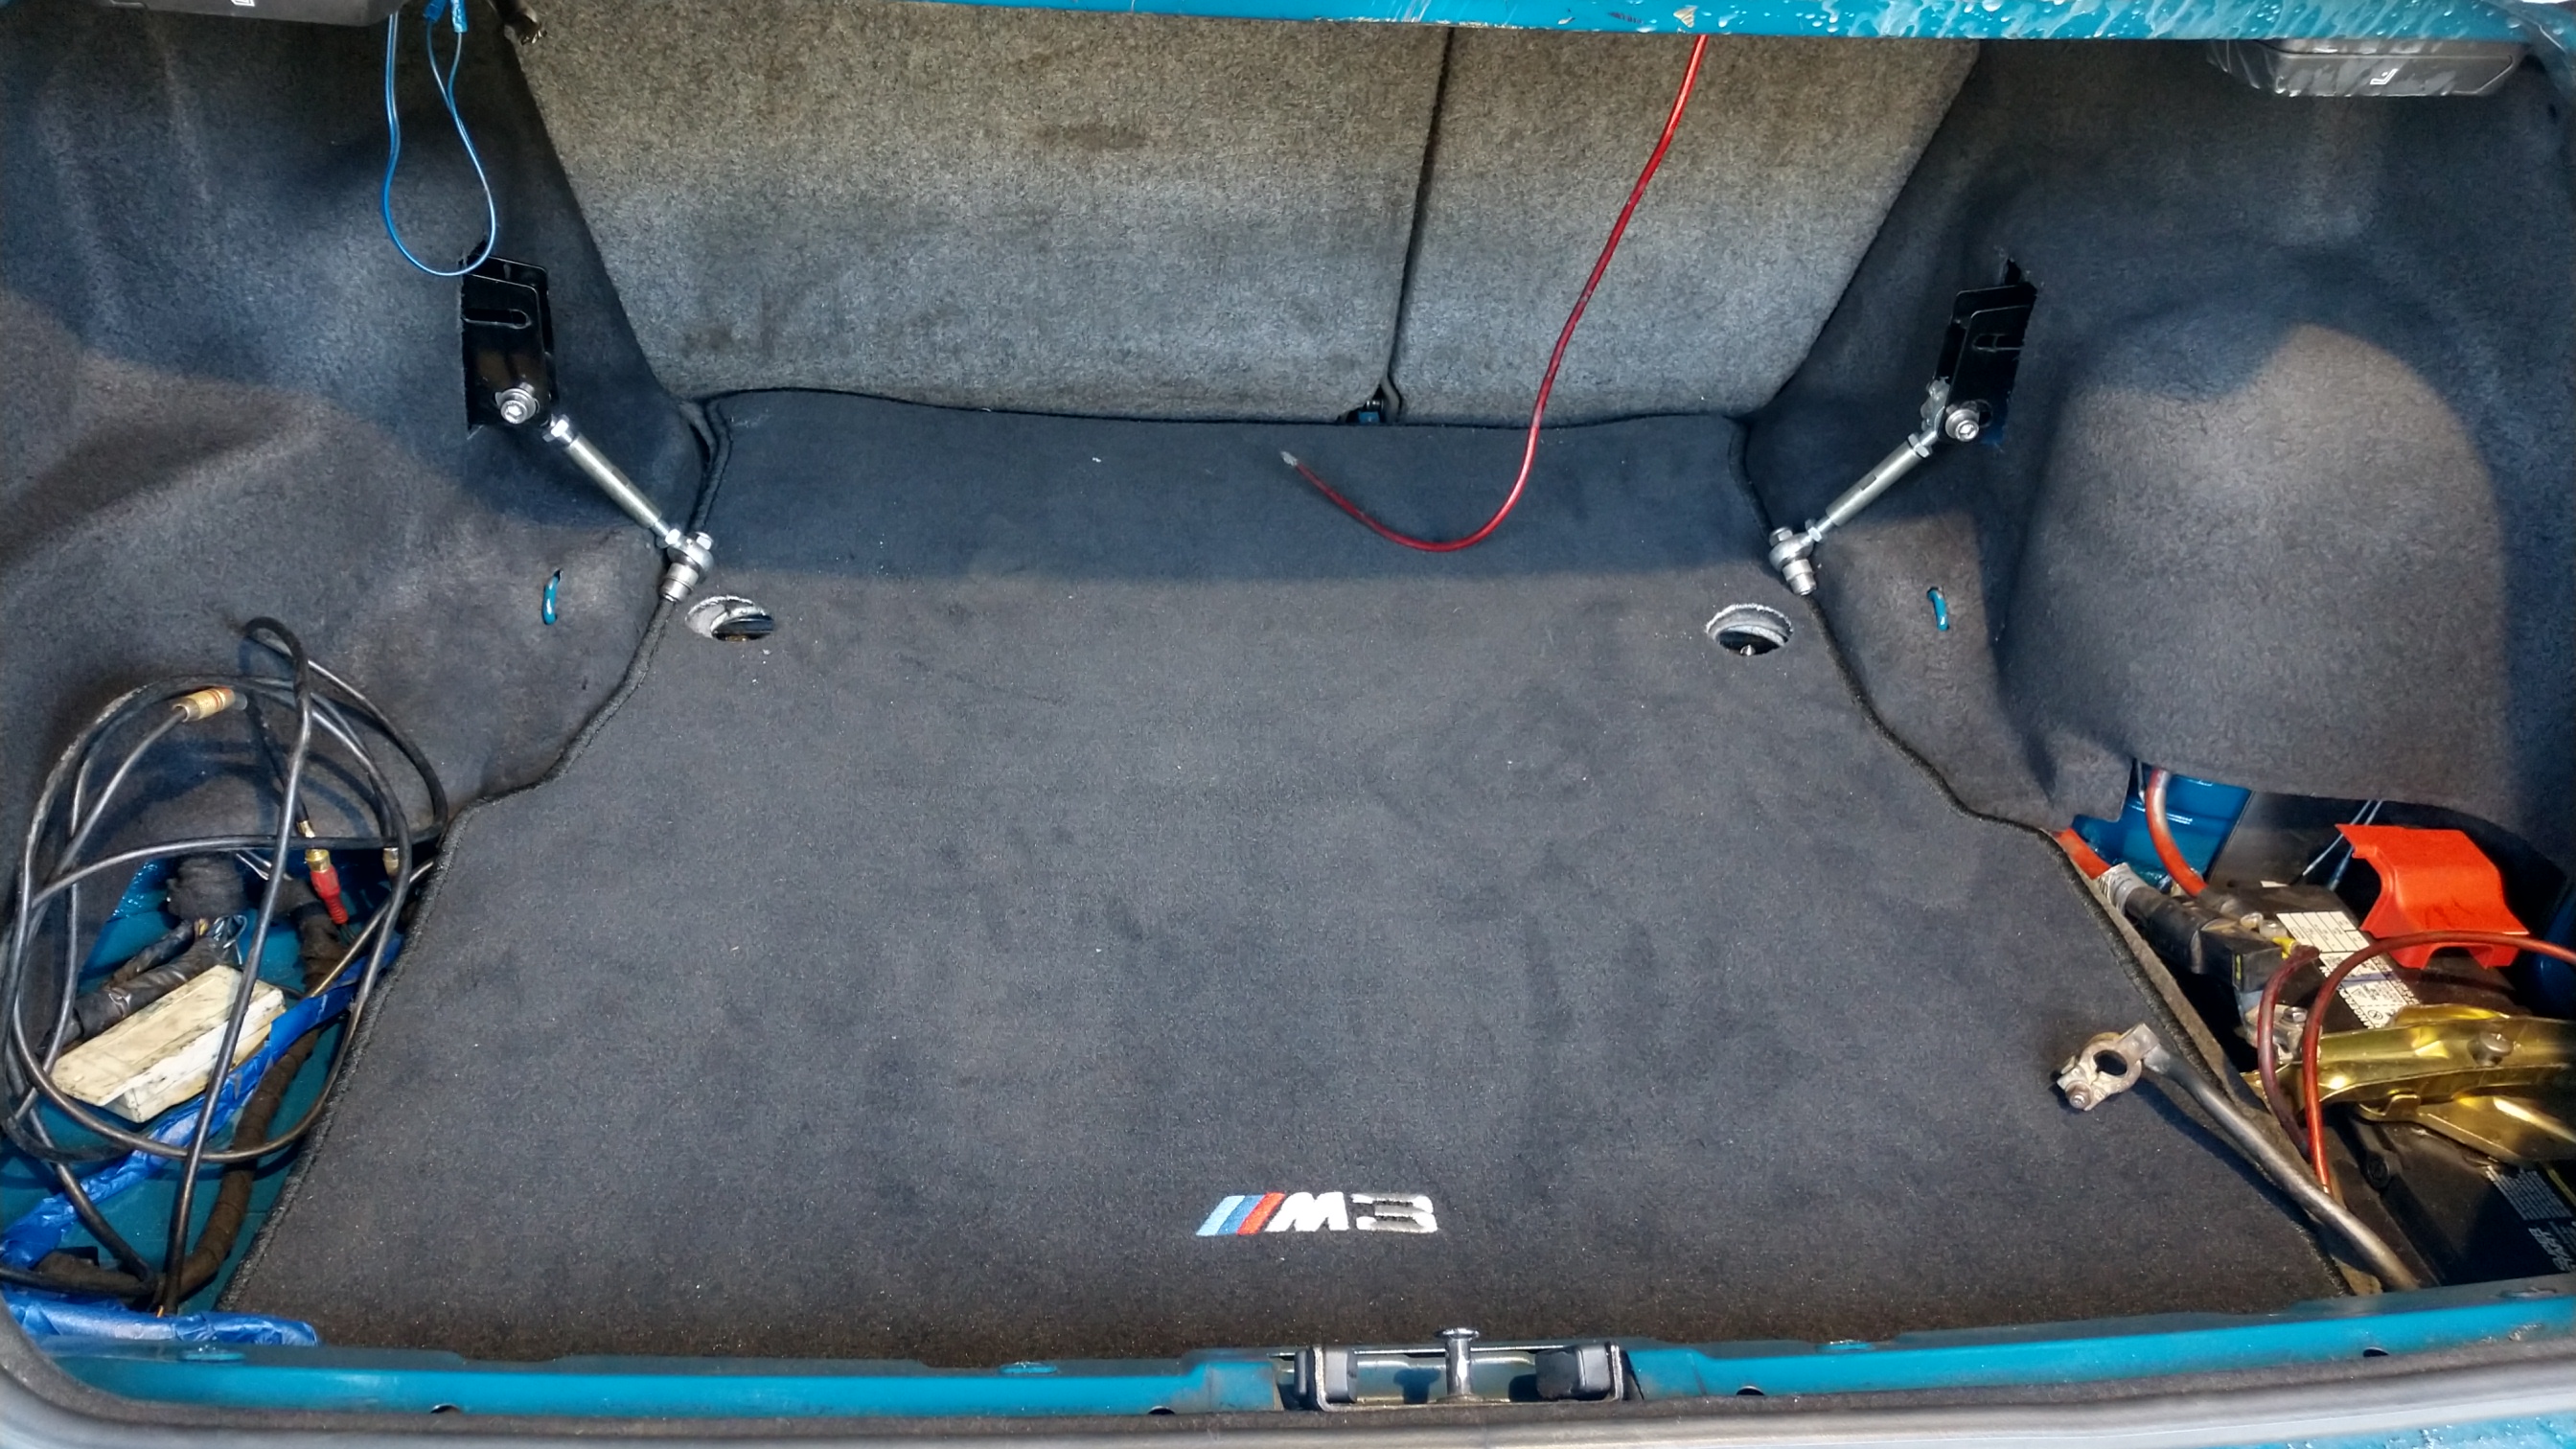


I also had to weld up the front strut tower and repaint it. They tend to crack with harsh spring rates and I had fallen into the trap of thinking BC’s were good coils. So before I installed my Stance coils I welded and reinforced the strut tower. I also added a PBM strut tower bar. Everything primed with Steel it to keep corrosion away.


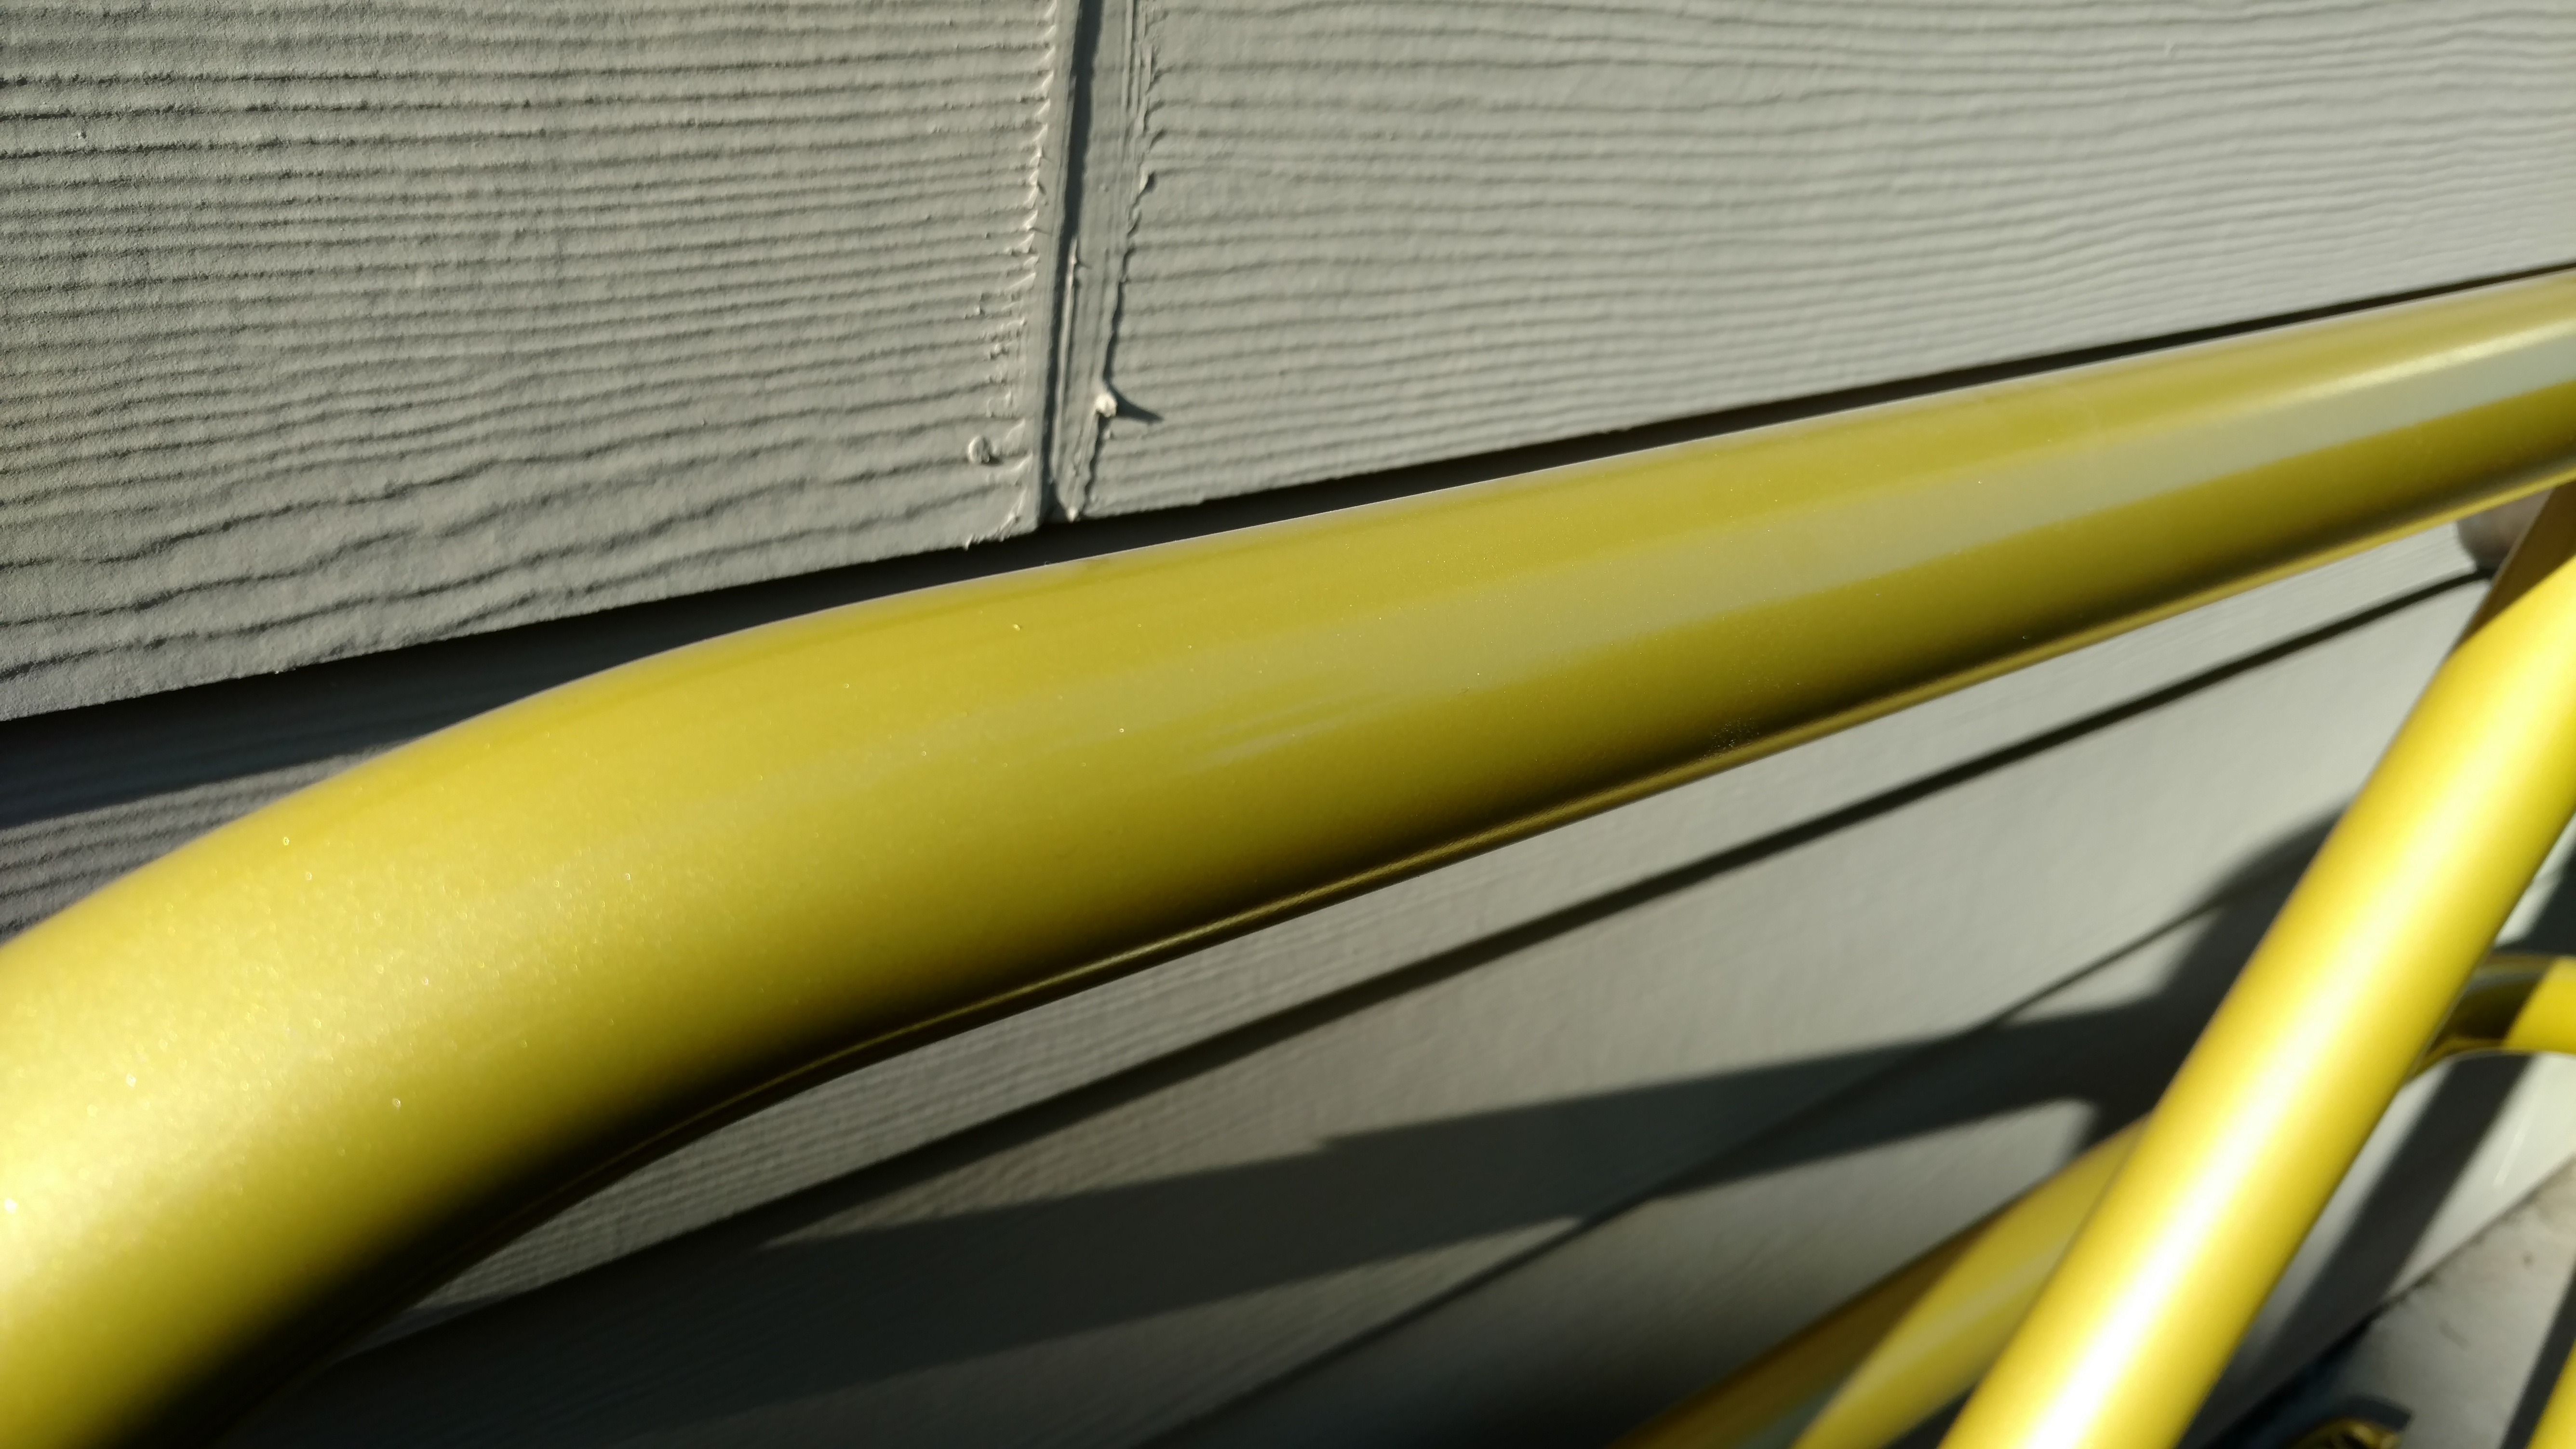
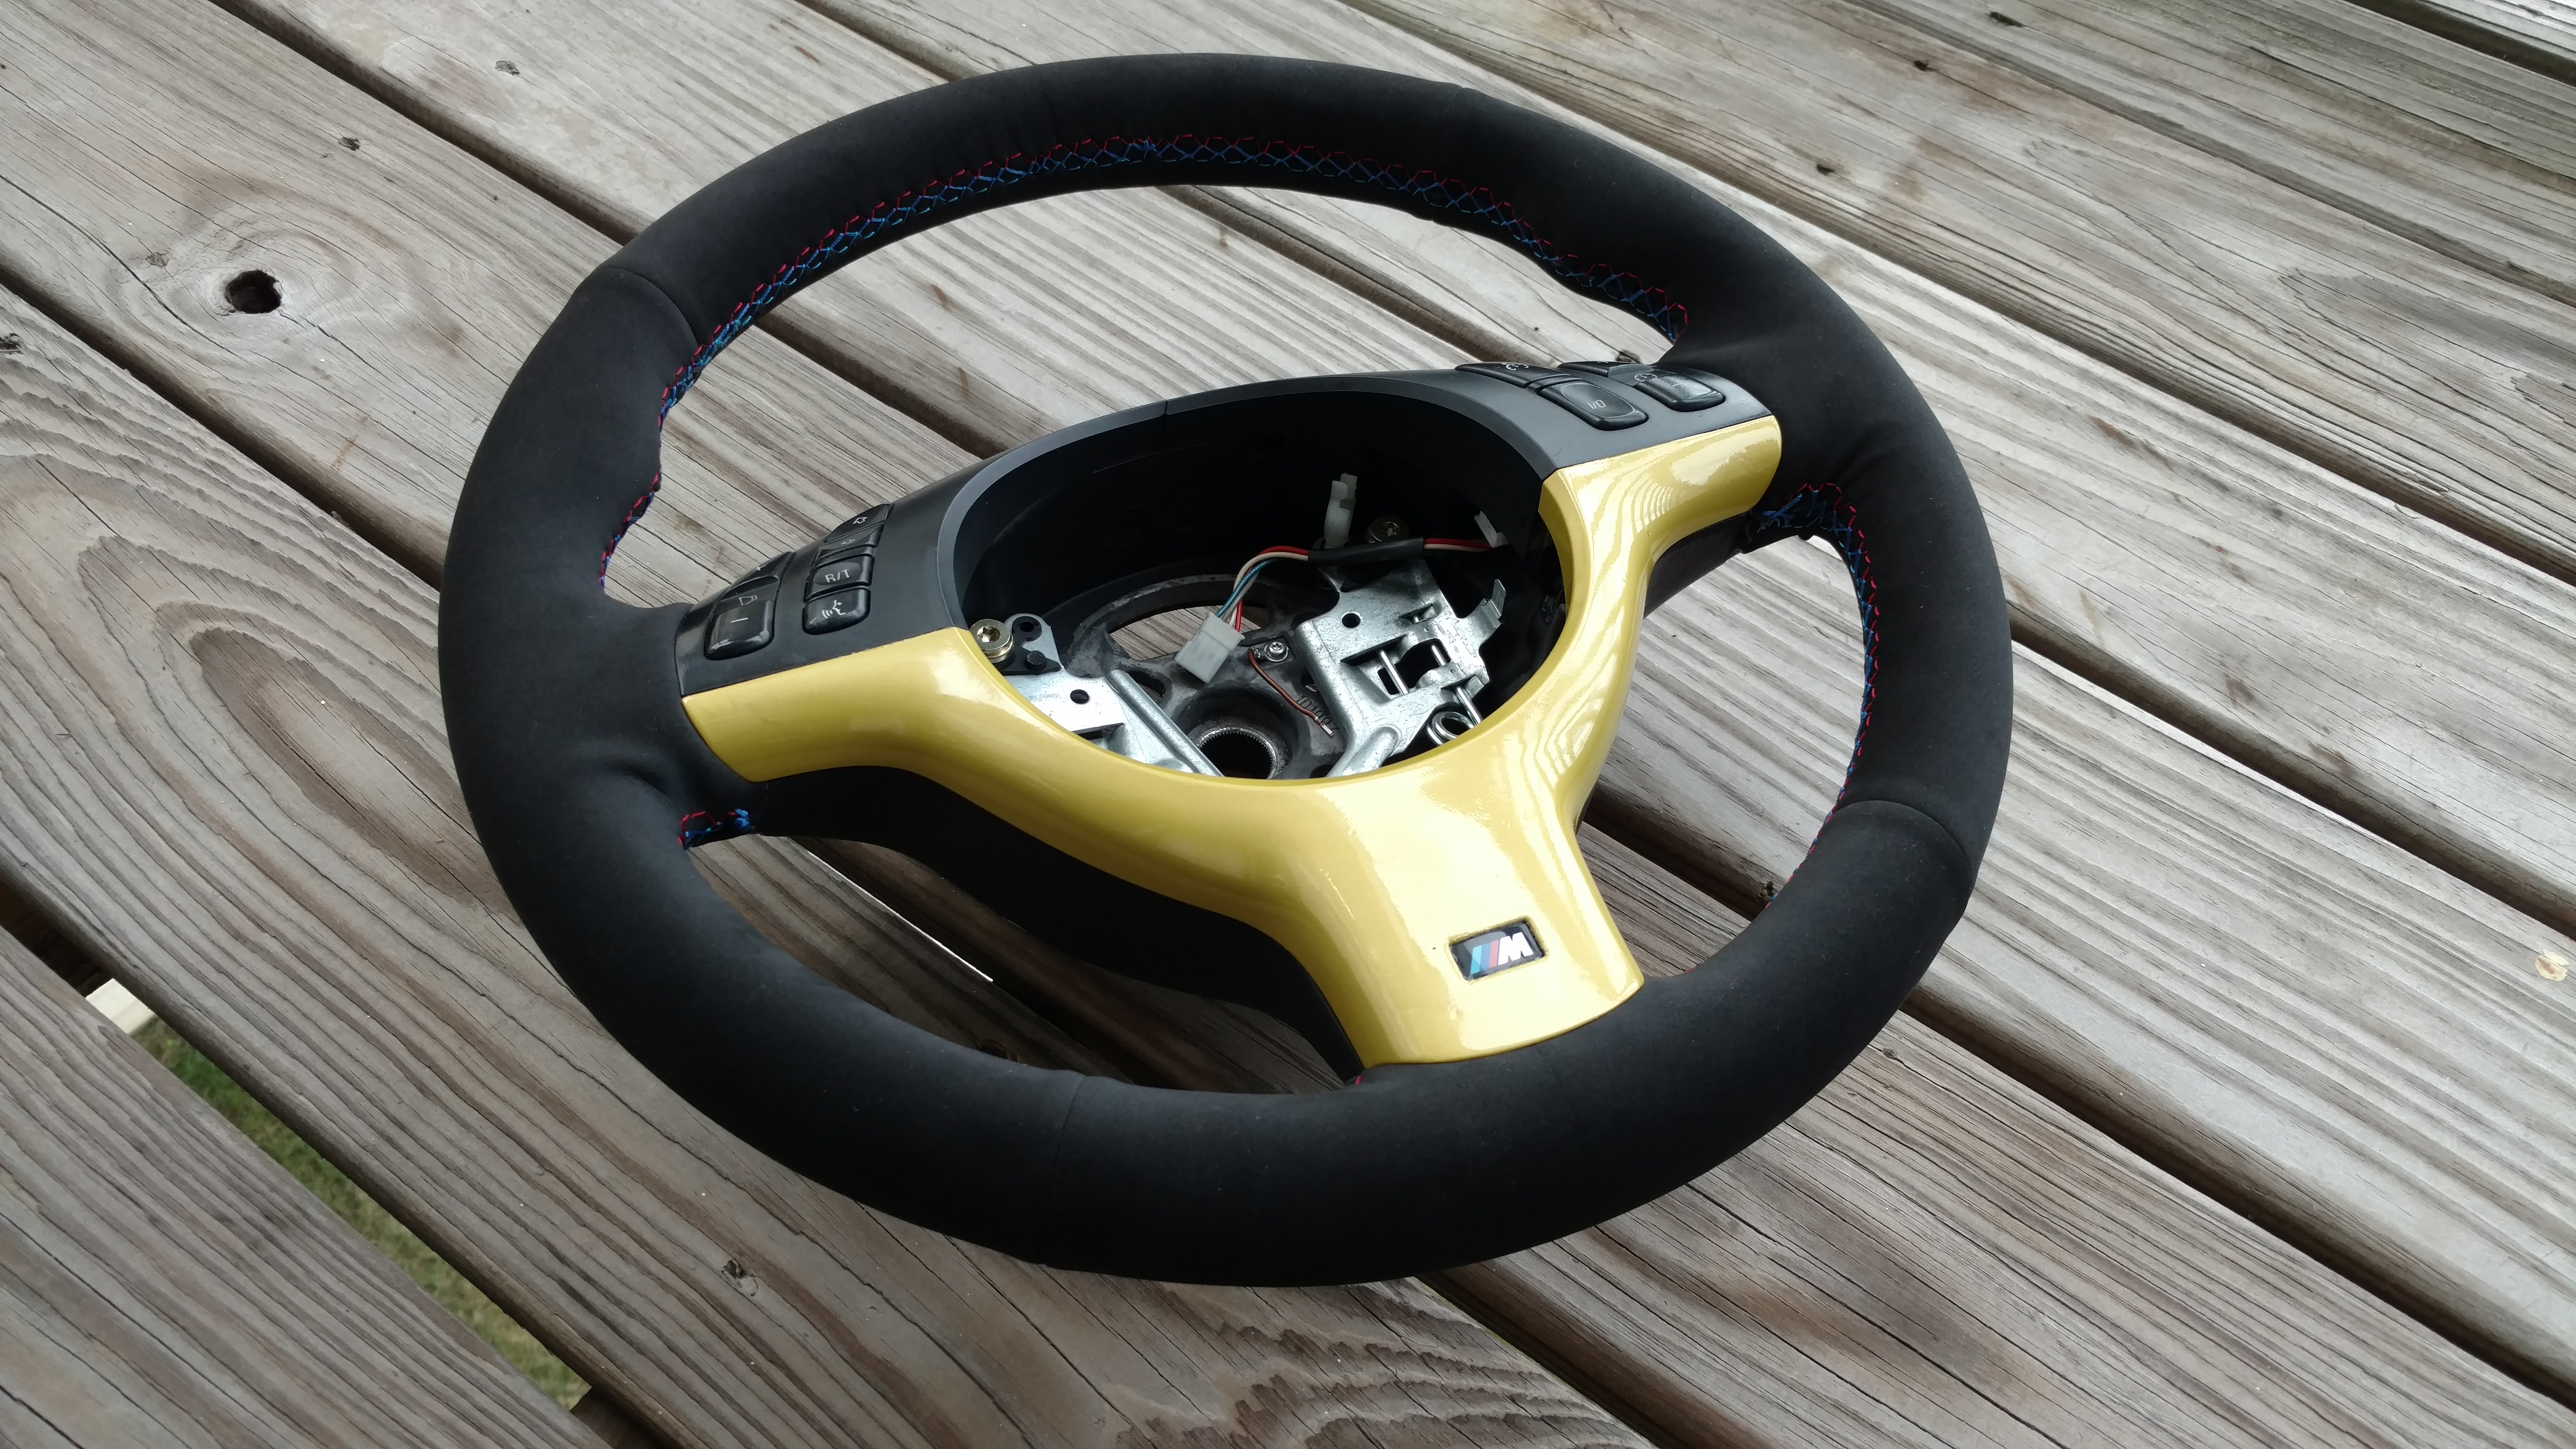
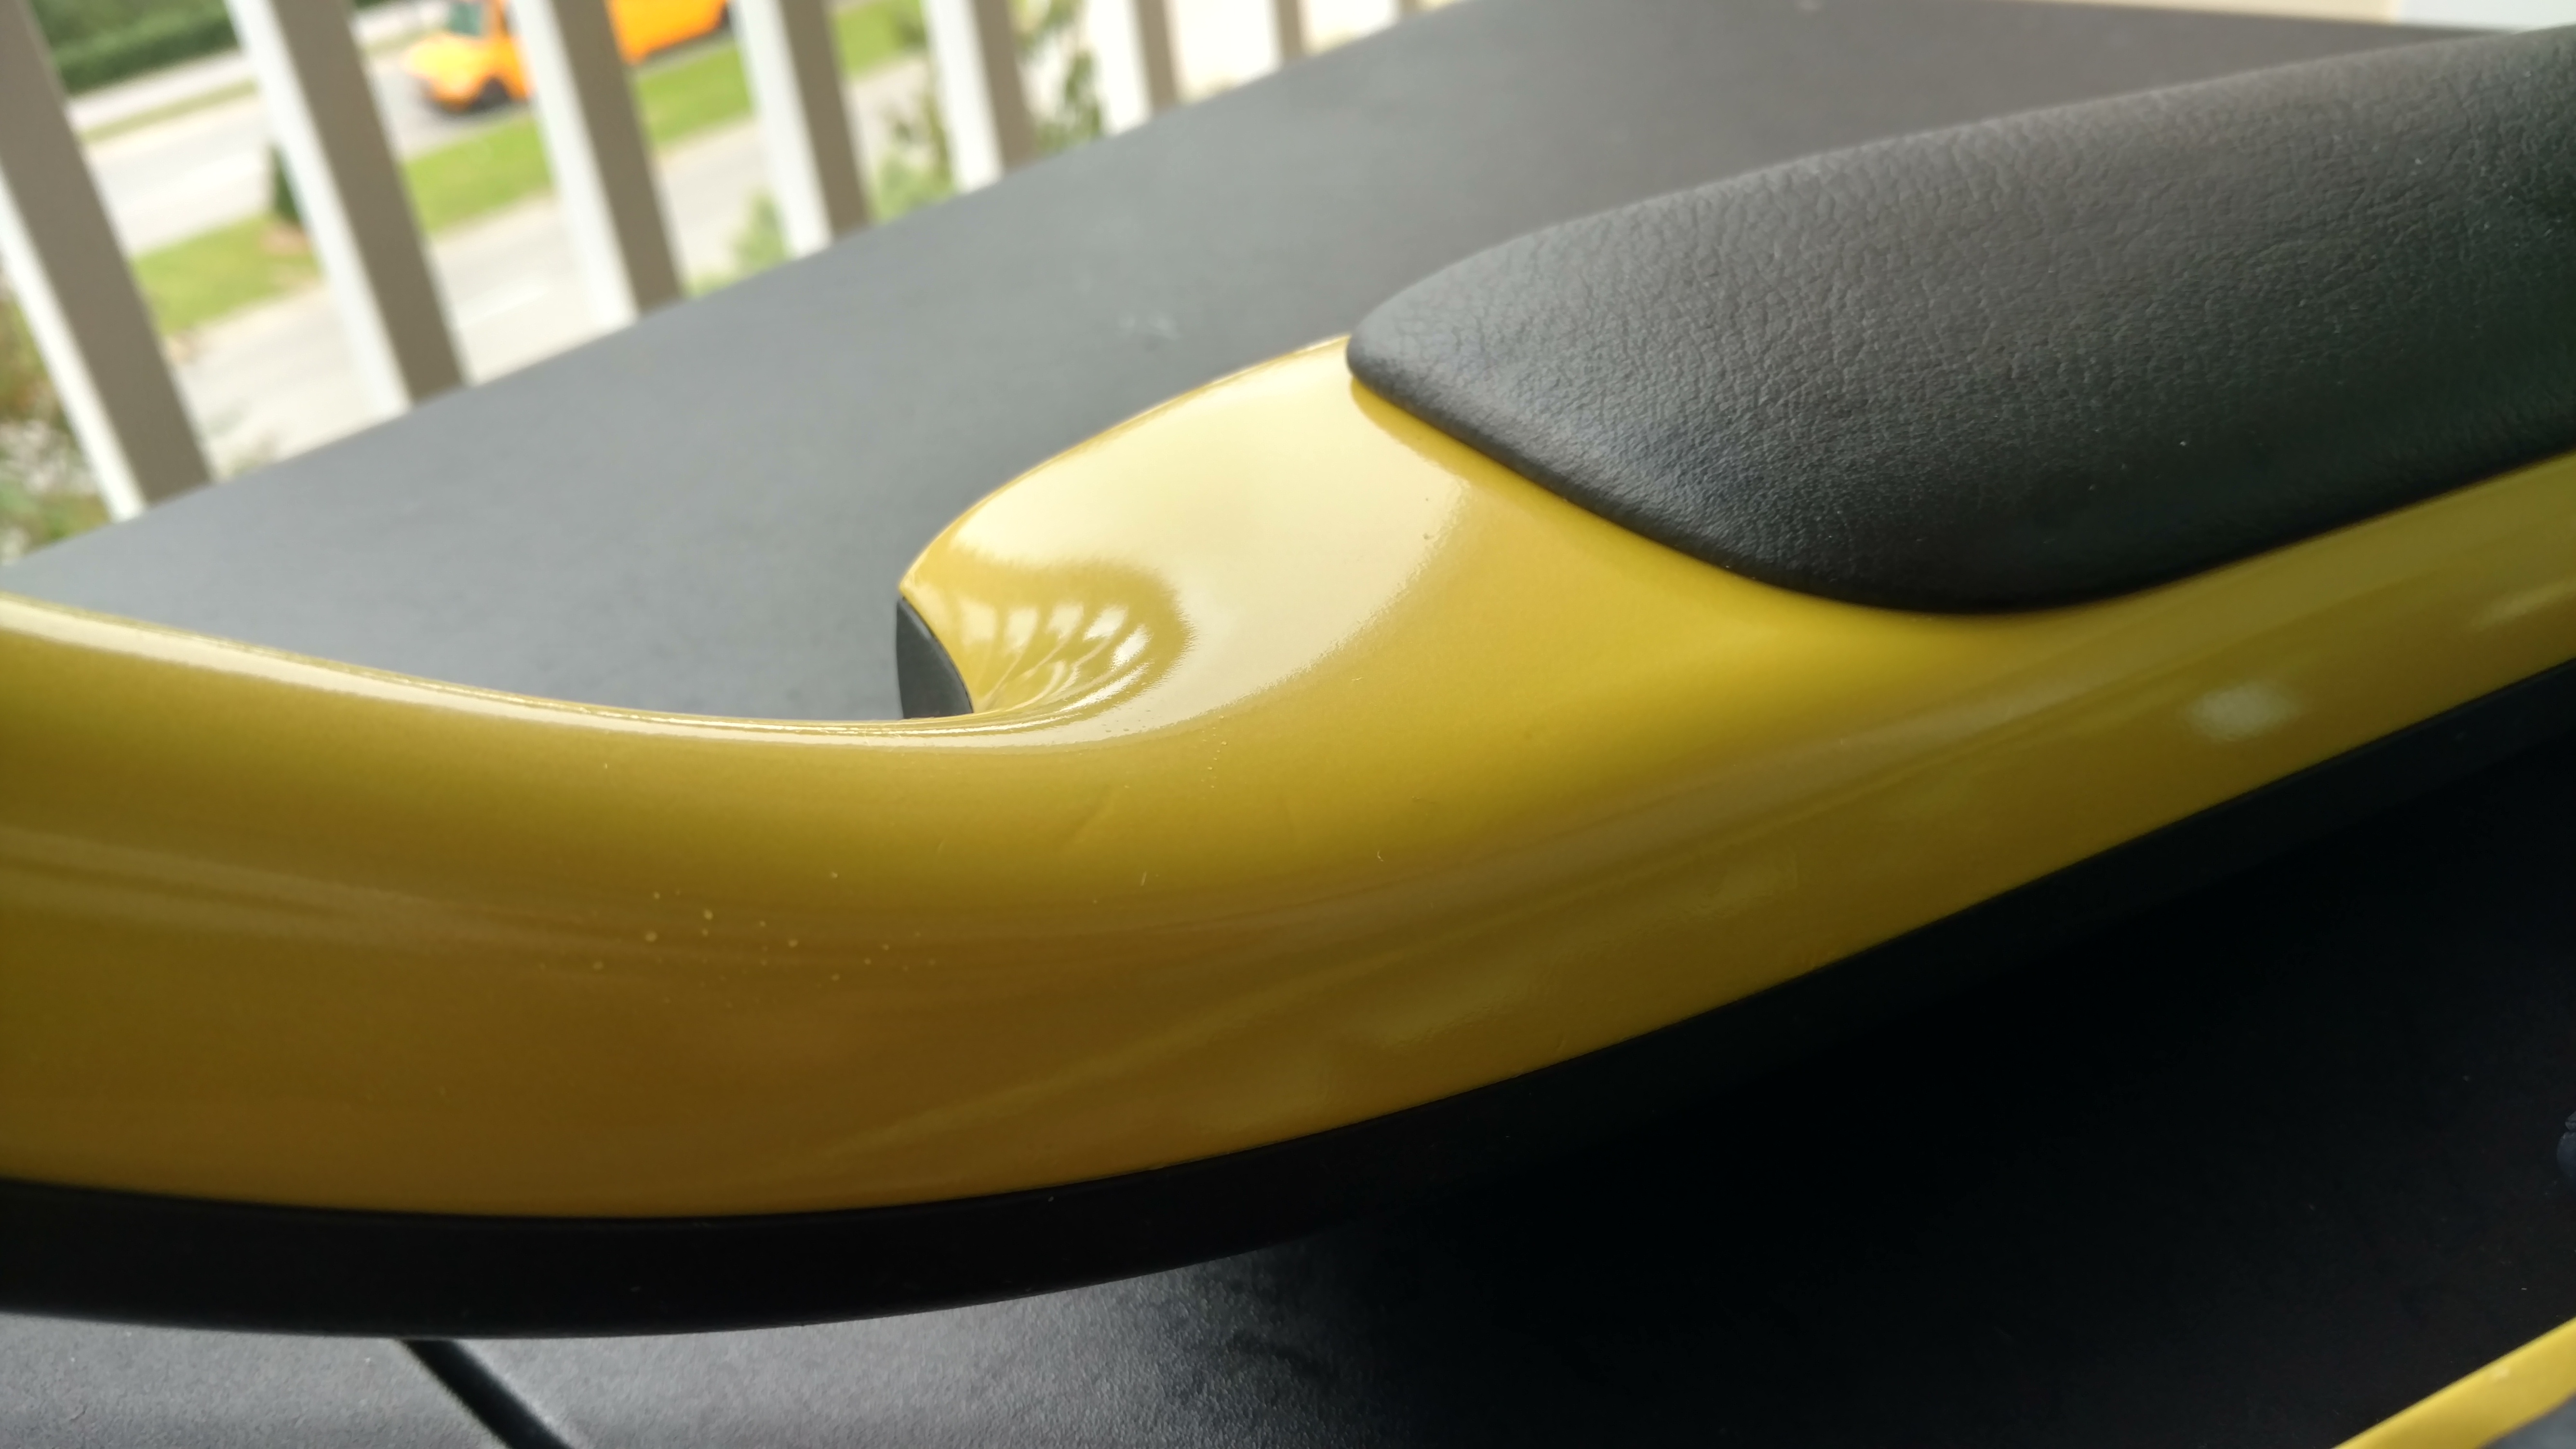
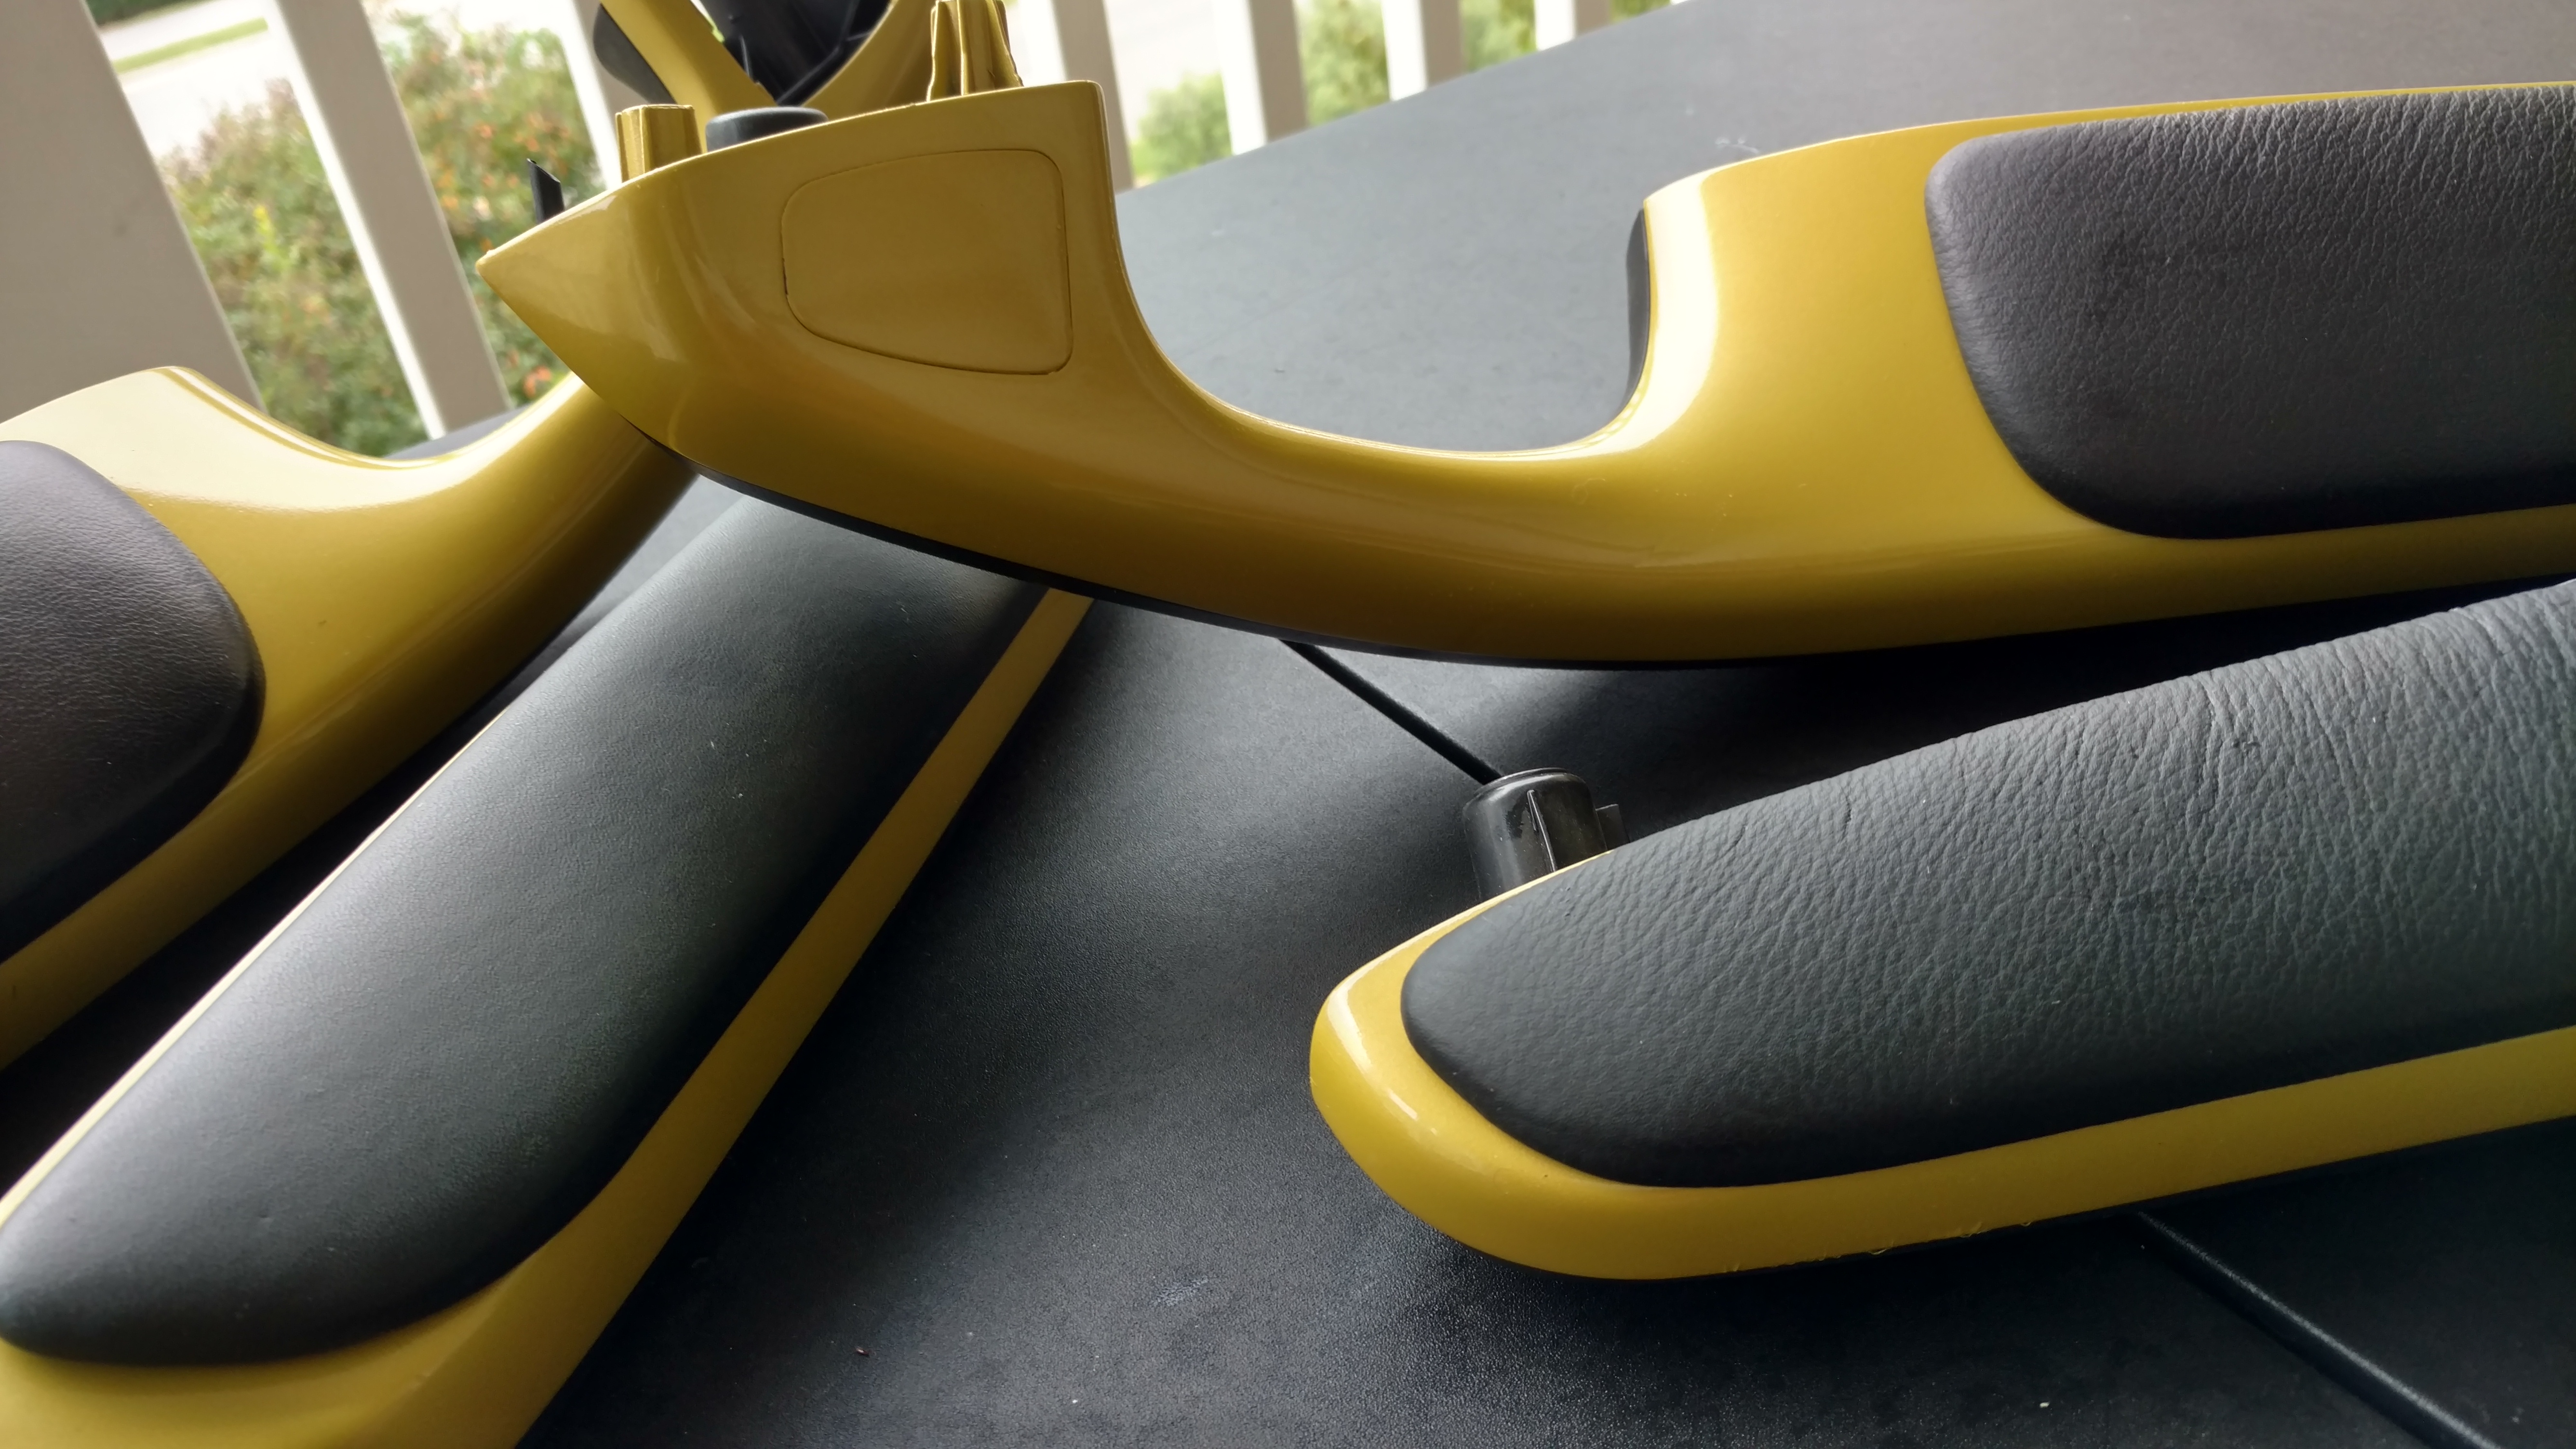
Steering wheel wrapped and painted to match the roll cage and rest of the trim. I always wanted a Phoenix Yellow M3. I never wanted LSB until I saw this one. So I painted these pieces Phoenix Yellow. It contrasts well with the blue.


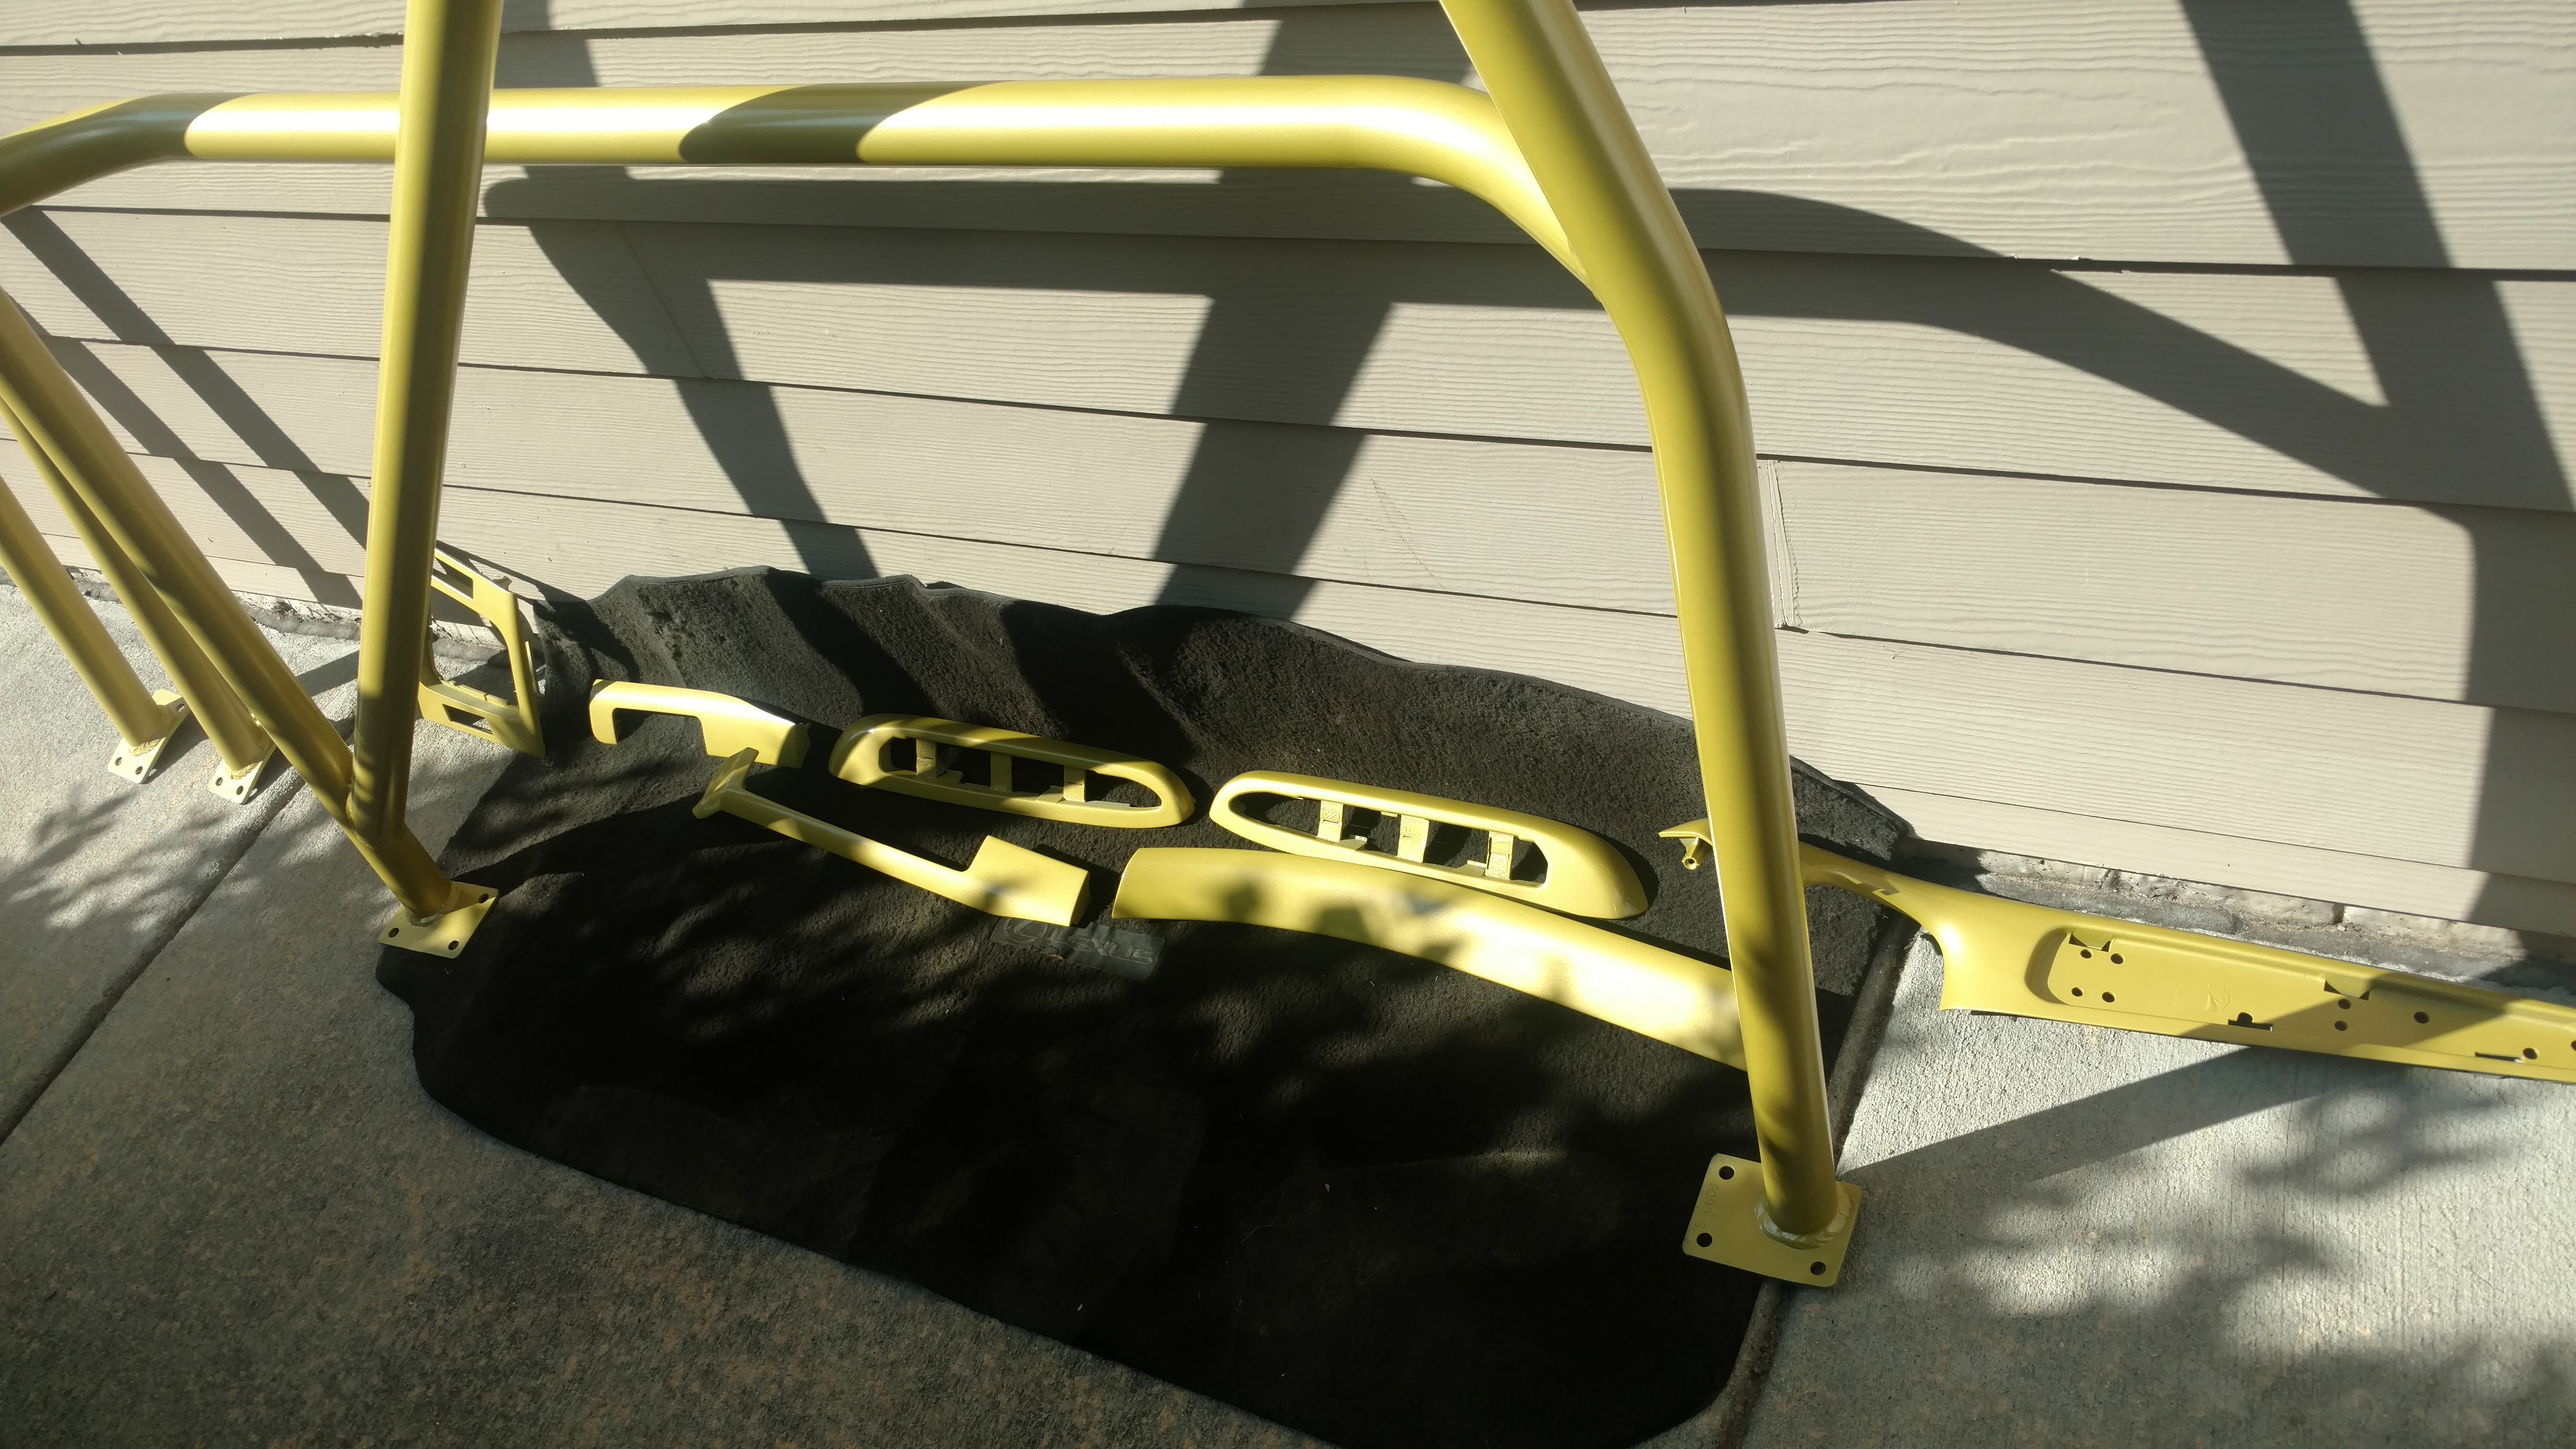


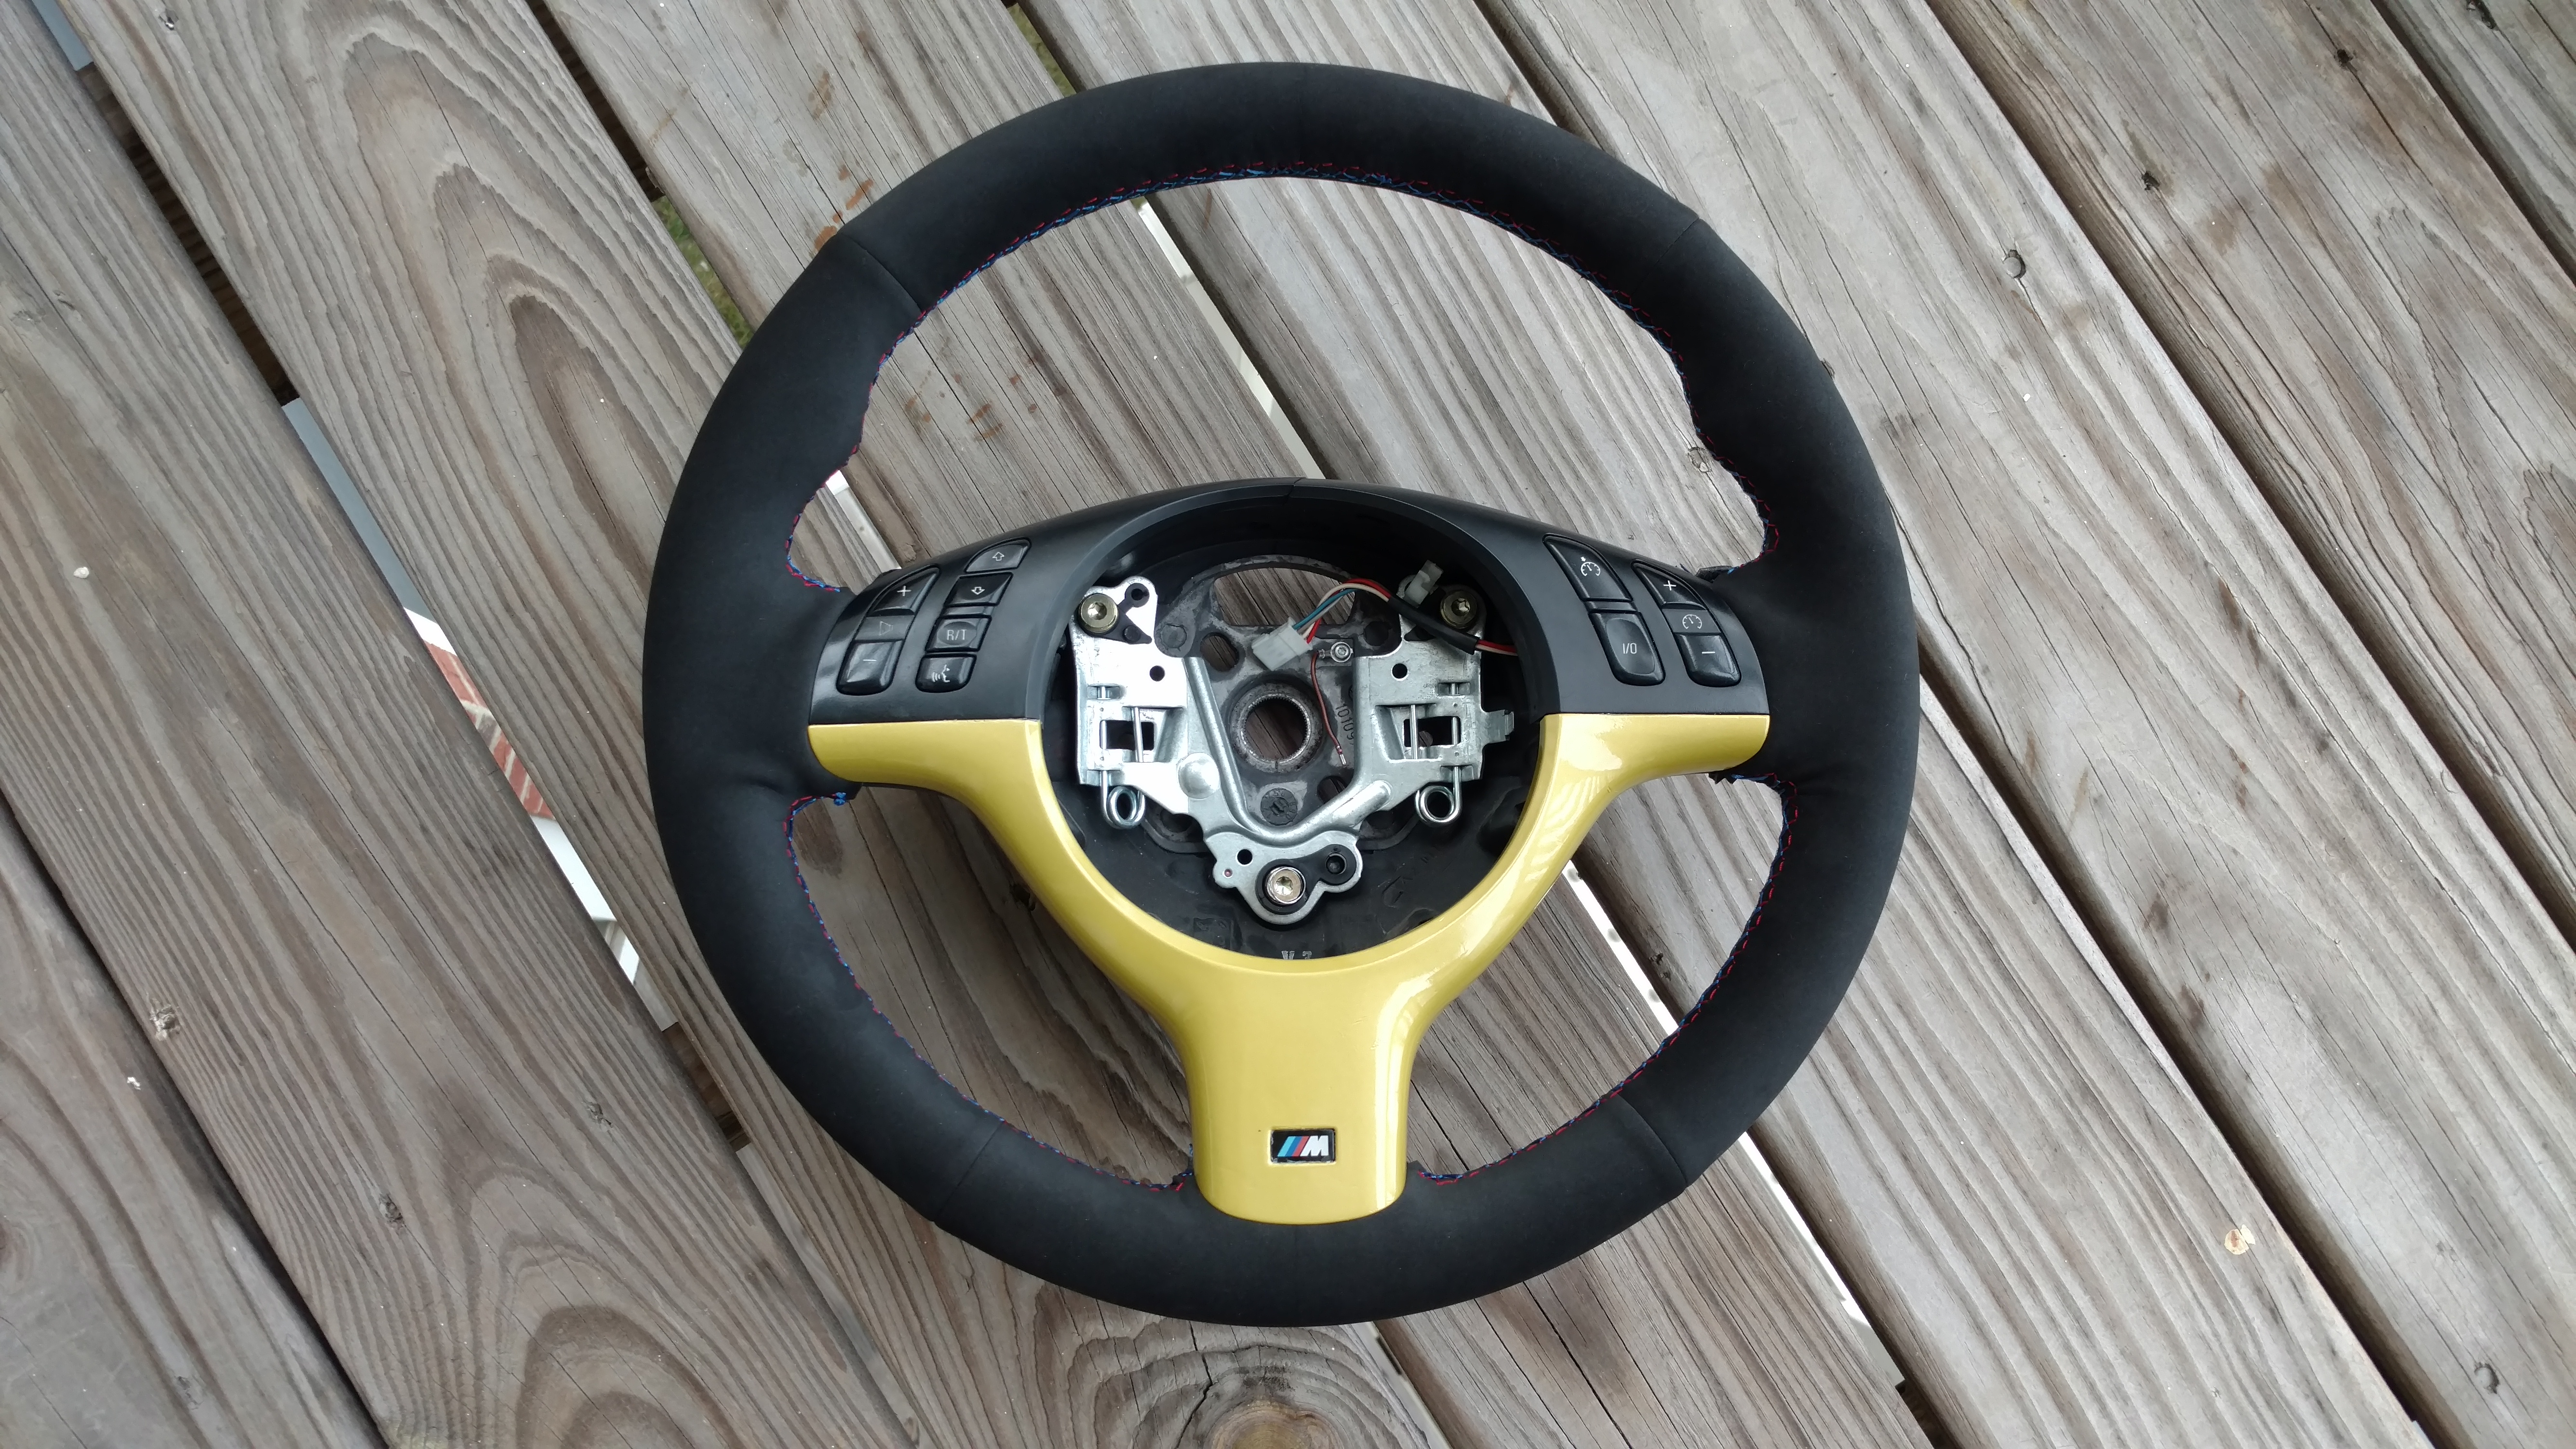
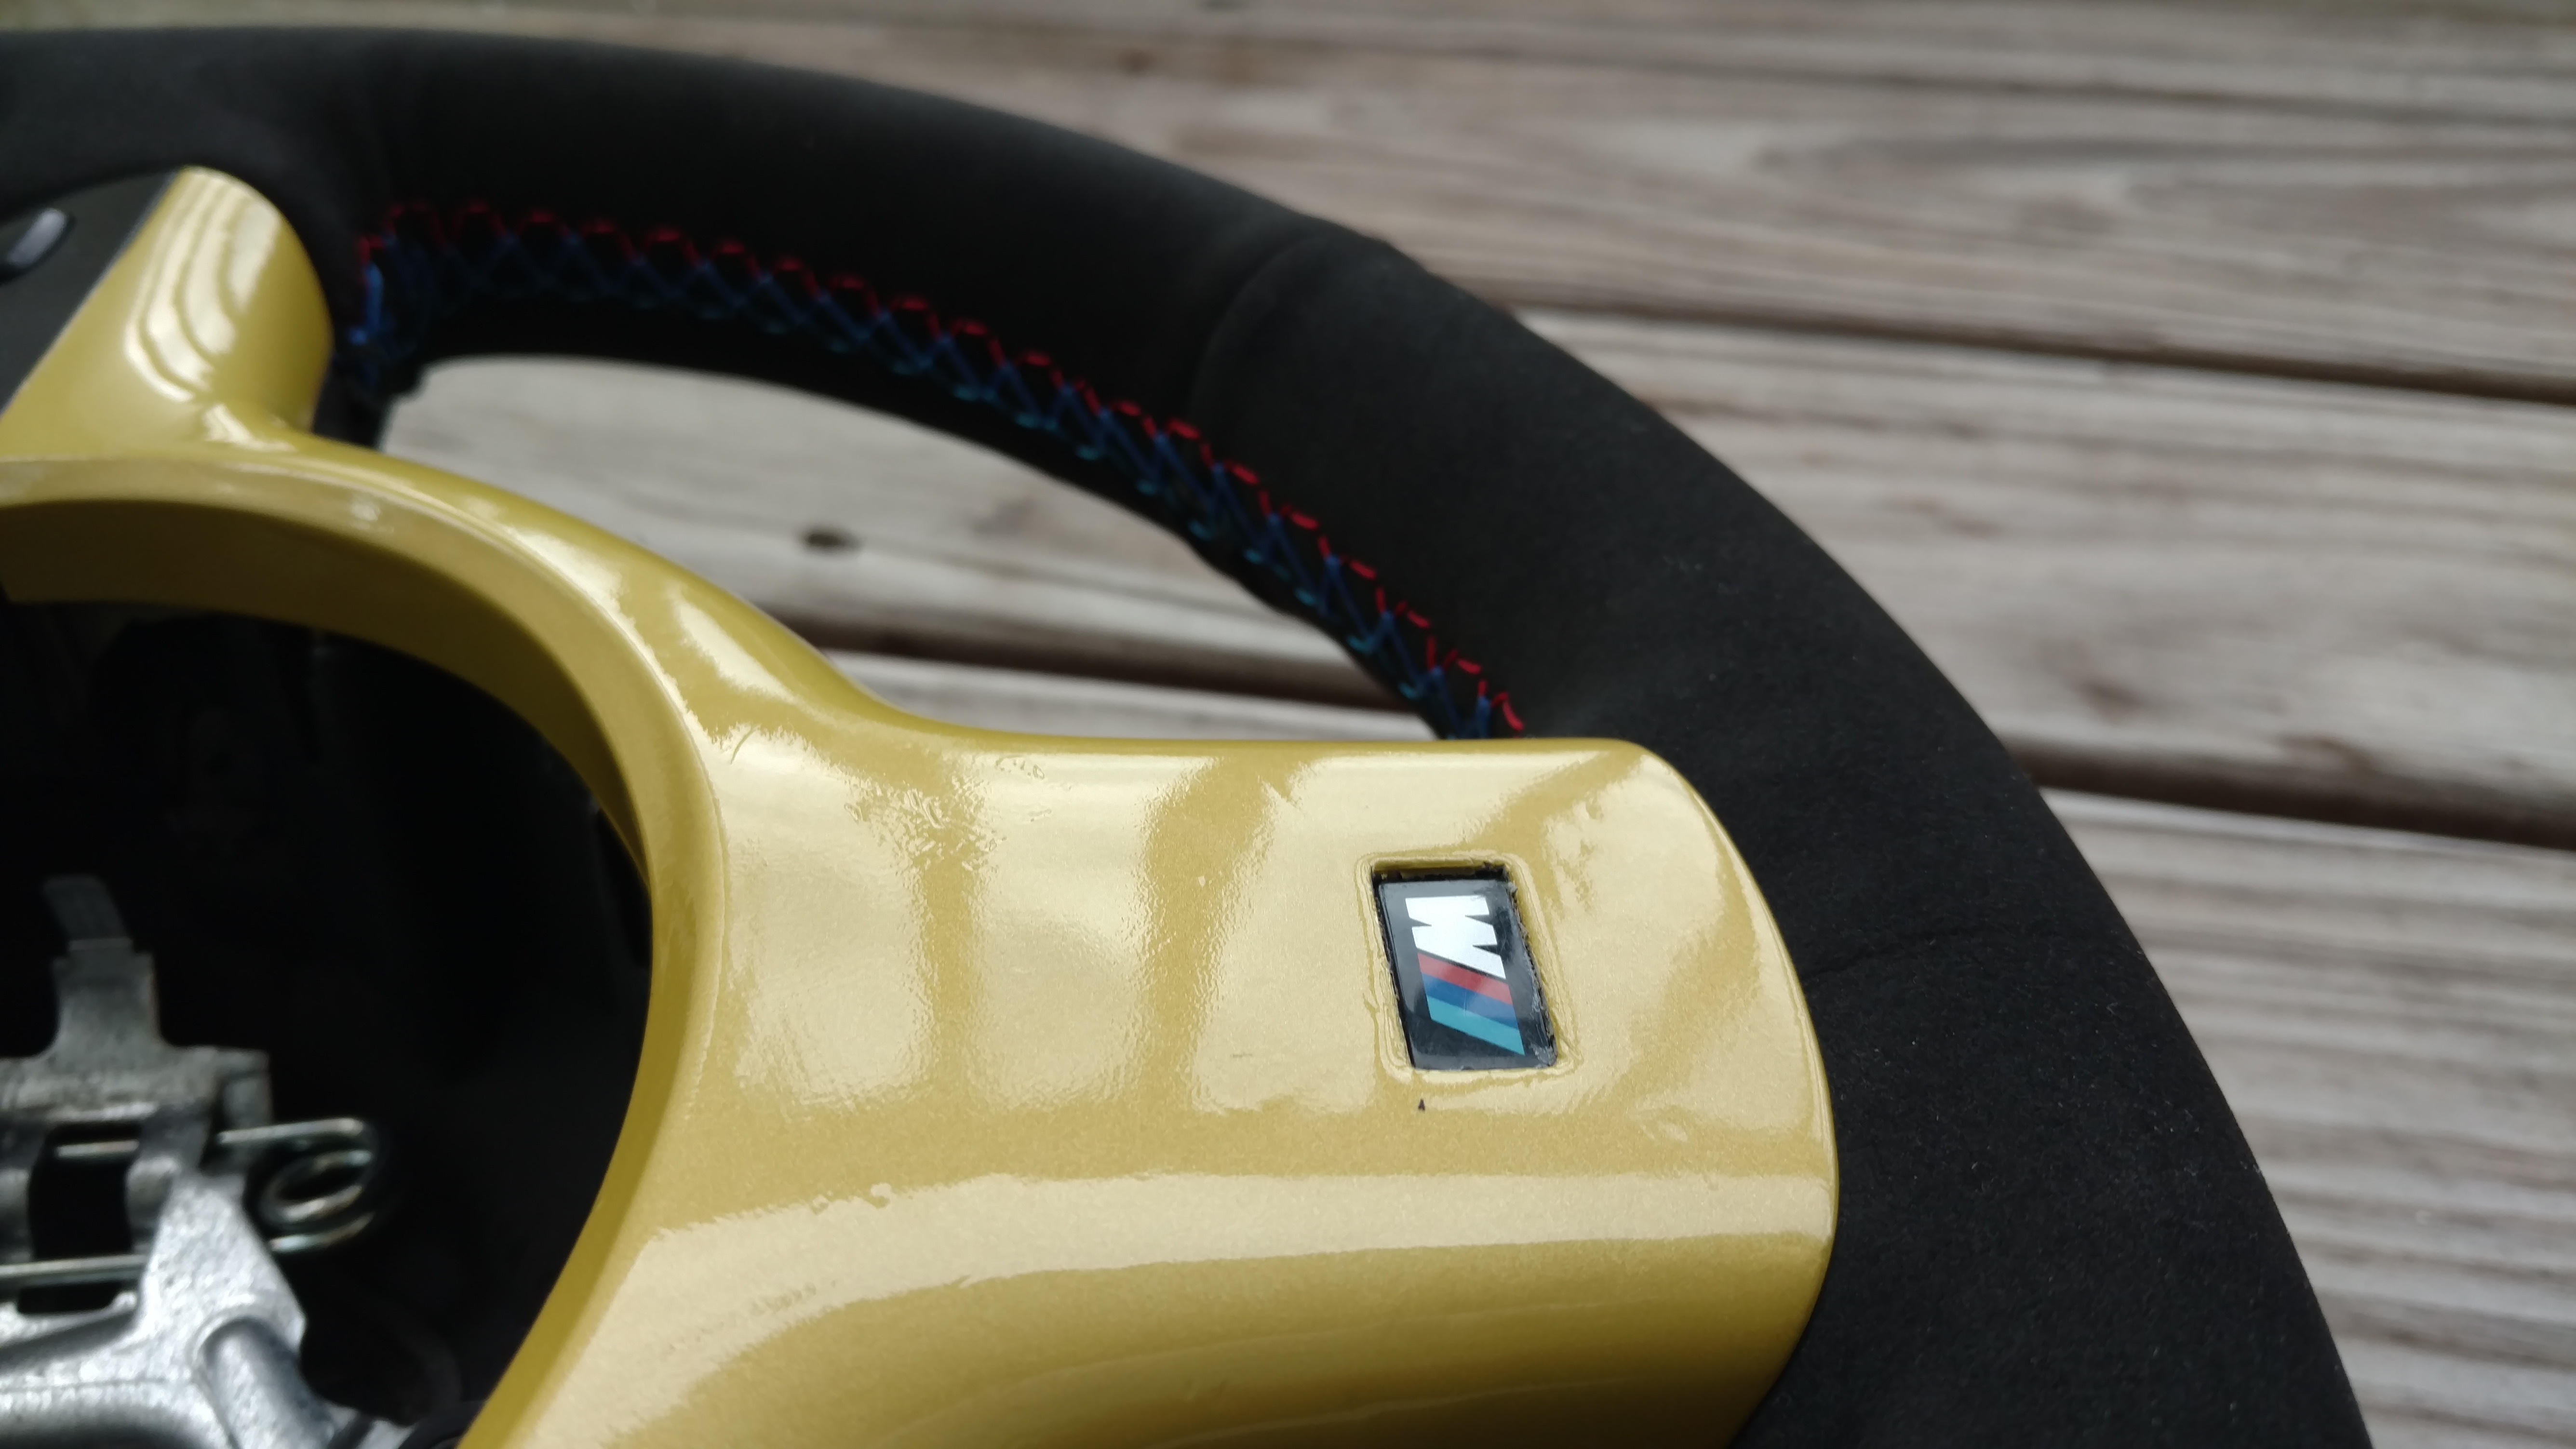


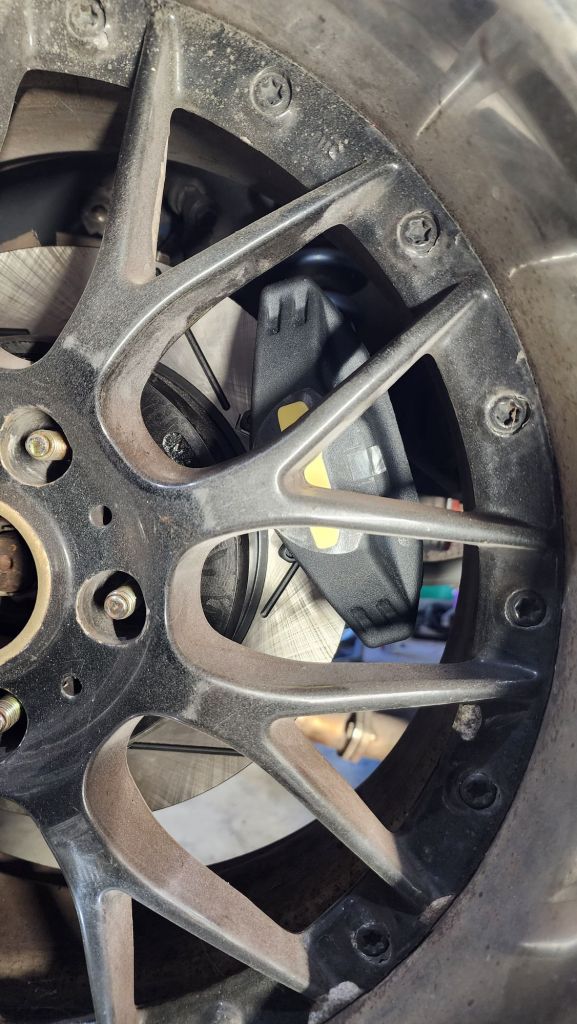
I couldn’t find high temp Phoenix yellow so I just did the brakes regular yellow.


There’s so much more to this “build” or “restoration”. I don’t know what to call it because I don’t see it as either. But I’ll update later.
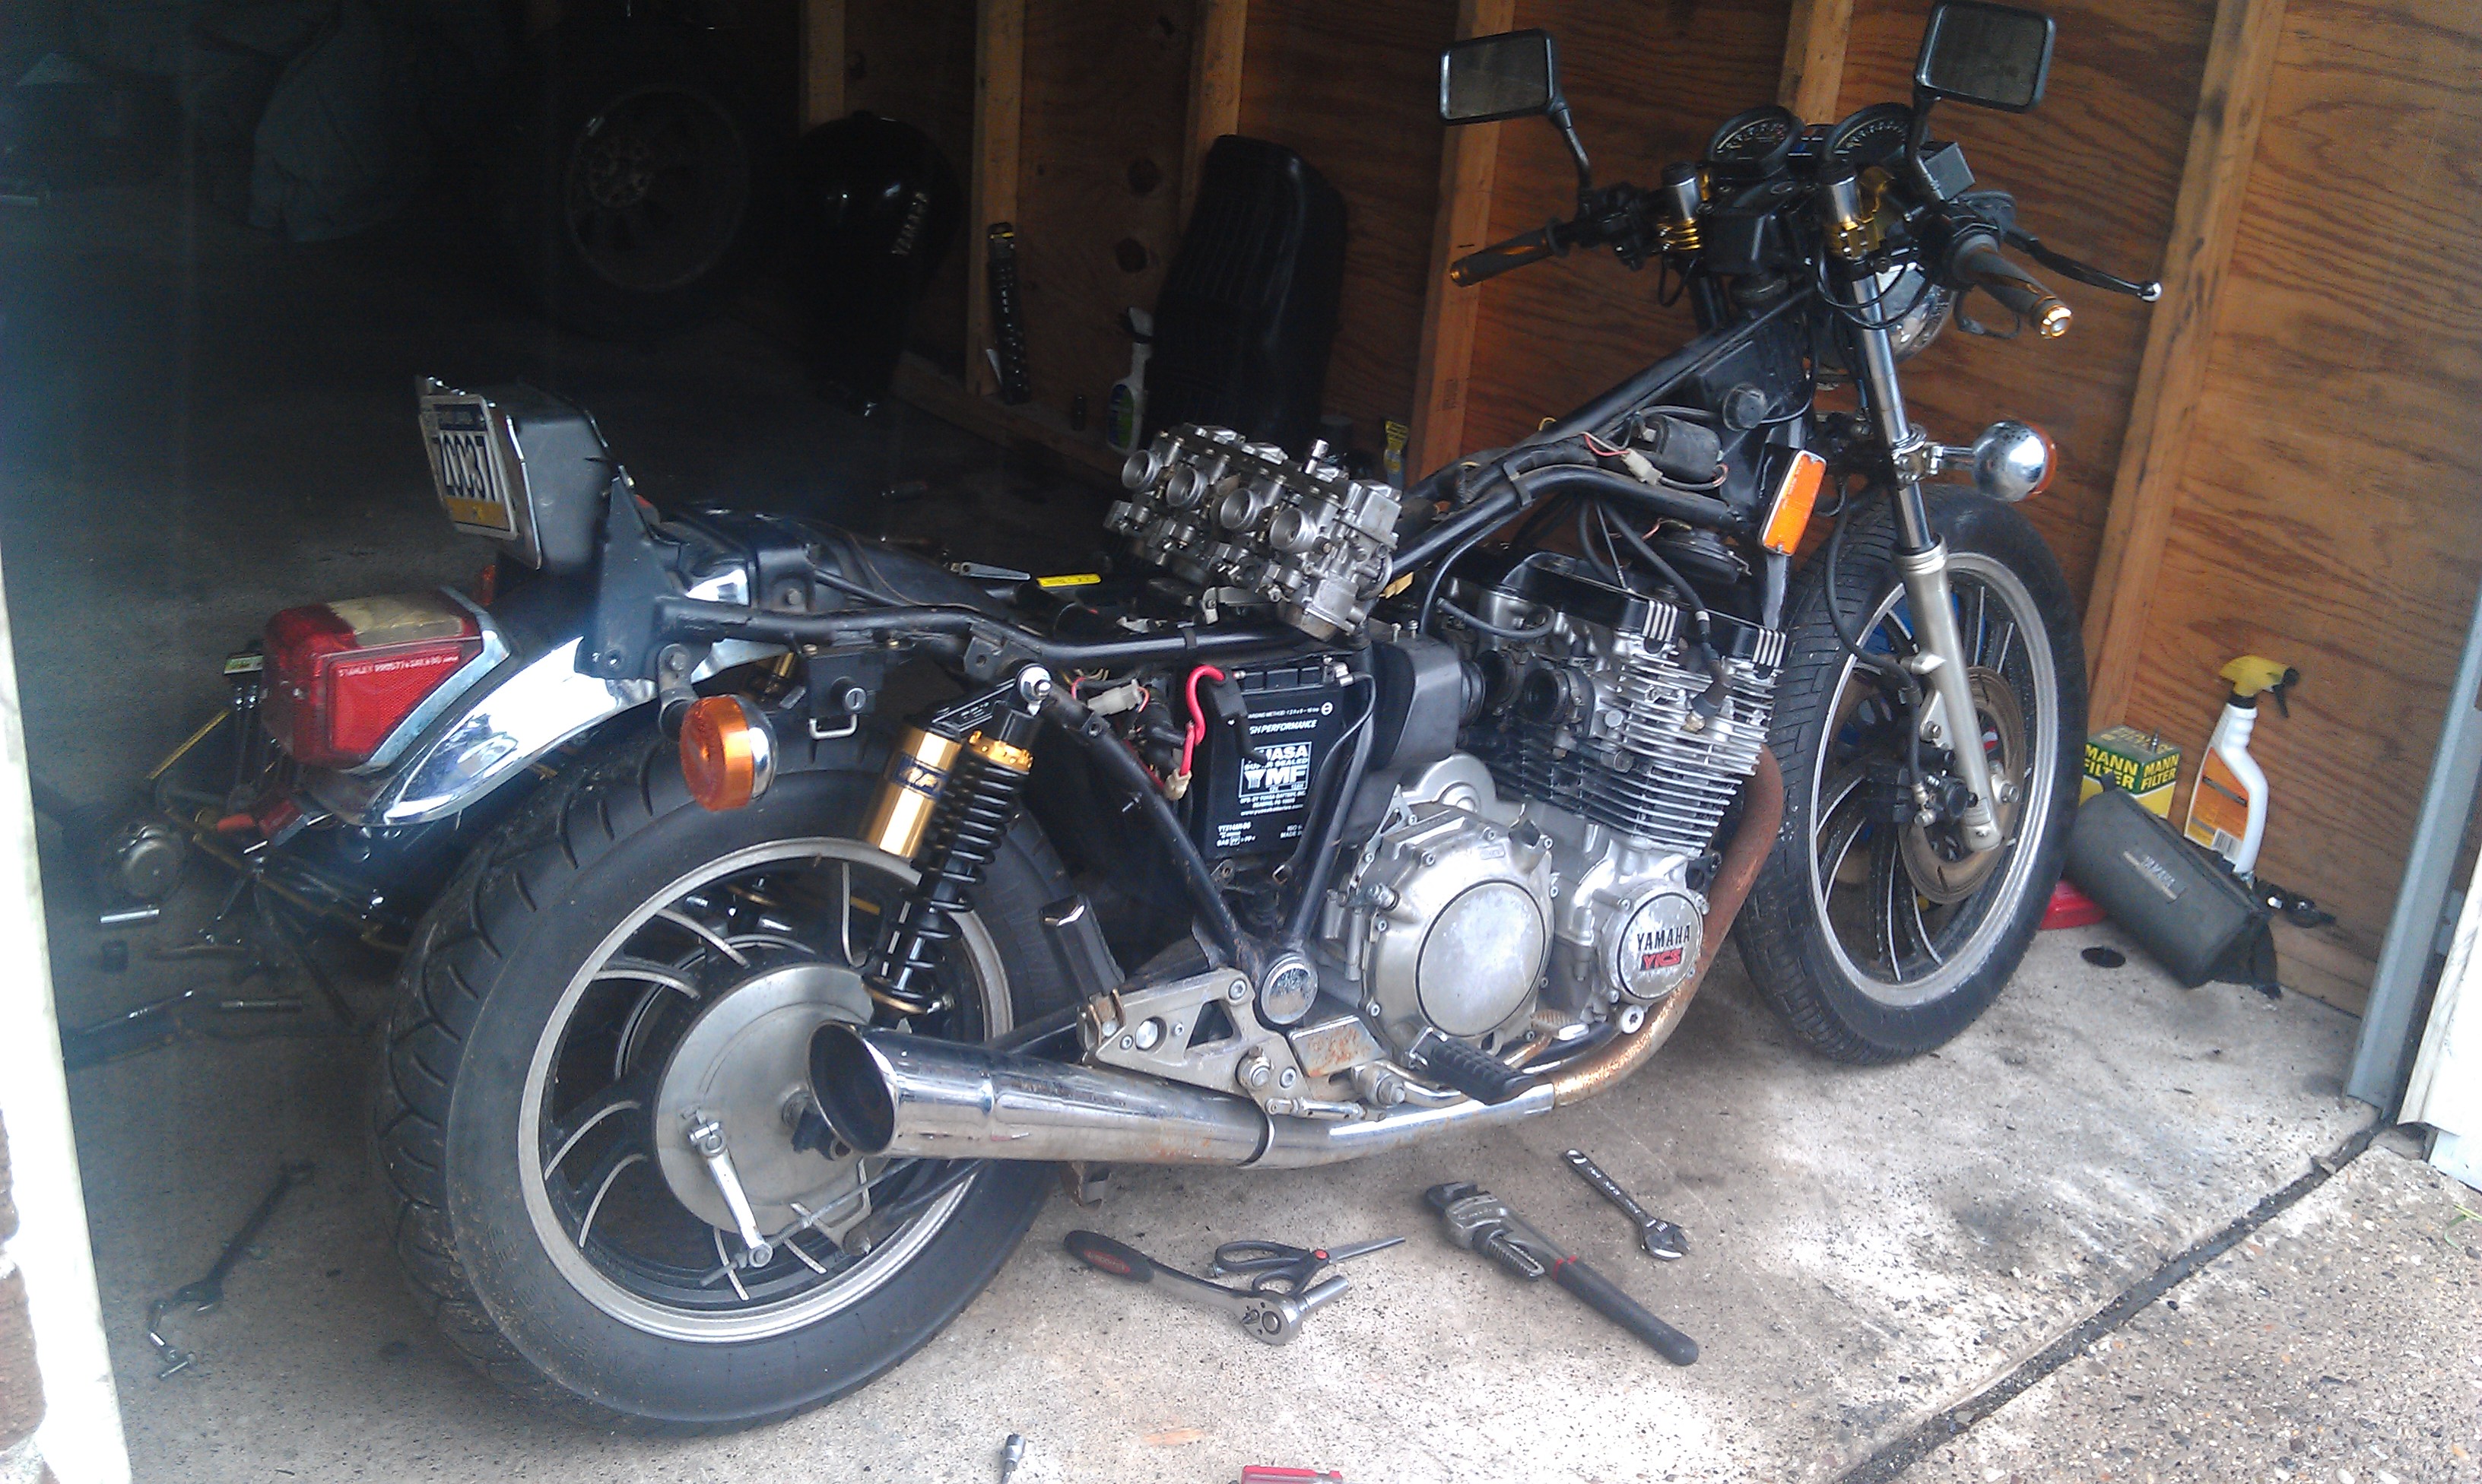
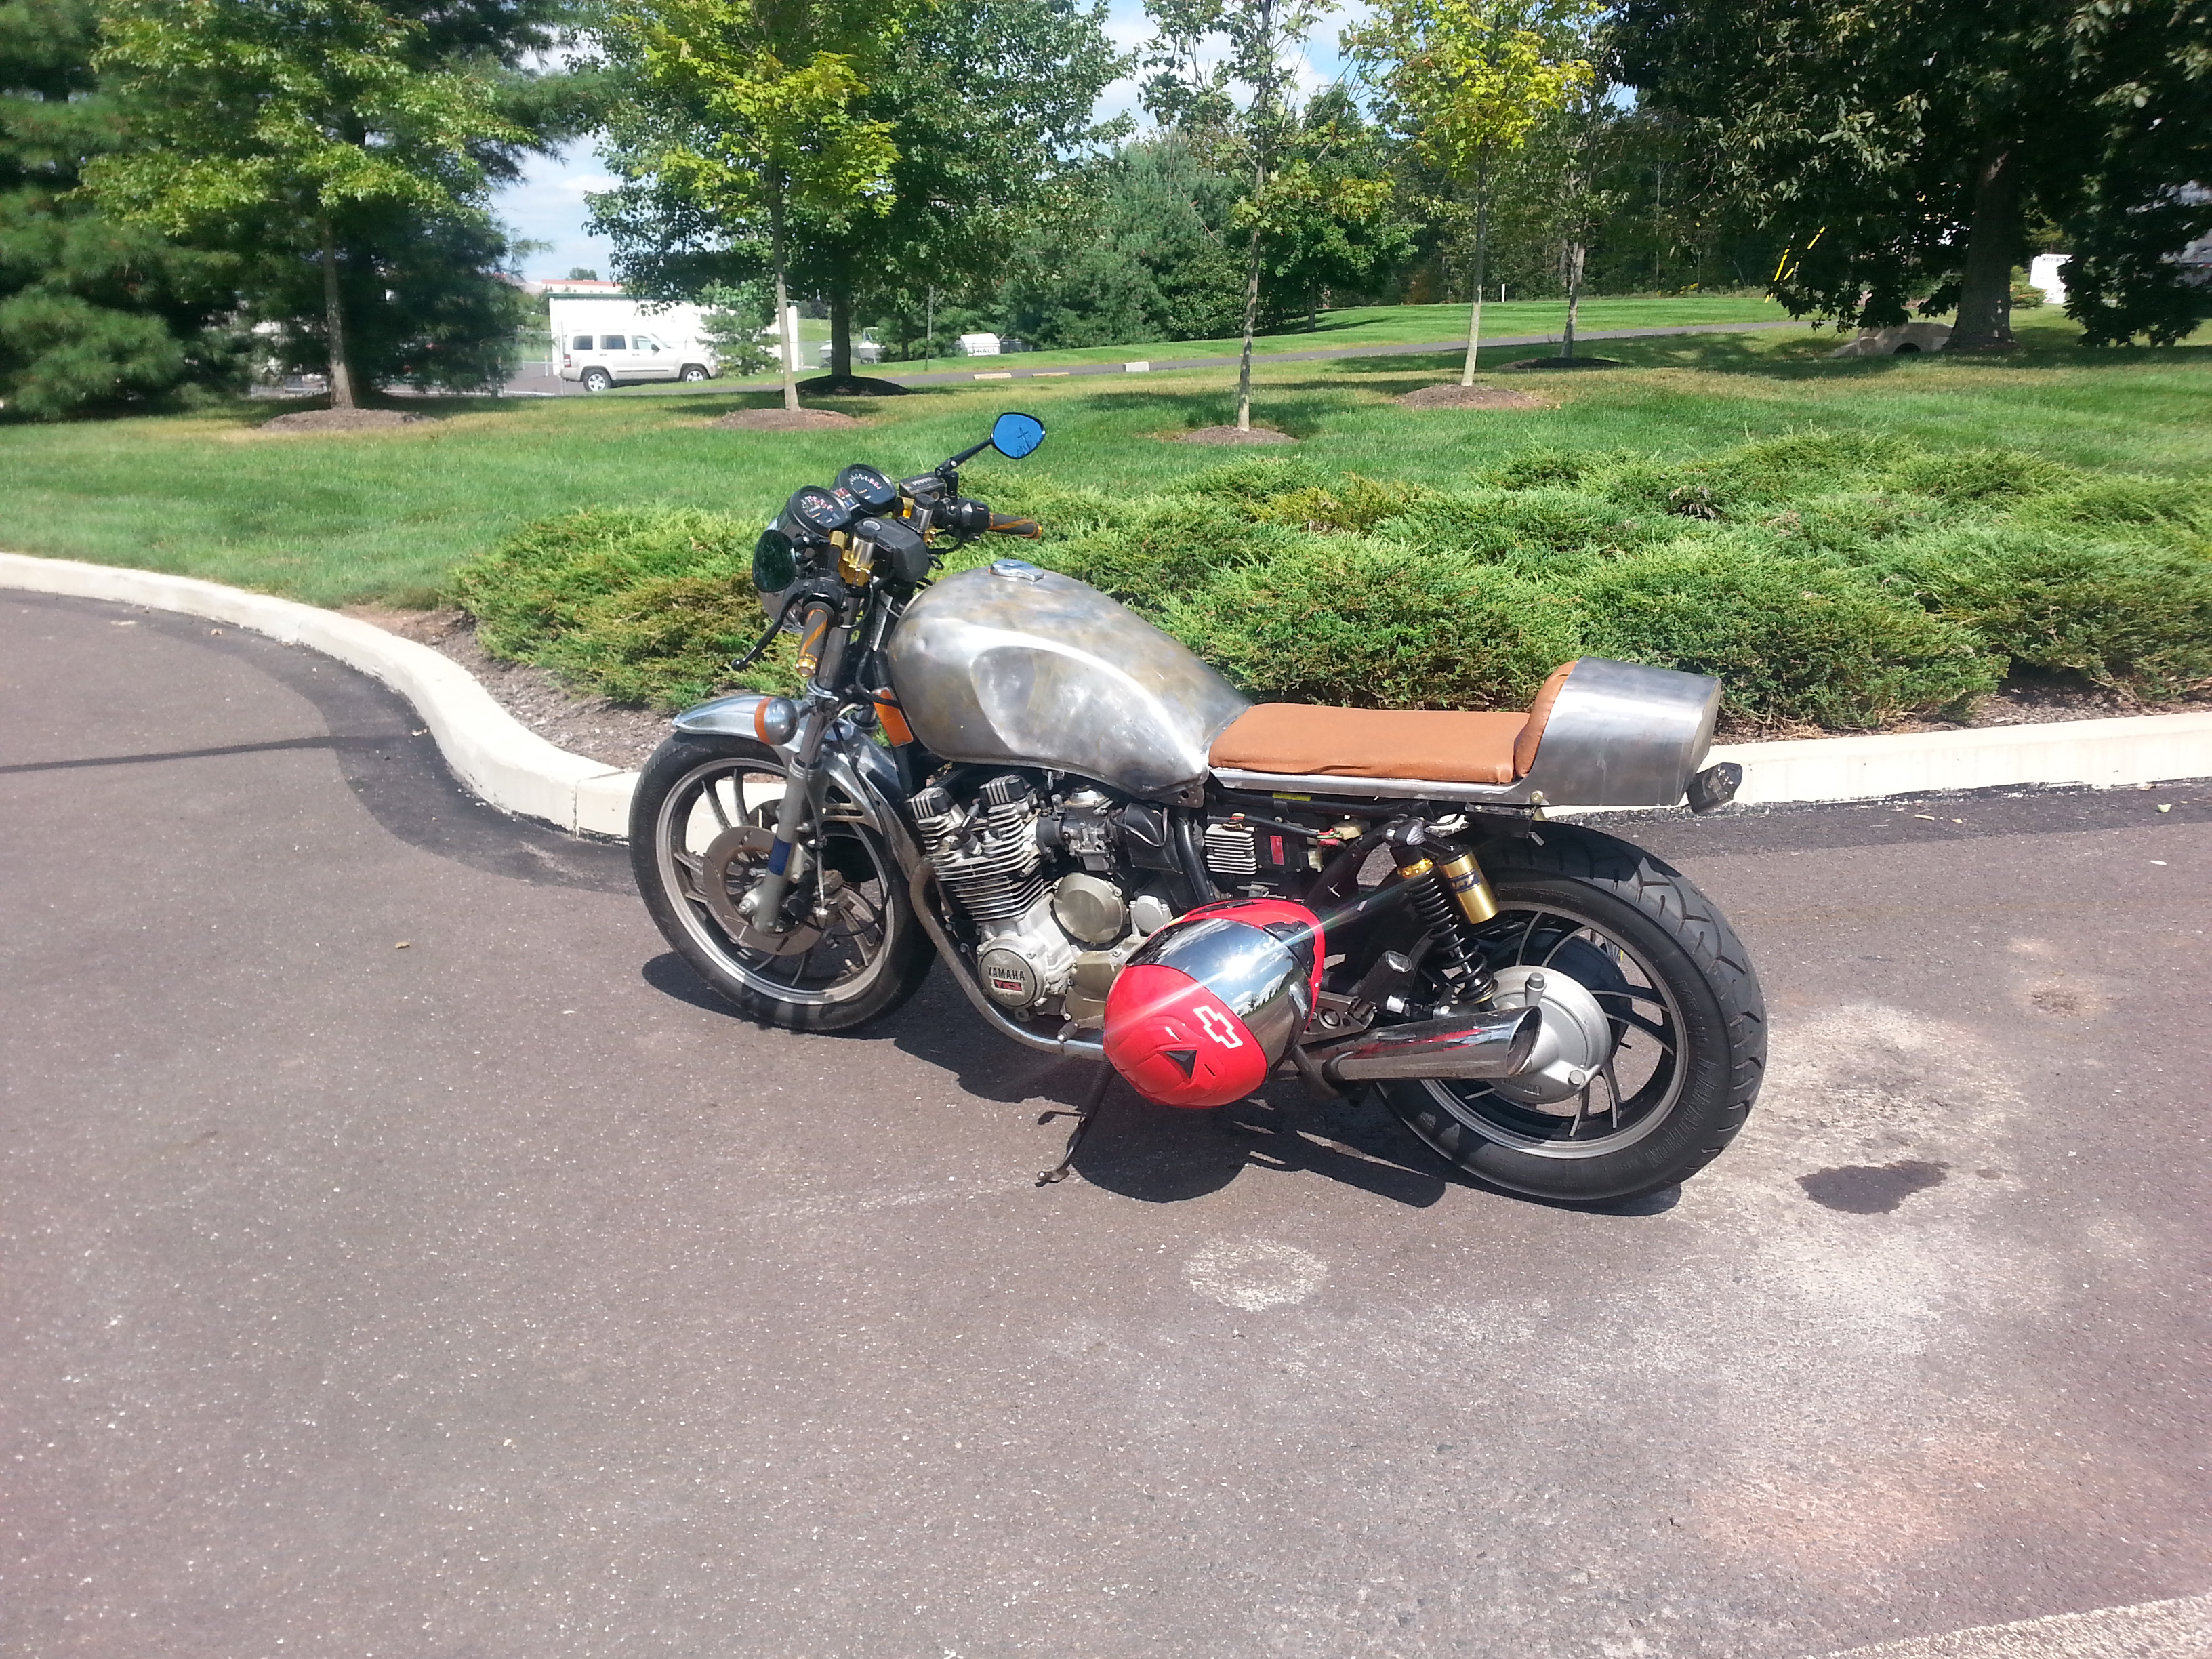
Throw back Cafe racer build…
2013 I went through a cafe racer phase. I didn’t take many photo’s of the progress but I loved this thing. 1983 Midnight Maxim.


Electric…
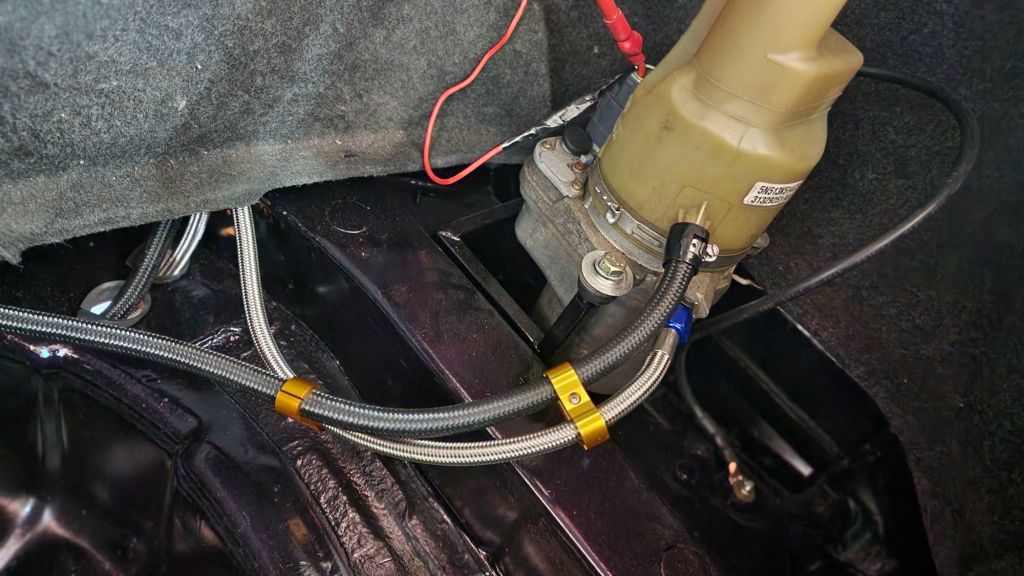
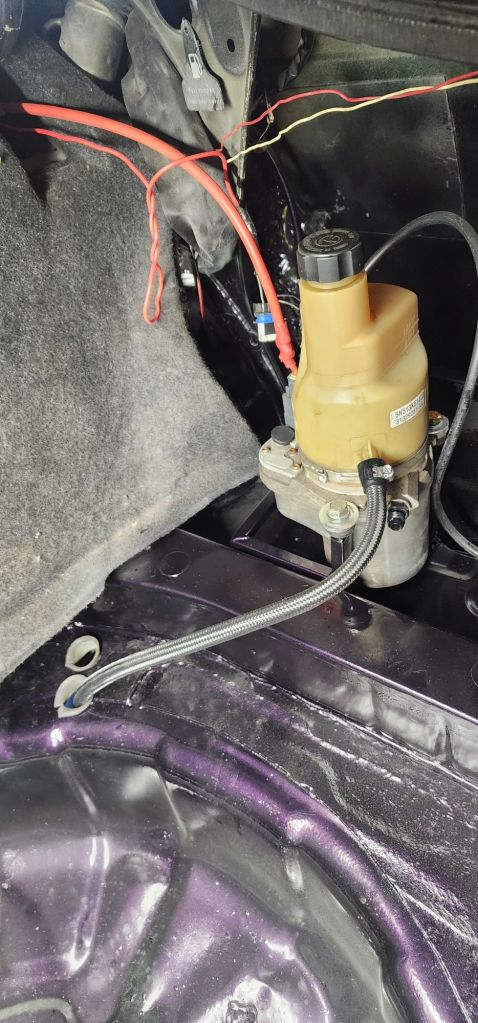
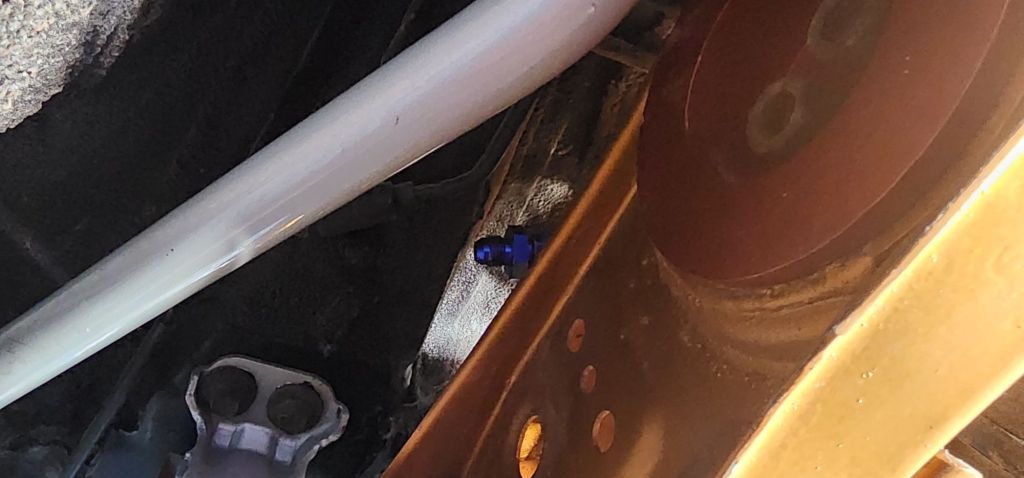
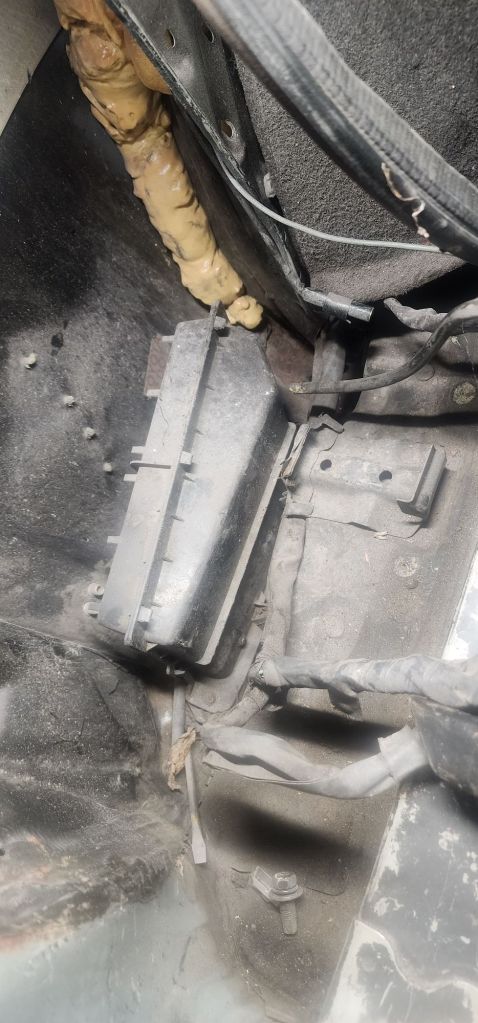
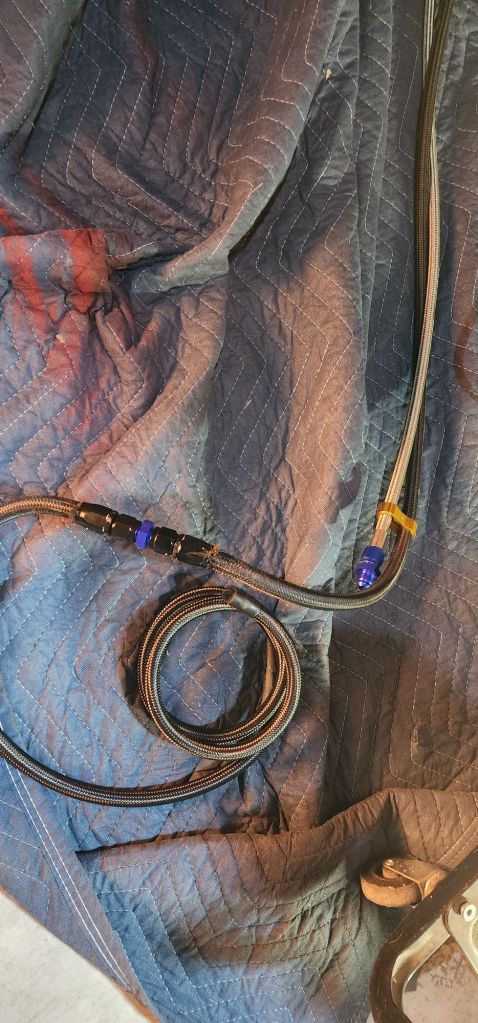
Continuing with the electric ps installation. I started to route the pressure and return lines for the pump under the car. I started by removing the AN pressure line I had already going to the factory mechanical pump. Then fitting one side of the AN lines.
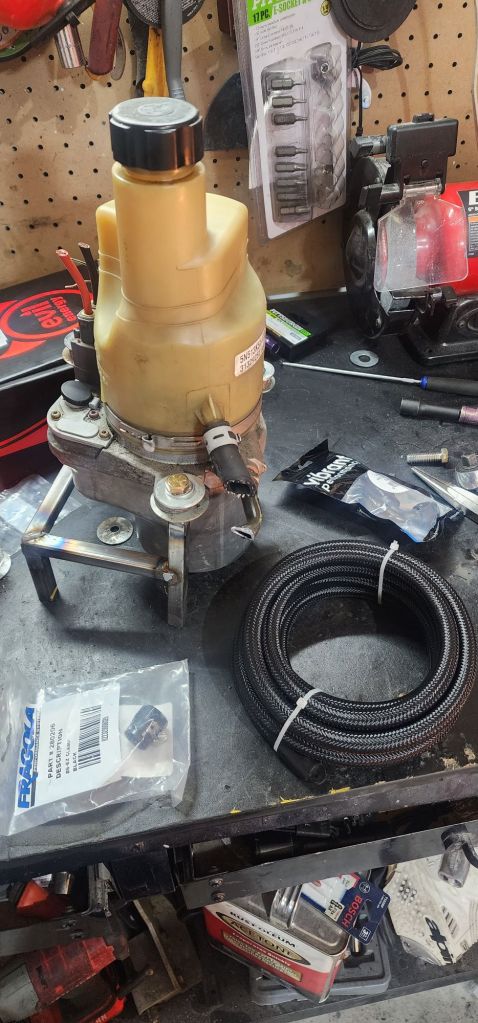


I ordered a return fitting from Driftmotion but they are on back order. So for the time being I took the fitting out of the mechanical pump just for mockup. I dont beleive it is the right size but it threaded right in albeit with a little play until it was snugged.


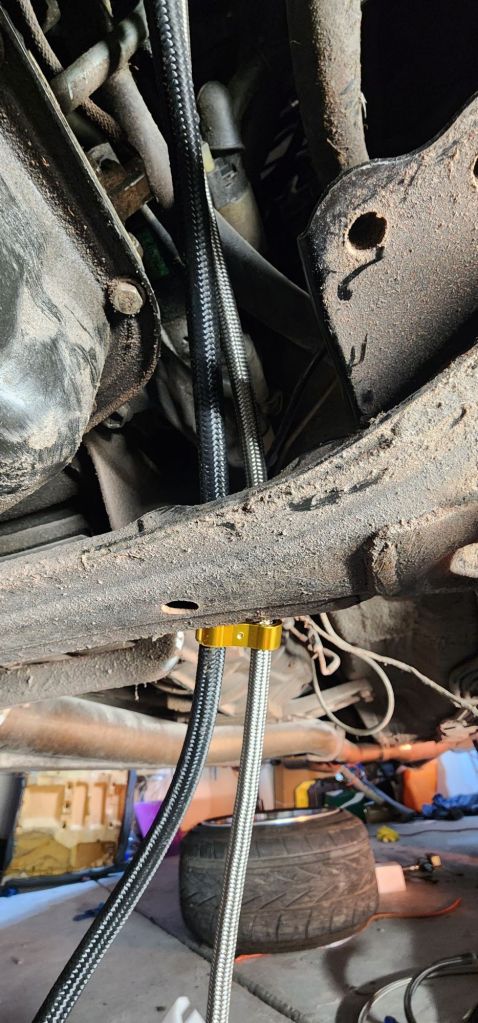
I also started running the power and ground.


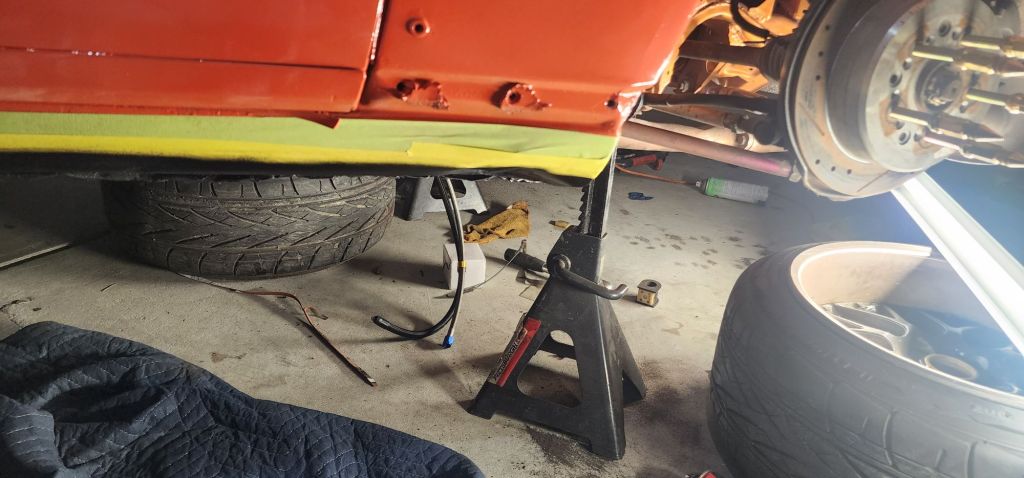
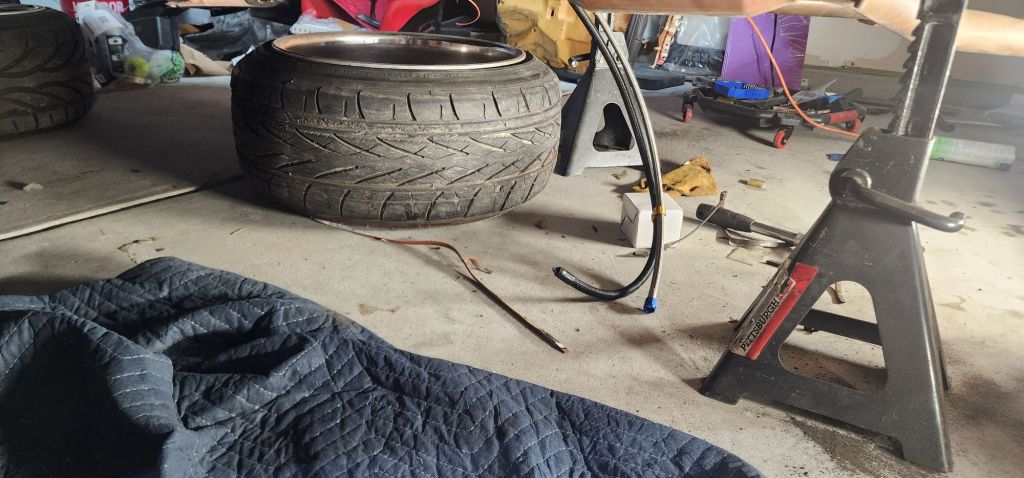

I had bought 10ft of everything thinking it would be enough. But this didn’t even get me past the fuel tank. So I had to stop here and order more line and fittings to join them. Also spare wire to run the 12v signal.

Everything came quickly except the high pressure line. Ill have to wait another week for it.
But in the mean time I kept moving.


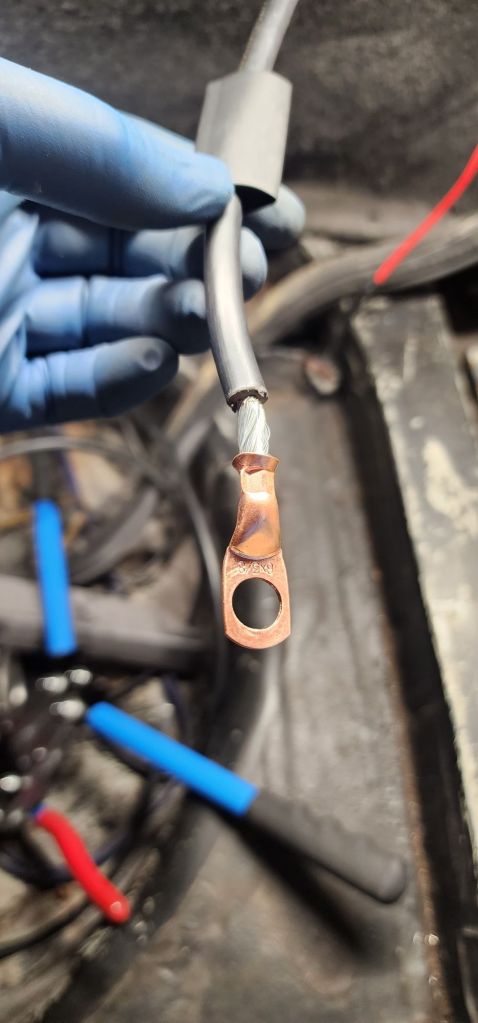
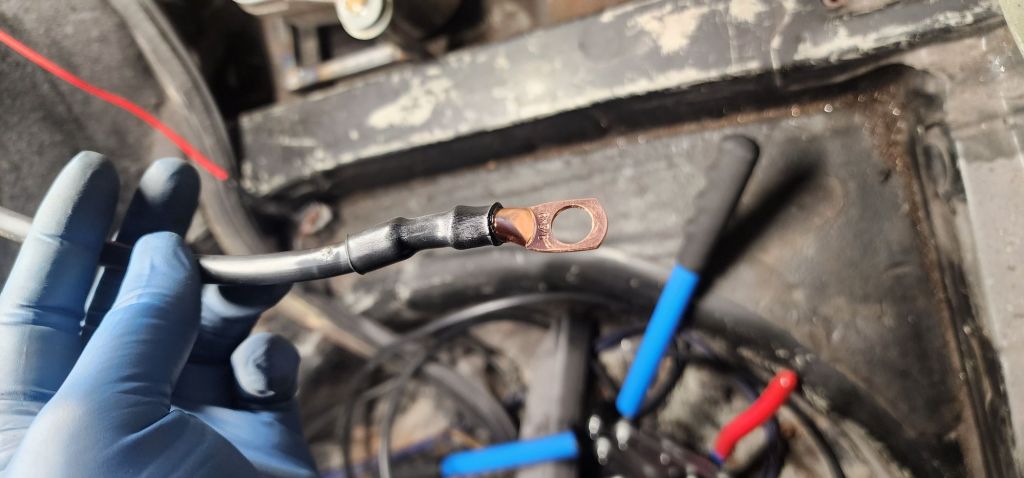
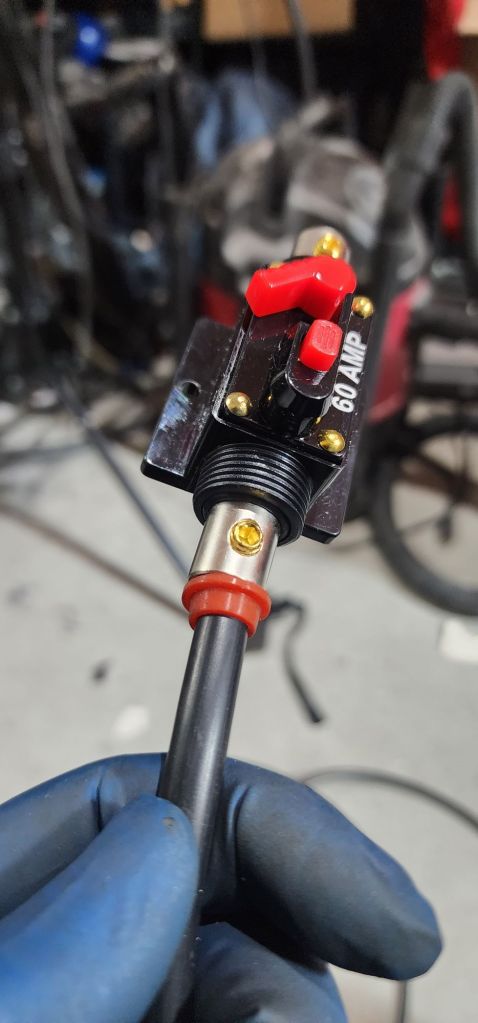
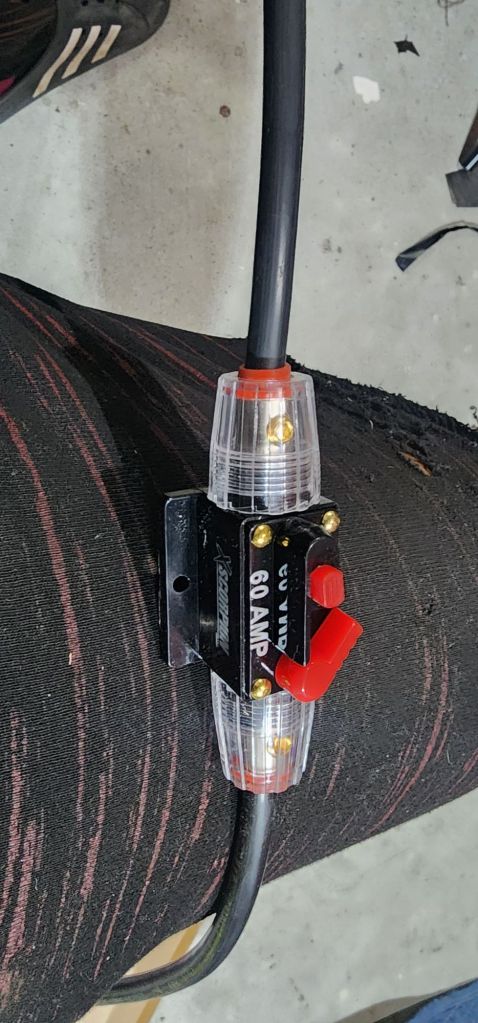


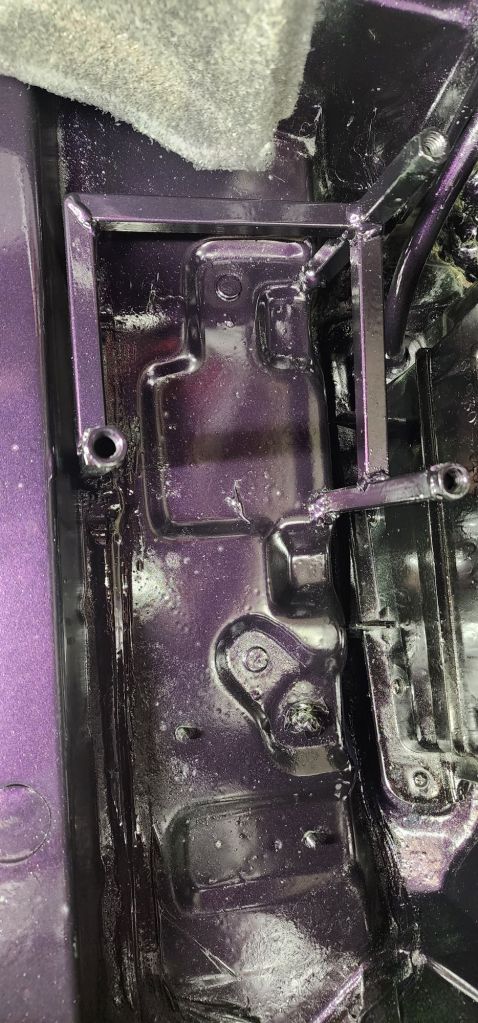
60 amp inline fuse. I was going to run the 12v to the fuel pump but I may run it to the center console. I stripped the paint where the bracket will be welded. The trunk is a mess. Dirt, random trash and surface rust from the previous owner. The car was not great when I bought it. But theres also issues from mistakes I made when I first built the car. The expanding foam to seal the over fenders was sloppy, I drilled too many holes for the fenders etc.
But I will clean it up as best I can.
I also had to fix the 3rd puncture in the same wheel on my truck.


Recent Comments